
1Panel Server Management Panel on AWS User Guide
Overview
This image runs 1Panel, the modern open source web control panel that manages a Linux server entirely from the browser. From one clean dashboard it handles websites and their reverse proxy, Docker containers and images, databases, files, cron jobs, SSL certificates and the host firewall, and it ships an App Store of one click self hosted applications so common services deploy without touching the command line.
1Panel is a native Go application managed by two systemd services, 1panel-core.service (the web panel, listening on port 10086) and 1panel-agent.service, plus the 1pctl control CLI. Its installer installs Docker Engine and the Docker Compose plugin, which 1Panel uses as the runtime for the applications, databases and websites you deploy through it. The panel is reached only over a secret entrance path, so http://<public-ip>:10086/ on its own never reveals it.
On the first boot of every deployed instance, a one shot service generates a fresh administrator username, password and secret entrance unique to that instance, and records them in /root/1panel-credentials.txt with mode 0600. No shared or default credentials ship in the image.
Prerequisites
Before you deploy this image you need:
- An Amazon Web Services account where you can launch EC2 instances
- IAM permissions to launch instances, create security groups, and subscribe to AWS Marketplace products
- An EC2 key pair in the target Region for SSH access to the instance
- A VPC and subnet in the target Region, with a security group allowing inbound port 22 from your management network, inbound port 10086 from the networks your operators will reach the panel on, and inbound ports 80 and 443 for any websites you host through 1Panel
- The AWS CLI (version 2) installed locally if you plan to deploy from the command line
Step 1: Launch the Instance from the AWS Marketplace
Sign in to the AWS Management Console, open the EC2 service, and select Launch instance. Under Application and OS Images choose AWS Marketplace AMIs and search for 1Panel. Select the cloudimg listing and choose Select, then Continue on the subscription summary.
Pick an instance type of m5.large or larger. Choose your EC2 key pair under Key pair (login). Under Network settings select your VPC and subnet, and either create or select a security group that allows inbound port 22 from your management network, inbound port 10086 from the networks your operators use, and inbound ports 80 and 443 for hosted websites. Leave the root volume at the default size or larger.
Select Launch instance. First boot initialisation takes a minute or two after the instance state becomes Running and the status checks pass.
Step 2: Launch the Instance from the AWS CLI
The following block launches an instance from the cloudimg 1Panel Marketplace AMI into an existing subnet and security group. Replace <ami-id> with the AMI ID shown on the Marketplace listing, <key-name> with your EC2 key pair name, <subnet-id> with your subnet ID, and <security-group-id> with a security group that opens ports 22, 10086, 80 and 443 as described above.
aws ec2 run-instances \
  --image-id <ami-id> \
  --instance-type m5.large \
  --key-name <key-name> \
  --subnet-id <subnet-id> \
  --security-group-ids <security-group-id> \
  --block-device-mappings '[{"DeviceName":"/dev/sda1","Ebs":{"VolumeSize":30,"VolumeType":"gp3"}}]' \
  --tag-specifications 'ResourceType=instance,Tags=[{Key=Name,Value=1panel-01}]'
The command prints a JSON document on success. Note the instance ID, then retrieve its public address once it is running with aws ec2 describe-instances --instance-ids <instance-id> --query "Reservations[].Instances[].PublicIpAddress" --output text.
Step 3: Connect and Retrieve Your Credentials
Connect over SSH with the key pair you selected and the public IP address from step 2. The SSH login user depends on the operating system of the AMI variant you launched:
| AMI variant | SSH login user |
|---|---|
| 1Panel 2.2 on Ubuntu 24.04 | ubuntu |
The first boot service runs before the SSH daemon becomes ready, so the credentials file is always in place when you log in for the first time.
ssh <login-user>@<public-ip>
sudo cat /root/1panel-credentials.txt
You will see a plain text file containing the full sign-in URL (1PANEL_URL, which includes the secret entrance path), the administrator username and the per instance password. That 1PANEL_URL is exactly where you sign in. You can retrieve the same values at any time with sudo 1pctl user-info.
Confirm the panel, its agent and Docker are all running:
sudo systemctl is-active 1panel-core 1panel-agent docker
active
active
active
Confirm the pinned panel version and that Docker Engine is installed and healthy:
sudo 1pctl version
docker --version
docker compose version
The panel is pinned to v2.2.3, and Docker Engine with the Compose plugin ships preinstalled as the application runtime.
Step 4: Verify the Administrator Login
This confirms the per instance administrator credentials authenticate against the panel. It reads the generated username, password, entrance and port from the credentials file, checks them against the panel's own credential store, and confirms the panel answers at the secret entrance.
CREDS=/root/1panel-credentials.txt
PORT=$(sudo grep '^1panel.port=' "$CREDS" | cut -d= -f2-)
ENT=$(sudo grep '^1panel.entrance=' "$CREDS" | cut -d= -f2-)
USER=$(sudo grep '^1panel.username=' "$CREDS" | cut -d= -f2-)
PASS=$(sudo grep '^1panel.password=' "$CREDS" | cut -d= -f2-)
sudo /usr/local/sbin/1panel-login-check.sh "$PORT" "$ENT" "$USER" "$PASS"
An OK: line confirms the per instance credentials authenticate and the dashboard is live at the secret entrance.
Step 5: First Sign-in
Open a web browser and navigate to the 1PANEL_URL from step 3, which has the form http://<public-ip>:10086/<entrance>. 1Panel presents its sign-in page and prompts for your username and password. The secret entrance is mandatory: http://<public-ip>:10086/ without the entrance suffix does not reveal the panel.
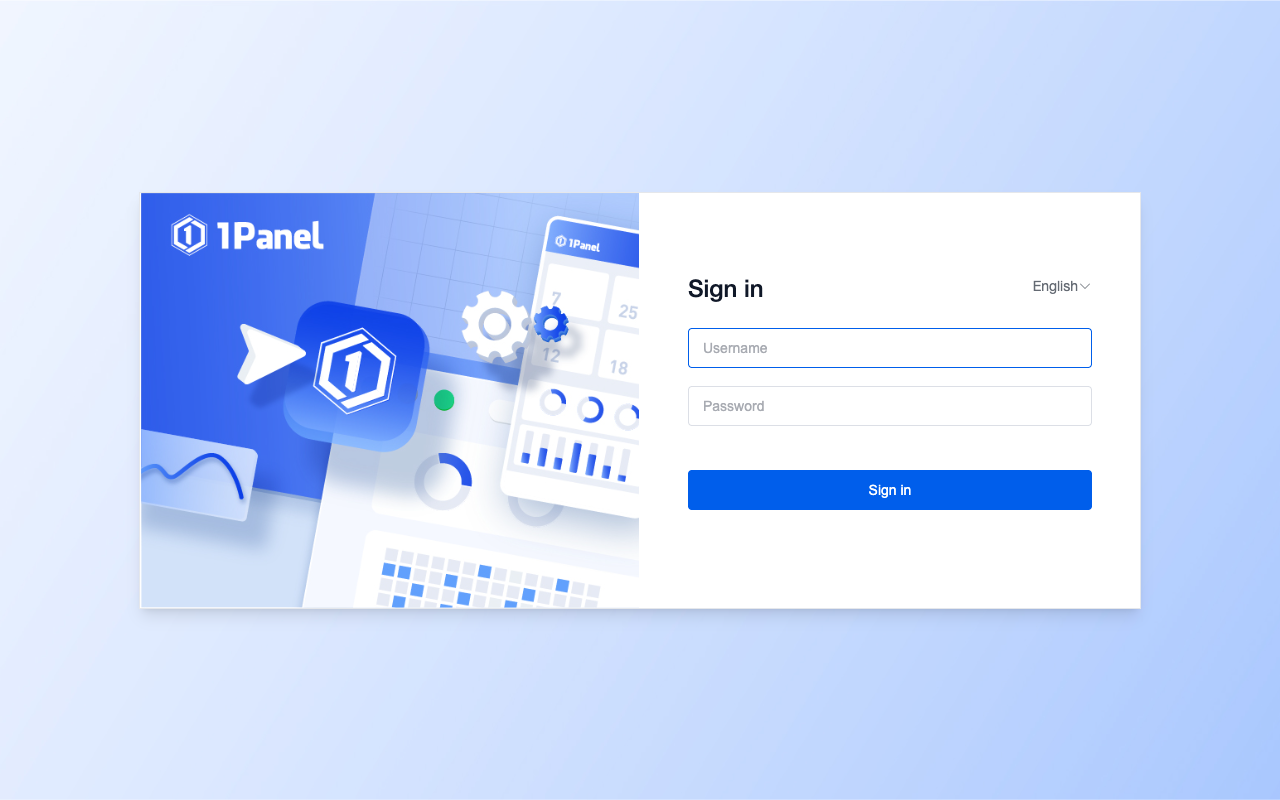
The 1Panel sign-in page, served over the secret secure entrance. Sign in with the per instance username and password from /root/1panel-credentials.txt.
Step 6: The Overview Dashboard
After signing in you land on the Overview dashboard, your single pane of glass. It shows live host status (load, CPU, memory and disk gauges) and counts of your websites, databases and applications. The left sidebar gives you App Store, Websites, Databases, Containers, System, Cron Jobs, Toolbox, Logs and Settings.
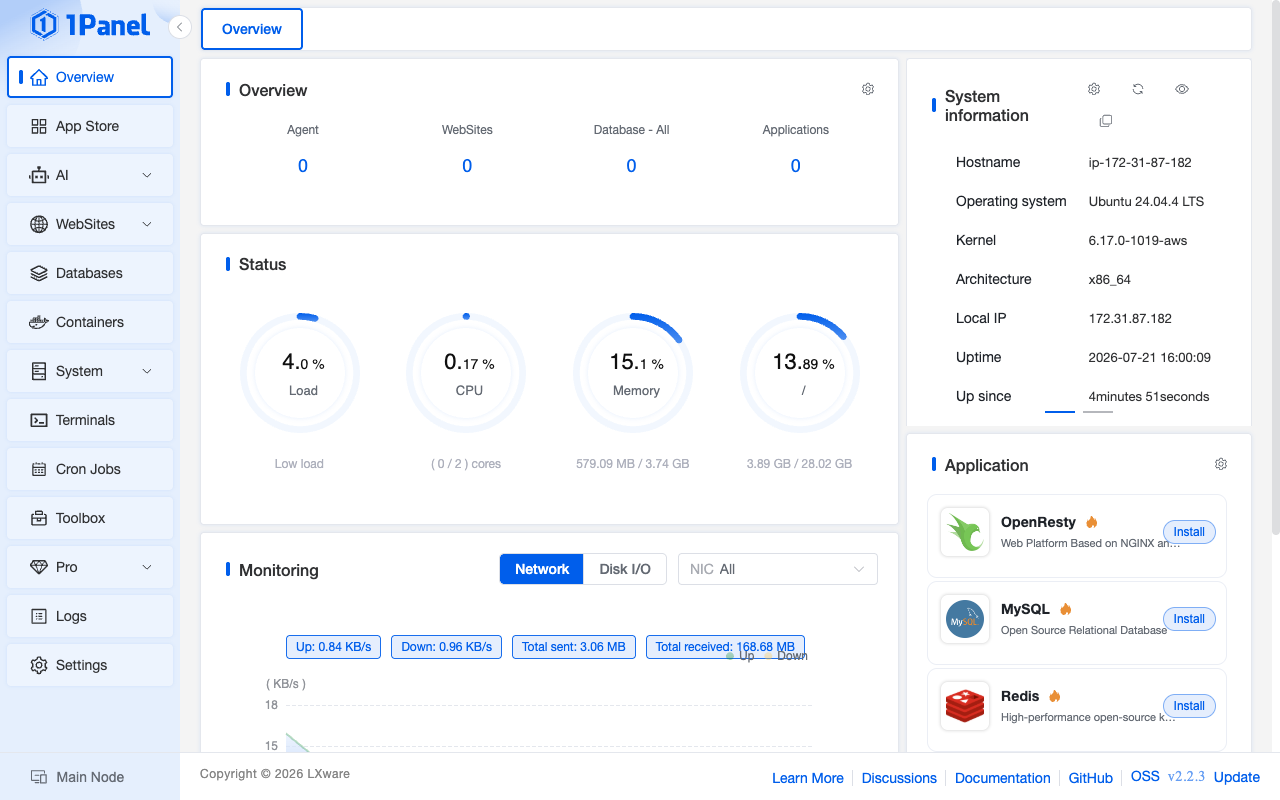
The 1Panel overview dashboard with live host status gauges and resource counts.
Step 7: Deploy from the App Store
Open App Store to browse the catalogue of one click self hosted applications: web servers, databases, developer tools, AI apps and more. Pick an app, choose Install, select a version and settings, and 1Panel provisions it as a managed Docker container for you.
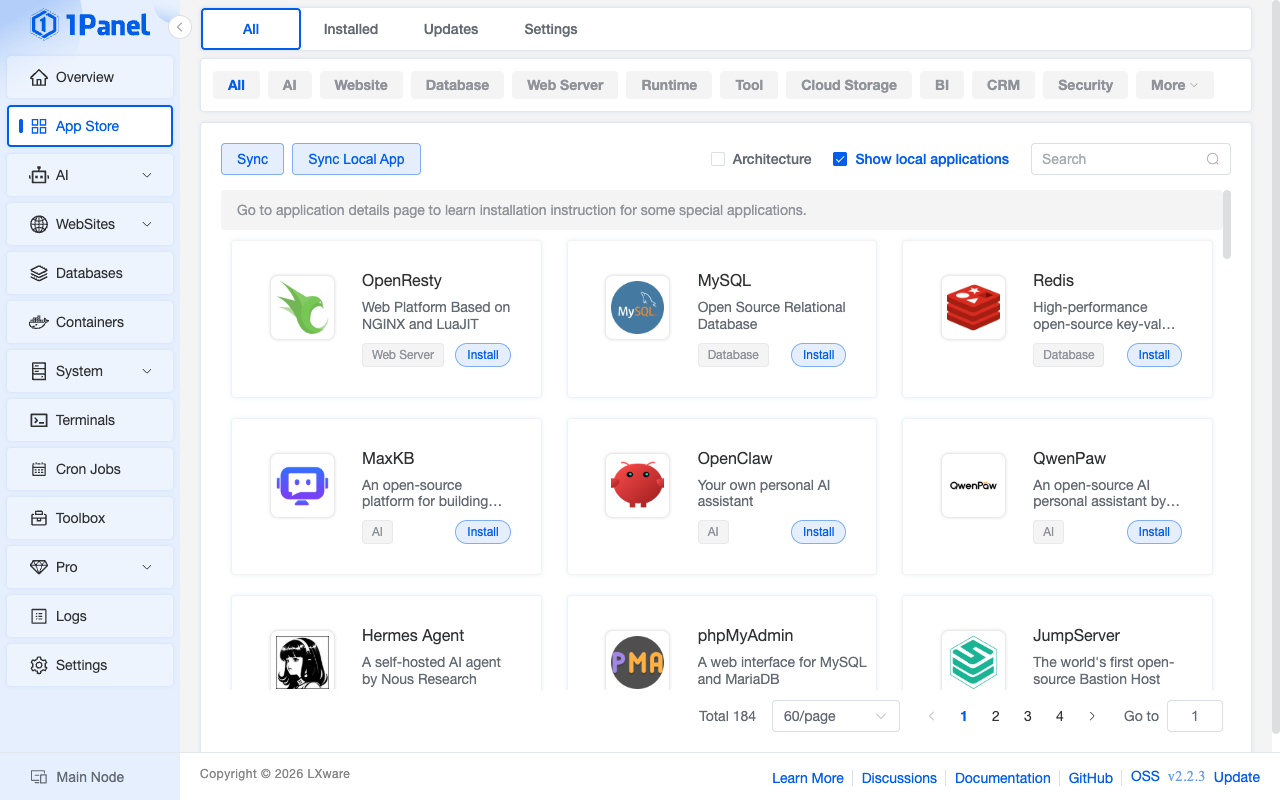
The 1Panel App Store showing one click applications that deploy as managed Docker containers.
Step 8: Manage Docker Containers
Open Containers to manage everything Docker on the host: containers, Compose stacks, images, networks, volumes and image repositories, all backed by the preinstalled Docker Engine. The Overview tab summarises what is running and shows disk usage.
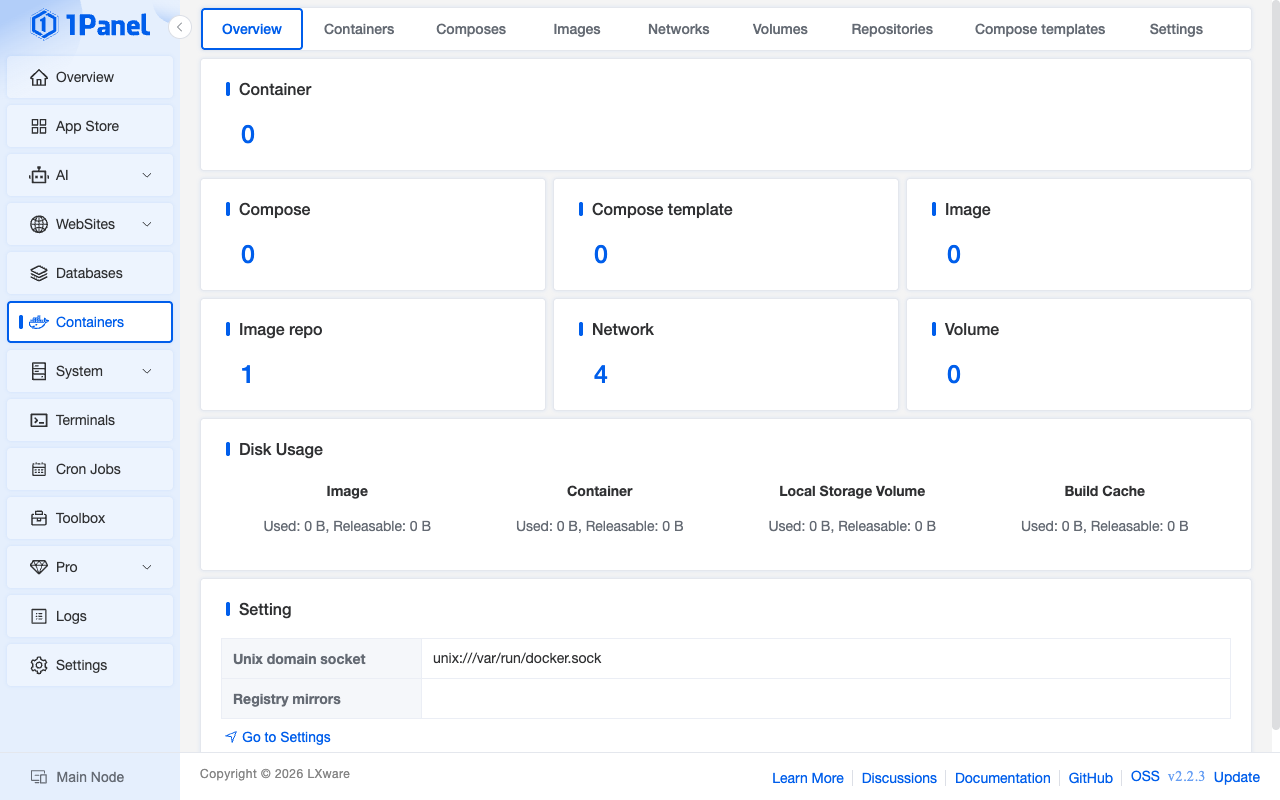
The 1Panel Containers view managing Docker containers, Compose stacks, images, networks and volumes.
Step 9: Host a Website over HTTPS (optional)
1Panel can host websites with an automatic reverse proxy and Let's Encrypt certificates. In the dashboard open Websites, then Create Website, point a DNS A record at the instance's public IP, and 1Panel will issue and renew an SSL certificate for you. Make sure ports 80 and 443 are open in your security group so the ACME HTTP-01 challenge and HTTPS traffic can reach the host.
Step 10: Change the Secure Entrance or Port (optional)
Your secret entrance and panel settings are managed from Settings in the dashboard, or from the CLI. To view the current values at any time:
sudo 1pctl user-info
To rotate the secure entrance from the command line run sudo 1pctl reset entrance and note the new value, or change the port with sudo 1pctl update port. Keep your security group rule for port 10086 in step with any port change.
Step 11: Day-two Operations
Manage the panel with 1pctl and systemd:
sudo 1pctl status
1Panel data lives under /opt/1panel. Keep the OS patched (unattended security upgrades are enabled by default), and use 1Panel's built in updater or 1pctl update to move to a newer 1Panel release when you are ready. Review the release notes first.
Support
cloudimg provides 24/7 technical support by email and live chat: deployment, panel access and the secure entrance, hosting websites and the reverse proxy, SSL certificates, Docker container and App Store deployments, databases, cron jobs, the host firewall and runtime tuning.
All product and company names are trademarks or registered trademarks of their respective holders. Use of them does not imply any affiliation with or endorsement by them. 1Panel is a trademark of its respective owner.