
AdGuard Home on AWS User Guide
Overview
This image runs AdGuard Home, the open source network-wide DNS server that blocks ads, trackers and malicious domains for every device that points its DNS at the instance. There is no client software to install on those devices; because filtering happens at the DNS layer it protects every phone, laptop, tablet, smart-TV and IoT device on the network, including devices where a browser extension cannot run.
AdGuard Home answers DNS on the standard port 53 for both UDP and TCP (this is the product), while its web admin console binds to 127.0.0.1:3000 on the loopback interface and is fronted by nginx as a reverse proxy on port 80 (and 443 once you add TLS). Configuration, the query log, the statistics database and downloaded filter lists live on a dedicated EBS data volume mounted at /var/lib/adguardhome, independently resizable and separate from the operating system disk.
On the first boot of every deployed instance, a one-shot service generates a per-instance admin password, completes AdGuard Home's initial setup automatically, and records the credentials in /root/adguardhome-credentials.txt with mode 0600. No shared or default credentials ship in the image.
Prerequisites
Before you deploy this image you need:
- An Amazon Web Services account where you can launch EC2 instances
- IAM permissions to launch instances, create security groups, and subscribe to AWS Marketplace products
- An EC2 key pair in the target Region for SSH access to the instance
- A VPC and subnet in the target Region, with a security group allowing inbound port 22 from your management network, inbound port 80 from where you will reach the admin console, and inbound port 53 on both UDP and TCP from the devices and networks you want to filter
- The AWS CLI (version 2) installed locally if you plan to deploy from the command line
Step 1: Launch the Instance from the AWS Marketplace
Sign in to the AWS Management Console, open the EC2 service, and select Launch instance. Under Application and OS Images choose AWS Marketplace AMIs and search for AdGuard Home. Select the cloudimg listing and choose Select, then Continue on the subscription summary.
Pick an instance type of t3.medium or larger. Choose your EC2 key pair under Key pair (login). Under Network settings select your VPC and subnet, and either create or select a security group that allows inbound port 22 from your management network, inbound port 80 from where you will reach the admin console, and inbound port 53 on both UDP and TCP from the networks you want to filter. Leave the root volume at the default size or larger; the image adds a separate data volume for AdGuard Home's state automatically.
Select Launch instance. First boot initialisation takes under a minute after the instance state becomes Running and the status checks pass.
Step 2: Launch the Instance from the AWS CLI
The following block launches an instance from the cloudimg AdGuard Home Marketplace AMI into an existing subnet and security group. Replace <ami-id> with the AMI ID shown on the Marketplace listing, <key-name> with your EC2 key pair name, <subnet-id> with your subnet ID, and <security-group-id> with a security group that opens port 22, port 80, and port 53 on both UDP and TCP as described above.
aws ec2 run-instances \
  --image-id <ami-id> \
  --instance-type t3.medium \
  --key-name <key-name> \
  --subnet-id <subnet-id> \
  --security-group-ids <security-group-id> \
  --block-device-mappings '[{"DeviceName":"/dev/sda1","Ebs":{"VolumeSize":20,"VolumeType":"gp3"}}]' \
  --tag-specifications 'ResourceType=instance,Tags=[{Key=Name,Value=adguardhome-01}]'
The command prints a JSON document on success. Note the instance ID, then retrieve its public address once it is running with aws ec2 describe-instances --instance-ids <instance-id> --query "Reservations[].Instances[].PublicIpAddress" --output text.
Step 3: Connect and Retrieve the Admin Password
Connect over SSH with the key pair you selected and the public IP address from step 2. The SSH login user depends on the operating system of the AMI variant you launched:
| AMI variant | SSH login user |
|---|---|
| AdGuard Home 0.107.77 on Ubuntu 24.04 | ubuntu |
The first boot service runs before the SSH daemon becomes ready, so the credentials file is always in place when you log in for the first time.
ssh <login-user>@<public-ip>
sudo cat /root/adguardhome-credentials.txt
You will see a plain text file containing the admin console URL, the username admin, and the per-instance admin password. From the same SSH session you can confirm the deployment is healthy; the health endpoint is open and served by nginx:
curl -fsS http://127.0.0.1/healthz
ok
An ok response confirms nginx is fronting the admin console. You can also confirm the two services that make up the stack are running:
systemctl is-active AdGuardHome nginx
active
active
Confirm AdGuard Home is answering DNS on port 53 for both UDP and TCP:
ss -H -lntu 'sport = :53'
udp   *:53
tcp   *:53
Step 4: First Sign-in
Open a web browser and navigate to http://<public-ip>/. AdGuard Home presents its sign-in page and prompts for the username and password.
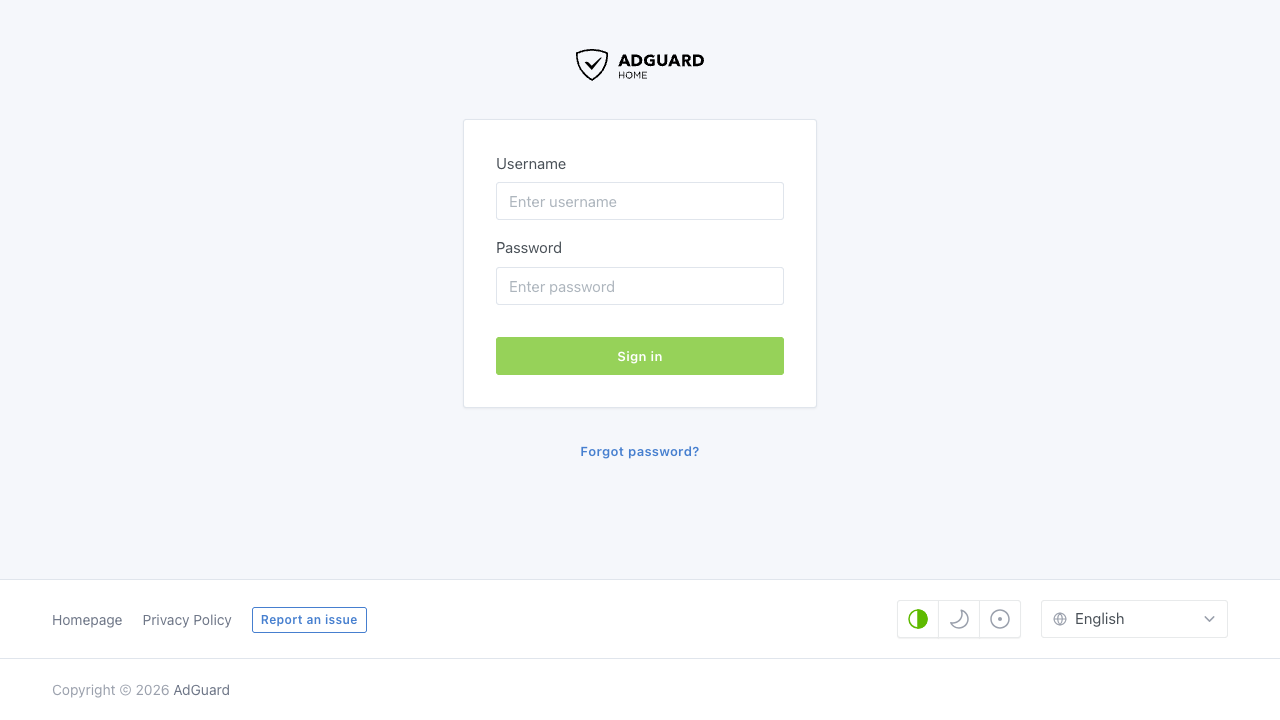
The AdGuard Home sign-in page, served on first boot behind nginx. Sign in as admin with the password from the credentials file.
Enter admin and the password from /root/adguardhome-credentials.txt and select Sign in. The dashboard opens, showing DNS query statistics, how many requests were blocked by your filters, your top clients and the top blocked domains.
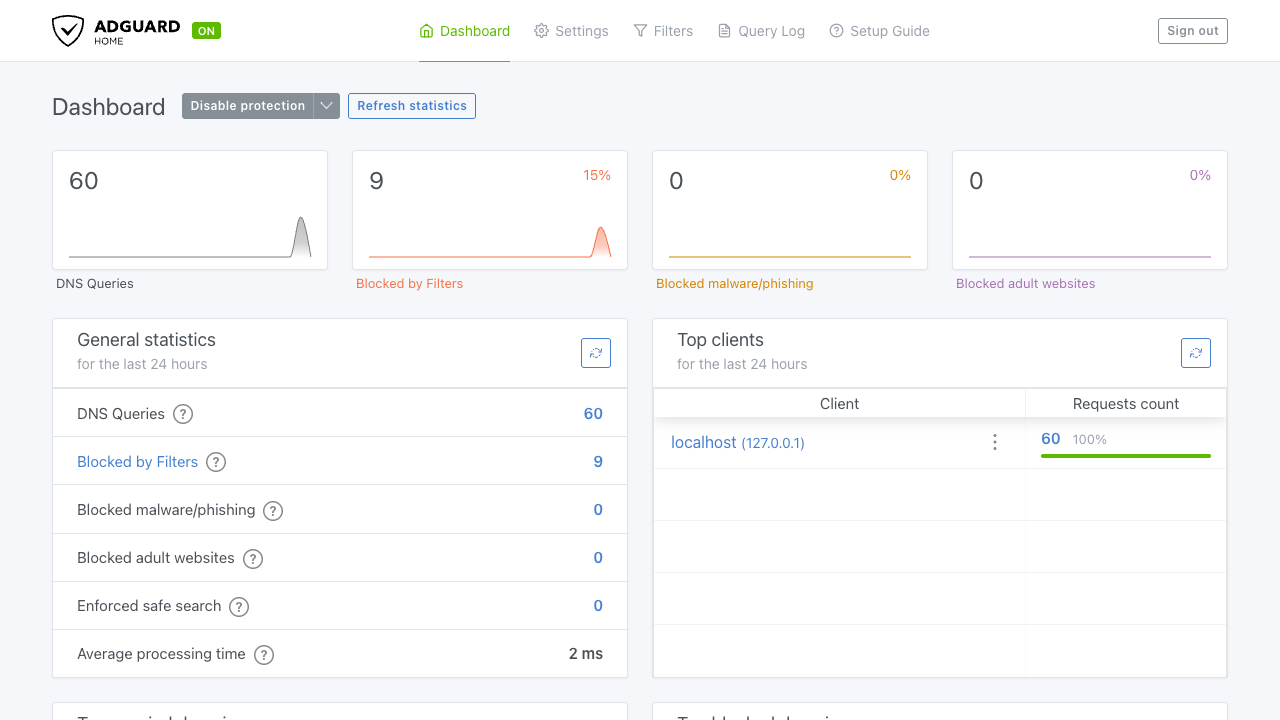
The AdGuard Home dashboard, showing DNS queries, the number and percentage blocked by filters, and per-client statistics.
Step 5: Point Your Devices at the Resolver
AdGuard Home only filters traffic for devices that use it for DNS. Point either your whole network or an individual device at the instance's IP address for DNS:
- Whole network: in your router's DHCP or DNS settings, set the primary DNS server to the instance's IP address. Every device that gets its network settings from the router will then resolve through AdGuard Home.
- A single device: set the device's DNS server to the instance's IP address in its network settings.
Once traffic is flowing you can verify filtering from the instance itself. A normal domain resolves to a real address:
dig @127.0.0.1 example.com +short
104.20.23.154
172.66.147.243
A known ad or tracker domain is blocked, returning 0.0.0.0 instead of a real address:
dig @127.0.0.1 adservice.google.com +short
0.0.0.0
Step 6: Manage Blocklists
Select Filters → DNS blocklists in the top navigation to control what AdGuard Home blocks. The image ships with the default AdGuard DNS filter enabled, giving broad ad and tracker coverage out of the box.
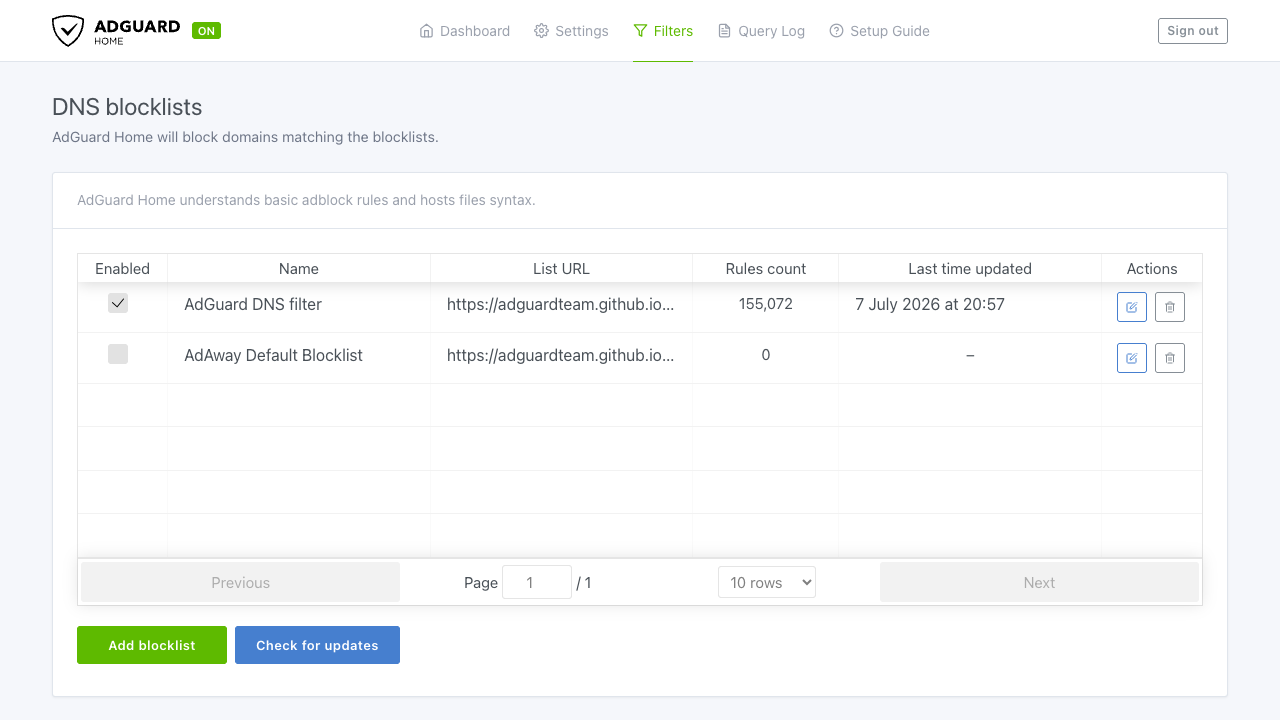
The DNS blocklists page. The default AdGuard DNS filter is enabled with more than 150,000 rules; add your own lists with Add blocklist.
Choose Add blocklist to subscribe to additional community filter lists by URL, or Check for updates to refresh the rule counts. You can also write your own allow and block rules under Filters → Custom filtering rules for domains specific to your environment.
Step 7: Read the Query Log
Select Query Log in the top navigation to watch DNS requests flow through in real time. Each row shows the time, the requested domain, the response and which client asked, and blocked requests are highlighted with the filter that blocked them.
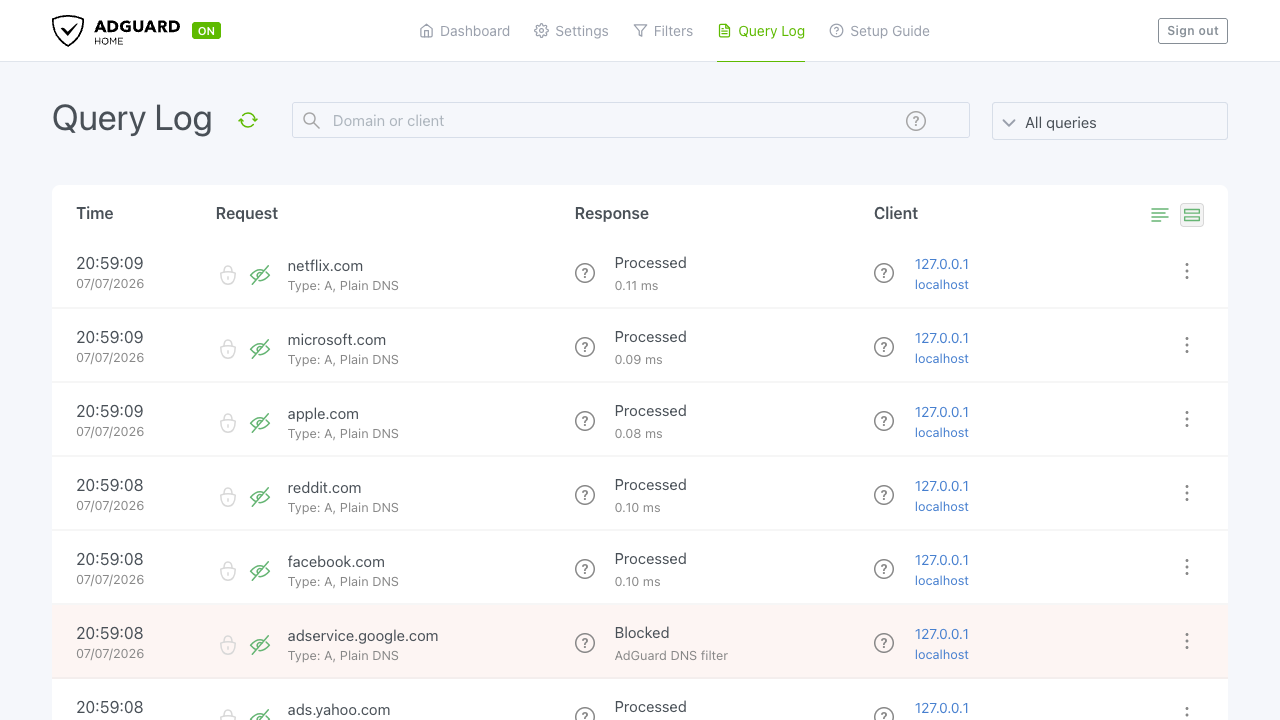
The live query log. Processed requests show their upstream response; blocked requests, such as adservice.google.com here, are marked Blocked by the AdGuard DNS filter.
Use the search box and the query type filter to narrow the log to a single client or domain, and select any request to allow or block that domain directly from the log.
Step 8: Enable HTTPS for the Admin Console
For any production deployment serve the admin console over HTTPS so your session cannot be intercepted. The image ships with nginx, which certbot can configure automatically.
The following assumes you have a DNS record pointing your fully qualified domain name at the instance's public IP address.
sudo apt-get update && sudo apt-get install -y certbot python3-certbot-nginx
sudo certbot --nginx -d adguard.your-domain.example \
  --non-interactive --agree-tos -m you@your-domain.example \
  --redirect
certbot obtains a certificate and rewrites the nginx server block to serve HTTPS and redirect HTTP. Renewal is handled automatically by the certbot systemd timer. This secures the admin console on ports 80 and 443; DNS filtering on port 53 is unaffected.
Step 9: Backups and Maintenance
AdGuard Home keeps its configuration, query log, statistics and downloaded filter lists under /var/lib/adguardhome on the dedicated data volume. Because that is a separate EBS volume you can take a coordinated EBS snapshot of it for point-in-time backups, or archive the tree to object storage:
sudo systemctl stop AdGuardHome
sudo tar czf <backup-dir>/adguardhome-$(date +%F).tgz -C /var/lib adguardhome
sudo systemctl start AdGuardHome
Ship the archive to an Amazon S3 bucket or another object store. The admin password is stored as a hash in /var/lib/adguardhome/AdGuardHome.yaml; change it from the web console under Settings, or by editing that file and running sudo systemctl restart AdGuardHome. The services run under systemd; check their state at any time:
systemctl is-active AdGuardHome nginx
active
active
Step 10: Scaling and Operations
- Run a second instance in another Availability Zone and set it as the secondary DNS server on your router or devices for resilience
- Grow the state store by extending the EBS data volume and running
sudo resize2fson/var/lib/adguardhome - Configure your upstream DNS servers, DNS-over-HTTPS or DNS-over-TLS, and cache settings under Settings → DNS settings
- Pin the AdGuard Home version for a fleet by controlling which AMI version you launch
The official AdGuard Home documentation is available at https://github.com/AdguardTeam/AdGuardHome/wiki.
Support
cloudimg provides 24/7/365 expert technical support for this image. Guaranteed response within 24 hours, one hour average for critical issues. Contact support@cloudimg.co.uk.
For general AdGuard Home questions consult the documentation at https://github.com/AdguardTeam/AdGuardHome/wiki. AdGuard is a trademark of its respective owner; use here is nominative and does not imply affiliation or endorsement.