AnythingLLM on Ubuntu 24.04 on Azure User Guide
Overview
AnythingLLM is an all-in-one AI application from Mintplex Labs that lets you chat with your documents using retrieval-augmented generation (RAG), organise conversations into workspaces, and share access across a team with full multi-user controls. It bundles a built-in vector database (LanceDB) and a SQLite metadata store, and connects to the large language model (LLM) provider of your choice - OpenAI, Anthropic, or a local Ollama. The cloudimg image installs AnythingLLM 1.14.1 on Node.js 20 LTS, runs the server and document collector as systemd services behind an nginx reverse proxy on port 80, stores the database, vector store and uploads on a dedicated Azure data disk, and generates all application secrets plus a unique admin user on the first boot of every VM. Backed by 24/7 cloudimg support.
What is included:
- AnythingLLM 1.14.1 on Node.js 20 LTS, served on port 80 via nginx
- The built-in LanceDB vector store and SQLite database on a dedicated Azure data disk at
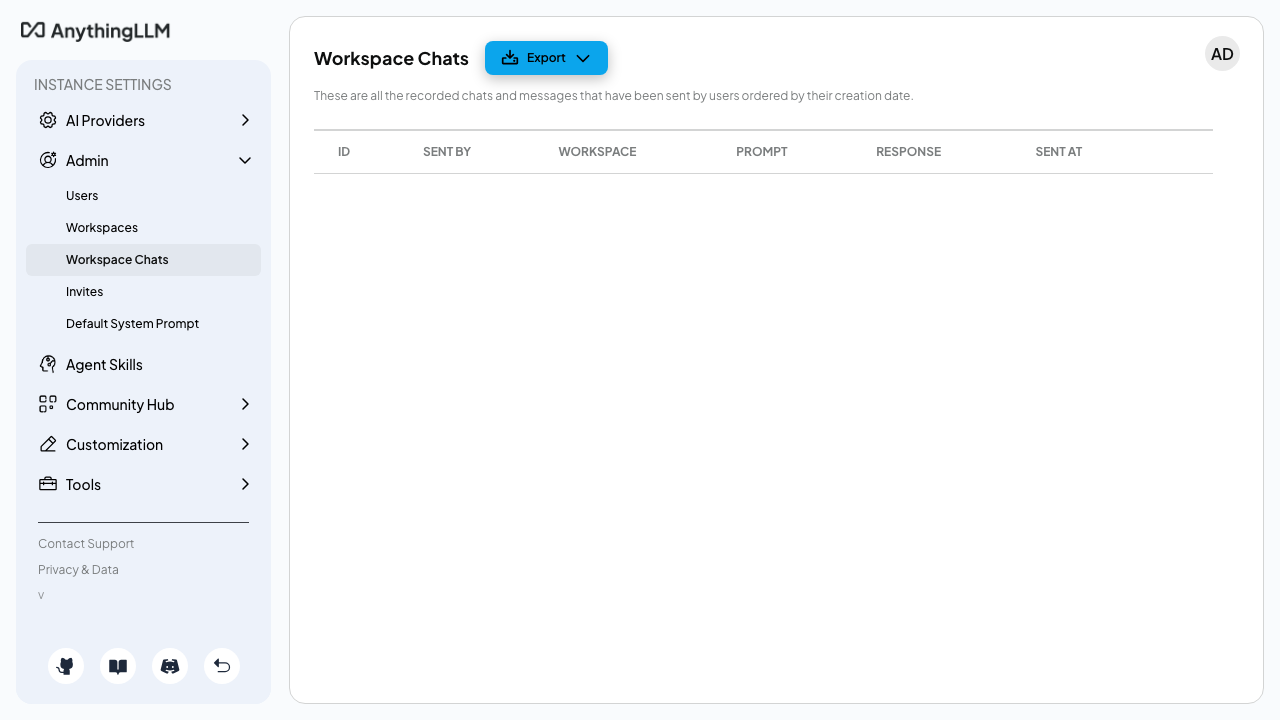
/var/lib/anythingllm - Multi-user mode enabled with a unique admin user generated on first boot
- WebSocket-aware reverse proxy and a 1 GB upload limit for document ingestion
anythingllm.service,anythingllm-collector.serviceandnginx.serviceas systemd units, enabled and active- 24/7 cloudimg support
The image ships AnythingLLM running and ready. The application and admin panel are fully functional out of the box; chat needs an LLM provider, which you supply on first use (see Step 7). No LLM provider or API key is pre-set.
Prerequisites
An active Azure subscription, an SSH key pair, and a VNet + subnet in the target region. Standard_B4ms (4 vCPU / 16 GiB RAM) is a good starting point for an AI workload. NSG inbound: allow 22/tcp from your management network and 80/tcp for the web application (front with TLS for public exposure - see Enabling HTTPS).
Step 1 - Deploy from the Azure Marketplace
Sign in to the Azure Portal, choose Create a resource, search the Marketplace for AnythingLLM by cloudimg, and select Create. On Basics pick your subscription, resource group, region and size; under Administrator account choose SSH public key and paste your key; under Inbound port rules allow SSH (22) and HTTP (80). Review the dedicated data disk on the Disks tab, then Review + create -> Create.
Step 2 - Deploy from the Azure CLI
az vm create \
  --resource-group <your-rg> \
  --name anythingllm \
  --image <marketplace-image-urn> \
  --size Standard_B4ms \
  --admin-username azureuser \
  --ssh-key-values ~/.ssh/id_ed25519.pub \
  --vnet-name <your-vnet> --subnet <your-subnet> \
  --public-ip-sku Standard

az vm open-port --resource-group <your-rg> --name anythingllm --port 80 --priority 1010
Step 3 - Connect to your VM
ssh azureuser@<vm-public-ip>
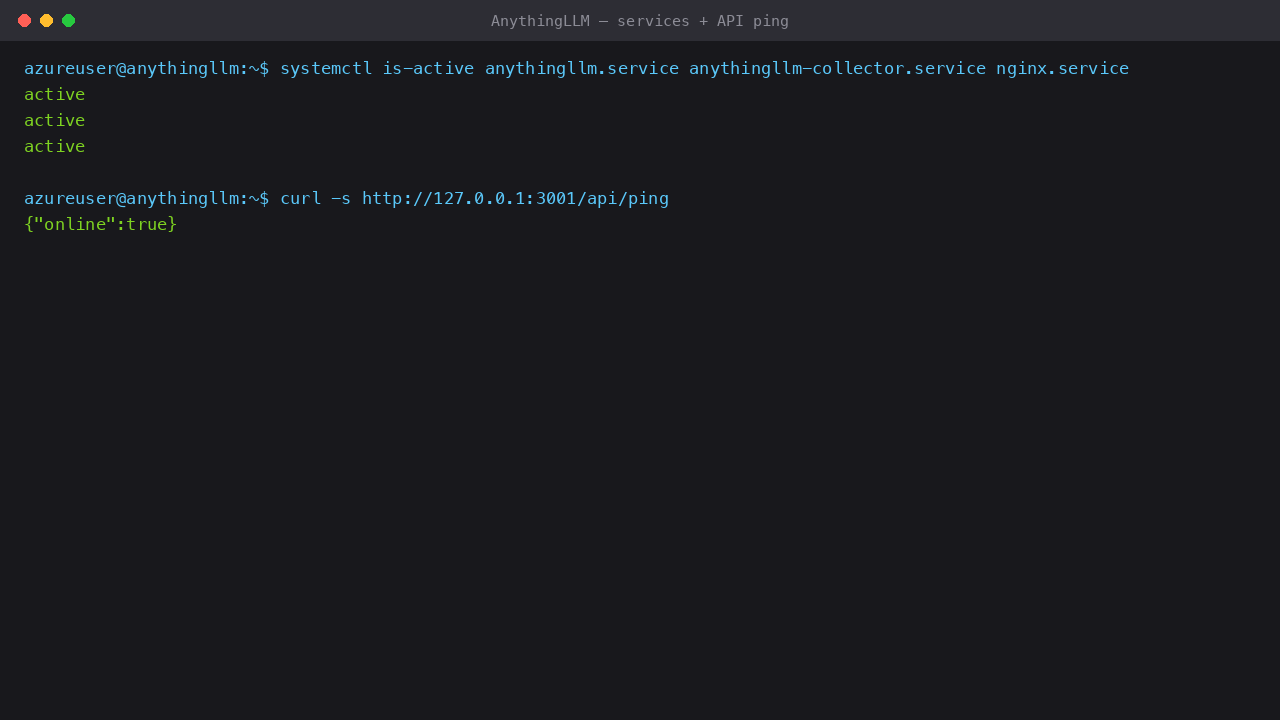
Step 4 - Confirm the services are running
systemctl is-active anythingllm.service anythingllm-collector.service nginx.service
All three report active. On first boot AnythingLLM generates its secrets, seeds the admin user, enables multi-user mode and starts the server.
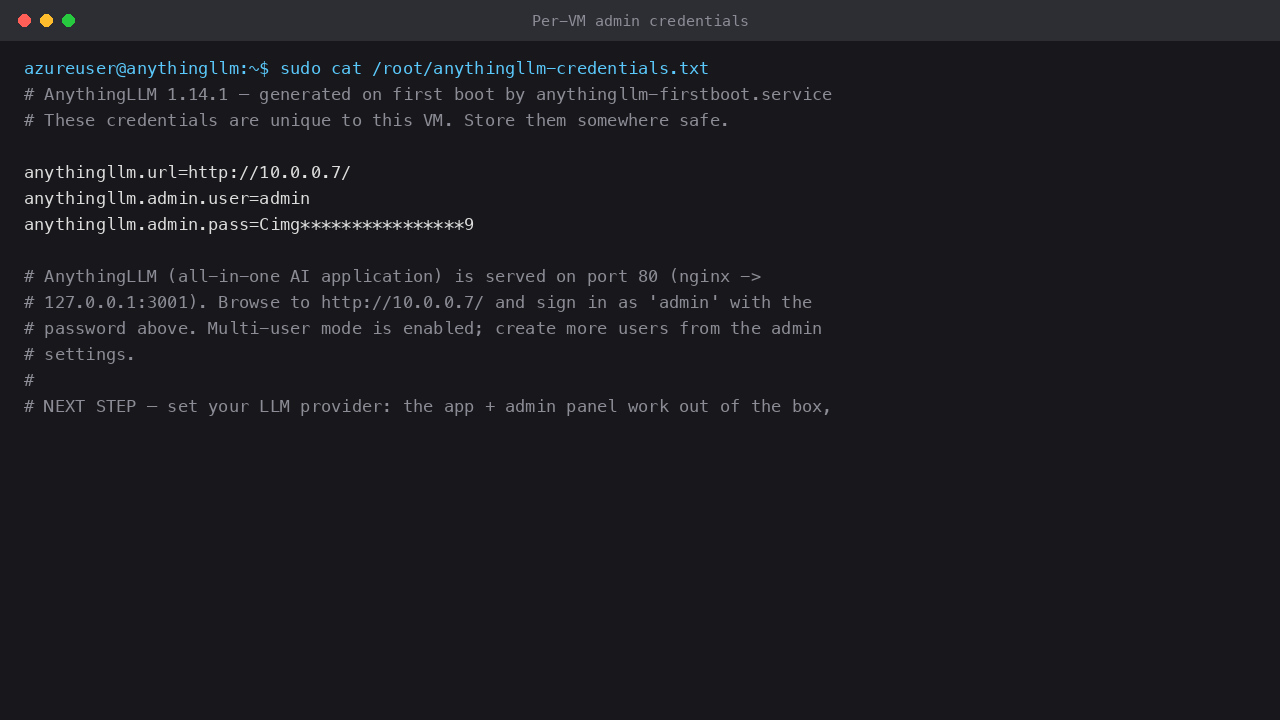
Step 5 - Retrieve your admin credentials
The admin password is generated uniquely on the first boot of your VM and written to a root-only file:
sudo cat /root/anythingllm-credentials.txt
This file contains anythingllm.admin.user (admin) and anythingllm.admin.pass. Store the password somewhere safe.
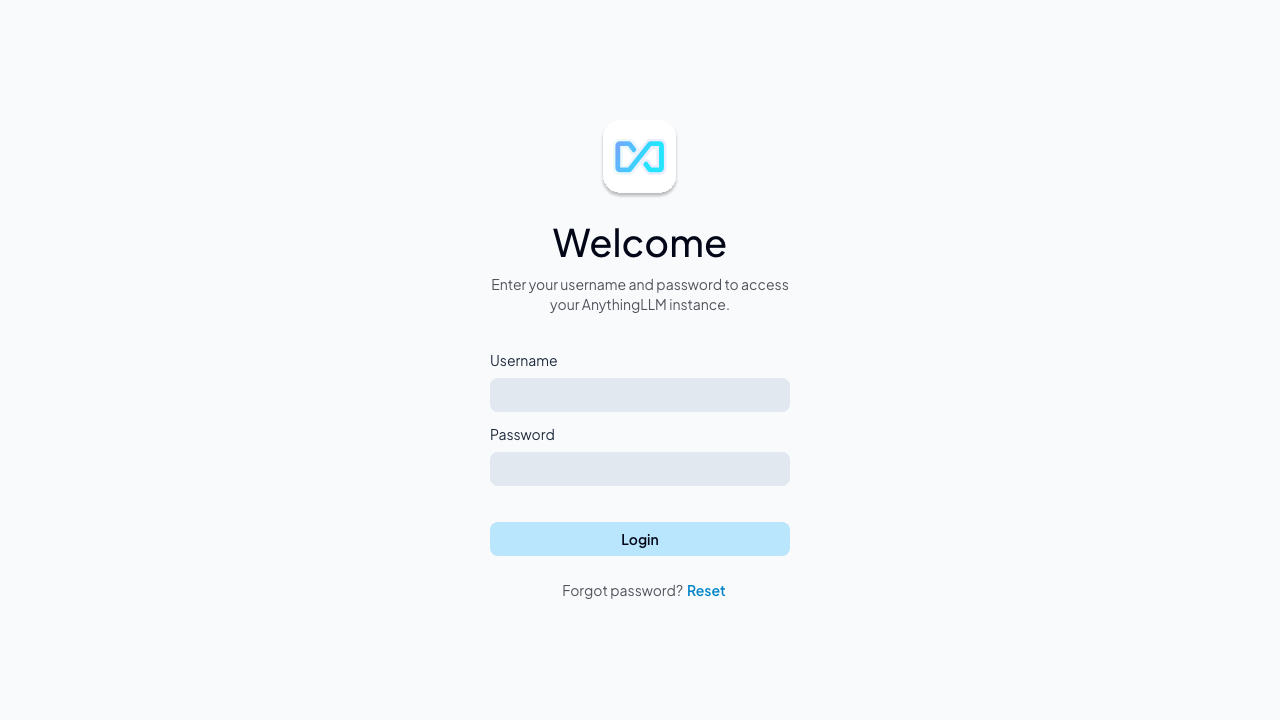
Step 6 - Sign in to AnythingLLM
Open http://<vm-public-ip>/ in your browser. Sign in as user admin with the password from Step 5. You can verify the API is healthy from the shell first:
curl -s http://127.0.0.1:3001/api/ping
The server responds {"online":true}.
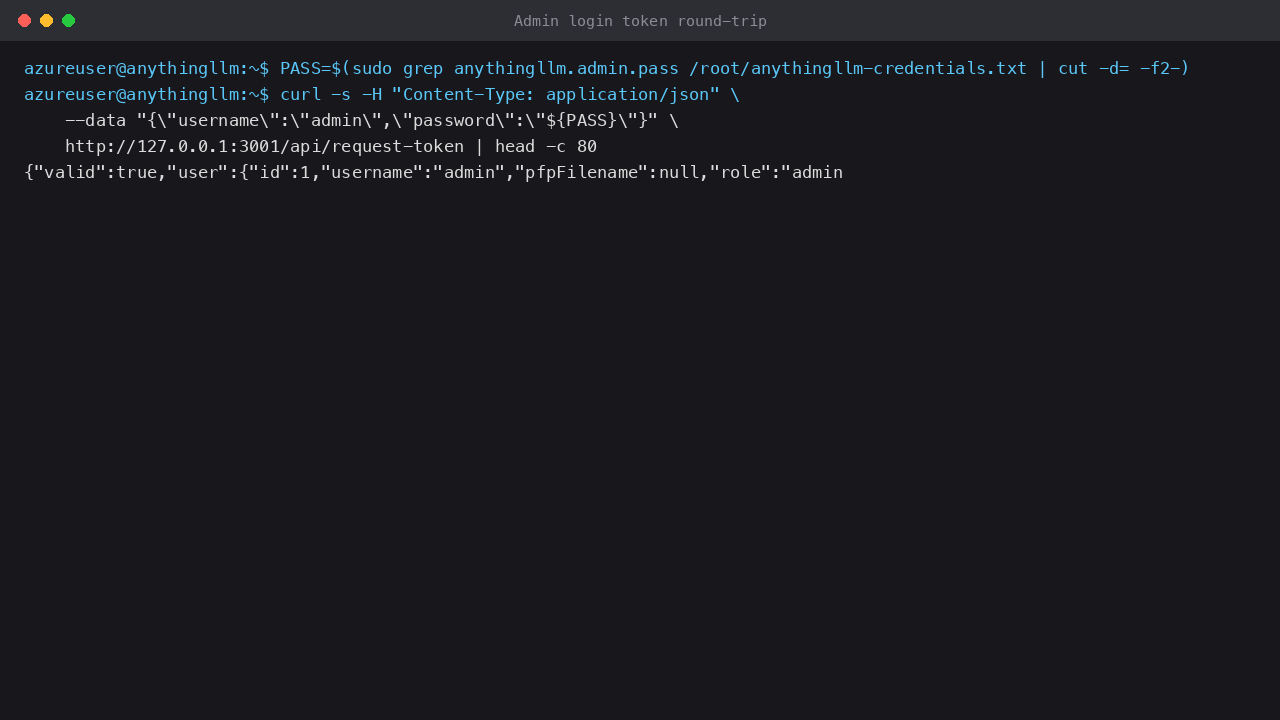
You can confirm your admin login programmatically too - the multi-user login endpoint returns a session token:
PASS=$(sudo grep '^anythingllm.admin.pass=' /root/anythingllm-credentials.txt | cut -d= -f2-)
curl -s -H 'Content-Type: application/json' \
  --data "{\"username\":\"admin\",\"password\":\"${PASS}\"}" \
  http://127.0.0.1:3001/api/request-token | head -c 80
A successful login returns JSON containing "valid":true and a "token".
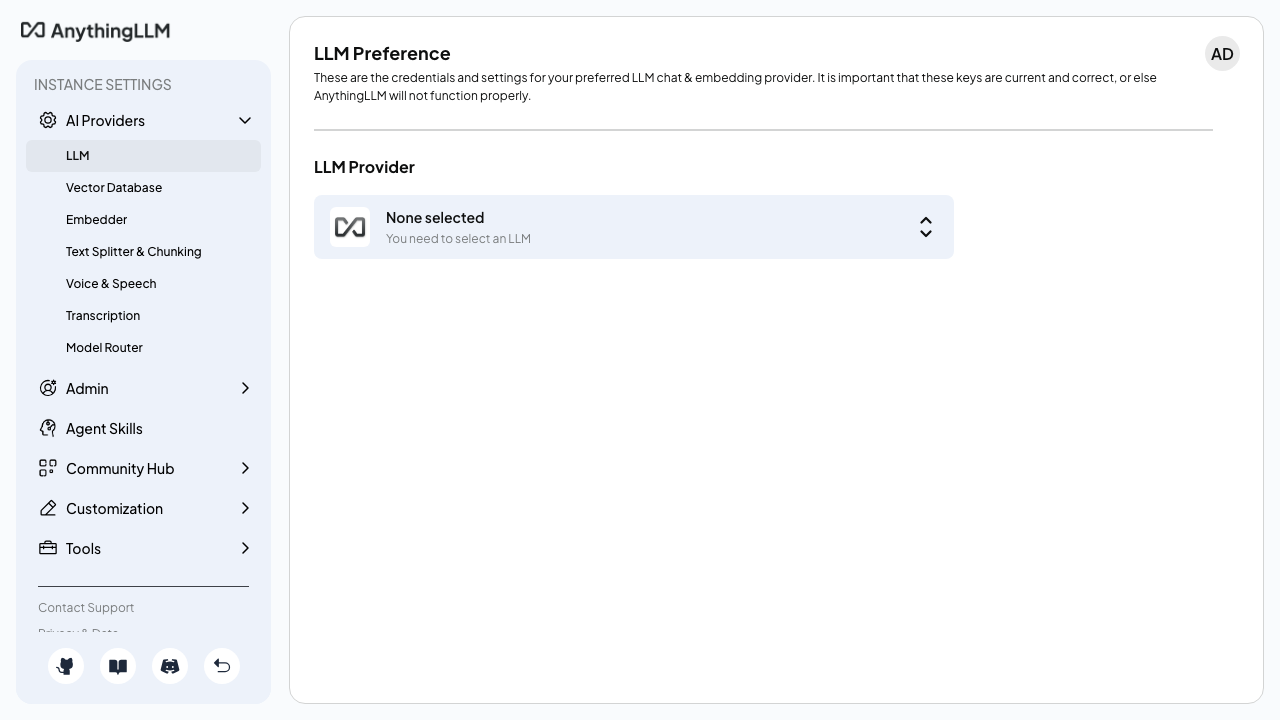
Step 7 - Connect your LLM provider
AnythingLLM ships with no LLM provider configured - you choose one on first use. In the web UI, open Settings (the wrench icon) -> AI Providers -> LLM Preference, pick your provider and supply the credentials:
- OpenAI or Anthropic - paste your API key and select a model.
- Local Ollama - run Ollama on a reachable host and point AnythingLLM at
http://<ollama-host>:11434.
Embeddings for document ingestion use the built-in native embedder by default, so document upload and vector search work without any external provider; only chat generation needs the LLM you select here.
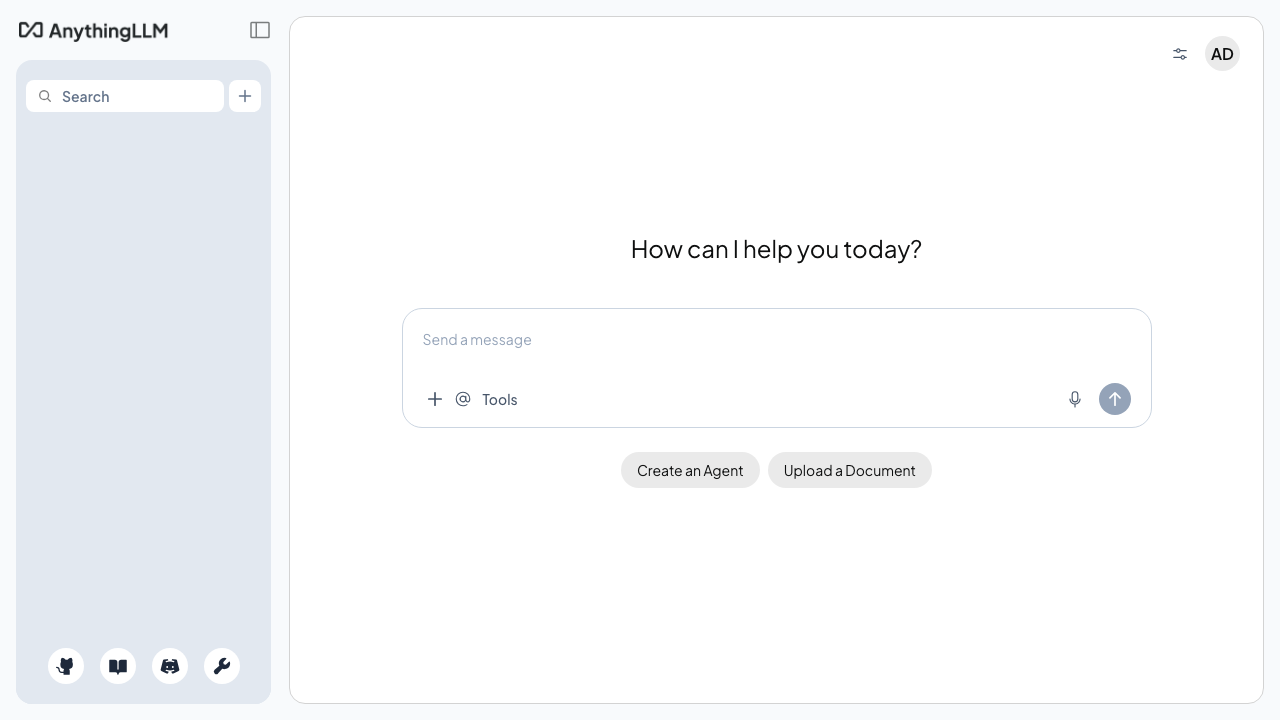
Step 8 - Create a workspace and chat with your documents
In the UI, click New Workspace, give it a name, then use Upload to add PDFs, Word documents, text files or web pages. AnythingLLM's document collector extracts the text, the native embedder vectorises it into the LanceDB store, and you can then ask questions grounded in your documents in the workspace chat.
Step 9 - Data, database and vector store on the dedicated disk
All durable state lives on the dedicated Azure data disk mounted at /var/lib/anythingllm:
df -h /var/lib/anythingllm
sudo ls /var/lib/anythingllm/storage
You will see the anythingllm.db SQLite database, the lancedb vector store, the documents cache and the per-VM .env. Because this is a separate managed disk, you can snapshot it independently and it survives a VM resize.
Step 10 - Enabling HTTPS
For public exposure, front AnythingLLM with TLS. Point a DNS A record at your VM's public IP, then install a certificate with Certbot and the nginx plugin:
Install Certbot and request a certificate for your domain (replace your-domain.example.com). Certbot edits the nginx site in place and reloads it. Renewal is handled automatically by the packaged systemd timer.
Step 11 - Maintenance
Restart the application or tail its logs:
sudo systemctl restart anythingllm.service
sudo journalctl -u anythingllm.service -n 50 --no-pager
The collector runs independently:
sudo systemctl restart anythingllm-collector.service
Ubuntu's unattended-upgrades remains enabled in the image, so OS security updates continue to be applied automatically on your VM.
Screenshots
The terminal output you can expect during setup:

The AnythingLLM web application:
Support
This image is published and supported by cloudimg with 24/7 support. AnythingLLM is a trademark of Mintplex Labs Inc.; cloudimg is not affiliated with or endorsed by Mintplex Labs. AnythingLLM is distributed under the MIT License.