Apache ActiveMQ Artemis on AWS User Guide
Overview
This image runs Apache ActiveMQ Artemis, the high performance, non blocking message broker from the Apache ActiveMQ project. Artemis implements the JMS 2.0 and Jakarta Messaging APIs and speaks AMQP 1.0, MQTT, STOMP and OpenWire on the wire, so JMS applications, AMQP clients, MQTT devices and STOMP clients can all publish and consume messages against one broker.
Artemis is installed under /opt/artemis and a broker instance is created at /var/lib/artemis-instance, which is a dedicated, independently resizable EBS data volume holding the broker configuration, the message journal, the paging store and the large message store. The broker runs as a dedicated unprivileged artemis system account under a systemd service that starts it on boot and restarts it on failure.
The Hawtio web management console is served on port 80 by an nginx reverse proxy in front of the broker's embedded web server on port 8161. The broker requires login by default. The broker administrator password is generated on the first boot of every deployed instance, so two instances launched from the same Amazon Machine Image never share a password. It is written to /root/apache-activemq-credentials.txt with mode 0600 so that only the root user can read it.
The broker exposes a multiplexed acceptor on port 61616 that handles the CORE, OpenWire, AMQP, STOMP and MQTT protocols, plus dedicated listeners for AMQP on 5672, MQTT on 1883 and STOMP on 61613.
Prerequisites
Before you deploy this image you need:
- An Amazon Web Services account where you can launch EC2 instances
- IAM permissions to launch instances, create security groups, and subscribe to AWS Marketplace products
- An EC2 key pair in the target Region for SSH access to the instance
- A VPC and subnet in the target Region, with a security group allowing inbound port 22 from your management network, port 80 for the web console, and the broker acceptor ports (61616, 5672, 1883, 61613) from the networks your messaging clients use
- The AWS CLI (version 2) installed locally if you plan to deploy from the command line
Step 1: Launch the Instance from the AWS Marketplace
Sign in to the AWS Management Console, open the EC2 service, and select Launch instance. Under Application and OS Images choose AWS Marketplace AMIs and search for Apache ActiveMQ Artemis. Select the cloudimg listing and choose Select, then Continue on the subscription summary.
Pick an instance type of m5.large or larger (the broker is a JVM workload). Choose your EC2 key pair under Key pair (login). Under Network settings select your VPC and subnet, and either create or select a security group that opens port 22 from your management network, port 80 for the console, and the acceptor ports your clients use. Leave the root volume at the default size or larger.
Select Launch instance. First boot initialisation takes approximately one minute after the instance state becomes Running and the status checks pass.
Step 2: Launch the Instance from the AWS CLI
The following block launches an instance from the cloudimg Apache ActiveMQ Artemis Marketplace AMI into an existing subnet and security group. Replace <ami-id> with the AMI ID shown on the Marketplace listing, <key-name> with your EC2 key pair name, <subnet-id> with your subnet ID, and <security-group-id> with a security group that opens ports 22, 80 and the broker acceptor ports as described above.
aws ec2 run-instances \
  --image-id <ami-id> \
  --instance-type m5.large \
  --key-name <key-name> \
  --subnet-id <subnet-id> \
  --security-group-ids <security-group-id> \
  --tag-specifications 'ResourceType=instance,Tags=[{Key=Name,Value=activemq-artemis}]'
When the instance reaches the Running state and its status checks pass, note its public IP address or DNS name from the EC2 console or with aws ec2 describe-instances.
Step 3: Connect to Your Instance
Connect over SSH using your key pair and the login user for your operating system variant.
| OS variant | SSH login user |
|---|---|
| Ubuntu 24.04 | ubuntu |
ssh -i <key-name>.pem ubuntu@<public-ip>
Step 4: Retrieve the Broker Administrator Password
The broker administrator password is unique to your instance and was generated on first boot. Read it as root:
sudo cat /root/apache-activemq-credentials.txt
The file lists the console URL, the administrator user (artemisadmin) and the generated password, along with the broker acceptor ports. Keep this password somewhere safe.
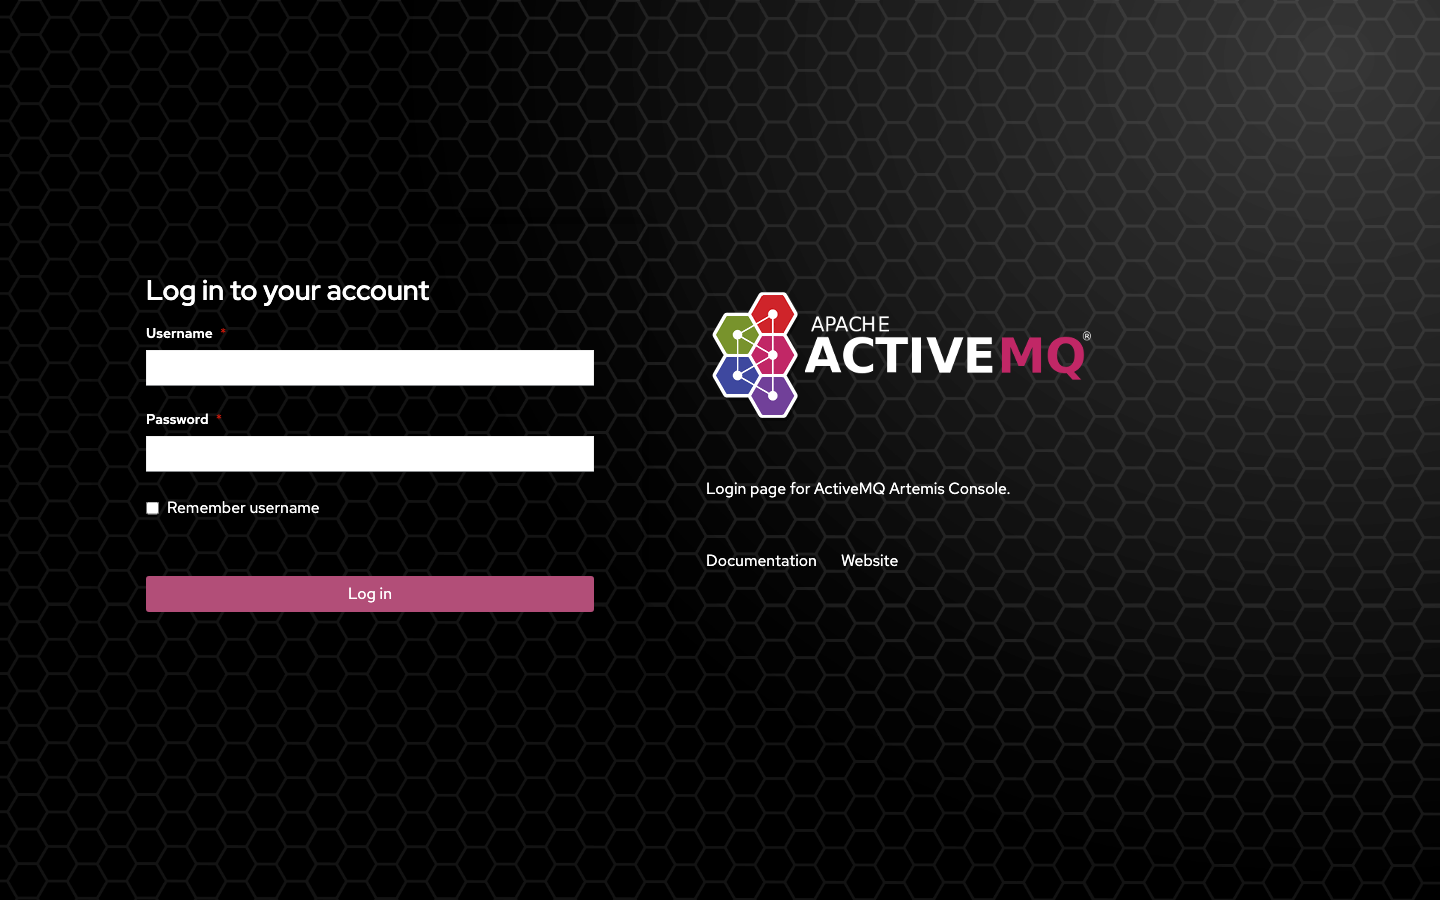
Step 5: Sign In to the Web Management Console
The Hawtio web management console is served on port 80. In a browser, go to:
http://<instance-public-ip>/
You are redirected to the console login page. Sign in as artemisadmin with the password from the credentials file.
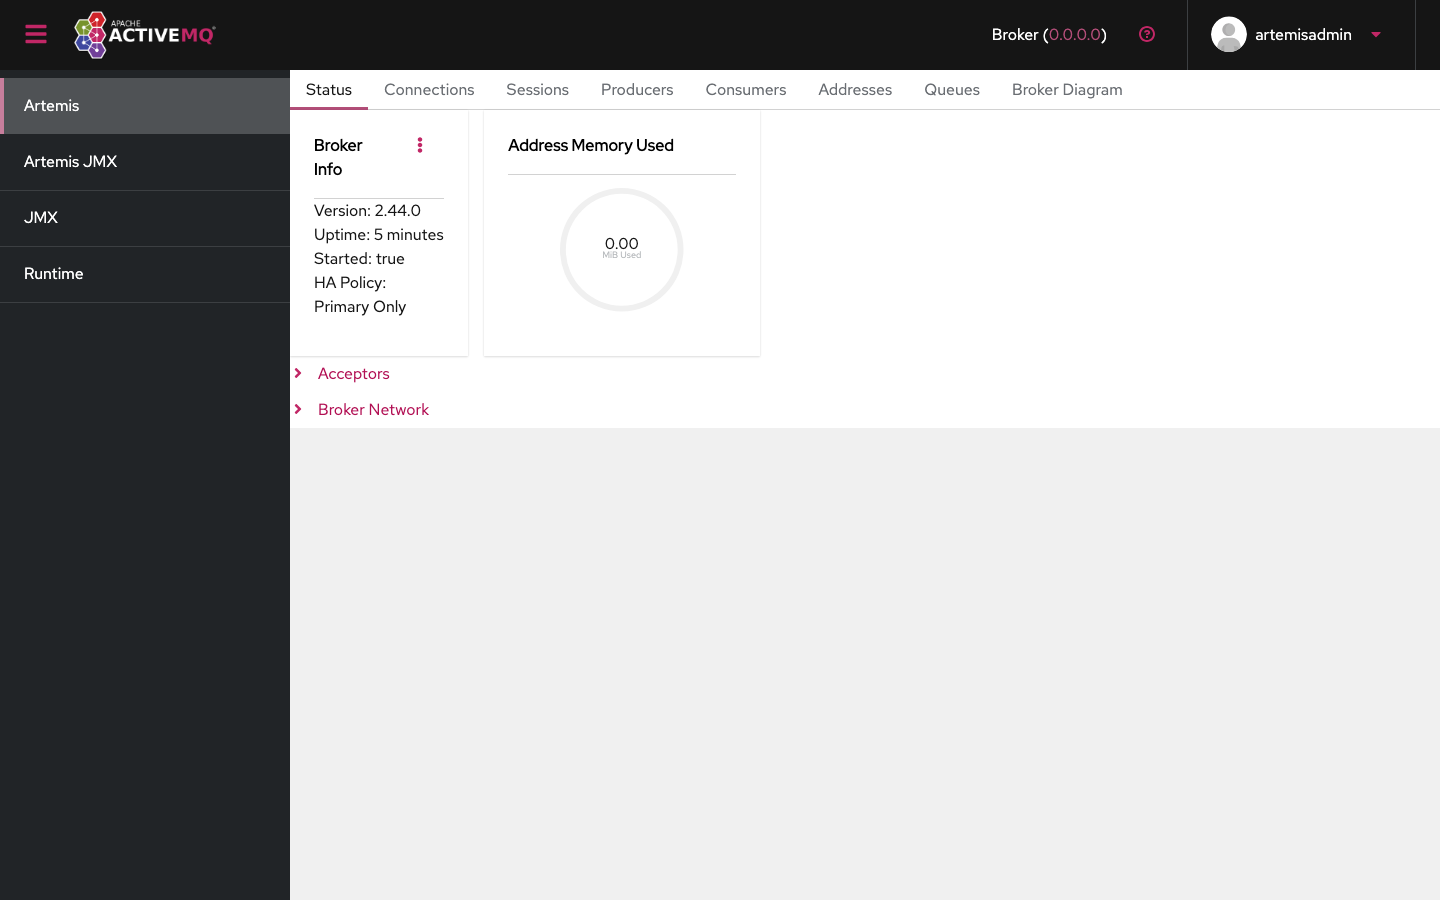
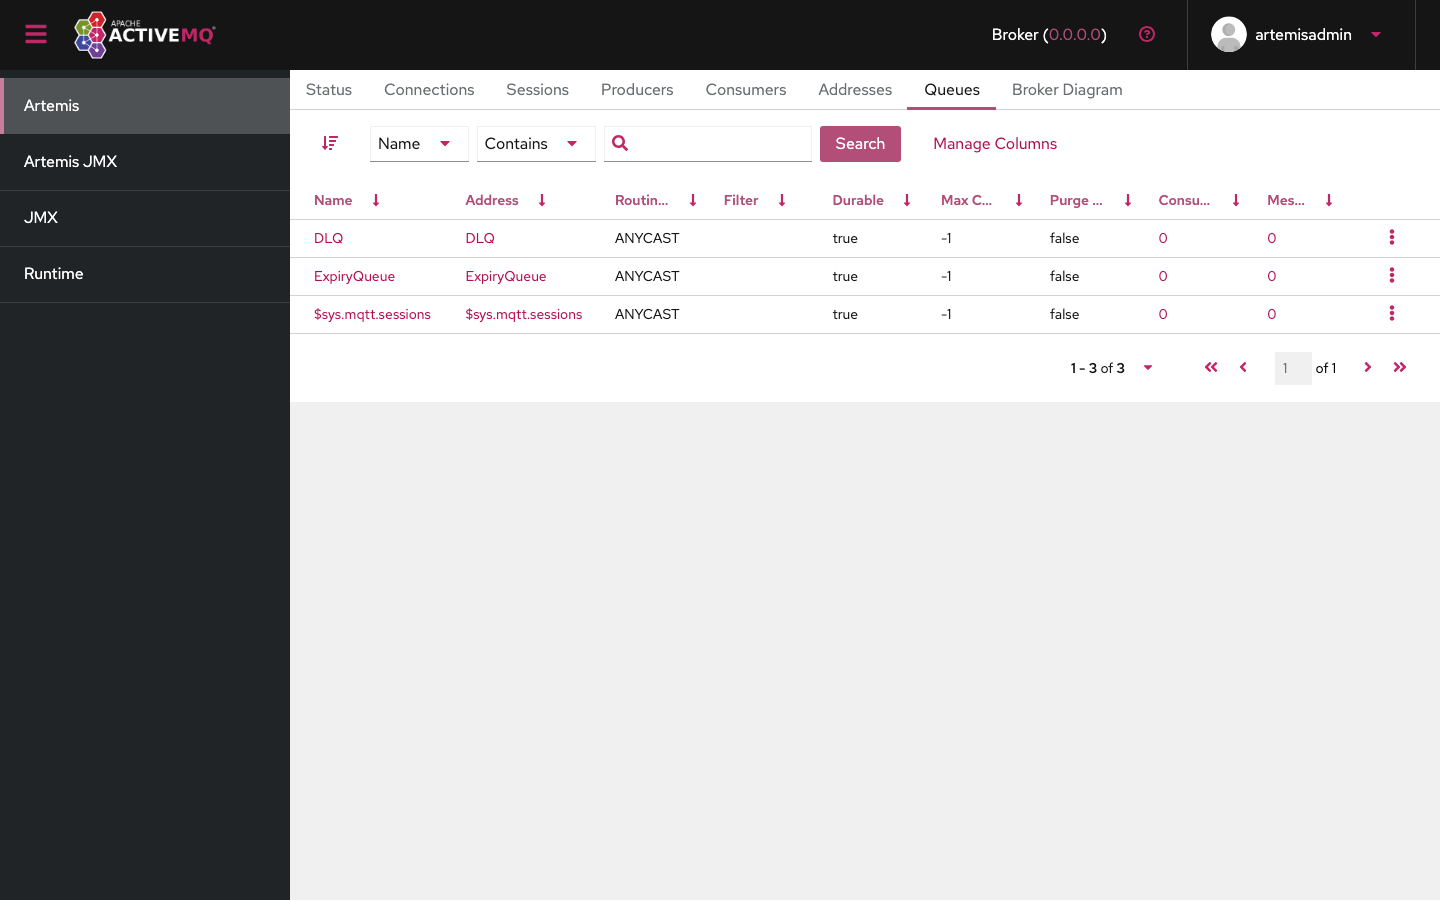
After signing in, the Artemis tab shows the broker status, version and address memory usage. The Queues tab lists every queue on the broker with its routing type, durability and live message counts.
Selecting a queue's message count opens the message browser, where you can inspect, move, copy or delete individual messages.
Step 6: Confirm the Broker Is Running
Over SSH, confirm the broker and the nginx proxy are active and that the acceptor ports are listening:
sudo systemctl is-active artemis nginx
sudo ss -tlnp | grep -E ':(80|8161|61616|5672|1883|61613) '
You should see both services reported as active, the console on 8161 (proxied by nginx on 80), and the broker acceptors listening on 61616, 5672, 1883 and 61613.
Step 7: The Broker Acceptors and Protocols
The broker accepts connections on the following ports:
| Port | Protocols | Notes |
|---|---|---|
| 61616 | CORE, OpenWire, AMQP, STOMP, MQTT, HornetQ | The default multiplexed acceptor; the JMS / CORE client connects here |
| 5672 | AMQP 1.0 | Dedicated AMQP listener |
| 1883 | MQTT | Dedicated MQTT listener for IoT and pub/sub clients |
| 61613 | STOMP | Dedicated STOMP listener |
Point your clients at the instance's address on the relevant port and authenticate with the administrator user, or create your own users and roles. For example, a JMS / CORE client connects with a broker URL of the form tcp://<instance-public-ip>:61616, an AMQP client connects to amqp://<instance-public-ip>:5672, and an MQTT client connects to tcp://<instance-public-ip>:1883.
Step 8: Create Queues and Topics
You can create addresses, queues and topics in three ways:
- Through the web management console, on the Addresses and Queues tabs.
- Automatically, by configuring your client to create the destination on first use (the default for many JMS and AMQP clients).
- Statically, by editing
broker.xmlin the broker instance configuration directory.
The broker instance configuration lives at /var/lib/artemis-instance/etc/. The main broker configuration file is broker.xml; user accounts and roles are in artemis-users.properties and artemis-roles.properties. After editing configuration, restart the broker:
sudo systemctl restart artemis
Step 9: Manage Broker Users
The broker ships with one administrator account, artemisadmin, whose password is generated on first boot. To add or reset users, use the Artemis CLI as the artemis service user against the running broker. Because the user commands prompt for input, run them interactively over your SSH session rather than in a script. For example, to add a new user in the amq role, run the artemis user add command from /var/lib/artemis-instance/bin and follow the prompts, supplying the administrator credentials to connect and the new user's details when asked.
Step 10: The Data Volume
The broker instance, including the message journal, the paging store and the large message store, lives on a dedicated EBS volume mounted at /var/lib/artemis-instance. This keeps the broker's persistent data off the operating system disk and lets you resize or snapshot the message store independently. Confirm the mount with:
df -h /var/lib/artemis-instance
To grow the message store, expand the EBS volume in the AWS console, then grow the filesystem on the instance with sudo resize2fs on the underlying device.
Step 11: Enable HTTPS on the Console
The console is served over plain HTTP on port 80 by nginx. For production use, place the console behind TLS. Obtain a certificate for your domain (for example with a managed certificate on an Application Load Balancer in front of the instance, or with Certbot installed on the instance), then configure nginx to listen on 443 with your certificate and proxy to the console on 8161 exactly as the bundled site does for port 80. Restrict the broker security group so the console port is reachable only from your management network.
Step 12: Backup and Maintenance
Back up the broker by snapshotting the /var/lib/artemis-instance EBS volume, which captures the configuration and the entire message store. Apply operating system security updates with sudo apt-get update && sudo apt-get upgrade and reboot when a new kernel is installed; the broker and nginx start automatically on boot.
Support
This image is published and supported by cloudimg. Support covers broker deployment, protocol and acceptor configuration, clustering and high availability, TLS, persistence tuning and JVM administration. Contact cloudimg through the support channel listed on the AWS Marketplace listing.
All product and company names are trademarks or registered trademarks of their respective holders. Use of them does not imply any affiliation with or endorsement by them.