Apache HTTP Server 2.4 with SSL on Ubuntu 24.04 on Azure User Guide
Overview
This guide covers the deployment and configuration of Apache HTTP Server 2.4 with SSL on Ubuntu 24.04 on Azure using cloudimg Azure Marketplace images. This image is the SSL-focused variant of the cloudimg apache-httpd offering: same hardened Apache 2.4 base, with Certbot and the python3-certbot-apache plugin pre-installed and the systemd renewal timer enabled at build time. Customers go from launch to a real production-grade Let's Encrypt certificate by editing one config file and re-running the firstboot script.
The image ships Apache 2.4 from the official Ubuntu noble main repository with the event MPM, four modules pre-enabled (mod_ssl, mod_rewrite, mod_headers, mod_http2), and a per-VM self-signed TLS certificate generated at first boot so HTTPS is always working out of the box. Customers point a domain at the VM, drop their domain and email into /stage/scripts/cloudimg-cert.conf, re-run the firstboot script, and Certbot replaces the self-signed cert with a real one in about 60 seconds. Auto-renewal then takes over silently via certbot.timer.
What is included:
-
Apache HTTP Server 2.4 from the official Ubuntu noble main repository
-
Certbot and the python3-certbot-apache plugin
-
certbot.timerenabled at install (twice daily renewal check; renews any cert ≤30 days from expiry) -
Modules enabled: ssl, rewrite, headers, http2
-
Event MPM (the modern Ubuntu 24.04 default)
-
Default virtual hosts on TCP 80 and TCP 443 serving
/var/www/html -
Per-VM self-signed RSA 2048 bit TLS certificate generated at first boot, used until customers swap to a Certbot-issued cert
-
Customer Certbot config at
/stage/scripts/cloudimg-cert.conf(DOMAIN + EMAIL placeholders) -
Security hardening: ServerTokens Prod, ServerSignature Off, TraceEnable Off
-
Helper conf at
/etc/apache2/conf-available/zz-security-cloudimg.conf(loads after the stocksecurity.confso its values win) -
Systemd services:
apache2.service,apache-firstboot.service,certbot.timer -
Ubuntu 24.04 LTS base with latest security patches applied at build time
-
Azure Linux Agent for seamless cloud integration and SSH key injection
-
24/7 cloudimg support with guaranteed 24 hour response SLA
Prerequisites
Before deploying this image, ensure you have:
-
An active Azure subscription
-
A subscription to the Apache HTTP Server 2.4 with SSL on Ubuntu 24.04 listing on Azure Marketplace
-
An SSH public key for VM authentication
-
A registered domain name with the ability to set DNS A records (required for Let's Encrypt cert issuance)
-
A virtual network and subnet in the target region
Recommended virtual machine size: Standard_B2s (2 vCPU, 4 GB RAM). Apache with the event MPM is efficient on small instances. Scale up for high request rates.
Step 1: Deploy from the Azure Portal
Navigate to Marketplace in the Azure Portal, search for Apache HTTP Server 2.4 with SSL, and select the cloudimg publisher entry. Click Create to begin the wizard.
On the Basics tab choose your subscription, target resource group, and region. Set the VM name. Choose SSH public key as the authentication type, set the username (the examples below use azureuser), and paste your SSH public key. Standard_B2s is the recommended starting size.
On the Networking tab attach a network security group that allows inbound TCP 22 from your management IP range, TCP 80 from 0.0.0.0/0 (required for the Let's Encrypt HTTP-01 challenge), and TCP 443 from your client networks. Port 80 must remain open from the internet for Certbot to issue and renew certificates.
Click Review + create, wait for validation, then click Create. Deployment takes around two minutes.
Step 2: Deploy from the Azure CLI
RG="apache-ssl-prod"
LOCATION="eastus"
VM_NAME="apache-ssl-01"
ADMIN_USER="azureuser"
GALLERY_IMAGE_ID="/subscriptions/<sub-id>/resourceGroups/azure-cloudimg/providers/Microsoft.Compute/galleries/cloudimgGallery/images/apache-httpd-ssl-ubuntu-24-04/versions/<version>"
SSH_KEY="$(cat ~/.ssh/id_rsa.pub)"

az group create --name "$RG" --location "$LOCATION"

az network vnet create \
  --resource-group "$RG" \
  --name apache-vnet --address-prefix 10.91.0.0/16 \
  --subnet-name apache-subnet --subnet-prefix 10.91.1.0/24

az network nsg create --resource-group "$RG" --name apache-nsg

az network nsg rule create \
  --resource-group "$RG" --nsg-name apache-nsg \
  --name allow-ssh --priority 100 \
  --source-address-prefixes "<your-mgmt-cidr>" \
  --destination-port-ranges 22 --access Allow --protocol Tcp

az network nsg rule create \
  --resource-group "$RG" --nsg-name apache-nsg \
  --name allow-http-public --priority 110 \
  --source-address-prefixes "*" \
  --destination-port-ranges 80 --access Allow --protocol Tcp

az network nsg rule create \
  --resource-group "$RG" --nsg-name apache-nsg \
  --name allow-https --priority 120 \
  --source-address-prefixes "*" \
  --destination-port-ranges 443 --access Allow --protocol Tcp

az vm create \
  --resource-group "$RG" --name "$VM_NAME" \
  --image "$GALLERY_IMAGE_ID" \
  --size Standard_B2s --storage-sku StandardSSD_LRS \
  --admin-username "$ADMIN_USER" --ssh-key-values "$SSH_KEY" \
  --vnet-name apache-vnet --subnet apache-subnet --nsg apache-nsg \
  --public-ip-sku Standard
Step 3: Connect via SSH
ssh azureuser@<vm-ip>
apache2.service will already be running with the per-VM self-signed certificate, and certbot.timer is already armed. The next step swaps the self-signed cert for a real Let's Encrypt one.
Step 4: Verify the Apache + Certbot Setup
Confirm Apache is running:
sudo systemctl status apache2.service --no-pager
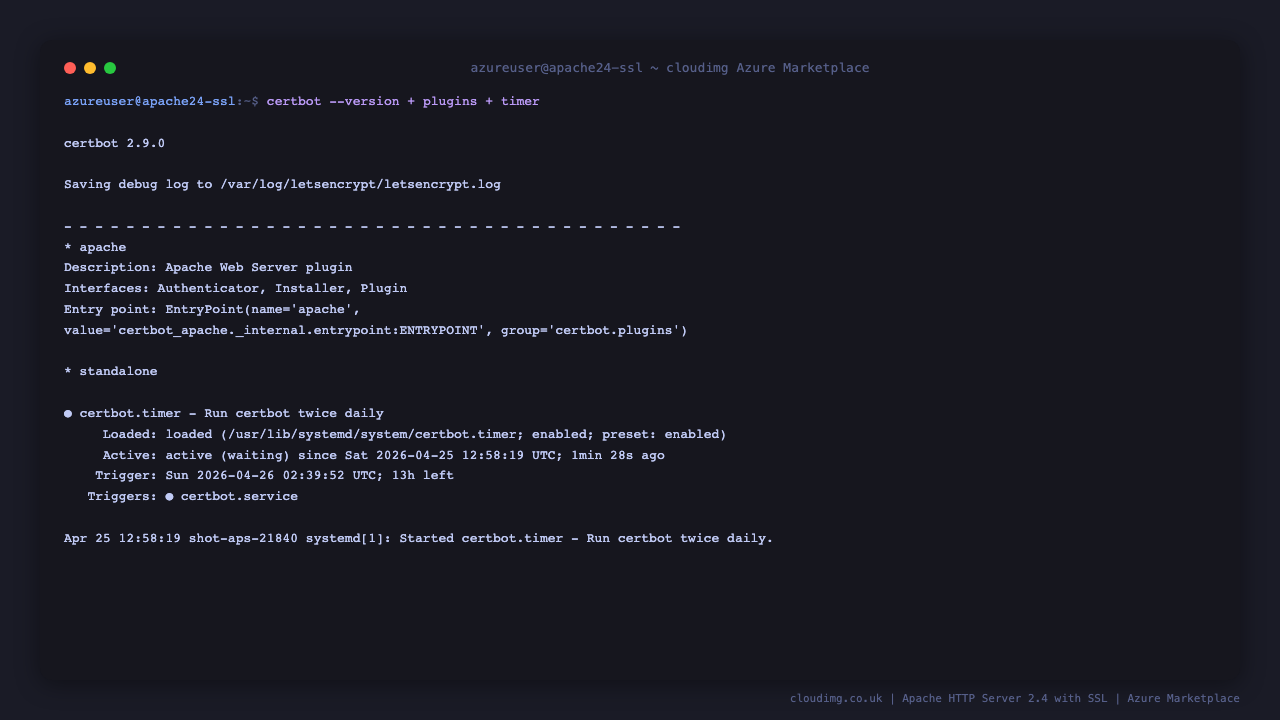
Confirm Certbot is installed and the timer is active:
certbot --version
sudo systemctl status certbot.timer --no-pager
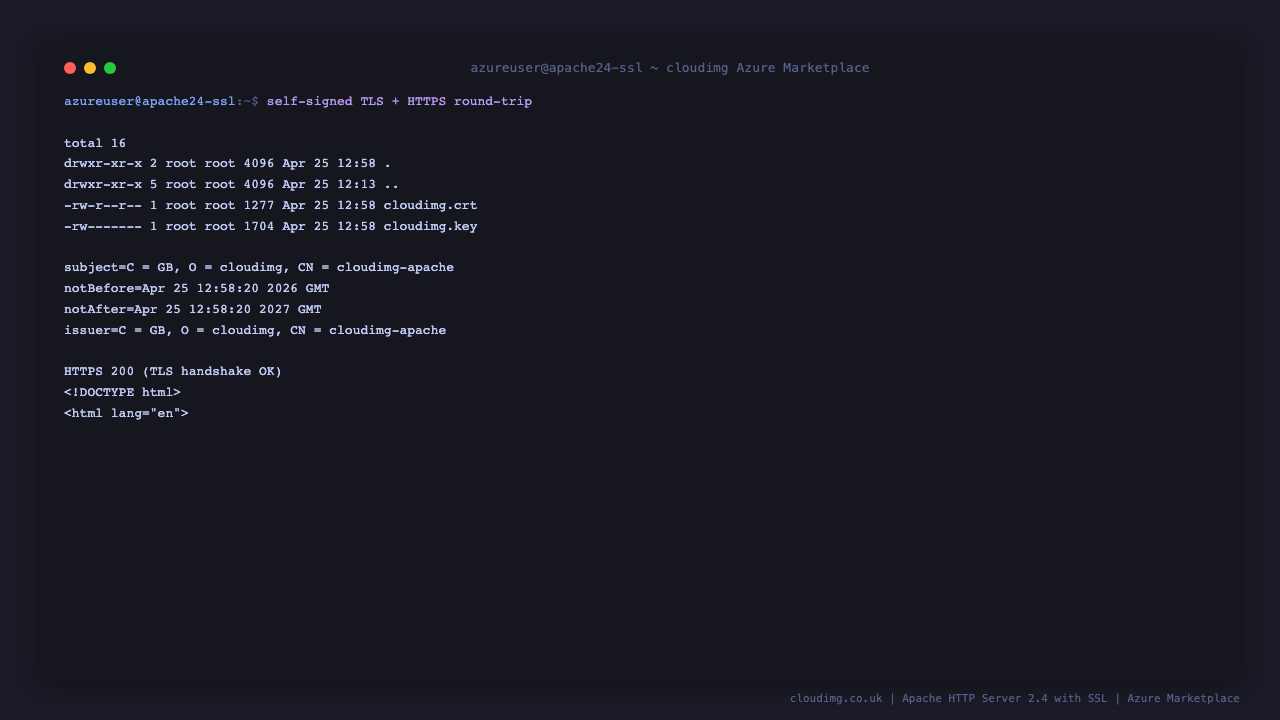
Confirm the firstboot completed and a self-signed cert is in place:
sudo test -f /var/lib/cloudimg/apache-firstboot.done && echo FIRSTBOOT_DONE
sudo ls -la /etc/ssl/cloudimg/
Step 5: Issue a Real Let's Encrypt Certificate
This is the headline workflow this image is built around. Three steps:
Step 5a — Point your DNS A record at the VM public IP
This is done at your DNS provider (Route 53, Cloudflare, GoDaddy, etc.). Wait for propagation; check with:
dig +short <your-domain>
The output must equal the VM's public IP before continuing.
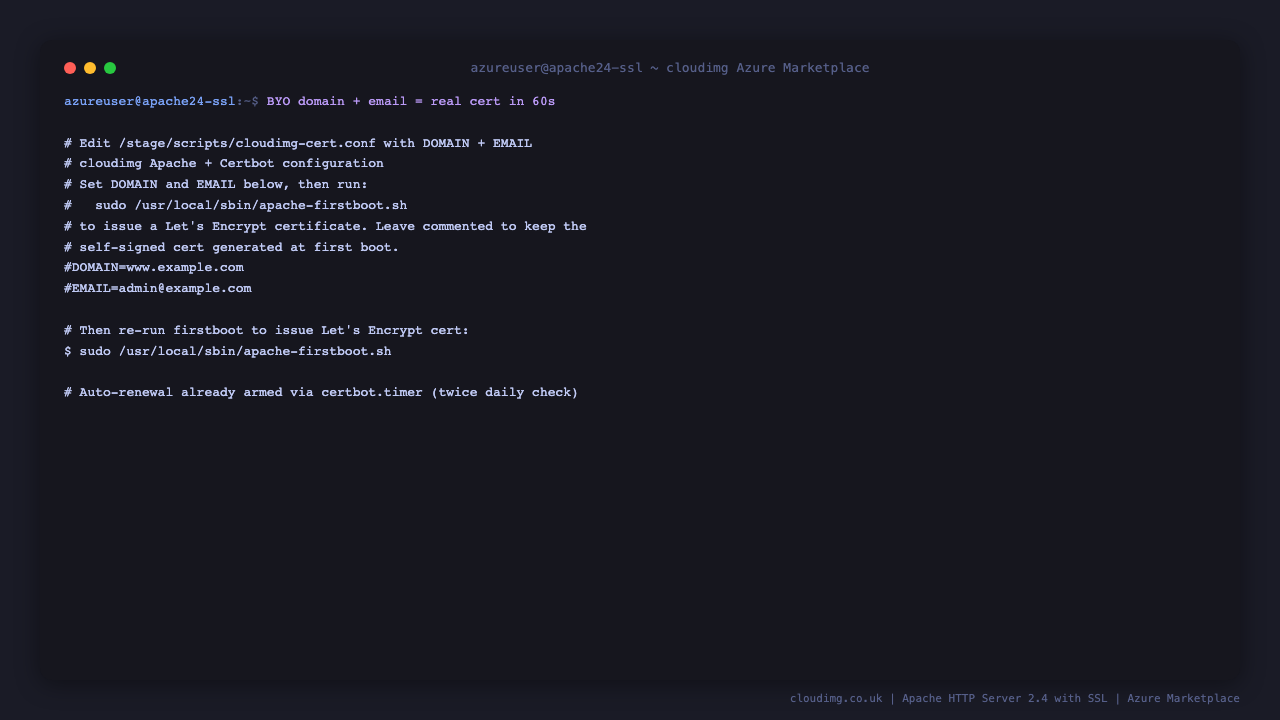
Step 5b — Edit the cert config
sudo nano /stage/scripts/cloudimg-cert.conf
Uncomment and set the DOMAIN and EMAIL lines, save, and exit. The file should end up looking like:
DOMAIN=www.example.com
EMAIL=admin@example.com
Step 5c — Re-run the firstboot script
sudo /usr/local/sbin/apache-firstboot.sh
The script reads the config, runs certbot --apache --non-interactive --agree-tos -d $DOMAIN -m $EMAIL --redirect, and reloads Apache. From here the certbot.timer keeps the cert renewed indefinitely.
If Certbot fails (DNS not propagated, port 80 blocked, Let's Encrypt rate limit), the script logs the cause and falls back to the self-signed cert. Fix the underlying issue and re-run.
Step 6: Verify HTTPS with the Real Cert
After Certbot succeeds, confirm the cert chain in your browser or with openssl:
echo | openssl s_client -servername <your-domain> -connect <your-domain>:443 2>/dev/null | openssl x509 -noout -issuer -subject -dates
You should see issuer=C = US, O = Let's Encrypt, CN = R3 (or similar) and the subject matches your domain.
Test HTTPS end-to-end:
curl -sI https://<your-domain>/ | head -5
You should see HTTP/2 200.
Step 7: Confirm Auto-Renewal
certbot.timer runs twice daily and renews any cert that is ≤30 days from expiry. Inspect the schedule:
sudo systemctl list-timers certbot.timer --no-pager
Dry-run a renewal to confirm the configuration is correct:
sudo certbot renew --dry-run
The output should end with Congratulations, all simulated renewals succeeded.
Step 8: Confirm the Hardened Server Header
The image ships with ServerTokens Prod so the Server response header reveals only the product name:
curl -sI http://localhost/ | grep -i '^Server:'
Expected:
Server: Apache
Step 9: Server Components
Component Path
Apache HTTP daemon /usr/sbin/apache2
Certbot CLI /usr/bin/certbot
Certbot Apache plugin python3-certbot-apache (apt package)
Document root /var/www/html
Customer Certbot config /stage/scripts/cloudimg-cert.conf
cloudimg hardening fragment /etc/apache2/conf-available/zz-security-cloudimg.conf
cloudimg :80 vhost /etc/apache2/sites-available/000-cloudimg.conf
cloudimg :443 vhost /etc/apache2/sites-available/000-cloudimg-ssl.conf
Self-signed TLS cert directory /etc/ssl/cloudimg/
Let's Encrypt cert directory
/etc/letsencrypt/live/
Renewal config
/etc/letsencrypt/renewal/
Apache error log /var/log/apache2/error.log
Firstboot script /usr/local/sbin/apache-firstboot.sh
Firstboot sentinel /var/lib/cloudimg/apache-firstboot.done
Renewal timer certbot.timer (systemd)
Inspect installed package versions:
dpkg-query -W -f='${Package} ${Version}\n' apache2 certbot python3-certbot-apache
Step 10: Managing the Apache Service
Status:
sudo systemctl status apache2.service --no-pager
Reload after a config change (no downtime):
sudo systemctl reload apache2.service
Restart:
sudo systemctl restart apache2.service
View error log:
sudo tail -n 50 /var/log/apache2/error.log
View access log:
sudo tail -n 50 /var/log/apache2/access.log
Test config before restart:
sudo apachectl configtest
Step 11: Troubleshooting
Certbot fails with "Connection refused" or "Timeout"
-
Confirm port 80 is open from the internet in your NSG (Let's Encrypt HTTP-01 challenge requires inbound 80)
-
Confirm DNS A record points at the VM public IP:
dig +short <your-domain> -
Confirm Apache is running and listening on 80:
sudo ss -tln | grep ':80 '
Certbot fails with "rate limit" error
-
Let's Encrypt rate-limits per registered domain (50 certs / week). Wait, or use the
--stagingserver first to debug -
For high-volume cert issuance, request Let's Encrypt rate limit adjustment
Auto-renewal not running
-
Confirm timer enabled:
sudo systemctl is-enabled certbot.timer -
Inspect last run:
sudo journalctl -u certbot --since '2 days ago' --no-pager -
Force a renewal check now:
sudo certbot renew
HTTPS works locally but browser shows certificate warning
-
The image ships with a self-signed cert until you run Step 5. Browsers do not trust self-signed certs
-
Run Step 5 to swap to a Let's Encrypt cert
-
After Certbot, hard-refresh your browser (Cmd+Shift+R / Ctrl+Shift+R) to clear cached cert
Server header still leaks the version
-
Confirm
zz-security-cloudimg.confis enabled:ls /etc/apache2/conf-enabled/ -
The
zz-prefix is intentional — it makes the conf load AFTER Ubuntu's stocksecurity.conf, so itsServerTokens Prodwins. Do not rename it
Step 12: Security Recommendations
-
Restrict port 22 to your management IP ranges only
-
Keep port 80 open from the internet — required for Let's Encrypt HTTP-01 challenge and renewal. If you cannot expose port 80 publicly, switch to the DNS-01 challenge with a Certbot DNS plugin (
python3-certbot-dns-route53,python3-certbot-dns-cloudflare, etc.) -
Add HSTS to your
:443virtual host:Header always set Strict-Transport-Security "max-age=31536000; includeSubDomains; preload" -
Disable HTTP once HTTPS is working (only if you have alternative cert renewal — DNS-01 — set up):
sudo a2dissite 000-cloudimg && sudo systemctl reload apache2 -
Enable mod_security for a Web Application Firewall:
sudo apt-get install -y libapache2-mod-security2 modsecurity-crs -
Monitor
/var/log/apache2/access.logfor unusual patterns -
Keep Apache + Certbot updated:
sudo apt-get update && sudo apt-get upgrade -yperiodically
Step 13: Support and Licensing
Apache HTTP Server is licensed under the Apache License 2.0. Certbot is licensed under the Apache License 2.0. Let's Encrypt certificates are issued free of charge subject to the ISRG Subscriber Agreement.
cloudimg provides commercial support for this image separately from the upstream projects.
-
Email: support@cloudimg.co.uk
-
Website: www.cloudimg.co.uk
-
Support hours: 24/7 with guaranteed 24 hour response SLA
Deploy on Azure
Launch Apache HTTP Server 2.4 with SSL on Ubuntu 24.04 with 24/7 support from cloudimg.
View on Marketplace
Need Help?
Our support team is available 24/7.
support@cloudimg.co.uk