Apache NiFi on AWS User Guide
Overview
This image runs Apache NiFi, the open source dataflow automation platform, as a single node deployment. NiFi gives you a web based, drag and drop canvas on which you build flows out of processors, connect them together, and route, transform and mediate data between systems in real time or in batches. The platform tracks every piece of data it handles through its built in data provenance, so you can see exactly where a record came from and what happened to it.
NiFi 2.x requires Java 21, which is installed from the Ubuntu 24.04 archive. NiFi itself is installed from the official Apache binary distribution under /opt/nifi, runs as a dedicated unprivileged nifi service user, and is supervised by systemd. NiFi serves its web console over HTTPS on the loopback interface on port 8443. An nginx reverse proxy terminates HTTPS on port 443 with a self-signed certificate and forwards requests to the NiFi listener; plain HTTP on port 80 issues a redirect to HTTPS. HTTPS at the edge is required because NiFi issues its login token in a secure cookie that a plain HTTP browser cannot use, so the console is always reached over HTTPS. You can replace the self-signed certificate with your own CA-signed certificate, as described later in this guide.
NiFi runs with its single user login provider enabled, so the console always requires a username and password. The login password is generated fresh on the first boot of every deployed instance. Two instances launched from the same Amazon Machine Image never share a password. The first boot service also rotates the flow sensitive properties key, which is the key NiFi uses to encrypt sensitive processor properties such as credentials inside your flow, and it whitelists the instance address in NiFi's proxy host allow list so the reverse proxied requests are accepted. The generated login password is written to /root/apache-nifi-credentials.txt with mode 0600 so that only the root user can read it.
NiFi's repositories, where it stores in flight data, content, provenance and the flow definition itself, are kept on a dedicated EBS data volume mounted at /var/lib/nifi, separate from the operating system disk, so the data tier can be resized independently of the root volume.
Prerequisites
Before you deploy this image you need:
- An Amazon Web Services account where you can launch EC2 instances
- IAM permissions to launch instances, create security groups, and subscribe to AWS Marketplace products
- An EC2 key pair in the target Region for SSH access to the instance
- A VPC and subnet in the target Region, with a security group allowing inbound port 22 from your management network and inbound port 443 (and optionally port 80, which redirects to 443) from the trusted networks that will reach the NiFi console
- The AWS CLI (version 2) installed locally if you plan to deploy from the command line
Step 1: Launch the Instance from the AWS Marketplace
Sign in to the AWS Management Console, open the EC2 service, and select Launch instance. Under Application and OS Images choose AWS Marketplace AMIs and search for Apache NiFi. Select the cloudimg listing and choose Select, then Continue on the subscription summary.
Pick an instance type of m5.large or larger. NiFi is a Java application and benefits from memory; the data volume gives it room to spool content. Choose your EC2 key pair under Key pair (login). Under Network settings select your VPC and subnet, and either create or select a security group that allows inbound port 22 from your management network and inbound port 443 from the trusted networks that will reach the console (port 80 redirects to 443). Do not open these ports to the public internet unless you intend the console to be publicly reachable. Leave the root volume at the default size or larger.
Select Launch instance. First boot initialisation takes approximately one to two minutes after the instance state becomes Running and the status checks pass, while NiFi generates the login password and starts up.
Step 2: Launch the Instance from the AWS CLI
The following block launches an instance from the cloudimg Apache NiFi Marketplace AMI into an existing subnet and security group. Replace <ami-id> with the AMI ID shown on the Marketplace listing, <key-name> with your EC2 key pair name, <subnet-id> with your subnet ID, and <security-group-id> with a security group that opens ports 22 and 443 (and optionally 80) as described above.
aws ec2 run-instances \
  --image-id <ami-id> \
  --instance-type m5.large \
  --key-name <key-name> \
  --subnet-id <subnet-id> \
  --security-group-ids <security-group-id> \
  --block-device-mappings '[{"DeviceName":"/dev/sda1","Ebs":{"VolumeSize":20,"VolumeType":"gp3"}}]' \
  --tag-specifications 'ResourceType=instance,Tags=[{Key=Name,Value=nifi-01}]'
The command prints a JSON document on success. Note the instance ID, then retrieve its public address once it is running with aws ec2 describe-instances --instance-ids <instance-id> --query "Reservations[].Instances[].PublicIpAddress" --output text.
Step 3: Connect and Retrieve the Login Password
Connect over SSH with the key pair you selected and the public IP address from step 2. The SSH login user depends on the operating system of the AMI variant you launched:
| AMI variant | SSH login user |
|---|---|
| Apache NiFi on Ubuntu 24.04 | ubuntu |
The first boot service runs before the SSH daemon becomes ready, so the credentials file is always in place when you log in for the first time.
ssh <login-user>@<public-ip>
sudo cat /root/apache-nifi-credentials.txt
You will see a plain text file containing the NiFi URL, the administrator username (admin), and the generated login password. Copy these values somewhere secure such as a password manager or an encrypted vault, and do not commit them to source control.
The credentials file is owned by root and readable only by root:
sudo ls -l /root/apache-nifi-credentials.txt
-rw------- 1 root root 482 Jun 17 10:36 /root/apache-nifi-credentials.txt
Step 4: Verify the Server is Healthy
NiFi, the nginx reverse proxy and the first boot service should all report active:
for u in nifi nginx nifi-firstboot; do printf "%s: " "$u"; systemctl is-active "$u"; done
nifi: active
nginx: active
nifi-firstboot: active
The deployed Java runtime is OpenJDK 21, which NiFi 2.x requires:
java -version
openjdk version "21.0.11" 2026-04-21
OpenJDK Runtime Environment (build 21.0.11+10-1-24.04.2-Ubuntu)
OpenJDK 64-Bit Server VM (build 21.0.11+10-1-24.04.2-Ubuntu, mixed mode, sharing)
nginx listens on port 443 (TLS) and port 80 (which redirects to 443) and forwards to the NiFi HTTPS console bound to the loopback address on port 8443:
sudo ss -tlnp | grep -E ':80 |:443 |:8443'
LISTEN 0  511         0.0.0.0:80      0.0.0.0:*
LISTEN 0  511        0.0.0.0:443      0.0.0.0:*
LISTEN 0   50  127.0.0.1:8443             *:*
Step 5: Open the NiFi Web Console
Browse to https://<public-ip>/ from a machine on a network the security group allows. The edge certificate is self-signed, so your browser will warn about the connection the first time; accept it to proceed (or install your own certificate as described in step 11). The root path redirects to the NiFi user interface at /nifi/. Sign in as the admin user with the password from the credentials file.
After you sign in, NiFi presents the flow canvas. The canvas is the empty workspace where you build your dataflow. The toolbar across the top carries the components you drag onto the canvas, including the Processor, the Input Port, the Output Port, the Process Group and the Funnel.
The connection is encrypted by the nginx HTTPS listener using a self-signed certificate, which is why the browser warns on first use. Step 11 shows how to install your own CA-signed certificate so the warning disappears.
Step 6: Build Your First Dataflow
A NiFi flow is a set of processors connected by relationships. The simplest useful flow generates some data and writes it to disk.
On the canvas, drag the Processor icon from the toolbar onto the canvas. In the Add Processor dialog, filter for GenerateFlowFile, select it, and choose Add. Drag a second processor onto the canvas and add a PutFile processor.
Double click the GenerateFlowFile processor to open its configuration. On the Scheduling tab set the run schedule to a few seconds so it does not flood the flow. On the Properties tab set a small file size such as 10 B. Apply the change.
Double click the PutFile processor and on the Properties tab set the Directory to a writable path such as /var/lib/nifi/out. Apply the change.
Hover over the GenerateFlowFile processor until the connection arrow appears, then drag it onto the PutFile processor to create a connection. In the Create Connection dialog select the success relationship and add it. On the PutFile processor, auto terminate the success and failure relationships so the flow has somewhere to send completed work.
Select both processors, right click and choose Start. NiFi begins generating flow files and writing them to the directory. The numbers on each processor update live to show throughput, and you can right click a connection and choose List queue to inspect the data in flight.
Step 7: Use the REST API
Everything the canvas does is also available through NiFi's REST API. Authenticate by requesting a token with the login credentials, then call the API with that token as a bearer credential. Run these commands on the instance, where the loopback HTTPS listener is reachable:
PASS="$(sudo awk -F= '/^nifi.admin.pass=/ {print $2}' /root/apache-nifi-credentials.txt)"
TOKEN="$(curl -sk -X POST https://127.0.0.1:8443/nifi-api/access/token \
  --data-urlencode 'username=admin' --data-urlencode "password=${PASS}")"
curl -sk https://127.0.0.1:8443/nifi-api/flow/current-user \
  -H "Authorization: Bearer ${TOKEN}" | head -c 400
The first call returns a signed JSON Web Token. The second call returns the identity of the authenticated user, confirming the API round trip works end to end.
Step 8: Filesystem and Service Layout
The NiFi install lives under /opt/nifi, and its working data lives on the dedicated volume mounted at /var/lib/nifi:
ls -d /opt/nifi/nifi-2.9.0
findmnt /var/lib/nifi -o TARGET,SOURCE,FSTYPE
ls /var/lib/nifi
/opt/nifi/nifi-2.9.0
TARGET        SOURCE       FSTYPE
/var/lib/nifi /dev/nvme1n1 ext4
content_repository  database_repository  flow  flowfile_repository  provenance_repository  state
The content_repository holds the bytes of the data NiFi is processing, the flowfile_repository tracks the metadata of every flow file, the provenance_repository records the lineage of every event, and flow holds your saved dataflow definition. Keeping all of these on the data volume means you can grow the disk independently and your flow and its data survive a root volume replacement.
Step 9: Start, Stop, and Check Status
NiFi runs under systemd as nifi.service and the reverse proxy as nginx.service:
sudo systemctl status nifi --no-pager
sudo systemctl restart nifi
sudo journalctl -u nifi -n 50 --no-pager
NiFi takes up to a minute to fully initialise after a start while it loads its flow and warms the JVM, so allow time before the console responds.
Step 10: Rotate the Login Password
To change the single user login password, use the bundled nifi.sh helper as the nifi service user, then restart NiFi:
sudo systemctl stop nifi
sudo -u nifi JAVA_HOME=/usr/lib/jvm/java-21-openjdk-amd64 \
  /opt/nifi/nifi-2.9.0/bin/nifi.sh set-single-user-credentials admin '<new-password>'
sudo systemctl start nifi
The password must be at least 12 characters. Update your stored copy of the credentials after rotating, since the file under /root reflects the value generated on first boot.
Step 11: Install Your Own TLS Certificate
The nginx reverse proxy ships configured for HTTPS on port 443 using a self-signed certificate at /etc/nginx/ssl/nifi-selfsigned.crt. To remove the browser warning, replace it with a certificate issued for your DNS name by a trusted certificate authority such as Let's Encrypt or your own internal CA. Copy your certificate and private key onto the instance, then point nginx at them by editing the ssl_certificate and ssl_certificate_key lines in /etc/nginx/sites-available/nifi. Reload nginx with sudo nginx -t && sudo systemctl reload nginx. Then add your DNS name to NiFi's proxy host allow list by editing nifi.web.proxy.host in /opt/nifi/nifi-2.9.0/conf/nifi.properties and restarting NiFi.
Step 12: Backups and Maintenance
Your dataflow definition and the in flight data all live under /var/lib/nifi. The simplest backup is an EBS snapshot of the data volume taken while NiFi is briefly stopped, which captures a consistent copy of the repositories and the flow:
sudo systemctl stop nifi
aws ec2 create-snapshot --volume-id <data-volume-id> --description "nifi data $(date +%F)"
sudo systemctl start nifi
To export only the flow definition, copy /var/lib/nifi/flow/flow.json.gz to a safe location. Keep the operating system patched with sudo apt-get update && sudo apt-get -y upgrade, and review the NiFi release notes before upgrading the NiFi binary itself.
Step 13: Security Recommendations
- Keep ports 443 and 80 closed to the public internet. Expose the console only to the networks that operate it, or front it with a load balancer or VPN and the certificate from step 11.
- Rotate the login password after first launch and store it in a secrets manager.
- NiFi enforces authentication on every request, including the REST API; never disable the single user login provider or enable anonymous authentication on an internet reachable instance.
- Take regular EBS snapshots of the data volume so your flows and their provenance survive an instance failure.
- Apply operating system security updates promptly.
Screenshots
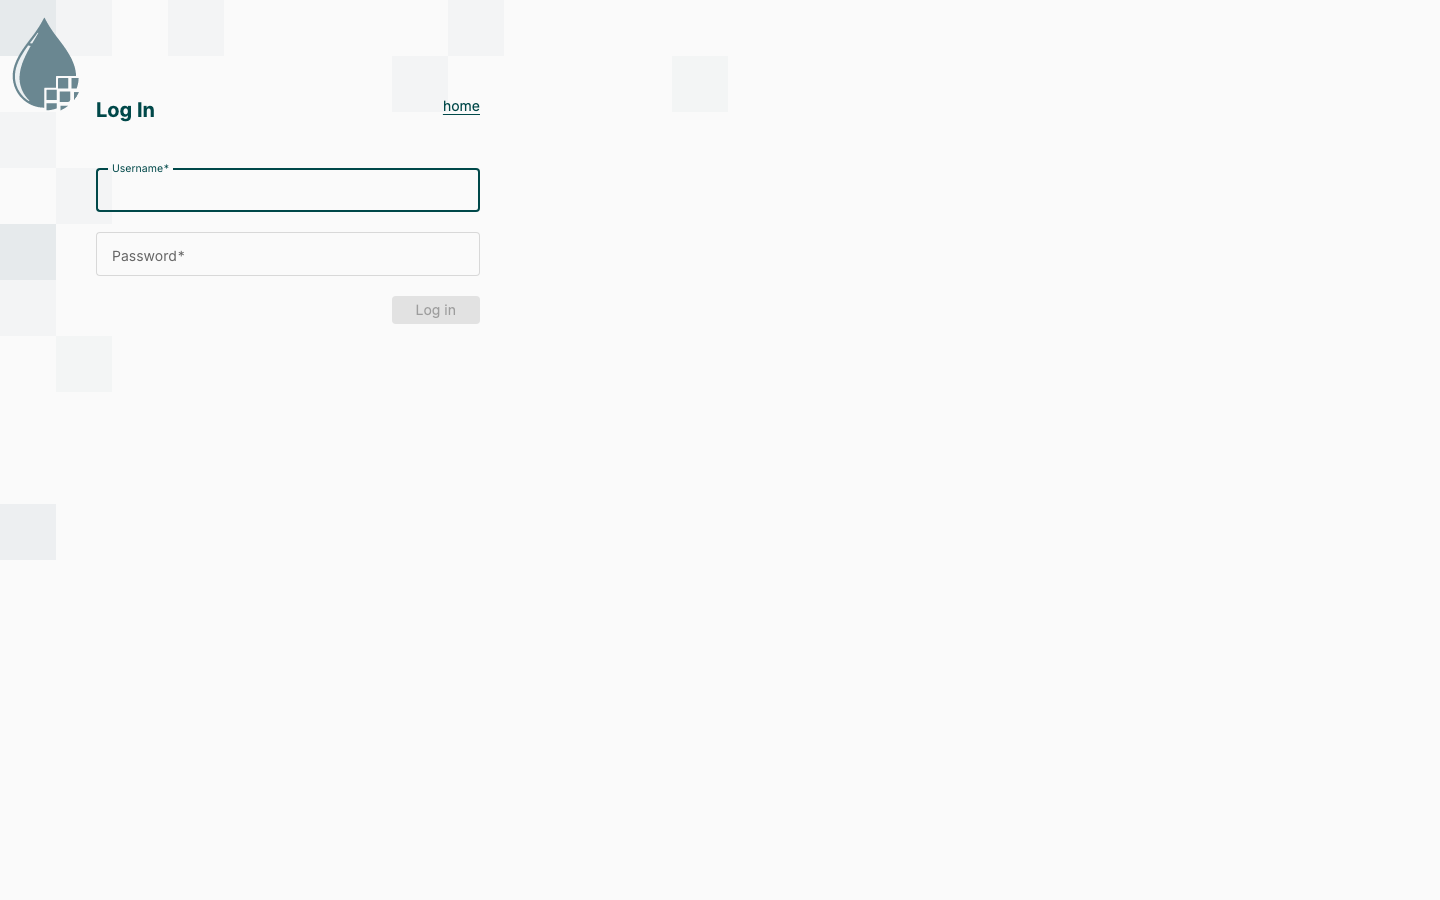
The Apache NiFi web sign-in page, served on first boot with no manual setup.
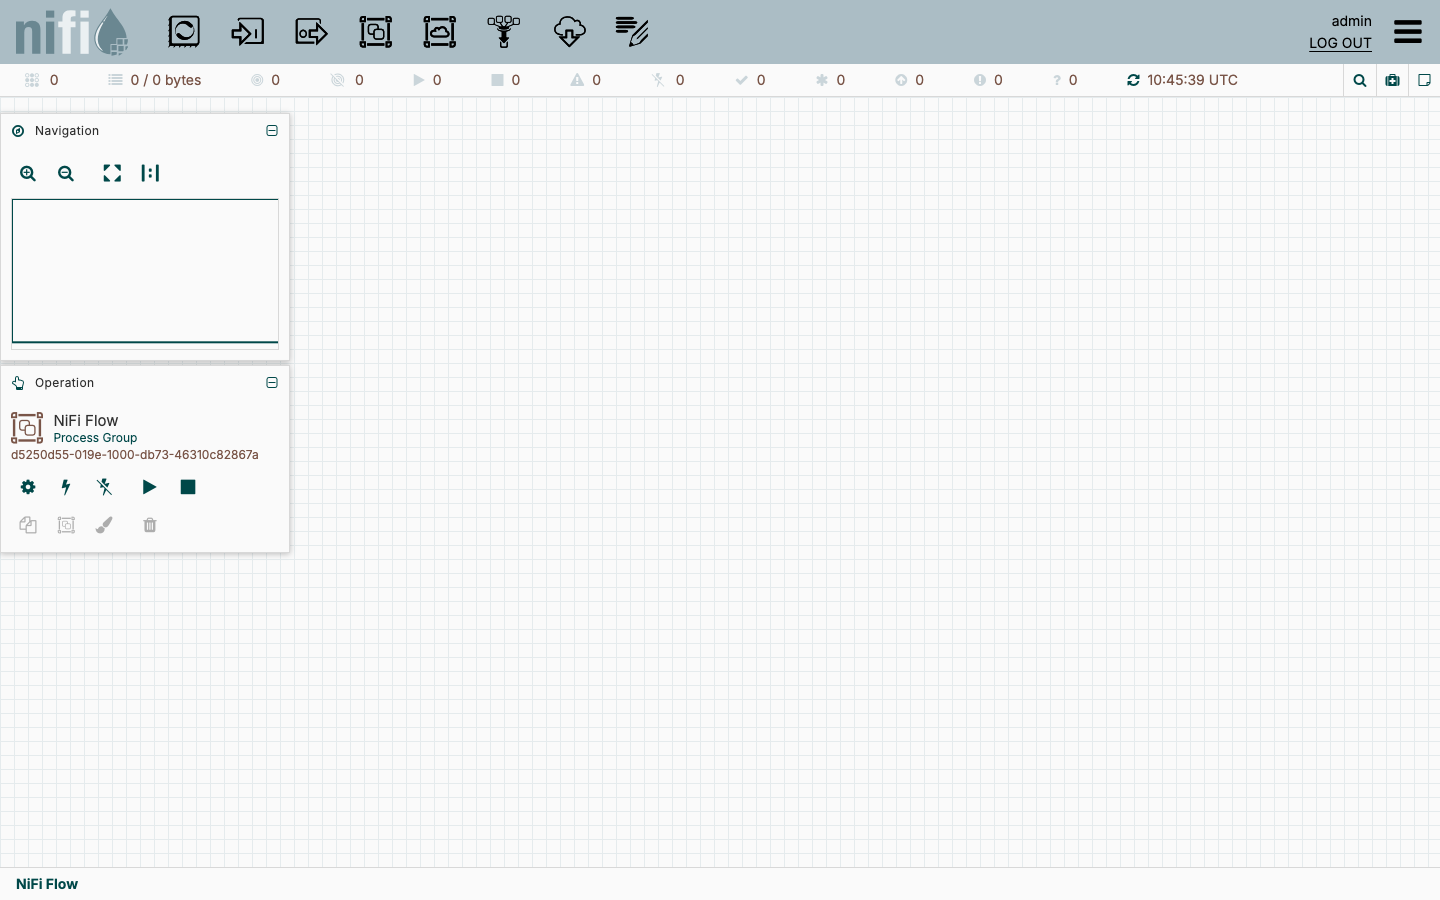
The Apache NiFi flow canvas where data routing and transformation flows are designed.
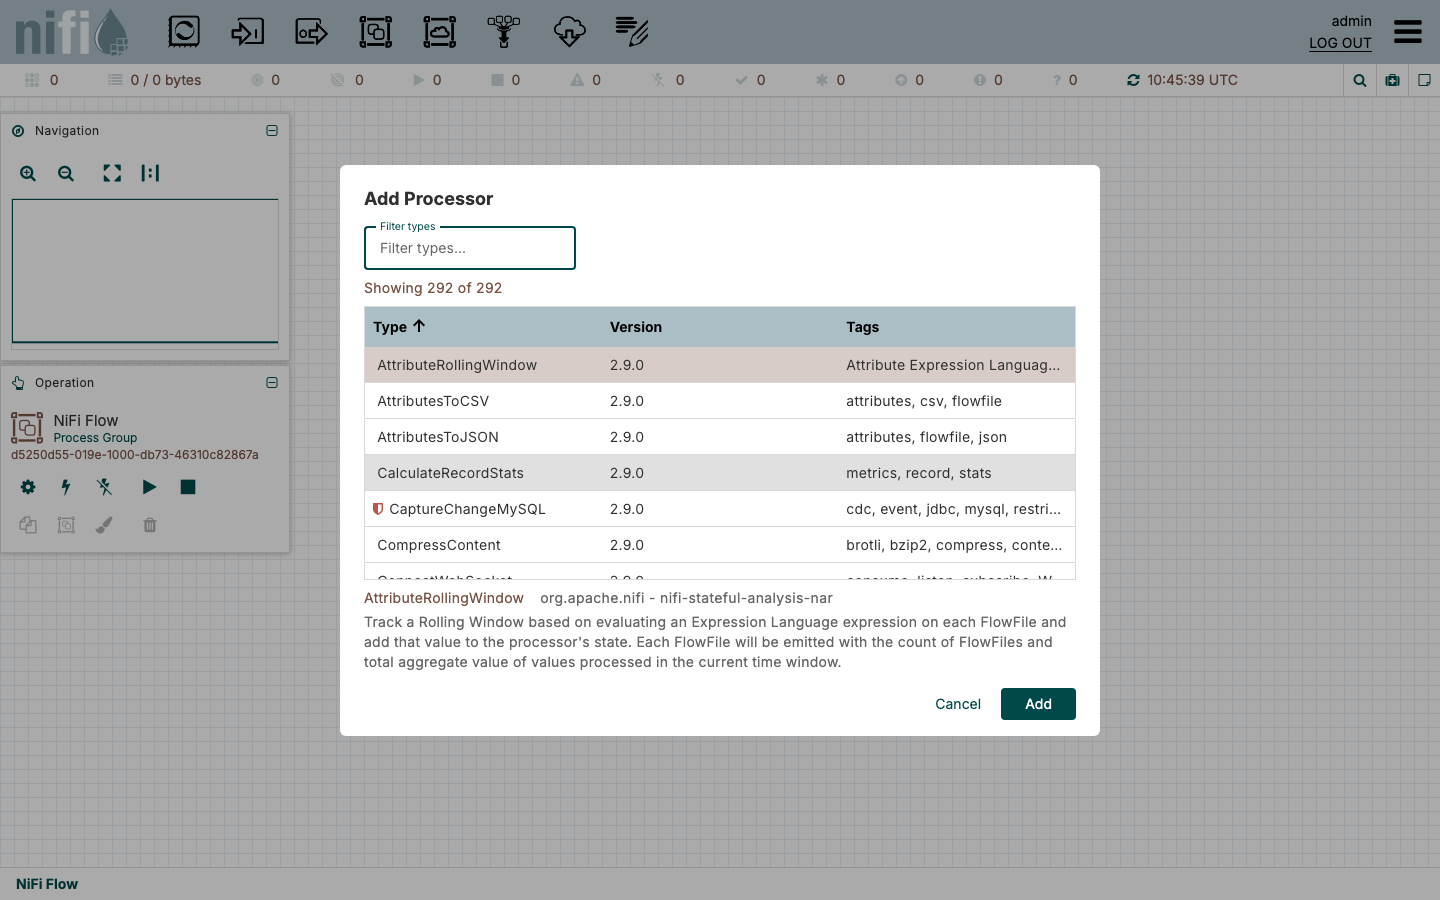
Adding a processor to the canvas to build a dataflow.
Support
cloudimg provides 24/7/365 expert technical support for this image. Guaranteed response within 24 hours, one hour average for critical issues. Contact support@cloudimg.co.uk.
For general Apache NiFi questions, processor reference and flow design, consult the official documentation at https://nifi.apache.org/docs.html and the Apache NiFi community at https://nifi.apache.org.