
Apache OFBiz on AWS User Guide
Overview
This image runs Apache OFBiz, the open source enterprise automation suite. Under one application it brings together accounting, order management, a product catalog and e-commerce store, customer and party relationship management, inventory and warehouse management, and manufacturing, all sharing a single data model. The suite is served as a rich multi-application web UI and is ready to use within minutes of launch.
OFBiz runs as a self-contained Java application built from the official Apache release on OpenJDK 17: an embedded Apache Tomcat servlet container serves the OFBiz web applications and an embedded Apache Derby database holds the business data. A dedicated unprivileged ofbiz service account owns the installation, systemd starts it on boot and restarts it on failure, and nginx fronts the application on port 80. The database, Lucene search indexes and all runtime data live on a dedicated EBS data volume mounted at /var/lib/ofbiz, independently resizable and separate from the operating system disk.
On the first boot of every deployed instance, a one-shot service generates an administrator password unique to that instance, applies it to the OFBiz admin account before the web interface is reachable, and writes the login to /root/ofbiz-credentials.txt with mode 0600. The well-known default credentials that ship with the upstream software are rotated away and the seeded demonstration logins are disabled, so no shared or default credentials remain usable.
Prerequisites
Before you deploy this image you need:
- An Amazon Web Services account where you can launch EC2 instances
- IAM permissions to launch instances, create security groups, and subscribe to AWS Marketplace products
- An EC2 key pair in the target Region for SSH access to the instance
- A VPC and subnet in the target Region, with a security group allowing inbound port 22 from your management network and inbound ports 80 and 443 from the networks your users will reach OFBiz on
- The AWS CLI (version 2) installed locally if you plan to deploy from the command line
Step 1: Launch the Instance from the AWS Marketplace
Sign in to the AWS Management Console, open the EC2 service, and select Launch instance. Under Application and OS Images choose AWS Marketplace AMIs and search for Apache OFBiz. Select the cloudimg listing and choose Select, then Continue on the subscription summary.
Pick an instance type of m5.large or larger; OFBiz runs a JVM plus the embedded database and benefits from the memory. Choose your EC2 key pair under Key pair (login). Under Network settings select your VPC and subnet, and either create or select a security group that allows inbound port 22 from your management network and inbound ports 80 and 443 from the networks your users use. Leave the root volume at the default size or larger; the image adds a separate data volume for the OFBiz data tier automatically.
Select Launch instance. First boot initialisation, including the administrator password rotation, completes before the web UI becomes reachable.
Step 2: Launch the Instance from the AWS CLI
The following block launches an instance from the cloudimg Apache OFBiz Marketplace AMI into an existing subnet and security group. Replace <ami-id> with the AMI ID shown on the Marketplace listing, <key-name> with your EC2 key pair name, <subnet-id> with your subnet ID, and <security-group-id> with a security group that opens ports 22, 80, and 443 as described above.
aws ec2 run-instances \
  --image-id <ami-id> \
  --instance-type m5.large \
  --key-name <key-name> \
  --subnet-id <subnet-id> \
  --security-group-ids <security-group-id> \
  --block-device-mappings '[{"DeviceName":"/dev/sda1","Ebs":{"VolumeSize":30,"VolumeType":"gp3"}}]' \
  --tag-specifications 'ResourceType=instance,Tags=[{Key=Name,Value=ofbiz-01}]'
The command prints a JSON document on success. Note the instance ID, then retrieve its public address once it is running with aws ec2 describe-instances --instance-ids <instance-id> --query "Reservations[].Instances[].PublicIpAddress" --output text.
Step 3: Connect and Retrieve the Administrator Login
Connect over SSH with the key pair you selected and the public IP address of your instance. The SSH login user depends on the operating system of the AMI variant you launched:
| AMI variant | SSH login user |
|---|---|
| Apache OFBiz 24.09 on Ubuntu 24.04 | ubuntu |
Once connected, read the generated administrator credentials. The file is readable only by root, so use sudo:
sudo cat /root/ofbiz-credentials.txt
The file contains the sign-in URL, the administrator user name (admin) and the password generated uniquely for this instance:
OFBIZ_URL=http://<public-ip>/
OFBIZ_ADMIN_USER=admin
OFBIZ_ADMIN_PASSWORD=<OFBIZ_ADMIN_PASSWORD>
Step 4: Sign In to the Web UI
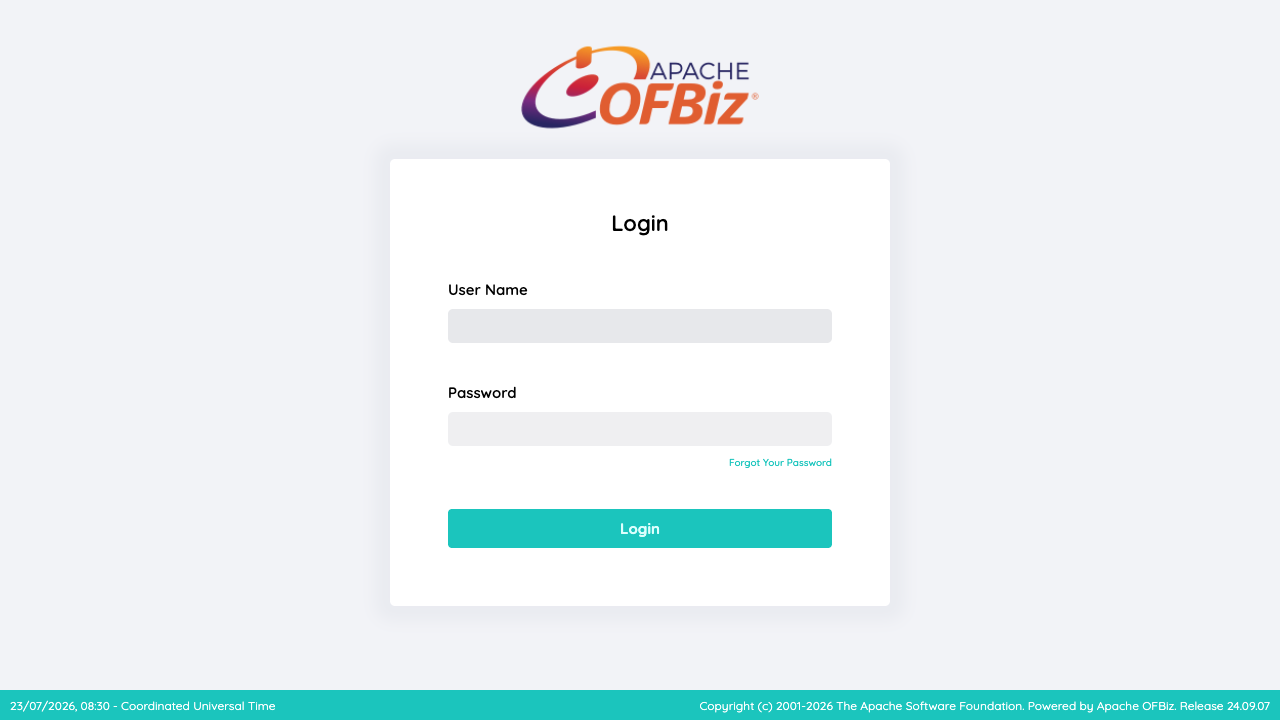
Open the OFBiz Web Tools console in your browser at http://<public-ip>/webtools/control/main and sign in with the user name admin and the password from the credentials file. OFBiz is served by nginx on port 80; you reach the same application over your instance's public address whatever hostname or IP you use.
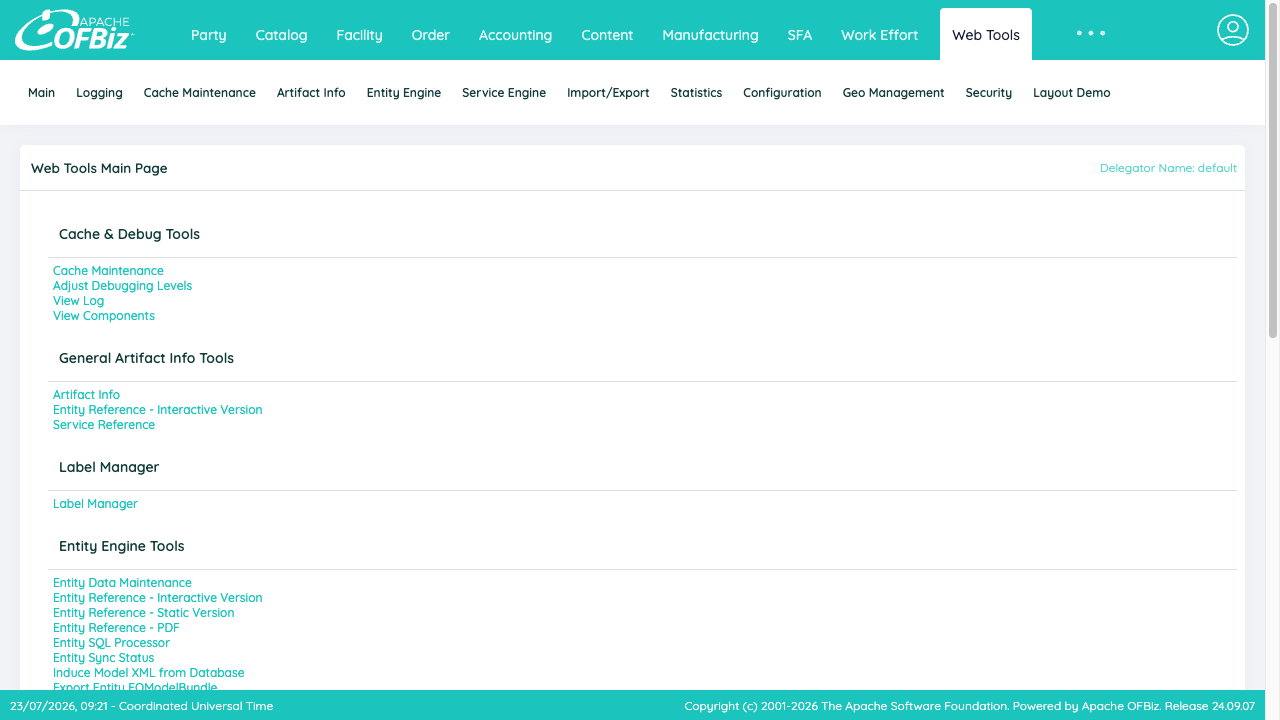
After signing in you land on the Web Tools main page, the administration hub. The top navigation lists the business applications that make up the suite: Party, Catalog, Facility, Order, Accounting, Content, Manufacturing, SFA and Work Effort.
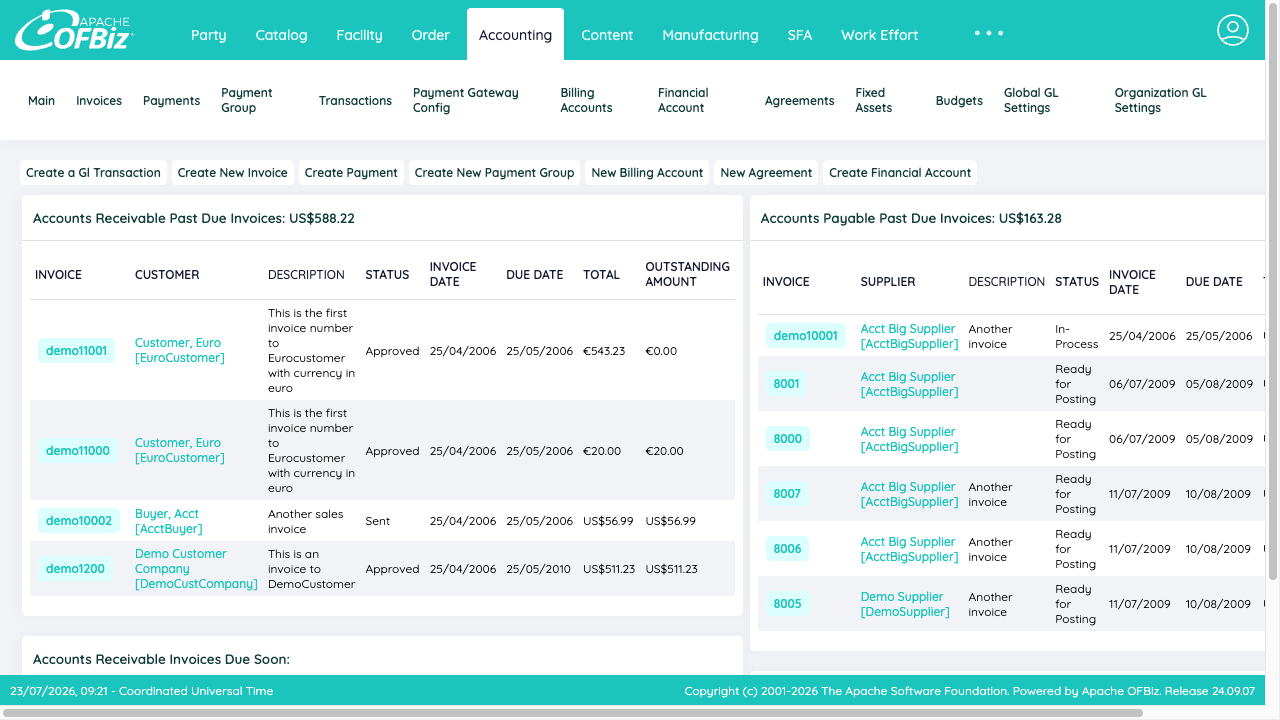
Step 5: Work in the Business Applications
Select an application from the top navigation to move into it; OFBiz carries your sign-in across the applications automatically. The Accounting Manager opens on a dashboard of accounts receivable and accounts payable invoices, with actions to create invoices, payments and general ledger transactions.
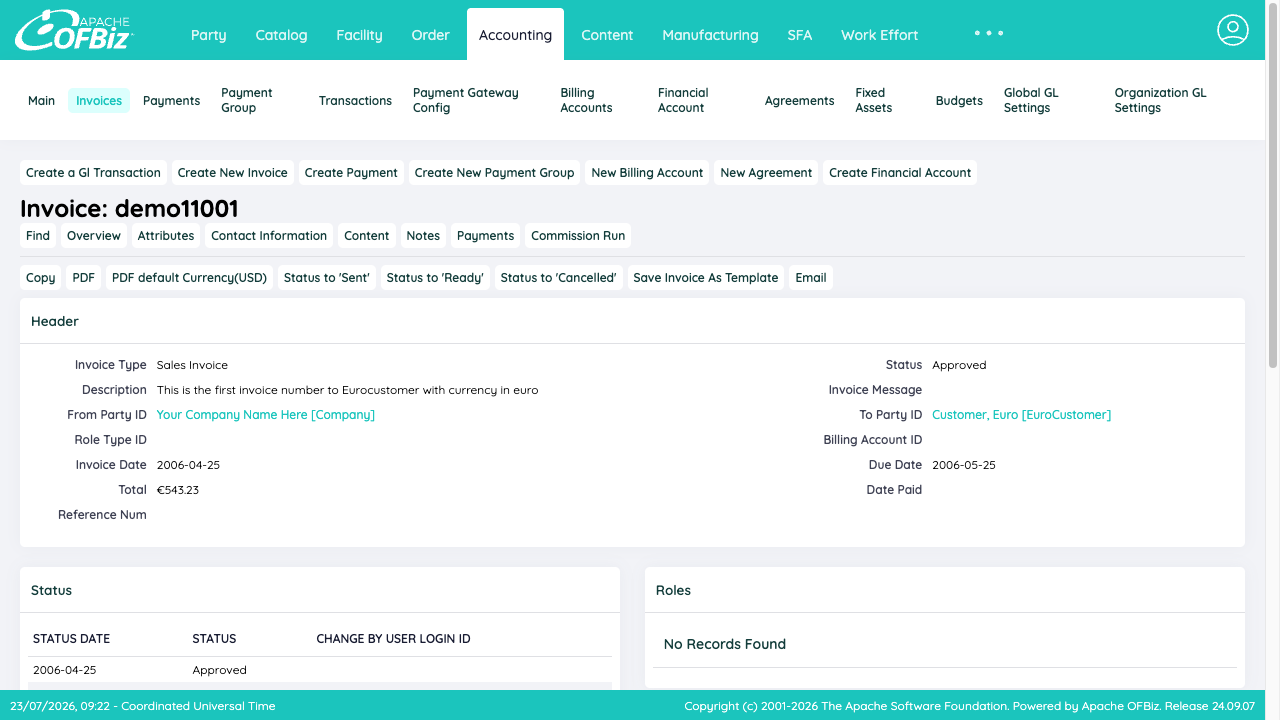
Open any record to see its full detail. An invoice, for example, shows its header, the parties involved, the line totals and its status, with actions to edit it, generate a PDF or email it.
The other applications work the same way:
- Order Manager (
/ordermgr) captures and fulfils sales and purchase orders. - Catalog (
/catalog) builds the product catalog and pricing that drive the store. - Party Manager (
/partymgr) administers customers, suppliers, contacts and organizations. - Accounting (
/accounting) manages the general ledger, invoices and payments. - Web Tools (
/webtools) is the built-in administration console for the whole system.
The applications share one party, product and accounting model, so data entered in one flows through the suite.
Step 6: Verify the Service on the Instance
The image ships an unauthenticated health endpoint on the nginx reverse proxy, useful for load balancer and uptime checks. It returns ok with HTTP 200:
curl -s -o /dev/null -w '%{http_code}\n' http://localhost/health
Confirm the OFBiz and nginx services are running under systemd:
systemctl is-active ofbiz nginx
You can verify the administrator login round-trip on the instance itself against the loopback HTTPS connector. The following reads the generated password and confirms it authenticates through the real OFBiz login form:
PW=$(sudo grep '^OFBIZ_ADMIN_PASSWORD=' /root/ofbiz-credentials.txt | cut -d= -f2-)
CJ=$(mktemp)
curl -ks -c "$CJ" "https://127.0.0.1:8443/webtools/control/login" -o /dev/null
RESP=$(curl -ks -b "$CJ" --data-urlencode "USERNAME=admin" --data-urlencode "PASSWORD=$PW" "https://127.0.0.1:8443/webtools/control/login")
case "$RESP" in *Logout*) echo "login OK";; *) echo "login FAILED";; esac
Architecture and File Locations
The request path is client -> nginx :80 -> OFBiz Tomcat (loopback HTTPS 8443) -> embedded Derby database. OFBiz binds its HTTP (8080) and HTTPS (8443) connectors to 127.0.0.1 only; nginx is the single public entry point on port 80. Because OFBiz builds self-referential links and the customer host is not known when the image is built, nginx rewrites OFBiz's internal absolute URLs back to relative form, so the application works from any hostname, IP address or load balancer with no configuration.
| Item | Location |
|---|---|
OFBiz installation (ofbiz.home) |
/opt/ofbiz |
| Data tier (Derby database, indexes, runtime, logs) | /var/lib/ofbiz (dedicated EBS volume) |
| Runnable application jar | /opt/ofbiz/build/libs/ofbiz.jar |
| systemd service | ofbiz.service |
| Reverse proxy config | /etc/nginx/sites-available/cloudimg-ofbiz |
| Administrator credentials | /root/ofbiz-credentials.txt (mode 0600) |
| First-boot service | apache-ofbiz-firstboot.service |
The data tier lives on its own EBS volume so it is independently resizable and separate from the operating system disk:
df -h /var/lib/ofbiz
Adding TLS
The instance security group opens port 443. To serve OFBiz over HTTPS with your own certificate, obtain a certificate for your DNS name (for example with Certbot or from AWS Certificate Manager fronted by a load balancer) and add a TLS server block to nginx that proxies to the same OFBiz upstream as the port 80 block. Point your DNS record at the instance's public address, and your users reach OFBiz securely over your own hostname.
Backups and Maintenance
All business data lives under /var/lib/ofbiz on the dedicated data volume. Take regular Amazon EBS snapshots of that volume to back up the database, indexes and runtime state. For a consistent snapshot, stop the service first with sudo systemctl stop ofbiz, take the snapshot, then start it again with sudo systemctl start ofbiz.
Keep the operating system patched with sudo apt-get update && sudo apt-get upgrade. The OFBiz service is managed by systemd: use sudo systemctl restart ofbiz to restart it and sudo journalctl -u ofbiz to read its logs. Application logs are also written under /var/lib/ofbiz/runtime/logs.
Support
This image is supported by cloudimg with 24/7 technical support by email and chat. We can help with deployment, configuration of the accounting, order, catalog and CRM applications, data model and integration questions, access control, storage sizing, and backup and upgrade planning.