Apache Pulsar on Ubuntu 24.04 on Azure User Guide
Overview
Apache Pulsar is the open-source, cloud-native distributed messaging and event-streaming platform that combines high-throughput pub-sub messaging with durable, tiered storage. It separates serving from storage using Apache BookKeeper, supports multi-tenancy and geo-replication, and exposes a rich admin REST API. The cloudimg image installs Apache Pulsar 4.0.11 LTS on OpenJDK 17 at /opt/pulsar and runs it in standalone mode (ZooKeeper, BookKeeper and the broker in a single process) as a dedicated pulsar system user. The official Apache Pulsar Manager web console is fronted by an nginx reverse proxy on TCP 80, the broker and manager data live on a dedicated Azure data disk, and a unique admin password is generated on the first boot of every VM. Backed by 24/7 cloudimg support.
What is included:
- Apache Pulsar 4.0.11 LTS in standalone mode on OpenJDK 17 at
/opt/pulsar - Apache Pulsar Manager 0.4.0 web console behind an nginx reverse proxy on
:80(with a second wall of HTTP Basic auth) - Broker client port
6650and the loopback-bound admin REST on:8080 - A dedicated Azure data disk at
/var/lib/pulsarholding the BookKeeper ledgers and journal, ZooKeeper metadata and the Pulsar Manager database — separate from the OS disk and re-provisioned with every VM - Per-VM admin password (
PULSAR_MANAGER_ADMIN_PASSWORD) generated at first boot, in a root-only file pulsar.service,pulsar-manager.service+nginx.serviceas systemd units, enabled and active- 24/7 cloudimg support
Prerequisites
An active Azure subscription, an SSH key pair, and a VNet + subnet in the target region. Standard_B4ms (4 vCPU / 16 GiB RAM) is a good starting point for the standalone JVM stack; scale up for higher message throughput. NSG inbound: allow 22/tcp from your management network, 80/tcp for the web console (front with TLS for public exposure — see Enabling HTTPS), and 6650/tcp (the Pulsar broker client port) only from the application networks that run Pulsar clients. The broker admin REST (8080) and the Pulsar Manager backend (7750) are bound to loopback and are not exposed.
Step 1 — Deploy from the Azure Marketplace
Sign in to the Azure Portal, choose Create a resource, search the Marketplace for Apache Pulsar by cloudimg, and select Create. On Basics pick your subscription, resource group, region and size; under Administrator account choose SSH public key and paste your key; under Inbound port rules allow SSH (22) and HTTP (80). Review the dedicated data disk on the Disks tab, then Review + create -> Create.
Step 2 — Deploy from the Azure CLI
az vm create \
  --resource-group <your-rg> \
  --name pulsar \
  --image <marketplace-image-urn> \
  --size Standard_B4ms \
  --admin-username azureuser \
  --ssh-key-values ~/.ssh/id_ed25519.pub \
  --vnet-name <your-vnet> --subnet <your-subnet> \
  --public-ip-sku Standard

az vm open-port --resource-group <your-rg> --name pulsar --port 80 --priority 1010
Step 3 — Connect to your VM
ssh azureuser@<vm-public-ip>
Step 4 — Confirm the services are running
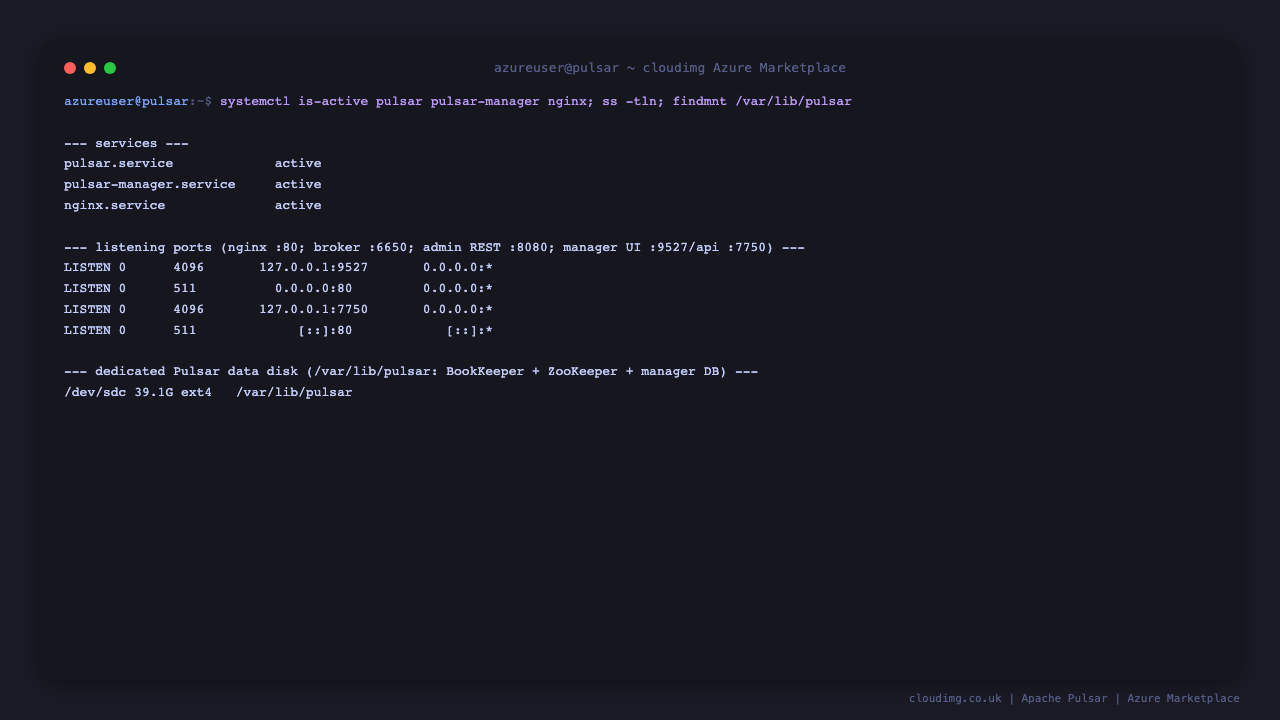
systemctl is-active pulsar.service pulsar-manager.service nginx.service
All three services report active. The standalone broker can take one to two minutes to fully start on first boot while the JVM warms up and BookKeeper initialises.
Step 5 — Retrieve your admin password
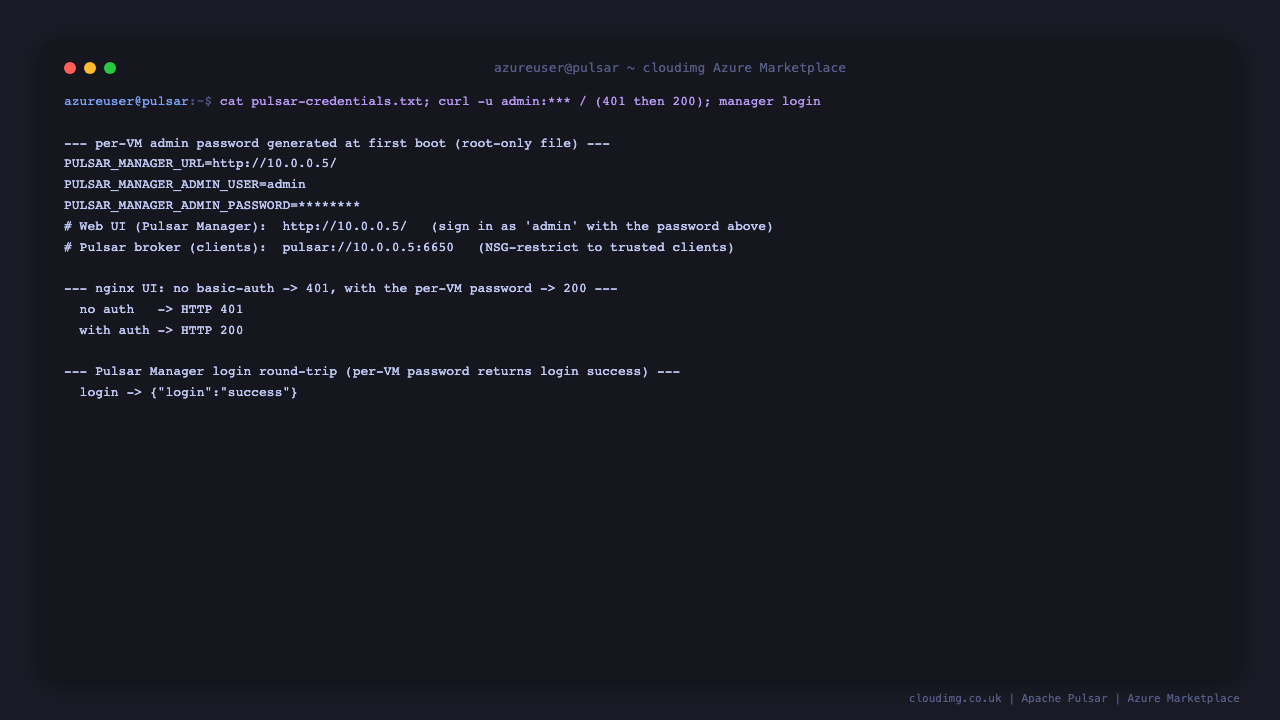
The admin password is generated uniquely on the first boot of your VM and written to a root-only file:
sudo cat /root/pulsar-credentials.txt
The PULSAR_MANAGER_ADMIN_PASSWORD value is the password; sign in to the Pulsar Manager web console as admin with it. The nginx layer also prompts for the same admin / password as a second wall of HTTP Basic auth.
Step 6 — Verify the broker health
The broker exposes an admin REST API on loopback. Confirm the standalone cluster is registered:
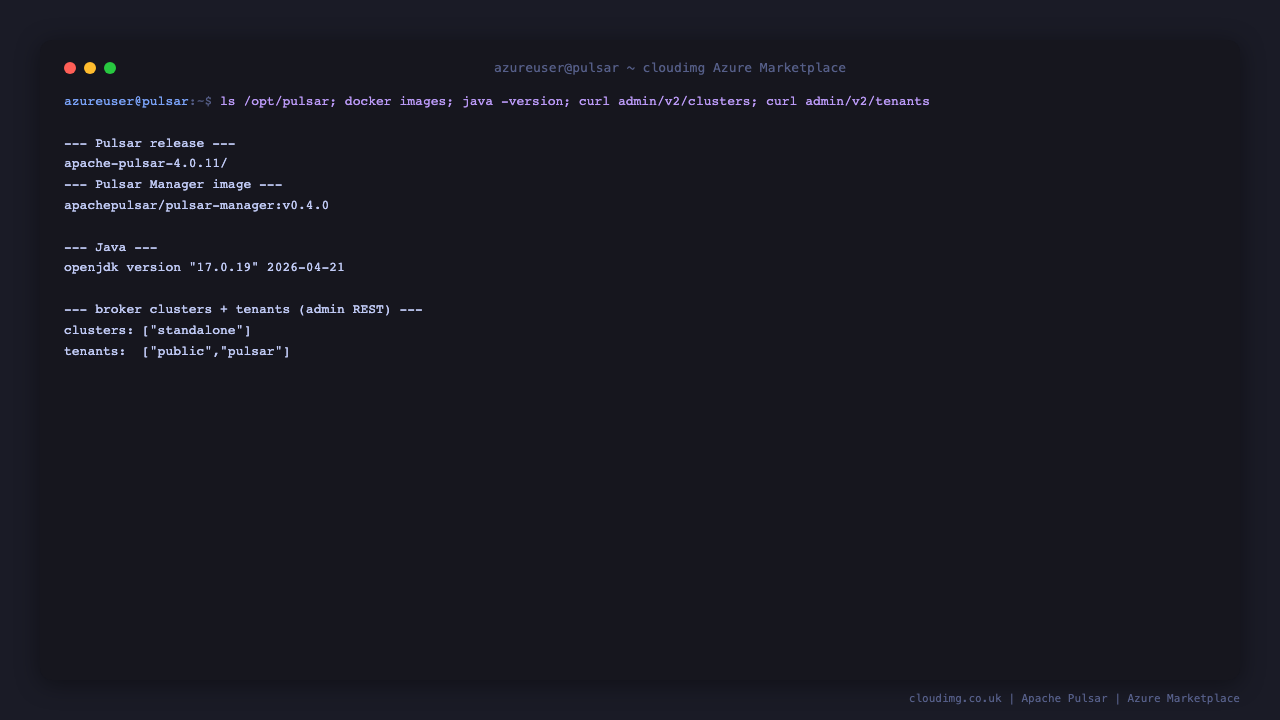
curl -sf http://127.0.0.1:8080/admin/v2/clusters; echo
The response is the JSON array ["standalone"]. You can also list the built-in tenants:
curl -sf http://127.0.0.1:8080/admin/v2/tenants; echo
Step 7 — Open the Pulsar Manager web console
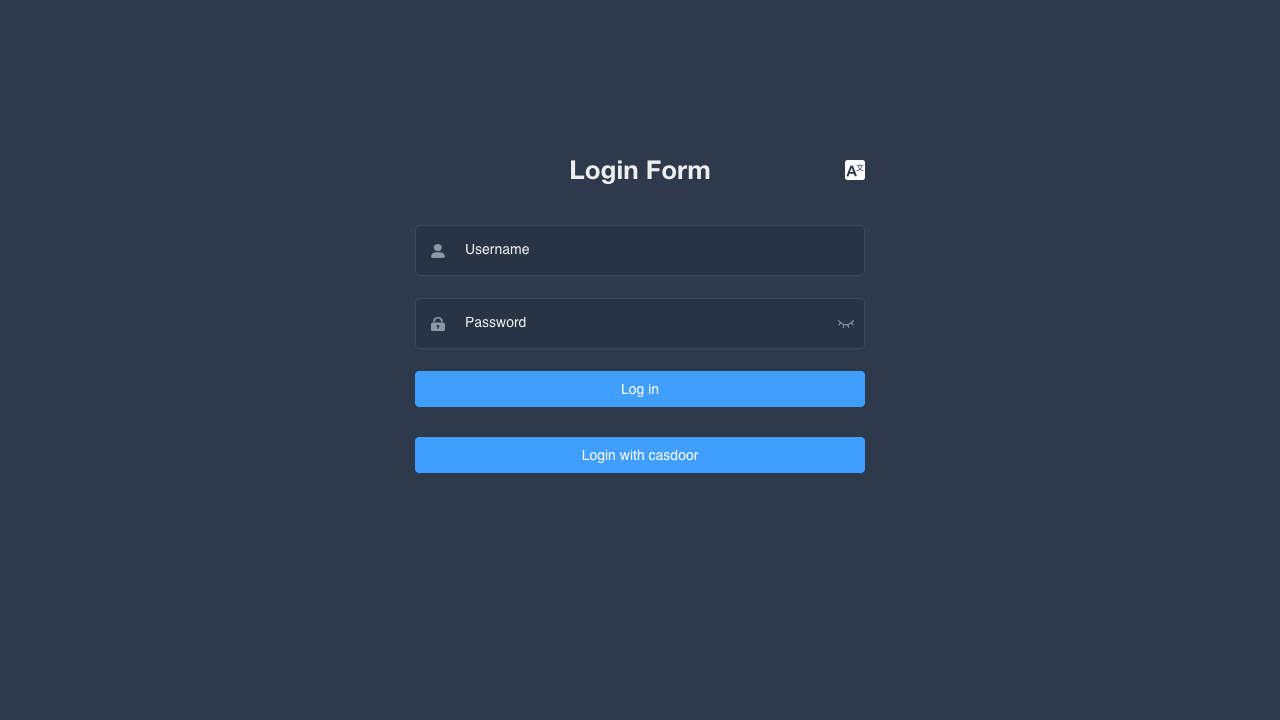
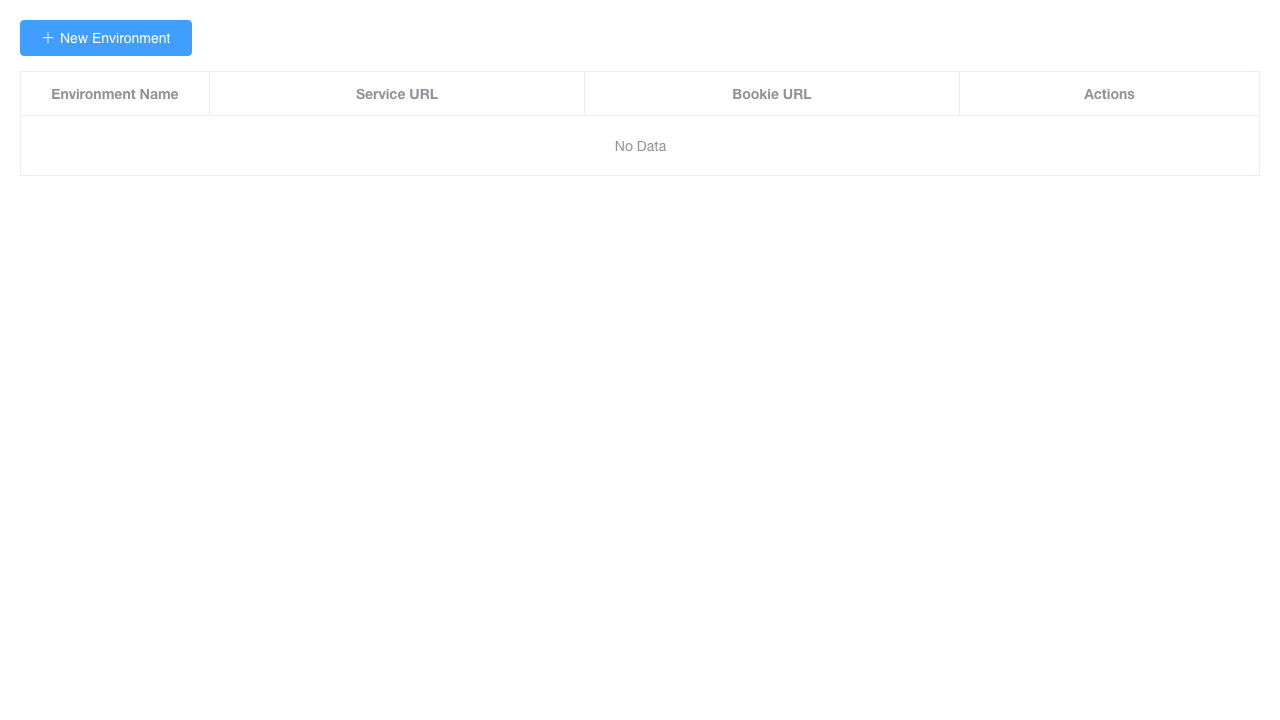
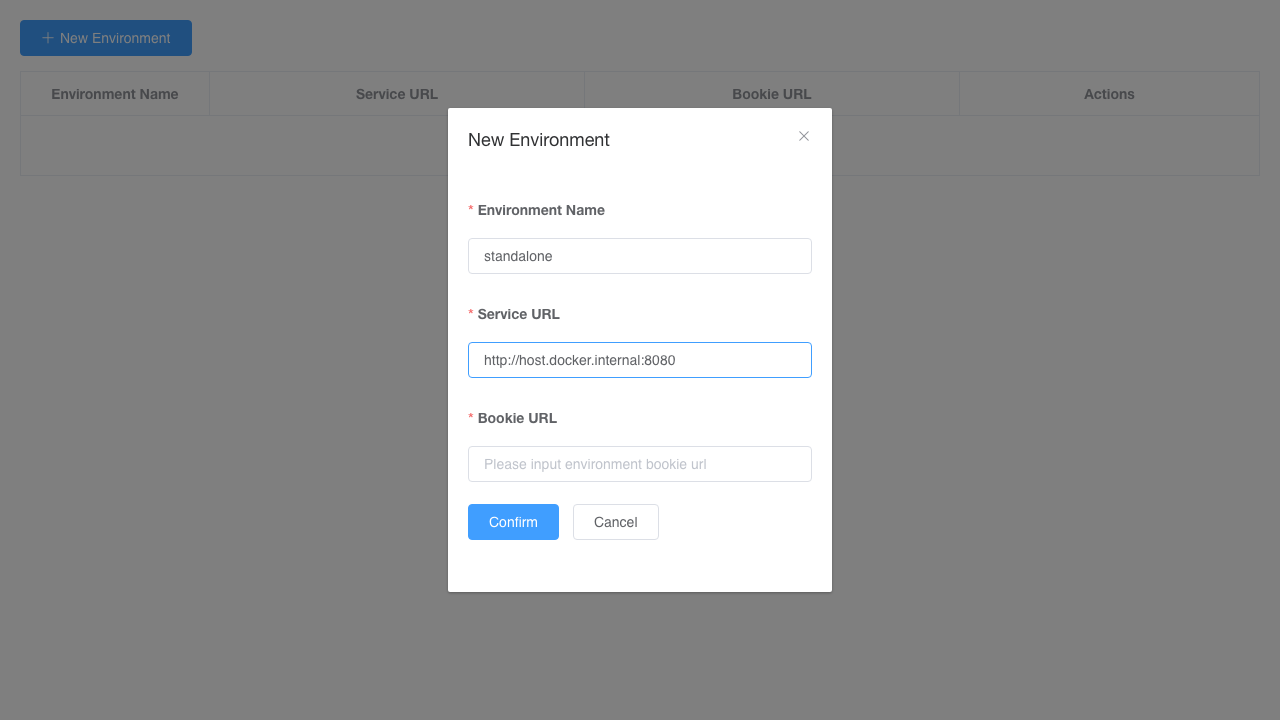
Browse to http://<vm-public-ip>/ and respond to the nginx HTTP Basic prompt as admin with the password from Step 5, then sign in to Pulsar Manager itself as admin with the same password. On first sign-in, add an Environment so the console can reach your broker: give it any name (for example standalone) and set the Service URL to http://127.0.0.1:8080. Pulsar Manager then lets you browse tenants, namespaces and topics, inspect subscriptions and backlog, and manage the cluster.
Step 8 — Produce and consume a test message
Pulsar ships a command-line client. Produce three messages to a topic, then consume them back (run on the VM):
sudo -u pulsar /opt/pulsar/current/bin/pulsar-client produce persistent://public/default/demo-topic --messages "hello-pulsar" --num-produce 3
sudo -u pulsar /opt/pulsar/current/bin/pulsar-client consume persistent://public/default/demo-topic --subscription-name demo-sub --num-messages 3 --subscription-position Earliest
The producer reports 3 messages successfully produced and the consumer prints the three hello-pulsar payloads followed by 3 messages successfully consumed. The topic and its messages persist in BookKeeper on the dedicated data disk.
Step 9 — Connect from your applications
Point Pulsar client libraries (Java, Python, Go, C++, Node.js) at pulsar://<vm-public-ip>:6650. Open NSG port 6650/tcp from your application networks only, and add TLS plus authentication before exposing the broker beyond a trusted network. The broker admin REST on 8080 and the Pulsar Manager backend on 7750 stay on loopback by design.
Enabling HTTPS
For production, terminate TLS at nginx with a real domain pointed at the VM's public IP. Install certbot and request a certificate (replace the domain):
sudo apt-get update && sudo apt-get install -y certbot python3-certbot-nginx
sudo certbot --nginx -d your-domain.example.com
For end-to-end broker security, also enable Pulsar's own TLS transport and authentication on port 6650 per the Apache Pulsar security documentation.
Backup and maintenance
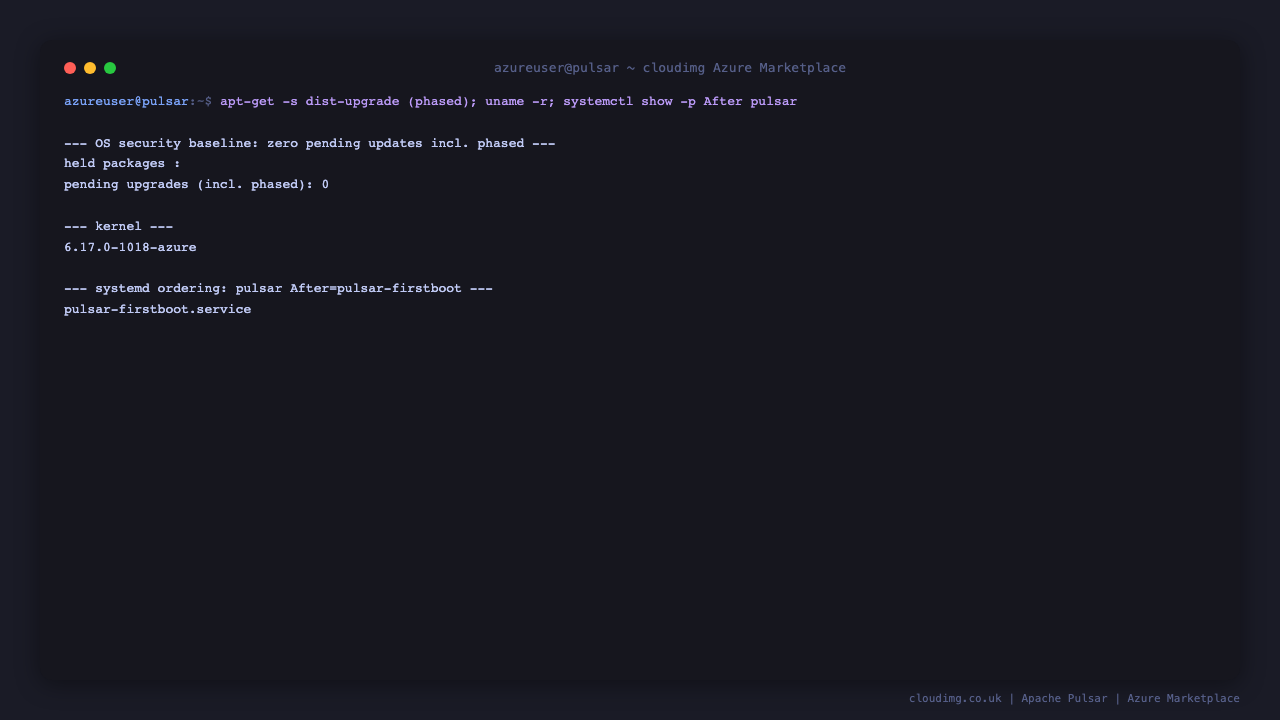
The BookKeeper ledgers and journal, ZooKeeper metadata and the Pulsar Manager database live on the dedicated data disk at /var/lib/pulsar. Snapshot that disk in Azure to back up your topics and persisted messages, and keep the OS patched with sudo apt update && sudo apt upgrade. The broker restarts cleanly with sudo systemctl restart pulsar, and the console with sudo systemctl restart pulsar-manager. The image ships fully patched against the Ubuntu 24.04 security baseline at publication.
Support
This image is backed by 24/7 cloudimg support. Contact us by email and chat for help with broker configuration, tenants and namespaces, TLS, authentication, geo-replication, persistence and backups.
All product and company names are trademarks or registered trademarks of their respective holders. Use of them does not imply any affiliation with or endorsement by them.