Appsmith on AWS User Guide
Overview
This image runs Appsmith Community Edition, the open source low-code platform for building internal tools, admin panels, dashboards and CRUD applications. Teams connect their databases and APIs, drag and drop UI widgets onto a canvas, bind them together with short JavaScript expressions, and ship an internal application in a fraction of the time a hand coded application would take.
Appsmith is delivered as the official all in one container, appsmith/appsmith-ce. A single container bundles the React based visual app builder client, the Spring Boot application server, the document database, the cache and the nginx web frontend, all supervised together. There are no external services to provision and no service wiring to do.
The platform frontend listens on port 80 for HTTP and port 443 for HTTPS. Appsmith generates a self signed certificate for HTTPS on first start; the HTTPS section of this guide covers swapping it for a real certificate once a domain points at the instance.
The platform stack data, which includes the bundled document database, the cache state, the configuration and the logs, is kept on a dedicated EBS data volume mounted at /opt/appsmith/stacks, separate from the operating system disk, so the data tier can be resized independently of the root volume.
On the first boot of every deployed instance a one shot service generates the datasource encryption secrets that Appsmith uses to encrypt the credentials it stores. These secrets are unique to each instance; two instances launched from the same Amazon Machine Image never share them. No shared encryption secret is baked into the image.
Prerequisites
Before you deploy this image you need:
- An Amazon Web Services account where you can launch EC2 instances
- IAM permissions to launch instances, create security groups, and subscribe to AWS Marketplace products
- An EC2 key pair in the target Region for SSH access to the instance
- A VPC and subnet in the target Region, with a security group allowing inbound port 22 from your management network and inbound port 80, and optionally port 443, from the networks that will reach the Appsmith app builder
- The AWS CLI (version 2) installed locally if you plan to deploy from the command line
Step 1: Launch the Instance from the AWS Marketplace
Sign in to the AWS Management Console, open the EC2 service, and select Launch instance. Under Application and OS Images choose AWS Marketplace AMIs and search for Appsmith. Select the cloudimg listing and choose Select, then Continue on the subscription summary.
Pick an instance type of m5.large or larger. The Appsmith all in one container runs a document database, a cache and a Java application server together, so it needs roughly 3 GB of RAM at a minimum; m5.large with 8 GB gives comfortable headroom for production use. Choose your EC2 key pair under Key pair (login). Under Network settings select your VPC and subnet, and either create or select a security group that allows inbound port 22 from your management network and inbound port 80 from the networks that will reach the app builder. Leave the root volume at the default size or larger.
Select Launch instance. First boot initialisation takes approximately one minute after the instance state becomes Running and the status checks pass, after which the Appsmith container starts. The container itself takes a further one to three minutes to become fully responsive on its first start.
Step 2: Launch the Instance from the AWS CLI
The following block launches an instance from the cloudimg Appsmith Marketplace AMI into an existing subnet and security group. Replace <ami-id> with the AMI ID shown on the Marketplace listing, <key-name> with your EC2 key pair name, <subnet-id> with your subnet ID, and <security-group-id> with a security group that opens ports 22 and 80 as described above.
aws ec2 run-instances \
  --image-id <ami-id> \
  --instance-type m5.large \
  --key-name <key-name> \
  --subnet-id <subnet-id> \
  --security-group-ids <security-group-id> \
  --block-device-mappings '[{"DeviceName":"/dev/sda1","Ebs":{"VolumeSize":30,"VolumeType":"gp3"}}]' \
  --tag-specifications 'ResourceType=instance,Tags=[{Key=Name,Value=appsmith-01}]'
The command prints a JSON document on success. Note the instance ID, then retrieve its public address once it is running with aws ec2 describe-instances --instance-ids <instance-id> --query "Reservations[].Instances[].PublicIpAddress" --output text.
Step 3: Connect Over SSH and Read the Access Information
Connect over SSH with the key pair you selected and the public IP address of the instance. The SSH login user depends on the operating system of the AMI variant you launched:
| AMI variant | SSH login user |
|---|---|
| Appsmith Community Edition on Ubuntu 24.04 | ubuntu |
The first boot service runs before the SSH daemon becomes ready, so the access information file is always in place when you log in for the first time.
ssh <login-user>@<public-ip>
sudo cat /stage/scripts/appsmith-access.log
The access file records the instance HTTP and HTTPS URLs and explains how to create the first administrator account. The following commands run on the instance and confirm the platform state. First, confirm the Appsmith service and its container are running:
systemctl is-active appsmith.service
sudo docker ps --filter name=appsmith --format '{{.Names}} {{.Status}}'
The service reports active and the container reports an Up status. Confirm the platform stack data is on its own dedicated volume:
findmnt /opt/appsmith/stacks
The output shows /opt/appsmith/stacks mounted from a separate device, which is the dedicated EBS data volume. Confirm the per instance encryption secrets were generated on first boot:
sudo grep -c '^APPSMITH_ENCRYPTION_PASSWORD=\|^APPSMITH_ENCRYPTION_SALT=' /opt/appsmith/stacks/configuration/docker.env
The output is 2, confirming that both the encryption password and the encryption salt were written into the configuration. These values are unique to this instance. Do not change them once datasources have been saved, or the credentials stored for those datasources become unreadable.
Finally, confirm the Appsmith REST API is responding:
curl -s -o /dev/null -w 'HTTP %{http_code}\n' http://127.0.0.1/api/v1/users/me
The API returns HTTP 200. The platform is ready.
Step 4: Create the First Administrator Account
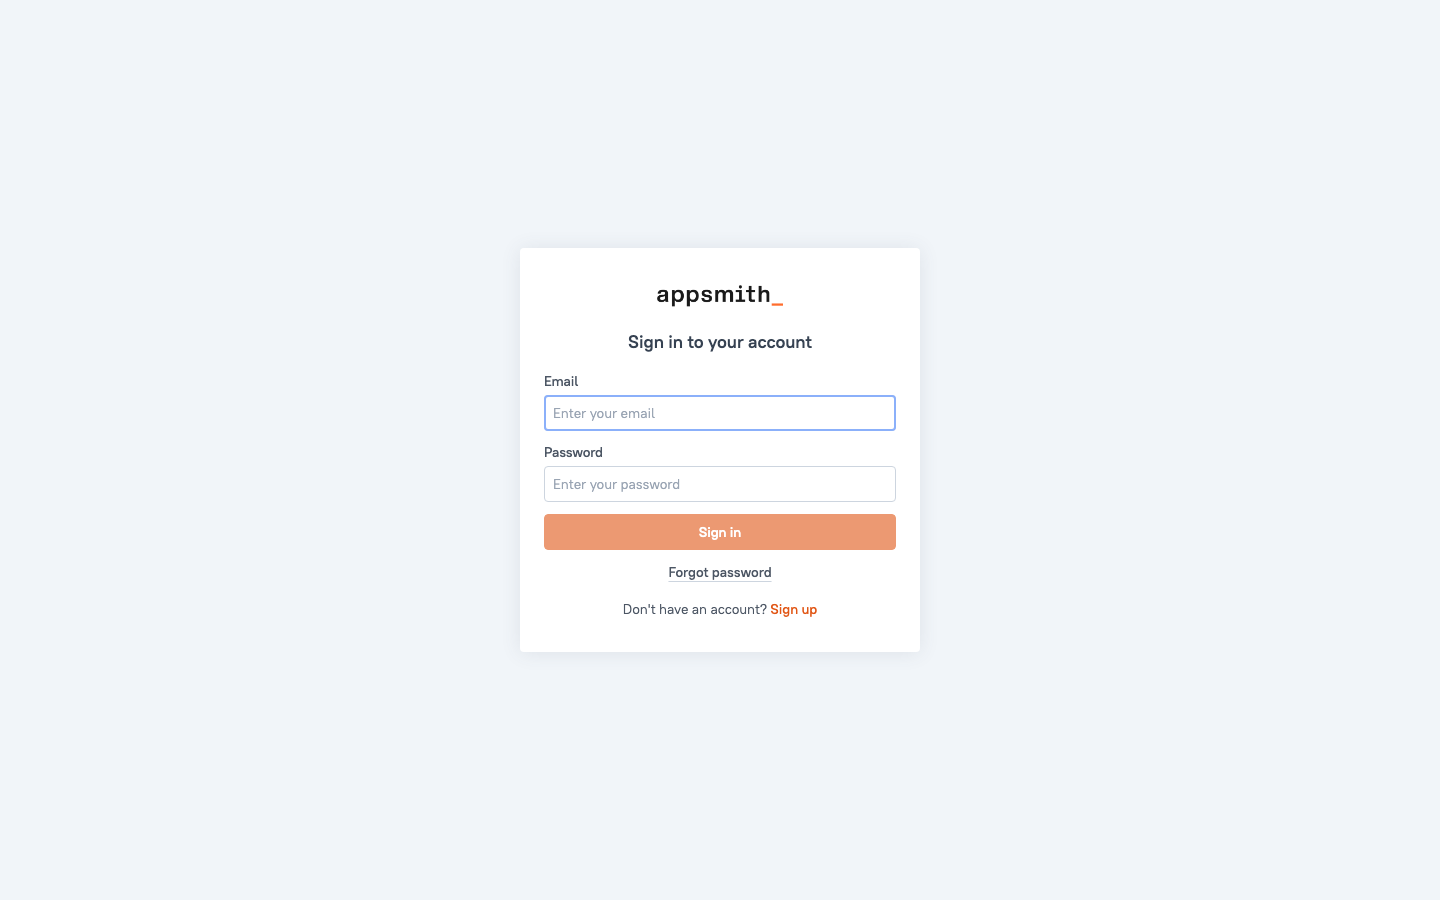
Open a web browser and navigate to the instance's public address over HTTP, for example http://<public-ip>/. Because Appsmith manages its own user accounts, the first visit to a freshly launched instance presents a sign up form. Complete the form with your name, email address and a password to create the first administrator account for this instance.
After the account is created, Appsmith asks two short questions about your experience level and intended use, then takes you into the platform. Every subsequent user is invited from the workspace interface rather than self registering, which keeps the instance private to your team.
Step 5: The Workspace and Applications
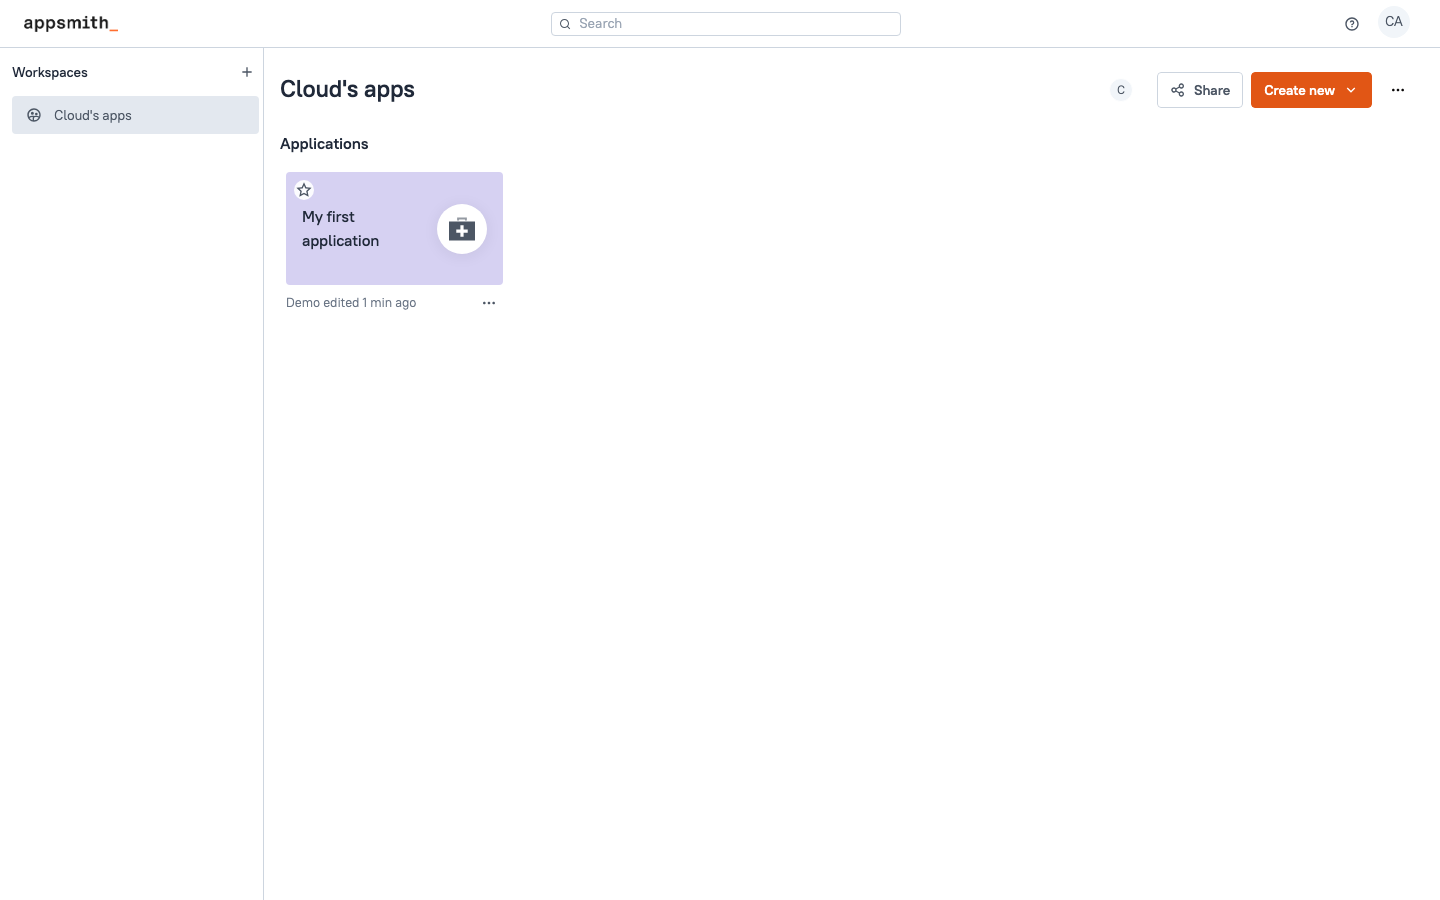
Once signed in you land on the workspace home, which lists every application built on this instance. A new instance starts with an empty workspace and a single starter application. From here you create new applications, organise them into workspaces, and invite team members.
Use Create new to start a fresh application, or open an existing application to continue editing it. To invite a colleague, open the workspace settings and add their email address with a role; they receive an invitation to join.
Step 6: Build an Internal Tool with the Visual App Builder
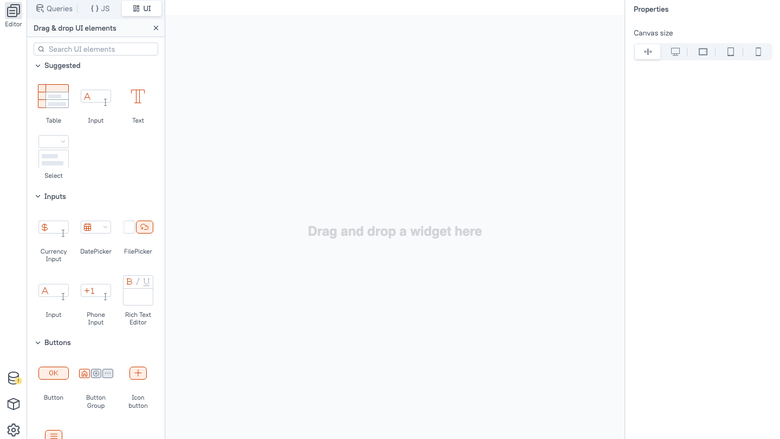
Opening an application for editing brings up the visual app builder. The builder has three areas: the entity explorer and widget palette on the left, the application canvas in the centre, and the property pane on the right.
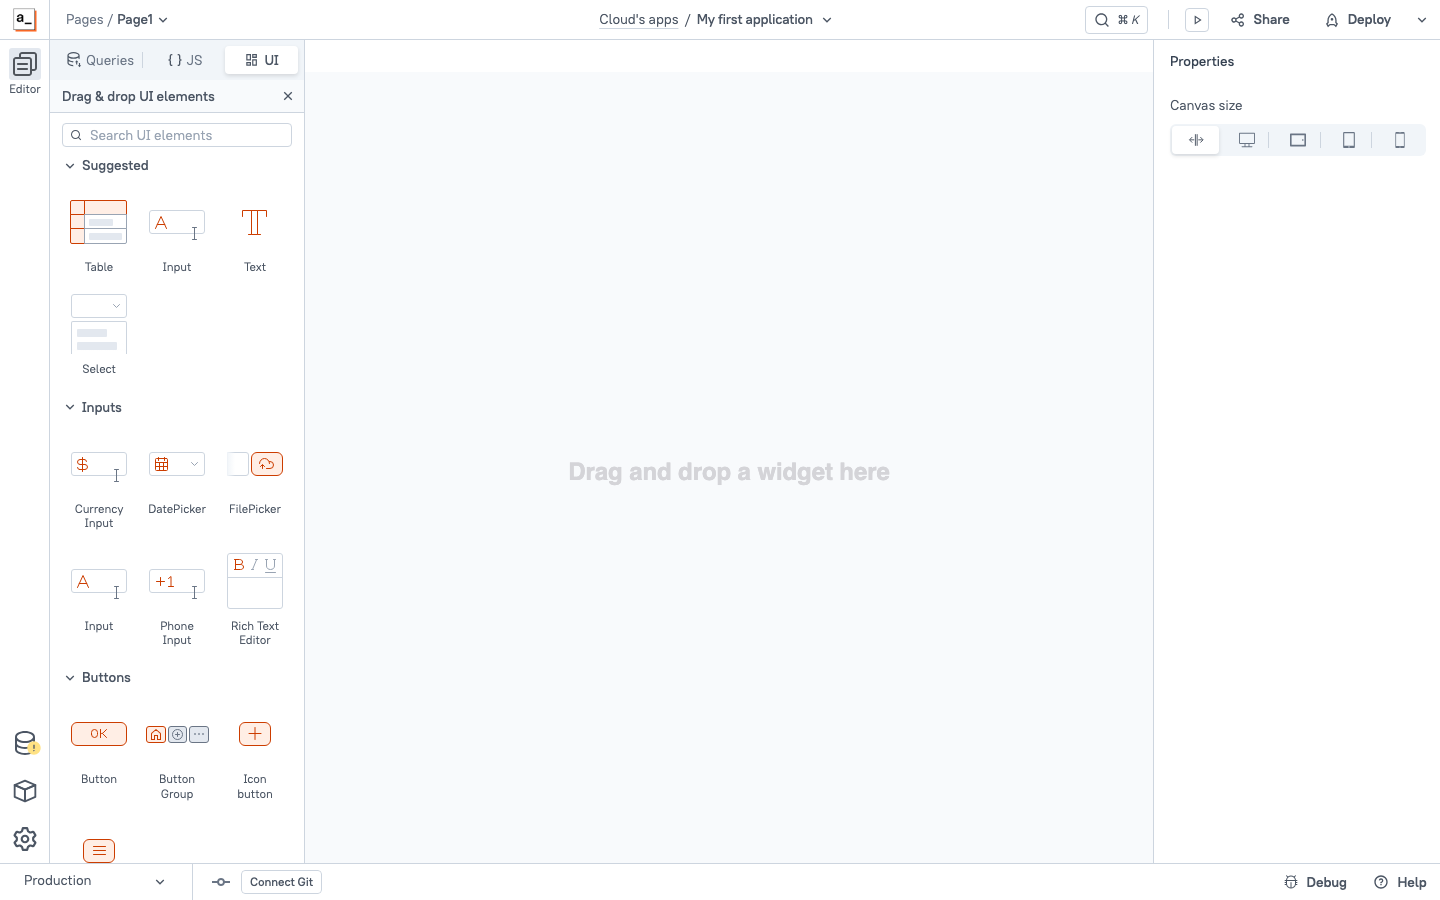
A typical internal tool is built in three moves. First, drag widgets such as a Table, an Input or a Button from the palette onto the canvas and arrange them. Second, create a query against a datasource and bind its result to a widget, for example binding a database query to a table's data property with a short JavaScript expression. Third, wire actions to events, for example running an update query when a button is clicked. The application is previewed live as you build, and is published to workspace members with the Deploy action.
Step 7: Connect a Datasource
Appsmith connects to relational databases such as PostgreSQL, MySQL and Microsoft SQL Server, to document databases, to REST and GraphQL APIs, and to many software as a service products. In the app builder, open the Queries section, choose New datasource, select the datasource type, and provide the connection details.
The credentials you enter for a datasource are encrypted by Appsmith before they are stored, using the per instance encryption secrets that were generated on this instance's first boot. Because those secrets never leave the instance and are never shared between instances, datasource credentials saved on one instance cannot be read on another.
For a database that runs inside your VPC, make sure the Appsmith instance's security group and the database's security group allow traffic between them on the database port. For a public API, no extra network configuration is needed.
Step 8: Enable HTTPS with a Real Certificate
Appsmith serves HTTPS on port 443 with a self signed certificate from first start, which browsers flag as untrusted. To serve a trusted certificate, point a domain name at the instance and let Appsmith obtain a Let's Encrypt certificate.
First, create a DNS A record for your domain that points at the instance's public IP address, and make sure the security group allows inbound port 443. Then run the Appsmith SSL helper inside the container, replacing the domain and email with your own:
sudo docker exec appsmith appsmithctl install-ssl your-domain your-email
The helper validates the domain, obtains a certificate from Let's Encrypt, installs it, and configures automatic renewal. After it completes, the platform is reachable over HTTPS at your domain with a trusted certificate.
Alternatively, you can terminate TLS at an upstream AWS load balancer such as an Application Load Balancer and forward plain HTTP to the instance on port 80.
Step 9: Runtime Configuration
Instance level runtime settings are read from /etc/default/appsmith, which is sourced by the Appsmith service. The defaults disable Appsmith telemetry and set a container memory ceiling. To change a setting, edit the file and restart the service:
sudo grep -E '^APPSMITH_' /etc/default/appsmith
The output lists the active settings. After editing the file, apply the change with sudo systemctl restart appsmith.service. Application level configuration, such as the SMTP mail server used to send invitation emails, is set from the admin settings inside the Appsmith interface and stored in the platform configuration on the data volume.
Step 10: Backup and Maintenance
All Appsmith data, including the bundled document database, lives under /opt/appsmith/stacks on the dedicated EBS data volume. Back up the platform by stopping the service briefly and archiving that directory, or by taking an EBS snapshot of the data volume.
sudo test -d /opt/appsmith/stacks/configuration && echo "stack data directory present"
The command confirms the stack data directory is in place. For a file level backup, stop the service with sudo systemctl stop appsmith.service, archive the directory with sudo tar czf /var/backups/appsmith-backup.tgz -C /opt appsmith, then start the service again with sudo systemctl start appsmith.service. Keep the docker.env file in configuration together with any backup, because it holds the encryption secrets needed to read stored datasource credentials.
To restart the platform at any time, run sudo systemctl restart appsmith.service. To view the platform logs, run sudo docker logs appsmith or inspect the log files under /opt/appsmith/stacks/logs.
Screenshots

The Appsmith sign in page where the first administrator account is created on first visit.
Building an internal tool by dragging widgets onto the Appsmith canvas and binding them to queries.
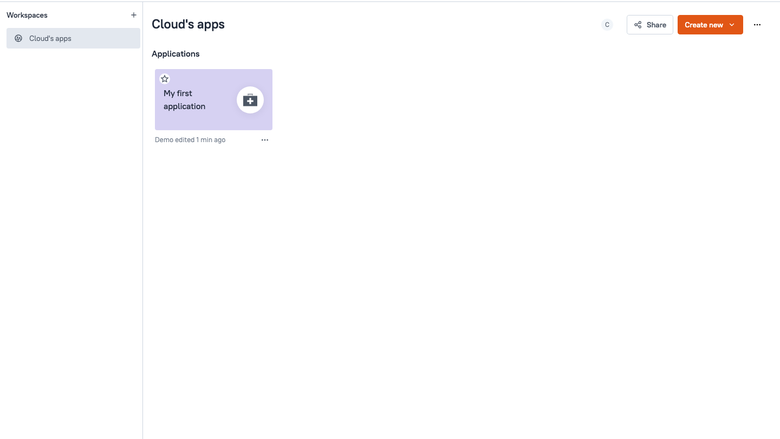
The Appsmith workspace home listing the internal tools and dashboards built on this instance.
Support
This Appsmith image is published by cloudimg with 24/7 technical support by email and chat. Support covers platform deployment, datasource configuration, application building, TLS setup, upgrades and storage management. Contact details and the current support policy are available on the cloudimg AWS Marketplace listing.