Appwrite on Ubuntu 24.04 on Azure User Guide
Overview
Appwrite is an open source backend as a service platform — a self-hosted Firebase alternative that gives developers a complete backend out of the box: user authentication with many login methods, a hosted database with per-document permissions, file storage, serverless functions, messaging and realtime subscriptions, all behind a clean REST, GraphQL and Realtime API and a polished web Console. The cloudimg image installs Appwrite 1.9.0 as the official self-host Docker Compose stack and runs it as a systemd service, so a complete backend is online within minutes of launch.
What is included:
- Appwrite 1.9.0 (BSD-3-Clause) deployed from the official self-host Docker Compose stack, pinned so the image never silently upgrades at build time
- Docker Engine (Docker CE) + the Docker Compose plugin, installed from the official Docker package repository
- The Appwrite Compose stack: the
appwriteAPI container, the Console SPA, the realtime websocket service and the full set of worker containers (audits, webhooks, deletes, databases, builds, certificates, functions, mails, messaging, migrations, maintenance and scheduler, a headless browser and the OpenRuntimes executor), withappwrite-mongodbas the database andappwrite-redisfor the cache, queues and pub/sub - The bundled Traefik reverse proxy (
appwrite-traefik) publishing the Console and the API on port 80 (and 443) - All stateful data — the MongoDB database, the Redis data and every uploaded file and storage volume — on a dedicated 40 GiB data disk mounted at
/var/lib/appwrite(Docker's data-root is relocated there), independently resizable and re-provisioned on every VM - A per-VM Console root account (email + a generated password) created at first boot, with Console registration locked to that account
- Two systemd units:
appwrite.service(a oneshot wrapper arounddocker compose up -d) andappwrite-firstboot.service - 24/7 cloudimg support
Prerequisites
An active Azure subscription, an SSH key, and a VNet + subnet. Standard_B4ms (4 vCPU / 16 GB RAM) is the recommended size — comfortable for the ~25-container Appwrite stack. NSG inbound rules: allow 22/tcp from your management CIDR for SSH and 80/tcp from the CIDR that needs the Appwrite Console and API (add 443/tcp if you enable HTTPS).
Step 1: Connect over SSH
Replace <vm-ip> with the public IP of your VM. The default login user is azureuser.
ssh azureuser@<vm-ip>
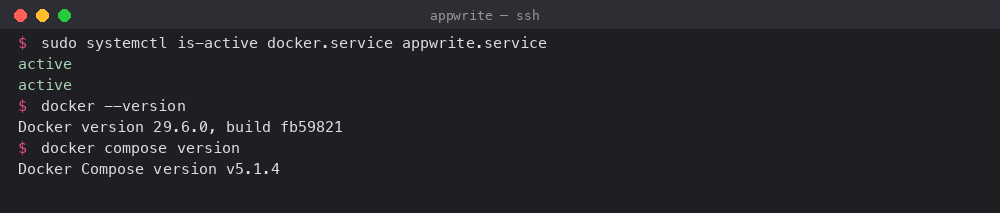
Step 2: Confirm the services are active
sudo systemctl is-active docker.service appwrite.service
docker --version
docker compose version
You should see active printed twice, the Docker Engine version, and the Docker Compose v2 plugin version.
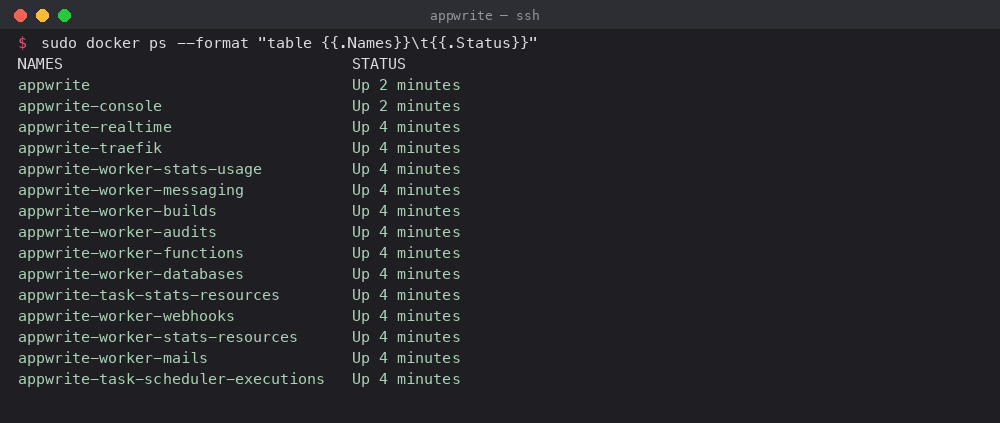
Step 3: Confirm the Appwrite containers are running
sudo docker ps --format "table {{.Names}}\t{{.Status}}"
You should see the core containers — appwrite, appwrite-traefik, appwrite-mongodb and appwrite-redis — along with the Appwrite worker containers, all in the Up / healthy state.
Step 4: Confirm the data disk is mounted
All stateful Appwrite data lives on a dedicated data disk mounted at /var/lib/appwrite.
findmnt /var/lib/appwrite
df -h /var/lib/appwrite
findmnt shows the device backing /var/lib/appwrite and df confirms the 40 GiB volume.

Step 5: Check the Appwrite health endpoint
The Appwrite health endpoint is served unauthenticated through the bundled Traefik proxy on port 80 and returns the running version.
curl -s http://localhost/v1/health/version
A JSON document with the Appwrite version confirms the API is up.
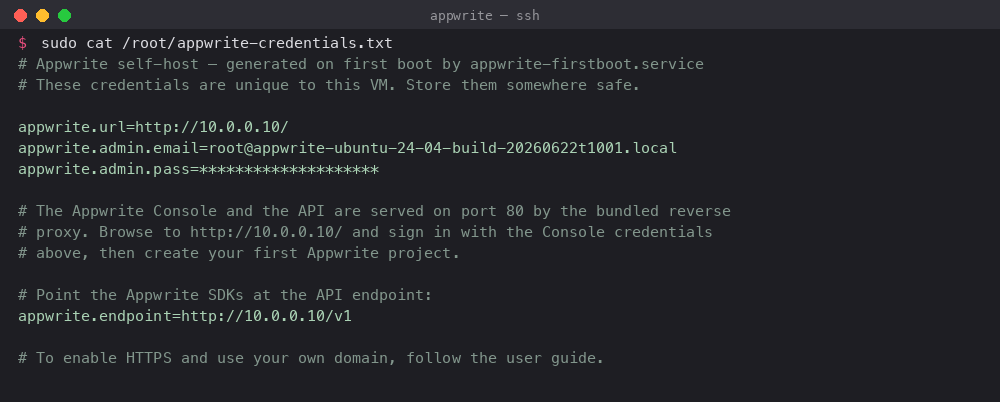
Step 6: Read the per-VM Console credentials
A unique Console root email and password are generated for your instance on its first boot and written to a root-only file. Console registration is locked to this root account — it is the only login until you invite more users from the Console.
sudo cat /root/appwrite-credentials.txt
This file lists appwrite.url (where to sign in), appwrite.admin.email, appwrite.admin.pass and the appwrite.endpoint you point the SDKs at. Store the password somewhere safe.
Step 7: Sign in to the Appwrite Console
Browse to http://<vm-ip>/ and sign in with the appwrite.admin.email and appwrite.admin.pass from Step 6. The Console and the API are served on port 80 by the bundled reverse proxy.
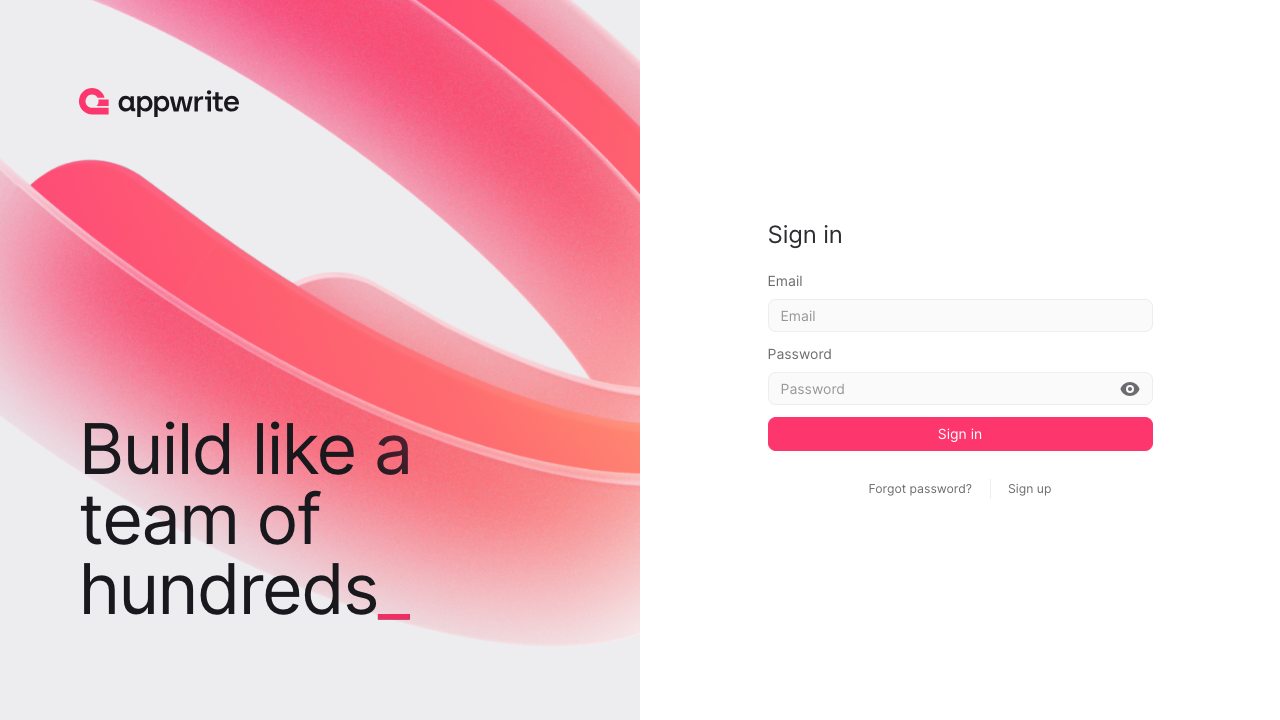
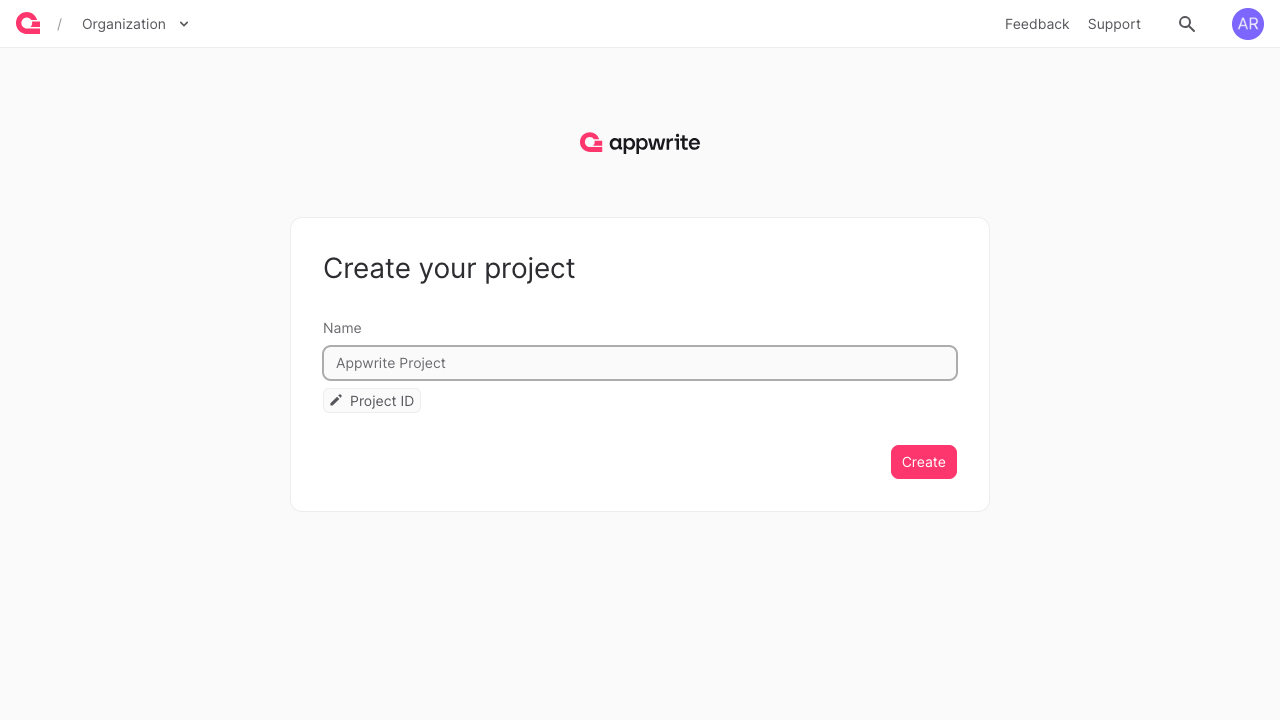
After signing in you land on the projects overview. Create your first Appwrite project to start building.
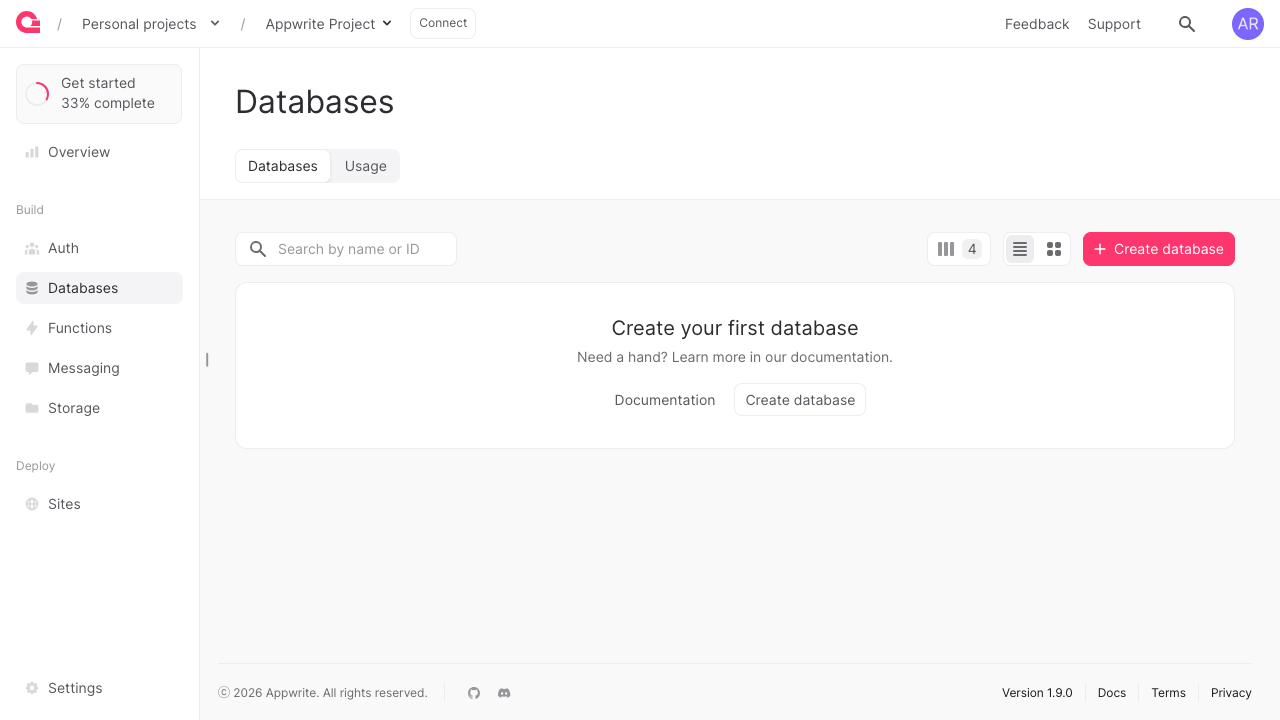
Step 8: Build your backend in the Console
Inside a project you can model your data in the database (collections with attributes, indexes and per-document permissions), manage users and teams in Auth, store and serve files in Storage, write serverless functions, and subscribe to realtime events.
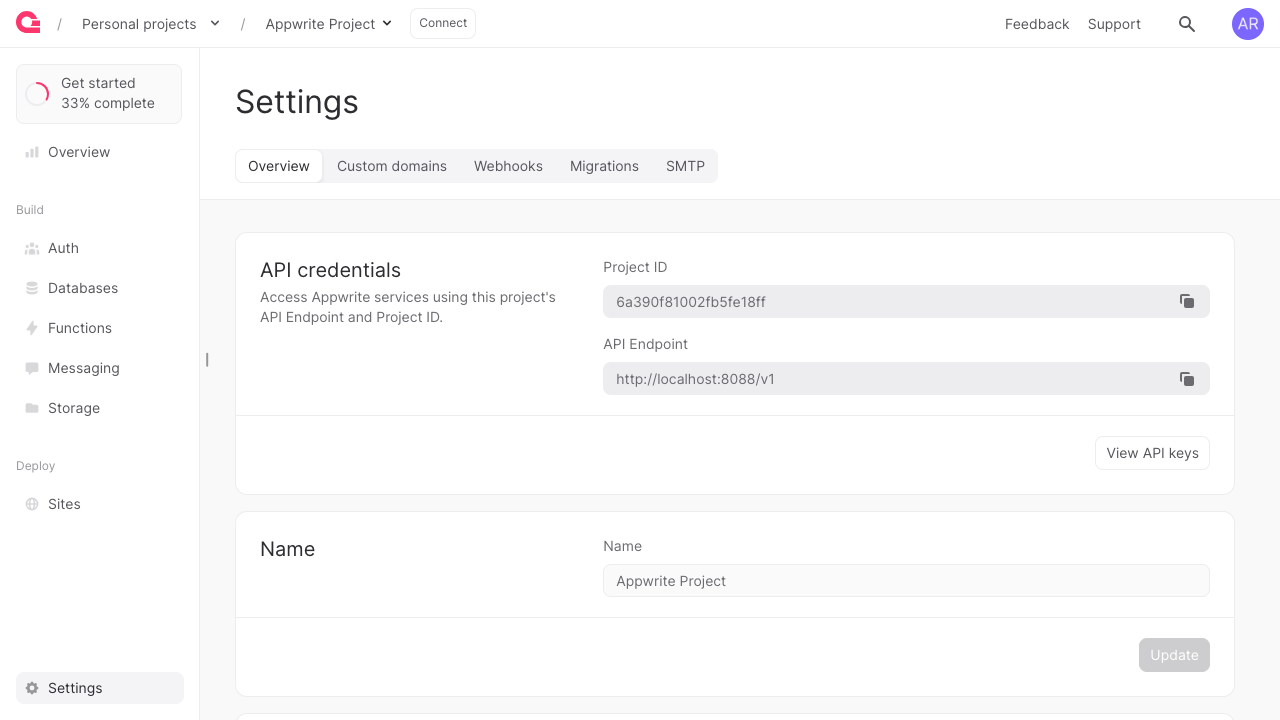
The project settings and API keys view is where you retrieve the project id and create the API keys your applications use.
Step 9: Connect the Appwrite SDKs
Point the Appwrite client and server SDKs at http://<vm-ip>/v1, using the project id and an API key created in the Console. For example, with the Node.js server SDK:
const { Client } = require("node-appwrite");
const client = new Client()
  .setEndpoint("http://<vm-ip>/v1")
  .setProject("<your-project-id>")
  .setKey("<your-api-key>");
The same endpoint serves the REST, GraphQL and Realtime APIs.
Step 10: Manage the stack
The whole stack is managed by the appwrite.service systemd unit, which wraps docker compose under /opt/appwrite.
sudo systemctl restart appwrite.service
sudo systemctl status appwrite.service --no-pager
To inspect logs for a specific container:
cd /opt/appwrite && sudo docker compose logs --tail 50 appwrite
Enabling HTTPS on your own domain
The image serves plain HTTP on port 80 out of the box. To serve the Console and the API over HTTPS on your own domain, point an A record at the VM public IP, then set _APP_DOMAIN, _APP_CONSOLE_HOSTNAMES and _APP_OPTIONS_FORCE_HTTPS=enabled in /opt/appwrite/.env and restart appwrite.service. Appwrite's bundled Traefik then requests and renews a Let's Encrypt certificate automatically. Add 443/tcp to your NSG inbound rules.
First-boot security model
On the first boot of each VM, appwrite-firstboot.service runs once and:
- Rotates every per-VM secret in the stack — the API encryption key (
_APP_OPENSSL_KEY_V1), the OpenRuntimes executor secret, and the MongoDB and Redis passwords - Resolves the VM public IP via Azure IMDS and points the request-host allowlist (
_APP_DOMAIN/_APP_CONSOLE_HOSTNAMES) at it, so the Console and API are reachable by IP - Recreates the Compose stack on a fresh, empty database and creates a fresh Console root account with a generated password, locking Console registration to it
- Writes the credentials to
/root/appwrite-credentials.txt(root-only, mode 0600)
No shared or default secret and no preexisting login ship in the image.
Support
24/7 technical support is included. Contact cloudimg at support@cloudimg.co.uk for help with deployment, projects and API keys, authentication providers, the database and permissions model, storage, serverless functions, messaging, realtime, TLS and backups.
Appwrite is a trademark of Appwrite, Inc. MongoDB is a trademark of MongoDB, Inc. Redis is a trademark of Redis Ltd. All other product and company names are trademarks or registered trademarks of their respective holders. Use of them does not imply any affiliation with or endorsement by them.