
Authgear Identity Provider on AWS User Guide
Overview
This image runs Authgear, the open source authentication server and identity provider. Authgear implements the OpenID Connect and OAuth 2 standards, so your web and mobile applications delegate sign in to Authgear and receive standard tokens back. It supports passwords, passwordless email and SMS one time codes, passkeys and biometric login, social and enterprise single sign on, and multi factor authentication, together with a full admin portal for managing users, applications, providers and security policy.
The appliance runs the pinned upstream Authgear server and admin portal as systemd managed Docker services, backed by a local PostgreSQL 16 database and Redis on the same instance. A system nginx reverse proxy terminates TLS and is the only thing published on the network: the end user auth pages and OIDC endpoints are served over HTTPS on port 443, and the admin portal over HTTPS on port 8443. The Authgear server, resolver and admin GraphQL API, the portal, PostgreSQL and Redis are all bound to loopback and never exposed directly.
There are no default credentials, signing keys or certificates in the image. On the first boot of every deployed instance a fresh PostgreSQL password, Redis password, OAuth and admin API signing keys, a unique administrator account and a per instance self signed TLS certificate are all generated, the database is migrated, the project is configured, and everything is written to /root/authgear-credentials.txt with mode 0600. The identity data of record lives in PostgreSQL on a dedicated, independently resizable EBS data volume mounted at /var/lib/postgresql, separate from the operating system disk.
Prerequisites
Before you deploy this image you need:
- An Amazon Web Services account where you can launch EC2 instances
- IAM permissions to launch instances, create security groups, and subscribe to AWS Marketplace products
- An EC2 key pair in the target Region for SSH access to the instance
- A VPC and subnet in the target Region, with a security group allowing inbound port 22 from your management network and inbound ports 443 and 8443 from the networks your users and administrators will reach Authgear on
- The AWS CLI (version 2) installed locally if you plan to deploy from the command line
- For production and for passkeys: a DNS name you control and a CA signed TLS certificate (covered in Step 8)
Step 1: Launch the Instance from the AWS Marketplace
Sign in to the AWS Management Console, open the EC2 service, and select Launch instance. Under Application and OS Images choose AWS Marketplace AMIs and search for Authgear. Select the cloudimg listing and choose Select, then Continue on the subscription summary.
Pick an instance type of m5.large or larger - Authgear runs the server and portal containers alongside PostgreSQL and Redis and benefits from memory. Choose your EC2 key pair under Key pair (login). Under Network settings select your VPC and subnet, and either create or select a security group that allows inbound port 22 from your management network and inbound ports 443 and 8443 from the networks your users and administrators use. Leave the root volume at the default size or larger; the identity database is stored on the separate data volume.
Select Launch instance. First boot initialisation takes approximately three to five minutes after the instance state becomes Running (Authgear rotates every secret, generates its signing keys and TLS certificate, initialises the database, runs its migrations and creates the administrator on first boot).
Step 2: Launch the Instance from the AWS CLI
The following block launches an instance from the cloudimg Authgear Marketplace AMI into an existing subnet and security group. Replace the AMI ID with the one shown on the Marketplace listing, <key-name> with your EC2 key pair name, <subnet-id> with your subnet ID, and <security-group-id> with a security group that opens ports 22, 443 and 8443 as described above.
aws ec2 run-instances \
  --image-id ami-0example1234567890 \
  --instance-type m5.large \
  --key-name <key-name> \
  --subnet-id <subnet-id> \
  --security-group-ids <security-group-id> \
  --tag-specifications 'ResourceType=instance,Tags=[{Key=Name,Value=authgear}]'
Step 3: Connect to your instance over SSH
Connect as the default login user for your operating system variant. The private key is your EC2 key pair.
| OS variant | SSH login user |
|---|---|
| Ubuntu 24.04 | ubuntu |
ssh -i /path/to/your-key.pem ubuntu@<public-ip>
Step 4: Retrieve the per instance administrator credentials
Every instance generates its own administrator account, database and Redis passwords, signing keys and TLS certificate on first boot and writes them to a root owned file. Retrieve them over SSH:
sudo cat /root/authgear-credentials.txt
This prints the admin portal URL, the administrator email and password, the app URL, the app host and the OIDC discovery URL, all unique to this instance.
Step 5: Verify the stack is healthy
Confirm every service is active and the OIDC provider is serving. These commands run on the instance:
sudo systemctl is-active postgresql redis-server docker nginx authgear-server authgear-portal
curl -s -o /dev/null -w 'authgear-server healthz: HTTP %{http_code}\n' http://127.0.0.1:3000/healthz
The OIDC discovery document is served through the nginx TLS front. This reads the instance's own app host from the credentials file and requests the discovery document over HTTPS:
HOST=$(sudo grep '^AUTHGEAR_APP_HOST=' /root/authgear-credentials.txt | cut -d= -f2-)
curl -sk -H "Host: $HOST" https://127.0.0.1/.well-known/openid-configuration | jq '{issuer, authorization_endpoint, token_endpoint, jwks_uri}'
The issuer is your instance's HTTPS public origin, and the standard OpenID Connect endpoints are listed - this is the document your applications use to discover Authgear.
Step 6: Sign in to the admin portal
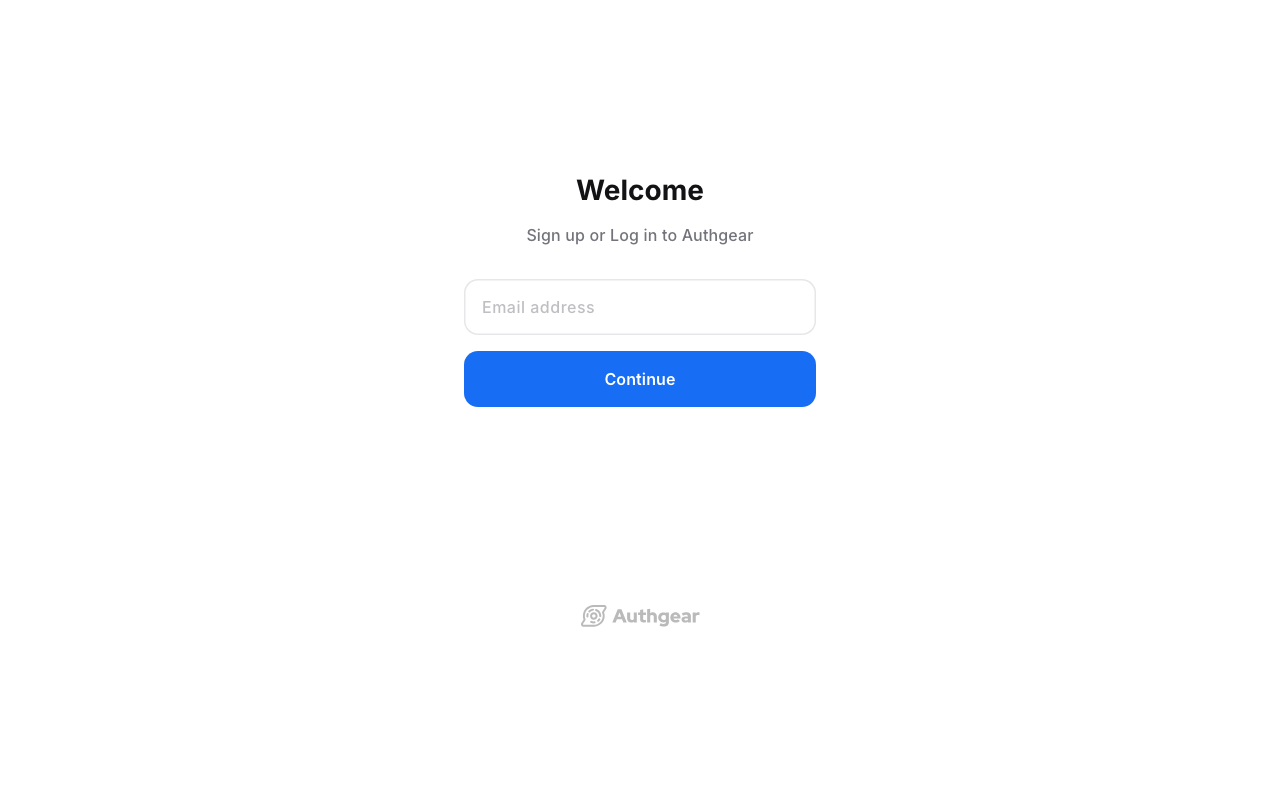
Browse to the admin portal at https://<public-ip>:8443/. Because the default certificate is self signed, your browser will warn you the first time - proceed past the warning for now (Step 8 replaces the certificate with your own). Sign in with the administrator email and password from Step 4.
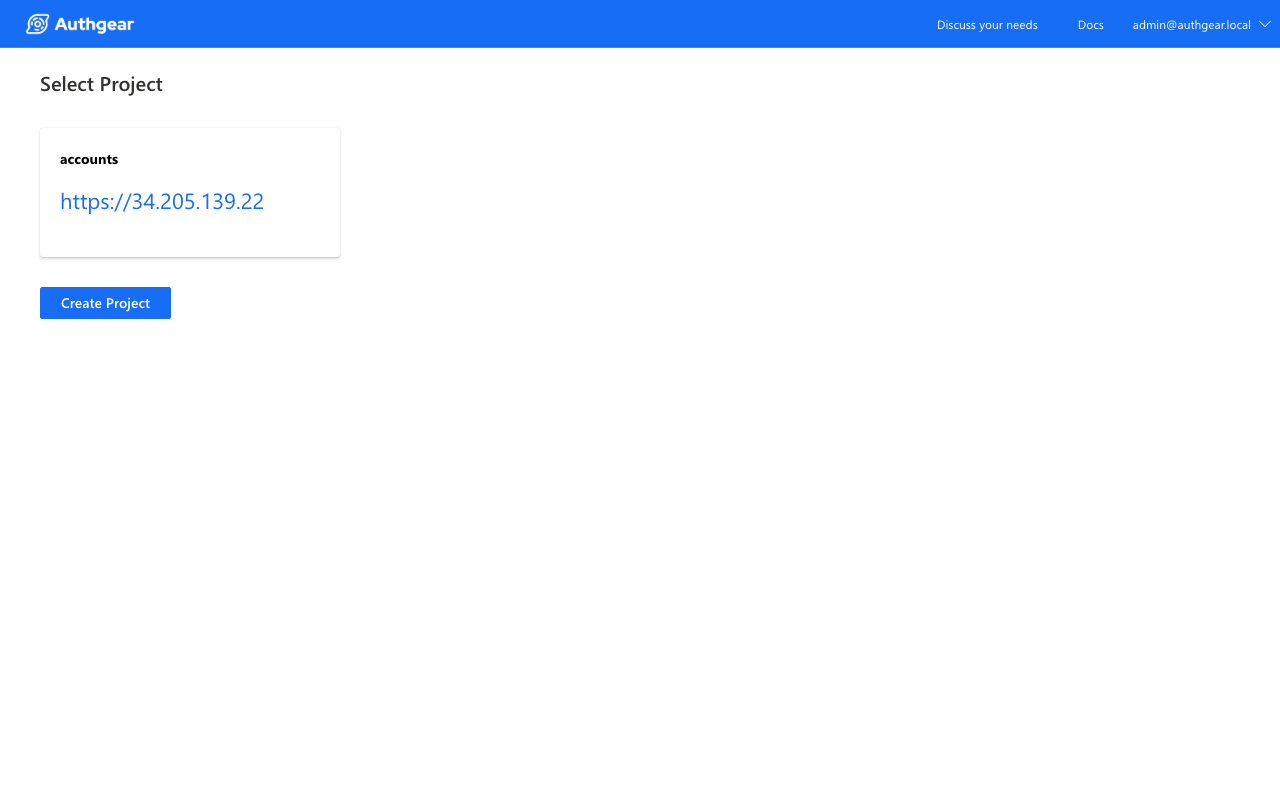
After signing in you land on the project chooser. This appliance ships one project, accounts, whose public origin is your instance's HTTPS URL.
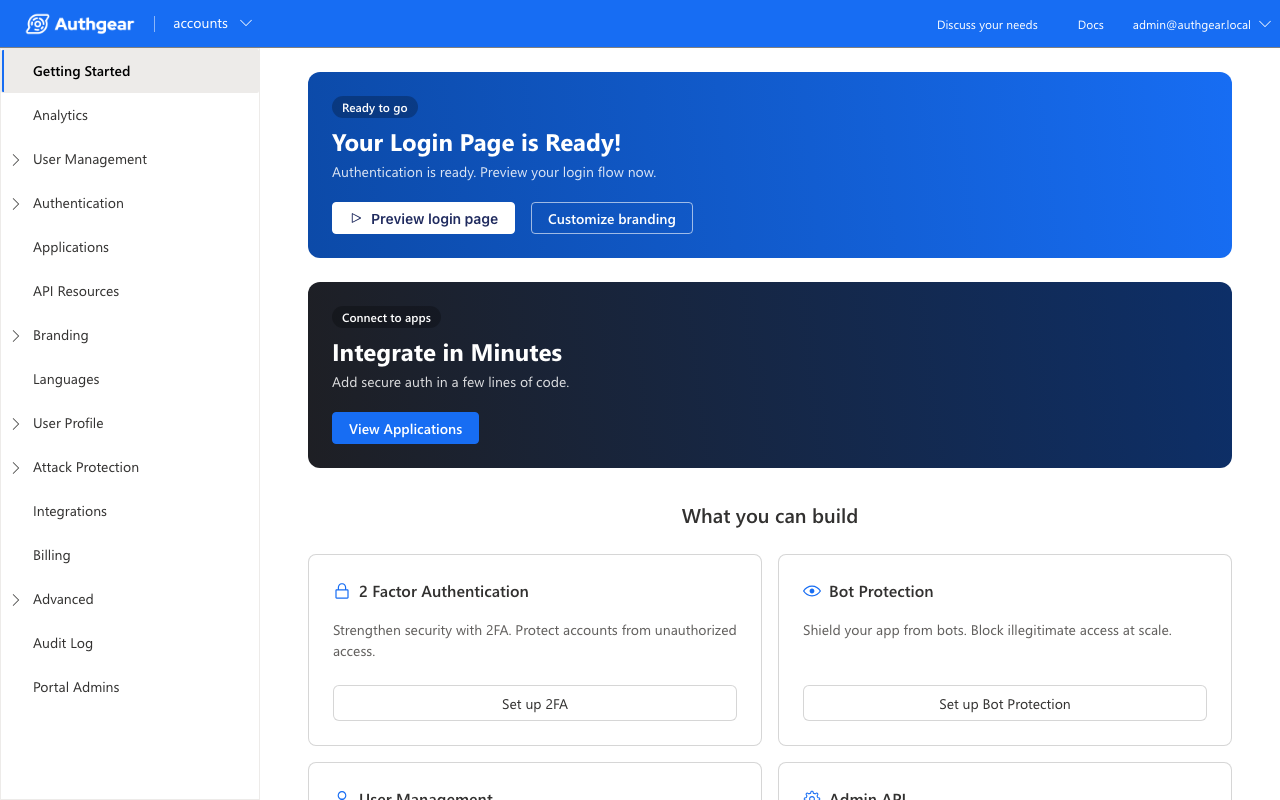
Open the project to reach the console. The Getting Started screen links to your live login page and to every area of the product - user management, authentication methods, applications, branding, two factor authentication and bot protection.
Step 7: Manage users and applications
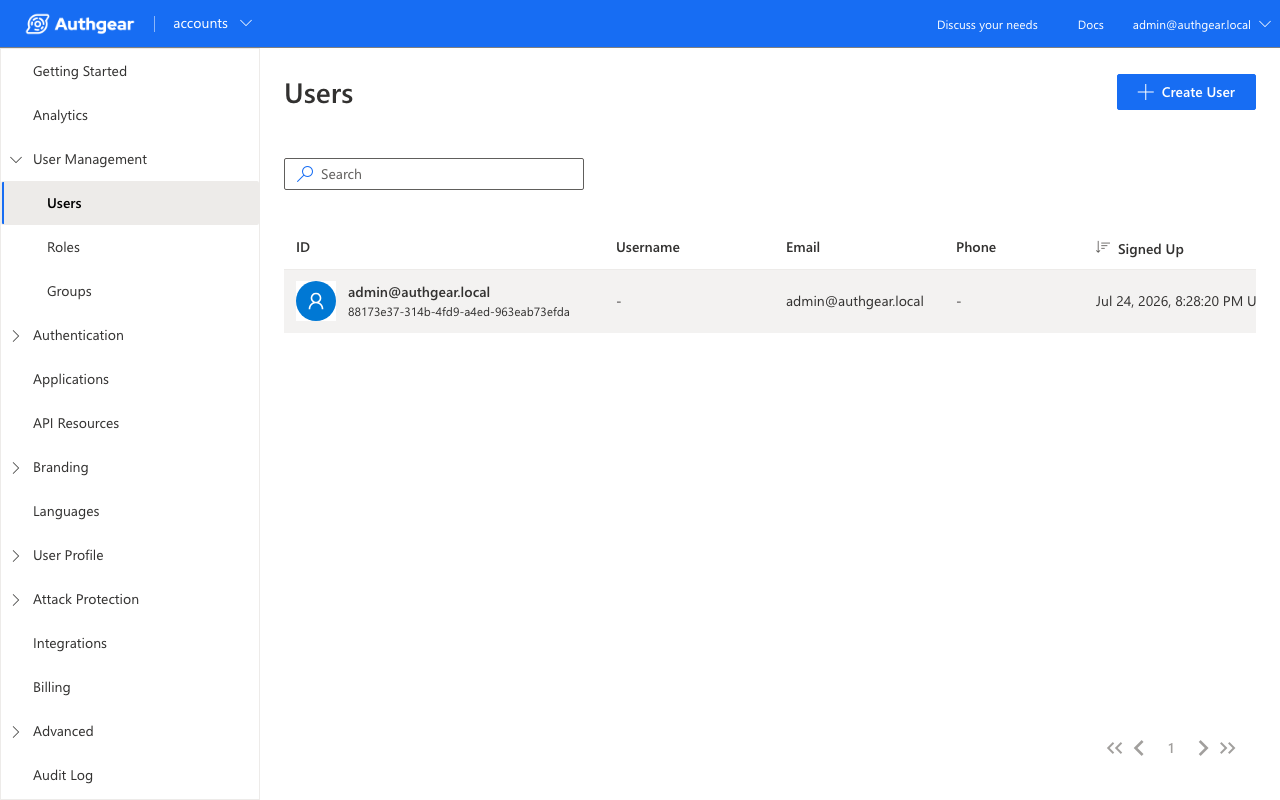
Under User Management -> Users you can see, search, create and manage the identities in your directory. The administrator account created on first boot is listed here.
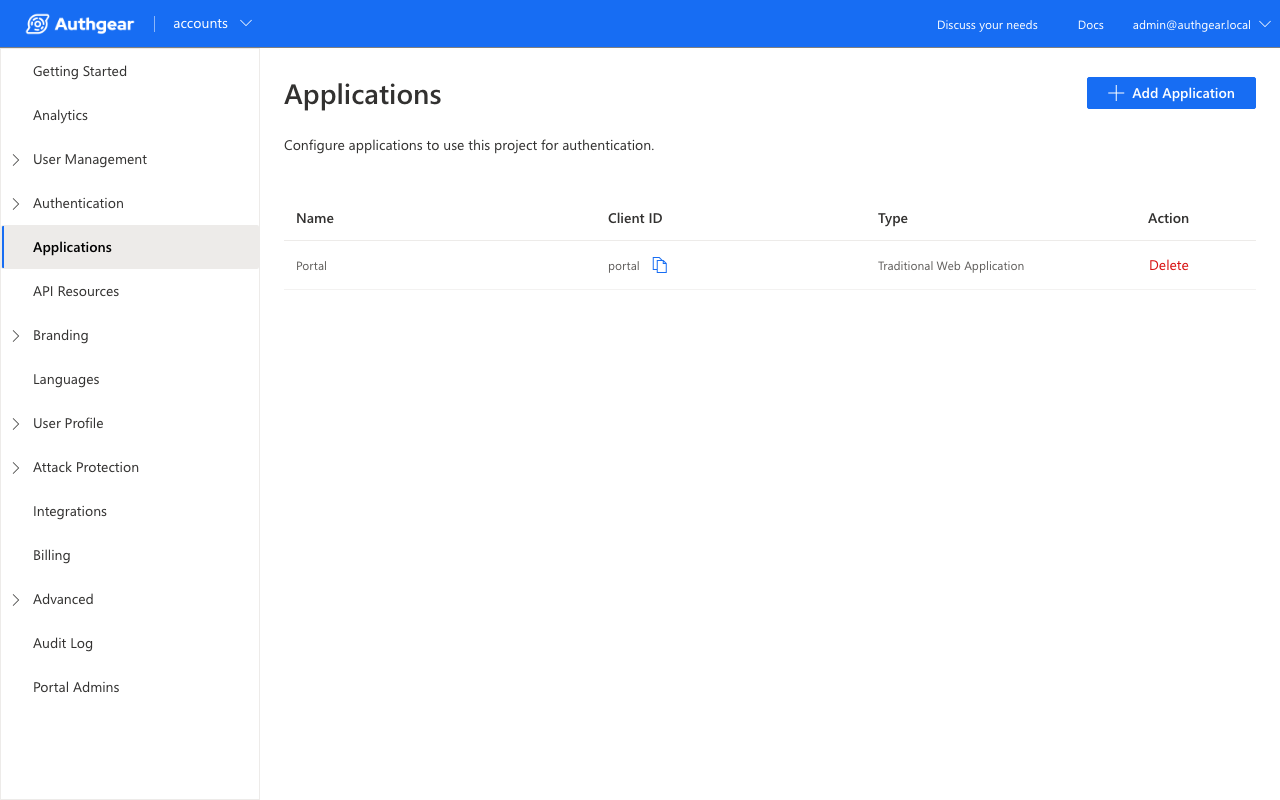
Under Applications you register the OpenID Connect and OAuth 2 clients your own web and mobile applications use to authenticate against Authgear. Each client has a client ID and, for confidential clients, a client secret, plus redirect URIs.
Step 8: Put Authgear on your own domain with a CA signed certificate
The image ships with a per instance self signed certificate so nothing is served in plaintext, but browsers do not trust it and passkeys require a real DNS name rather than a bare IP address. For production, point a DNS name you control at the instance, install a CA signed certificate, and set that domain as the public origin.
- Create a DNS
Arecord (for exampleauth.your-domain.com) pointing at the instance's public IP, and a second record for the portal if you wish (for exampleauthportal.your-domain.com). - Obtain a certificate for those names (for example with your own ACME client or an AWS Certificate Manager certificate on a load balancer in front of the instance) and place the certificate and key at
/etc/authgear/tls/cert.pemand/etc/authgear/tls/key.pemon the instance. - Set the public origin to your domain. Edit the project config so
http.public_originishttps://auth.your-domain.com, re register the app domain in the admin portal under the project's custom domains, and reload nginx withsudo systemctl reload nginx.
For the full configuration reference for custom domains, redirect URIs and passkeys, see the Authgear documentation at https://docs.authgear.com/.
Step 9: Connect an application
Your application delegates sign in to Authgear using OpenID Connect. Point your OIDC client library at the discovery document (https://<public-ip>/.well-known/openid-configuration), register the application under Applications in the admin portal, and configure the redirect URI your application expects. Authgear then handles the sign in, sign up, multi factor and passkey flows and returns standard ID and access tokens to your application.
Step 10: The admin GraphQL API
Authgear exposes a GraphQL admin API for automation (creating users, assigning roles, and so on). On this image it is bound to loopback 127.0.0.1:3002 and is not published to the network; drive it over SSH or from code running on the instance, authenticating with the per instance admin API signing key. See https://docs.authgear.com/reference/apis/admin-api for the schema.
Backup and maintenance
- Identity data lives in PostgreSQL on the dedicated EBS volume mounted at
/var/lib/postgresql. Snapshot that EBS volume, or take a logical dump, on your normal schedule. - Services run under systemd:
sudo systemctl status authgear-server authgear-portal nginx postgresql redis-server docker. - Operating system updates are delivered by Ubuntu unattended security upgrades. Reboot during a maintenance window to apply kernel updates.
- The public origin follows the instance IP automatically on each boot; if you have set a custom domain (Step 8) it is preserved.
Support
This image is maintained by cloudimg with 24/7 support covering deployment, DNS and TLS configuration, provider setup, upgrades and troubleshooting. Authgear is distributed under the Apache License 2.0. cloudimg is not affiliated with or endorsed by the Authgear project.