
Beszel on Ubuntu 24.04 on Azure User Guide
Overview
Beszel is the open-source, lightweight server and container monitoring hub — a clean web dashboard with historical CPU, memory, disk, network and temperature metrics, configurable alerts and a multi-system overview. Lightweight agents report metrics back to the hub, including Docker container statistics, and the whole stack is deployable entirely within your own VNet.
The Beszel hub is a single Go binary that serves both the REST API and the web UI. It is a PocketBase application with an embedded SQLite datastore. The cloudimg image runs the hub behind nginx as a reverse proxy: the hub listens on 127.0.0.1:8090 and is reached through nginx on port 80 (and 443 once you add TLS). A Beszel agent is also preinstalled on this host so you can monitor the server itself out of the box once you add it in the dashboard.
On the first boot of every deployed VM, a one-shot service recreates the datastore (which yields fresh per-instance signing keys) and creates a single administrator account with a per-VM password. The login is written to /root/beszel-credentials.txt with mode 0600. Beszel has no default administrator and no shared credentials ship in the image. Backed by 24/7 cloudimg support.
What is included:
- Beszel hub v0.18 (single Go binary at
/usr/local/bin/beszel) behind an nginx reverse proxy on:80(hub bound to loopback:8090) - A preinstalled Beszel agent (
beszel-agent.service) so this host can monitor itself once you add it in the dashboard - A dedicated Azure data disk at
/var/lib/beszelholdingpb_data— the embedded SQLite metrics database, PocketBase config and per-instance signing keys — separate from the OS disk and re-provisioned with every VM - Per-VM administrator login generated at first boot, in a root-only file
beszel.service+nginx.serviceas systemd units, enabled and active- 24/7 cloudimg support
Prerequisites
An active Azure subscription, an SSH key pair, and a VNet + subnet in the target region. Standard_B2s (2 vCPU / 4 GiB RAM) is a good starting point; scale up when monitoring many systems. NSG inbound: allow 22/tcp from your management network and 80/tcp (plus 443/tcp once you enable TLS) from the networks your users reach the dashboard on.
Step 1 — Deploy from the Azure Marketplace
Sign in to the Azure Portal, choose Create a resource, search the Marketplace for Beszel by cloudimg, and select Create. On Basics pick your subscription, resource group, region and size; under Administrator account choose SSH public key and paste your key; under Inbound port rules allow SSH (22) and HTTP (80). Review the dedicated data disk on the Disks tab, then Review + create → Create.
Step 2 — Deploy from the Azure CLI
# Accept the Marketplace terms once per subscription (required before the first CLI deploy)
az vm image terms accept --urn cloudimg1647283583153:beszel-ubuntu-24-04:default:latest

az vm create \
  --resource-group <your-rg> \
  --name beszel \
  --image cloudimg1647283583153:beszel-ubuntu-24-04:default:latest \
  --size Standard_B2s \
  --admin-username azureuser \
  --ssh-key-values ~/.ssh/id_ed25519.pub \
  --vnet-name <your-vnet> --subnet <your-subnet> \
  --public-ip-sku Standard

az vm open-port --resource-group <your-rg> --name beszel --port 80 --priority 1010
First boot initialisation takes under a minute after the VM reaches the Running state.
Step 3 — Connect and retrieve the administrator login
Connect over SSH as azureuser (or the administrator account you chose) with the VM's public IP:
ssh azureuser@<vm-public-ip>
The administrator email and password are generated uniquely on this VM during first boot and written to a root-only file. Retrieve them with:
sudo cat /root/beszel-credentials.txt
The file contains the hub URL, the administrator email (beszel.admin.user) and the per-VM password (beszel.admin.pass). Keep these somewhere safe.

Step 4 — Confirm the services are running
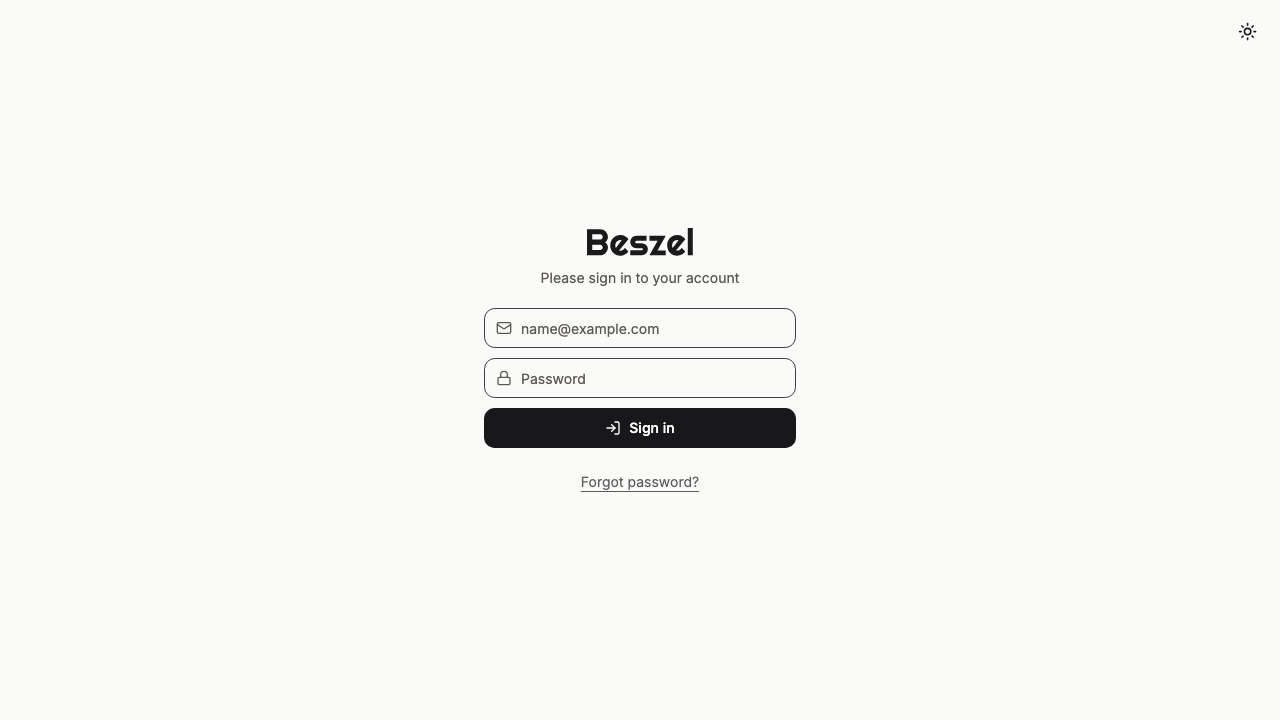
Beszel is delivered as two systemd services: the hub (beszel.service) and the nginx reverse proxy (nginx.service). A Beszel agent (beszel-agent.service) is also installed so the host can monitor itself. Confirm the hub and proxy are active:
systemctl is-active beszel.service nginx.service
Both report active. Confirm the hub binary version:
/usr/local/bin/beszel --version
This prints beszel version 0.18.7. The hub exposes an open health endpoint through nginx; check it returns an HTTP 200 with a healthy message:
curl -s http://localhost/api/health
The response is {"message":"API is healthy.","code":200,"data":{}}. You can confirm the listening sockets — nginx on port 80 and the hub bound to loopback on 8090:
sudo ss -tlnp | grep -E ':80|:8090'
Step 5 — Sign in to the web dashboard
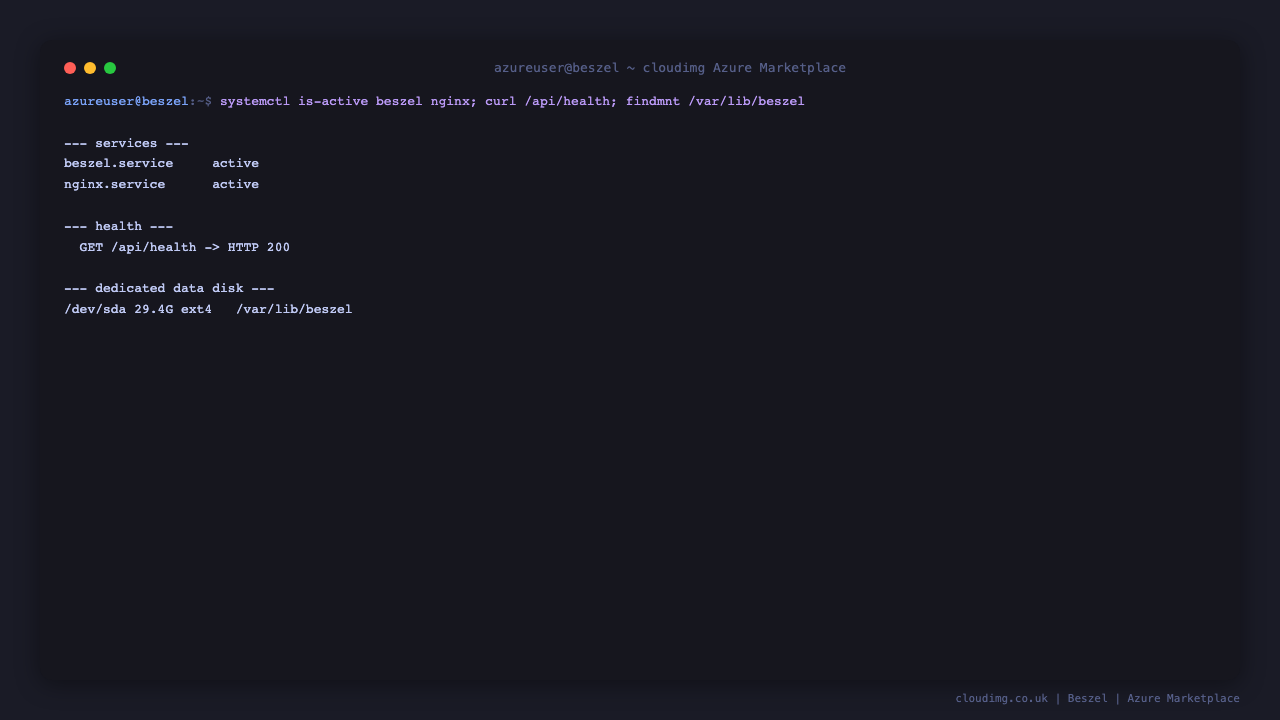
Browse to http://<vm-public-ip>/. The Beszel sign-in page appears. Enter the administrator email and password from /root/beszel-credentials.txt and select Sign in.
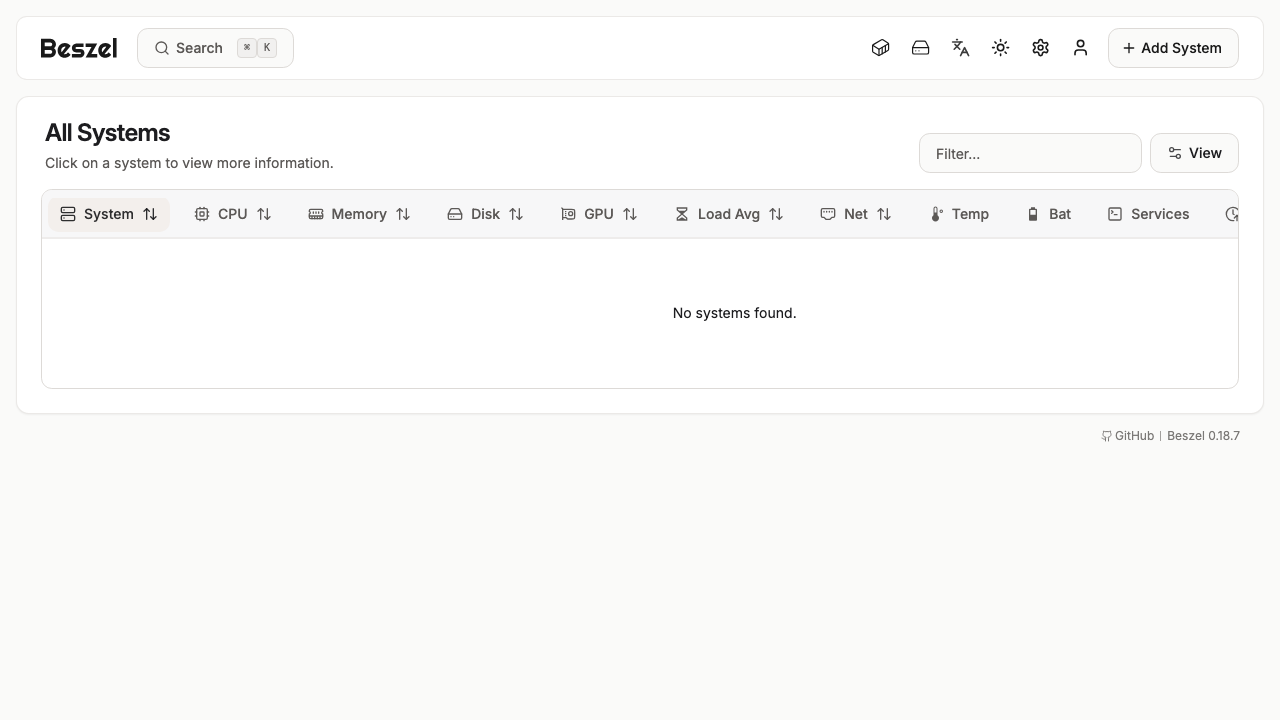
After signing in you reach the All Systems dashboard. It is empty until you add your first system.
Step 6 — Add the preinstalled local agent
A Beszel agent is already installed on this host as beszel-agent.service. To monitor the server itself, add it as a system in the dashboard. Beszel issues a unique public key and token for each system you add, so this step is done from the web UI rather than baked into the image.
In the dashboard select Add System. In the dialog choose the Binary tab, enter a Name (for example This Host), set Host / IP to localhost, and leave the Port as 45876. The dialog shows a Public Key and a Token for this system — copy both.
On the VM, write the key and token into the agent's environment file. Edit /etc/beszel-agent.env as root and set the KEY and TOKEN values to the ones the dialog showed you (the file already contains commented placeholders):
KEY=ssh-ed25519 AAAA...the public key from the dialog...
TOKEN=...the token from the dialog...
LISTEN=45876
Then restart the agent so it picks up the key:
sudo systemctl restart beszel-agent
Back in the dialog, select Add System. Within a few seconds the system appears in the dashboard reporting live CPU, memory, disk, network and load metrics. Select the system name to open its detail view with historical charts.
To monitor other servers, install the Beszel agent on each one (the Beszel project provides agent packages and a Docker image), add a new system in the dashboard for each, and pair it with the issued key and token in the same way.
Step 7 — Configure alerts and settings
Beszel can alert you when a system goes down or a metric crosses a threshold. Open a system's detail view and use its alert controls, or manage notification channels and display preferences from Settings. The Settings area covers general display options, notification channels, tokens and fingerprints, alert history and a YAML configuration view.

Step 8 — Use the REST API
Because the hub is a PocketBase application it exposes a REST API under /api/. The health endpoint is open; most other endpoints require authentication. Authenticate as the administrator (a PocketBase superuser) to obtain a token. Read the login into shell variables first so the password never appears in your shell history, then request a token:
BZ_USER=$(sudo grep '^beszel.admin.user=' /root/beszel-credentials.txt | cut -d= -f2-)
BZ_PASS=$(sudo grep '^beszel.admin.pass=' /root/beszel-credentials.txt | cut -d= -f2-)
curl -s -H 'Content-Type: application/json' \
  -d "{\"identity\":\"$BZ_USER\",\"password\":\"$BZ_PASS\"}" \
  http://localhost/api/collections/_superusers/auth-with-password | head -c 80
A successful authentication returns a JSON document containing a token field, which you can pass as an Authorization header on subsequent API calls.
Enabling HTTPS
For production use, terminate TLS in front of Beszel. The simplest path is to point a DNS name at the VM's public IP and use Let's Encrypt with Certbot. Install Certbot and the nginx plugin, then request a certificate for your domain — replace your-domain.example.com with your DNS name:
sudo apt-get update
sudo apt-get install -y certbot python3-certbot-nginx
sudo certbot --nginx -d your-domain.example.com
Certbot edits the nginx configuration to serve Beszel over HTTPS on port 443 and sets up automatic renewal. Make sure your NSG allows inbound 443/tcp from your users' networks.
Backup and maintenance
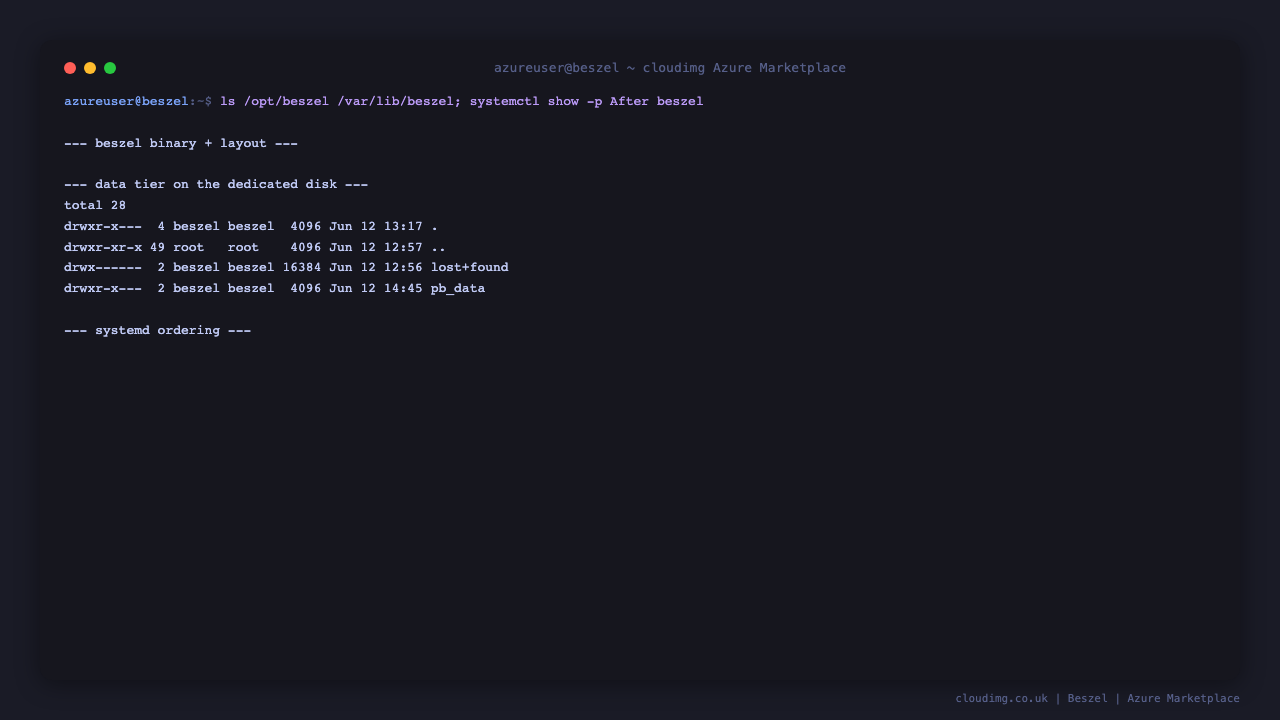
All Beszel state — the embedded SQLite metrics database, the PocketBase configuration and the per-instance signing keys — lives under /var/lib/beszel/pb_data, which is mounted on a dedicated Azure data disk separate from the operating system disk. Confirm the data disk is mounted:
df -h /var/lib/beszel | tail -1
To back up Beszel, snapshot the data disk in Azure, or stop the hub briefly and archive /var/lib/beszel/pb_data. To grow storage, expand the data disk and the filesystem — no reinstall is required because the data lives on its own disk.

Service logs are available through journald:
sudo journalctl -u beszel.service --no-pager | tail -20
Keep the OS patched with sudo apt update && sudo apt upgrade. The hub restarts cleanly with sudo systemctl restart beszel.
Support
This image is backed by 24/7 cloudimg support covering deployment, upgrades, integrations, TLS termination and adding agents. Beszel is open source software distributed under the MIT license; this image repackages it for convenient deployment on Azure.
All product and company names are trademarks or registered trademarks of their respective holders. Use of them does not imply any affiliation with or endorsement by them.