BookStack on Ubuntu 24.04 on Azure User Guide
Overview
BookStack is the popular free, open source platform for organising and storing documentation and knowledge. Content is arranged into Shelves, Books, Chapters and Pages, with a powerful WYSIWYG and Markdown editor, full-text search, page revisions and history, built-in diagrams.net drawing, roles and granular permissions, and a full REST API. The cloudimg image delivers BookStack fully installed and configured on Ubuntu 24.04 — a Laravel application on PHP 8.3 with OPcache, served by nginx with php-fpm, backed by MariaDB. Database migrations are already applied, so you land directly on the sign-in page; there is no setup wizard to complete. Backed by 24/7 cloudimg support.
What is included:
- BookStack 26.05 (MIT licensed), served from
/var/www/bookstack/public - nginx + PHP 8.3 (php8.3-fpm with OPcache) + MariaDB, all from Ubuntu 24.04 main/universe
- A dedicated Azure data disk at
/var/lib/mysql(database tier) and a second at/var/www(application code, docroot and uploads) — each independently resizable, separate from the OS disk and re-provisioned with every VM - Per-VM administrator email + password, MariaDB password and Laravel
APP_KEY, all generated at first boot and written to a root-only file nginx.service,php8.3-fpm.serviceandmariadb.serviceas systemd units, enabled and active- Health endpoint at
/statusreturning HTTP 200 when database, cache and session are healthy - 24/7 cloudimg support

Prerequisites
An active Azure subscription, an SSH key pair, and a VNet + subnet in the target region. Standard_B2ms (2 vCPU / 8 GiB RAM) is a good starting point; scale up for larger teams or heavier search workloads. NSG inbound: allow 22/tcp from your management network and 80/tcp (plus 443/tcp once you enable HTTPS) from your users.
Step 1 — Deploy from the Azure Marketplace
Sign in to the Azure Portal, choose Create a resource, search the Marketplace for BookStack by cloudimg, and select Create. On Basics pick your subscription, resource group, region and size; under Administrator account choose SSH public key and paste your key; under Inbound port rules allow SSH (22) and HTTP (80). Review the two dedicated data disks on the Disks tab, then Review + create → Create.
Step 2 — Deploy from the Azure CLI
az vm create \
  --resource-group <your-rg> \
  --name bookstack \
  --image <marketplace-image-urn> \
  --size Standard_B2ms \
  --admin-username azureuser \
  --ssh-key-values ~/.ssh/id_ed25519.pub \
  --vnet-name <your-vnet> --subnet <your-subnet> \
  --public-ip-sku Standard

az vm open-port --resource-group <your-rg> --name bookstack --port 80 --priority 1010
Step 3 — Connect to your VM
ssh azureuser@<vm-public-ip>
Step 4 — Confirm the services are running
The three services that back BookStack should all report active, and the open health endpoint returns the database, cache and session state:
systemctl is-active nginx php8.3-fpm mariadb
curl -s http://127.0.0.1/status
Expected: three lines of active, then {"database":true,"cache":true,"session":true}.

Step 5 — Retrieve your administrator credentials
On the first boot of every VM, a one-shot service (bookstack-firstboot.service) generates credentials that are unique to that VM: a fresh Laravel application key, a fresh MariaDB password, and a fresh administrator email and password. The VM's own address is set as the application URL automatically. No shared or default credentials ship in the image.
sudo cat /root/bookstack-credentials.txt
The file (mode 0600, root only) contains the administrator email (bookstack.admin.user), the administrator password (bookstack.admin.pass), the BookStack URL and the database credentials. BookStack signs in by email.

Step 6 — Sign in
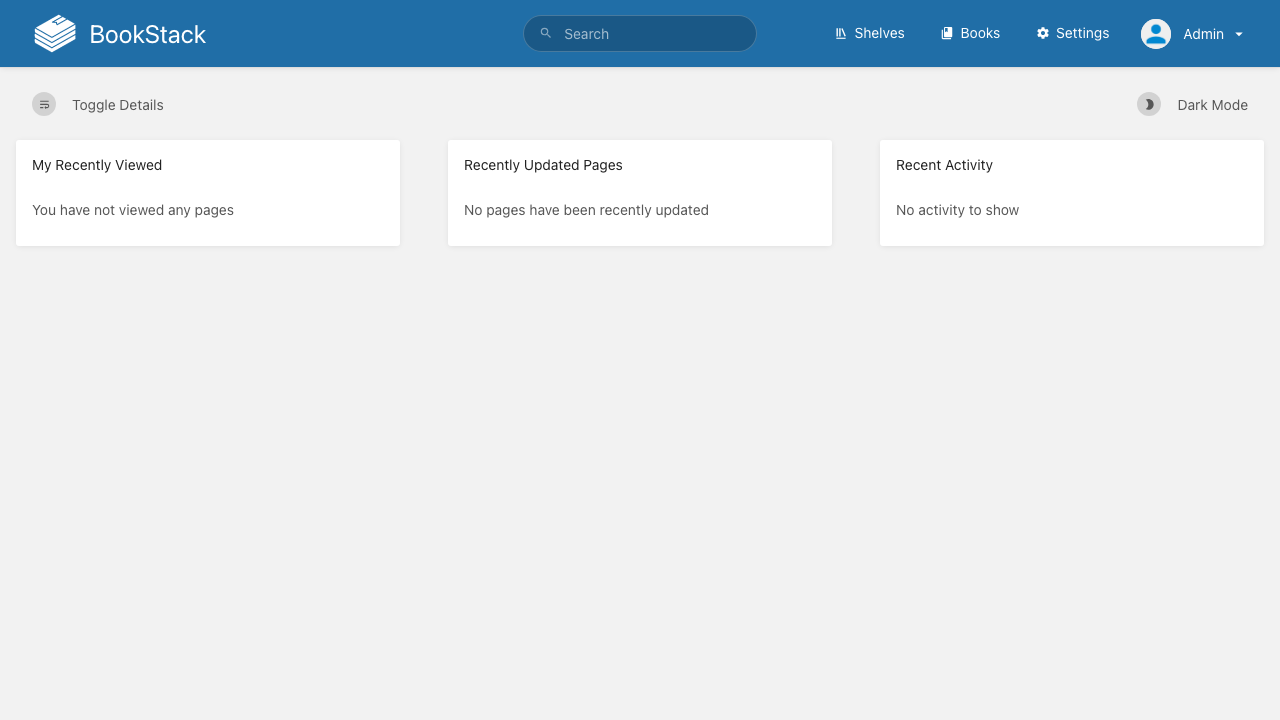
Browse to http://<vm-public-ip>/ and sign in with the administrator email and password from the credentials file. You land on the BookStack home page, ready to create your first shelf, book and pages.
You can also prove the login round-trip from the VM's own shell — this reads the per-VM credentials, fetches a CSRF token and posts a real sign-in (a successful BookStack login answers HTTP 302):
ADMIN_USER=$(sudo grep '^bookstack.admin.user=' /root/bookstack-credentials.txt | cut -d= -f2-)
ADMIN_PASS=$(sudo grep '^bookstack.admin.pass=' /root/bookstack-credentials.txt | cut -d= -f2-)
CJ=$(mktemp)
TOK=$(curl -s -c "$CJ" http://127.0.0.1/login | grep -oE 'name="_token" value="[^"]+"' | head -1 | sed 's/.*value="//;s/"//')
curl -s -o /dev/null -w 'login HTTP %{http_code}\n' -b "$CJ" -c "$CJ" \
  -d "_token=$TOK" --data-urlencode "email=$ADMIN_USER" --data-urlencode "password=$ADMIN_PASS" \
  http://127.0.0.1/login
rm -f "$CJ"
Step 7 — Organise your knowledge base
BookStack's hierarchy is Shelves → Books → Chapters → Pages. From the header, choose Shelves to group related books, Create New Book to start a manual or runbook collection, and add chapters and pages inside it. Every page supports the WYSIWYG editor or Markdown, drawings via diagrams.net, attachments, and full revision history. Use Settings → Roles for granular permissions and Settings → Users to invite your team.

Step 8 — Confirm the version and the data tiers
cat /var/www/bookstack/version
df -h /var/lib/mysql /var/www
The database tier (/var/lib/mysql) and the application tier (/var/www — code, docroot and user uploads) each live on their own dedicated Azure data disk, so you can grow storage for either tier without disturbing the OS disk.

Administration from the CLI
Admin CLI tasks use Laravel's artisan as the www-data user, for example to list the available BookStack commands:
sudo -u www-data php /var/www/bookstack/artisan list
Common operations include bookstack:regenerate-search (rebuild the search index), bookstack:cleanup-images and bookstack:update-url (if you later move to a domain name).

Enabling HTTPS
For production, point a real domain at the VM's public IP, open 443/tcp in the NSG, then terminate TLS at nginx with Let's Encrypt (replace the domain):
sudo apt-get update && sudo apt-get install -y certbot python3-certbot-nginx
sudo certbot --nginx -d your-domain.example.com
After the certificate is issued, set the new address as the application URL:
sudo -u www-data php /var/www/bookstack/artisan bookstack:update-url http://<vm-public-ip> https://your-domain.example.com
Backup and maintenance
The database lives on the data disk at /var/lib/mysql and the application tree + uploads on the data disk at /var/www — snapshot both disks in Azure for a point-in-time backup, or dump the database with (the database password is in the credentials file):
sudo mariadb-dump bookstack > bookstack-backup.sql
Keep the OS patched with sudo apt update && sudo apt upgrade (unattended security upgrades are enabled by default). The stack restarts cleanly with sudo systemctl restart nginx php8.3-fpm mariadb.
Support
This image is backed by 24/7 cloudimg support. Contact us by email and chat for help with BookStack deployment, upgrades, LDAP and SAML single sign-on, email and storage configuration, REST API integration, performance tuning and database administration.
All product and company names are trademarks or registered trademarks of their respective holders. Use of them does not imply any affiliation with or endorsement by them.