Calibre-Web on AWS User Guide
Overview
This image runs Calibre-Web from a dedicated Python virtual environment, served on the loopback interface and fronted by nginx on port 80. Calibre-Web is a clean, modern web interface for browsing, reading and downloading the books in a Calibre ebook library. It provides an in-browser ebook reader, full text search, custom shelves, per user accounts, Kobo sync and an OPDS feed for dedicated reading applications.
The companion calibre command line tools are installed so the library can be managed from the shell with calibredb. An empty Calibre library is initialised at /var/lib/calibre-web/library, and Calibre-Web is pre configured to use it, so there is no first run setup wizard. You sign in and start uploading books immediately.
The Calibre-Web administrator password is generated on the first boot of every deployed instance. Two instances launched from the same Amazon Machine Image never share a password. The administrator password is written to /root/calibre-web-credentials.txt with mode 0600 so that only the root user can read it. The built in admin account ships with the password policy enabled (a minimum length plus upper case, lower case, number and special character), so any password you set later must satisfy the same rules.
The Calibre library, the book files and the Calibre-Web settings database all live under /var/lib/calibre-web, on a dedicated EBS volume separate from the operating system disk, so storage can be resized independently of the operating system.
Prerequisites
Before you deploy this image you need:
- An Amazon Web Services account where you can launch EC2 instances
- IAM permissions to launch instances, create security groups, and subscribe to AWS Marketplace products
- An EC2 key pair in the target Region for SSH access to the instance
- A VPC and subnet in the target Region, with a security group allowing inbound port 22 from your management network and inbound ports 80 and 443 from the networks your users will reach Calibre-Web on
- The AWS CLI (version 2) installed locally if you plan to deploy from the command line
Step 1: Launch the Instance from the AWS Marketplace
Sign in to the AWS Management Console, open the EC2 service, and select Launch instance. Under Application and OS Images choose AWS Marketplace AMIs and search for Calibre-Web. Select the cloudimg listing and choose Select, then Continue on the subscription summary.
Pick an instance type of m5.large or larger. Choose your EC2 key pair under Key pair (login). Under Network settings select your VPC and subnet, and either create or select a security group that allows inbound port 22 from your management network and inbound ports 80 and 443 from the networks your users use. Leave the root volume at the default size or larger.
Select Launch instance. First boot initialisation takes a few seconds after the instance state becomes Running and the status checks pass.
Step 2: Launch the Instance from the AWS CLI
The following block launches an instance from the cloudimg Calibre-Web Marketplace AMI into an existing subnet and security group. Replace <ami-id> with the AMI ID shown on the Marketplace listing, <key-name> with your EC2 key pair name, <subnet-id> with your subnet ID, and <security-group-id> with a security group that opens ports 22, 80, and 443 as described above.
aws ec2 run-instances \
  --image-id <ami-id> \
  --instance-type m5.large \
  --key-name <key-name> \
  --subnet-id <subnet-id> \
  --security-group-ids <security-group-id> \
  --block-device-mappings '[{"DeviceName":"/dev/sda1","Ebs":{"VolumeSize":20,"VolumeType":"gp3"}}]' \
  --tag-specifications 'ResourceType=instance,Tags=[{Key=Name,Value=calibre-web-01}]'
The command prints a JSON document on success. Note the instance ID, then retrieve its public address once it is running with aws ec2 describe-instances --instance-ids <instance-id> --query "Reservations[].Instances[].PublicIpAddress" --output text.
Step 3: Connect and Retrieve the Administrator Password
Connect over SSH with the key pair you selected and the public IP address of the instance. The SSH login user depends on the operating system of the AMI variant you launched:
| AMI variant | SSH login user |
|---|---|
| Calibre-Web 0.6.26 on Ubuntu 24.04 | ubuntu |
The per instance administrator password is written to /root/calibre-web-credentials.txt. Read it with sudo cat /root/calibre-web-credentials.txt. The file lists the sign in URL, the administrator user name (admin) and the generated password. Keep it somewhere safe; the file is readable only by root.
Step 4: Confirm the Services Are Running
Calibre-Web runs as the calibre-web systemd service, bound to the loopback interface on port 8083, and nginx proxies it to port 80. Confirm both services are active:
systemctl is-active calibre-web.service nginx.service
Both lines report active. Confirm the listeners — nginx on port 80 on all interfaces, and Calibre-Web on port 8083 bound to loopback only:
ss -tln | grep -E ':80 |:8083 '
You should see 0.0.0.0:80 (nginx) and 127.0.0.1:8083 (Calibre-Web). Calibre-Web is never exposed directly; all traffic goes through nginx.
Confirm the Calibre-Web HTTP endpoint answers. An unauthenticated request to the root path returns a redirect to the login page:
curl -s -o /dev/null -w 'HTTP %{http_code}\n' http://127.0.0.1/
This prints HTTP 302. Confirm the installed Calibre-Web version:
/opt/calibre-web/venv/bin/python3.12 -c 'import importlib.metadata as m; print(m.version("calibreweb"))'
This prints 0.6.26.
Step 5: First Login to the Web Interface
Browse to http://<instance-public-ip>/. You are redirected to the Calibre-Web login page.
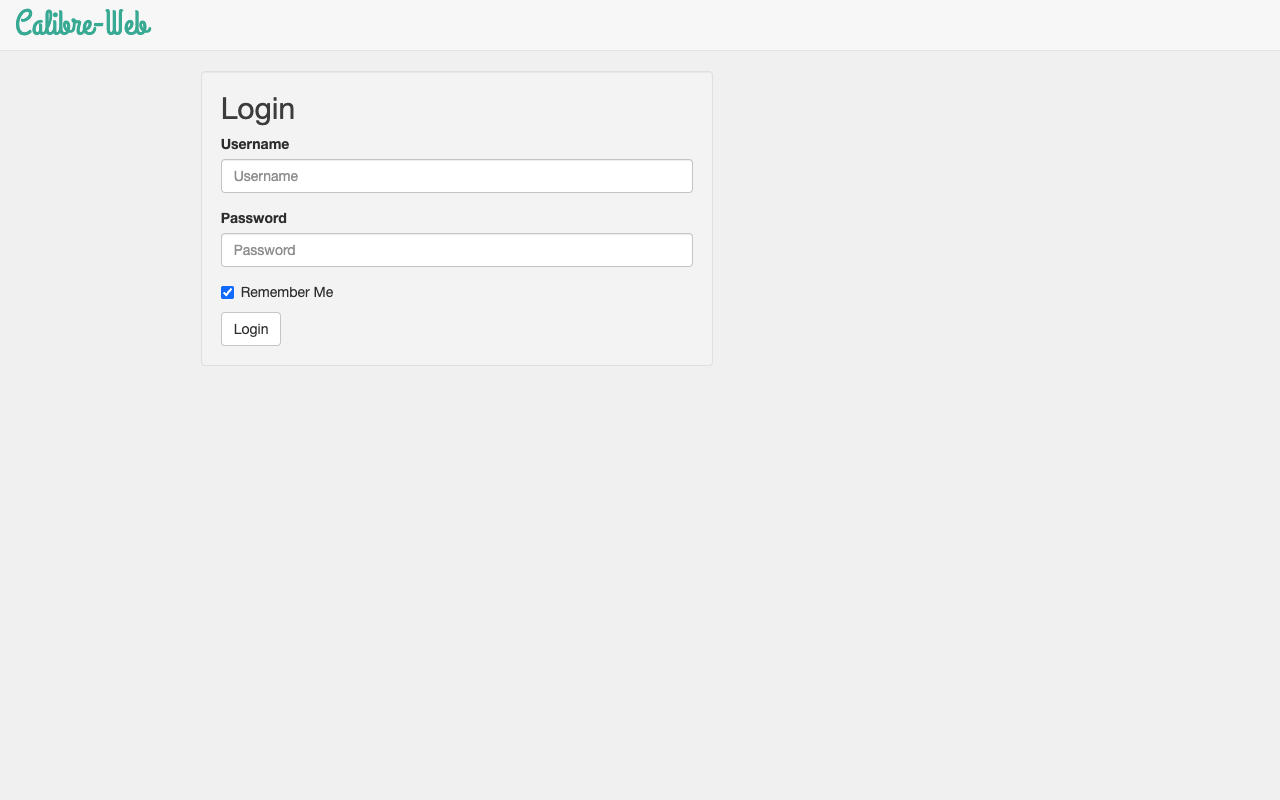
Sign in with the user name admin and the password from /root/calibre-web-credentials.txt. After signing in you land on the library view, with the Browse sidebar on the left and the search, Upload and Admin controls along the top.
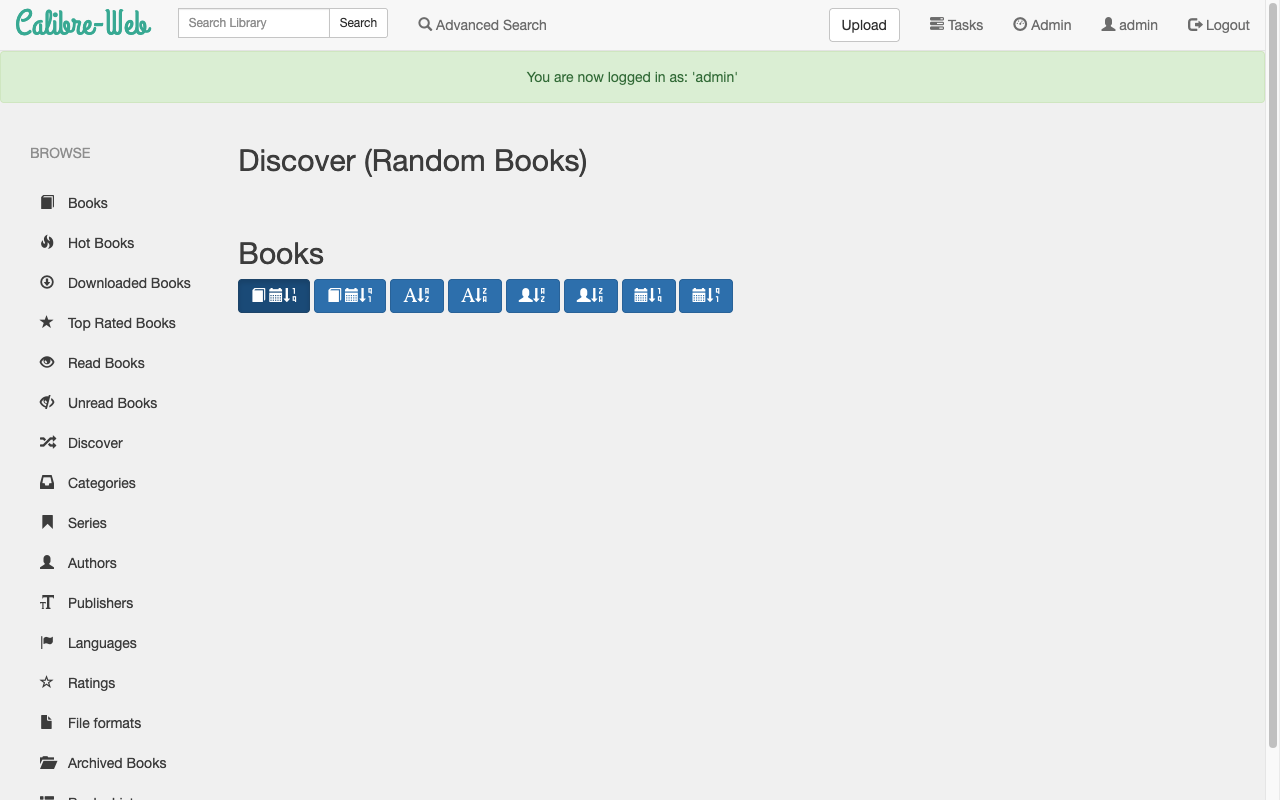
The library is empty until you add books. Upload an ebook with the Upload button at the top right, or add books from the command line with calibredb as described in Step 7.
Step 6: Change the Administrator Password
Although the administrator password is unique to your instance, you may wish to set your own. Sign in as admin, open the user menu at the top right, and choose your account settings, or open Admin, select the admin user and edit it. Enter a new password that satisfies the policy (minimum length with upper case, lower case, number and a special character) and save.
You can also reset the administrator password from the shell with the built in command line option, which sets the password and exits. Choose a password that satisfies the policy and run it as the calibre service user against the settings database at /var/lib/calibre-web/app.db, using sudo -u calibre env HOME=/opt/calibre-web /opt/calibre-web/venv/bin/cps -p /var/lib/calibre-web/app.db -s admin:<your-new-password>. Restart the service afterwards with sudo systemctl restart calibre-web.
Step 7: Add and Manage Books
Books can be added from the web interface with the Upload button, or managed from the shell with calibredb, which operates directly on the Calibre library at /var/lib/calibre-web/library.
List the current contents of the library (an empty library prints only the column header):
sudo -u calibre env HOME=/opt/calibre-web calibredb --with-library /var/lib/calibre-web/library list
To add an ebook file from the shell, copy it onto the instance and run sudo -u calibre env HOME=/opt/calibre-web calibredb --with-library /var/lib/calibre-web/library add /path/to/book.epub. After adding books outside the web interface, open Admin and use Reconnect Calibre Database so Calibre-Web rescans the library.
Step 8: The OPDS Feed
Calibre-Web publishes an OPDS catalogue so dedicated reading applications (such as KOReader, Moon+ Reader or Marvin) can browse and download from your library. The feed is at http://<instance-public-ip>/opds and requires authentication. Confirm it is protected — an unauthenticated request returns 401 Unauthorized:
curl -s -o /dev/null -w 'HTTP %{http_code}\n' http://127.0.0.1/opds
This prints HTTP 401. In your reading application, add an OPDS catalogue pointing at http://<instance-public-ip>/opds and sign in with a Calibre-Web user name and password.
Step 9: Create Users
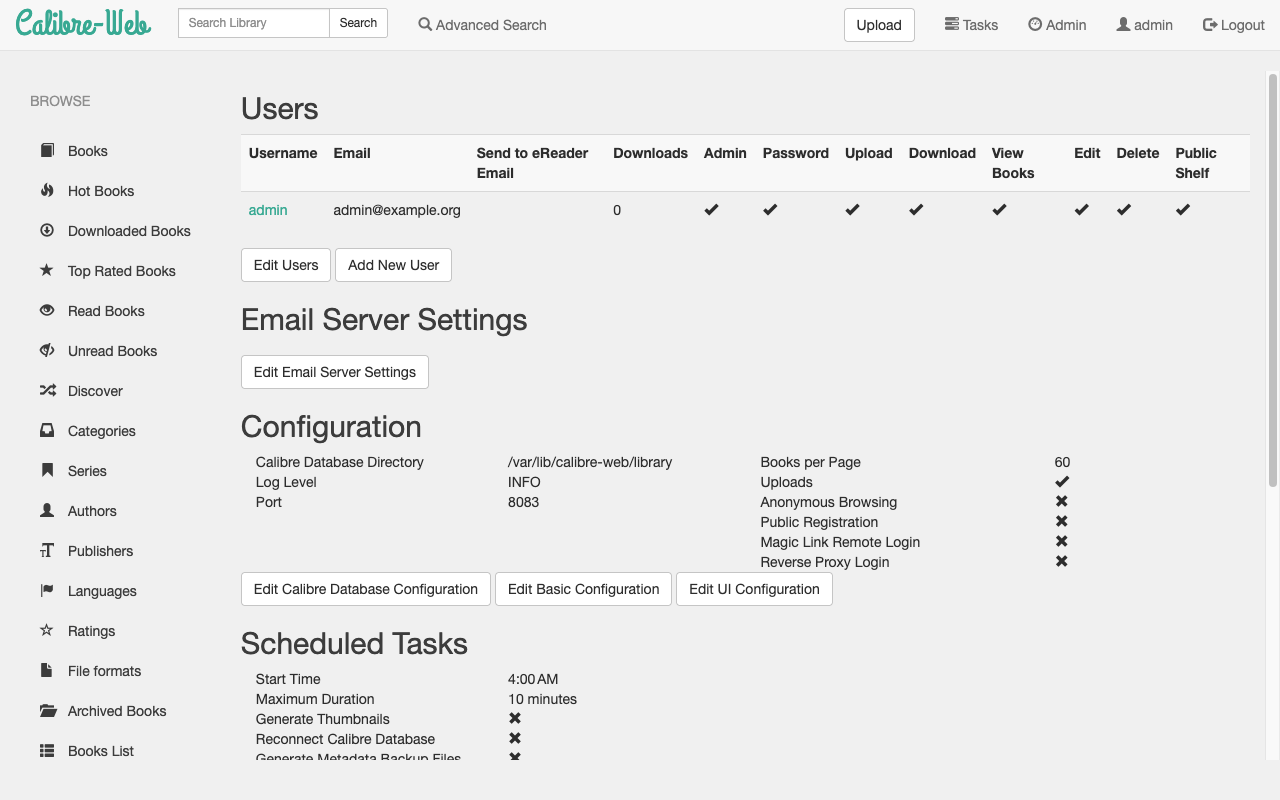
Calibre-Web supports multiple user accounts with individual permissions. Open Admin, then Add New User, and set the user name, password, email and the per user permissions (view, download, upload, edit and so on). Each user gets their own shelves and reading progress. Anonymous browsing and public self registration are disabled by default in this image; enable them deliberately under Admin only if your deployment requires them.
Step 10: Enable HTTPS with Let's Encrypt
For production use, terminate TLS in front of Calibre-Web. The simplest approach is to install certbot and obtain a certificate for a DNS name that resolves to your instance. Point a DNS record at the instance, ensure port 443 is open in the security group, then install certbot and run it for nginx:
sudo apt-get update
sudo apt-get install -y certbot python3-certbot-nginx
Then obtain and install a certificate for your domain with sudo certbot --nginx -d your-domain.example.com, following the prompts. Certbot edits the nginx site to serve HTTPS and sets up automatic renewal. After it completes, browse to https://your-domain.example.com/.
Step 11: Backups and Maintenance
All of your data lives under /var/lib/calibre-web: the Calibre library and book files under library/, and the Calibre-Web settings database at app.db. Because this directory is a dedicated EBS volume, the simplest backup is a periodic EBS snapshot of that volume. You can also archive the directory:
sudo tar czf /tmp/calibre-web-backup.tar.gz -C /var/lib calibre-web
To update operating system packages, run sudo apt-get update && sudo apt-get -y upgrade and reboot if a new kernel is installed. The Calibre-Web application itself is installed in the virtual environment at /opt/calibre-web/venv; consult the cloudimg support team before upgrading the Calibre-Web package so that your library and settings are preserved.
Screenshots
The screenshots in this guide show the login page, the library view after signing in, and the administration page. They were captured from a live instance launched from this image.
Support
This image is provided by cloudimg with 24/7 technical support by email and chat. Contact support for help with Calibre-Web deployment, upgrades, library migration, OPDS and Kobo sync configuration, user management, reverse proxy and TLS termination.
All product and company names are trademarks or registered trademarks of their respective holders. Use of them does not imply any affiliation with or endorsement by them.