
CheckCle on AWS User Guide
Overview
This image runs CheckCle, the open source self-hosted uptime and infrastructure monitoring platform. CheckCle watches uptime, SSL certificates, servers and services, with incident tracking, alerting and public status pages, all from a clean realtime web dashboard. It is deployable entirely within your own VPC.
CheckCle is distributed as a single Docker container that bundles a PocketBase backend (an embedded SQLite datastore with a REST and realtime API and an admin dashboard), the CheckCle web frontend, and a monitoring worker. The container runs behind nginx as a reverse proxy: it listens on 127.0.0.1:8090 and is reached through nginx on port 80 (and 443 once you add TLS). The monitoring history and database live on a dedicated, independently resizable EBS data volume mounted at /opt/checkcle/pb_data, kept separate from the operating system disk.
On the first boot of every deployed instance, a one-shot service creates the container, rotates the administrator to a unique per-instance password, and only then opens port 80. The login is written to /root/checkcle-credentials.txt with mode 0600. No default administrator and no shared credential ships in the image, and the well-known upstream default is never reachable off-box.
Prerequisites
Before you deploy this image you need:
- An Amazon Web Services account where you can launch EC2 instances
- IAM permissions to launch instances, create security groups, and subscribe to AWS Marketplace products
- An EC2 key pair in the target Region for SSH access to the instance
- A VPC and subnet in the target Region, with a security group allowing inbound port 22 from your management network and inbound ports 80 and 443 from the networks your users will reach CheckCle on
- The AWS CLI (version 2) installed locally if you plan to deploy from the command line
Step 1: Launch the Instance from the AWS Marketplace
Sign in to the AWS Management Console, open the EC2 service, and select Launch instance. Under Application and OS Images choose AWS Marketplace AMIs and search for CheckCle. Select the cloudimg listing and choose Select, then Continue on the subscription summary.
Pick an instance type of m5.large or larger. Choose your EC2 key pair under Key pair (login). Under Network settings select your VPC and subnet, and either create or select a security group that allows inbound port 22 from your management network and inbound ports 80 and 443 from the networks your users use. Leave the root volume at the default size or larger; the CheckCle data volume is attached automatically.
Select Launch instance. First boot initialisation takes about a minute after the instance state becomes Running and the status checks pass.
Step 2: Launch the Instance from the AWS CLI
The following block launches an instance from the cloudimg CheckCle Marketplace AMI into an existing subnet and security group. Replace <ami-id> with the AMI ID shown on the Marketplace listing, <key-name> with your EC2 key pair name, <sub-id> with your subnet ID, and <security-group-id> with a security group that opens ports 22, 80, and 443 as described above.
aws ec2 run-instances \
  --image-id <ami-id> \
  --instance-type m5.large \
  --key-name <key-name> \
  --subnet-id <sub-id> \
  --security-group-ids <security-group-id> \
  --block-device-mappings '[{"DeviceName":"/dev/sda1","Ebs":{"VolumeSize":20,"VolumeType":"gp3"}}]' \
  --tag-specifications 'ResourceType=instance,Tags=[{Key=Name,Value=checkcle-01}]'
The command prints a JSON document on success. Note the instance ID, then retrieve its public address once it is running with aws ec2 describe-instances --instance-ids <instance-id> --query "Reservations[].Instances[].PublicIpAddress" --output text.
Step 3: Connect and Retrieve the Administrator Login
Connect over SSH with the key pair you selected and the public IP address from step 2. The SSH login user depends on the operating system of the AMI variant you launched:
| AMI variant | SSH login user |
|---|---|
| Ubuntu 24.04 | ubuntu |
Open an SSH session, replacing <your-key.pem> with your private key file and <public-ip> with the instance address:
ssh -i <your-key.pem> ubuntu@<public-ip>
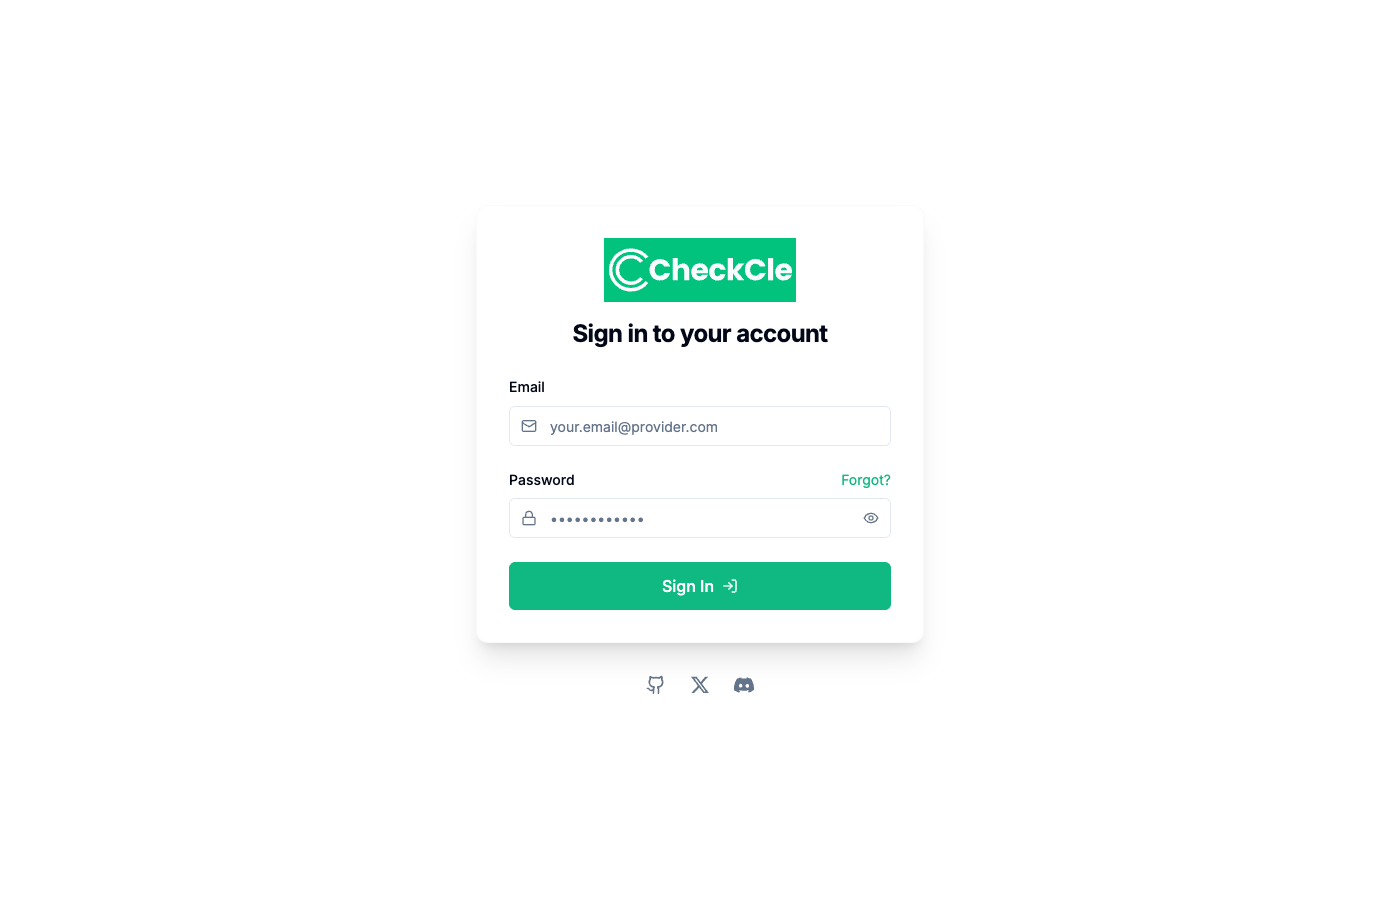
CheckCle has no default administrator. On first boot a per-instance administrator password is generated and written to a root-only file. Retrieve the sign-in details:
sudo cat /root/checkcle-credentials.txt
The file lists the dashboard URL, the administrator email (admin@example.com), and the generated password:
CHECKCLE_URL=http://<public-ip>/
CHECKCLE_ADMIN_EMAIL=admin@example.com
checkcle.admin.pass=<generated-per-instance>
Step 4: Confirm the Services Are Running
CheckCle runs as a Docker container fronted by nginx. Confirm both system services are active:
systemctl is-active docker.service nginx.service
Both report active:
active
active
Confirm the CheckCle container is running the pinned image:
sudo docker ps --filter name=checkcle --format '{{.Names}} {{.Image}} {{.Status}}'
checkcle operacle/checkcle:v1.6.0 Up 8 minutes
The backend exposes an unauthenticated health endpoint through nginx. It returns 200:
curl -s -o /dev/null -w '%{http_code}\n' http://localhost/api/health
200
nginx listens on port 80 while the CheckCle container is bound to the loopback interface on port 8090, so the backend is never exposed directly:
sudo ss -tln | grep -E ':80 |:8090 '
LISTEN 0      4096       127.0.0.1:8090      0.0.0.0:*
LISTEN 0      511          0.0.0.0:80        0.0.0.0:*
LISTEN 0      511             [::]:80           [::]:*
Step 5: Sign In to the Web Dashboard
Browse to http://<public-ip>/ and sign in as admin@example.com with the password from step 3. You land on the monitoring overview, which summarises up, down, paused and warning services and lists everything you are currently monitoring.
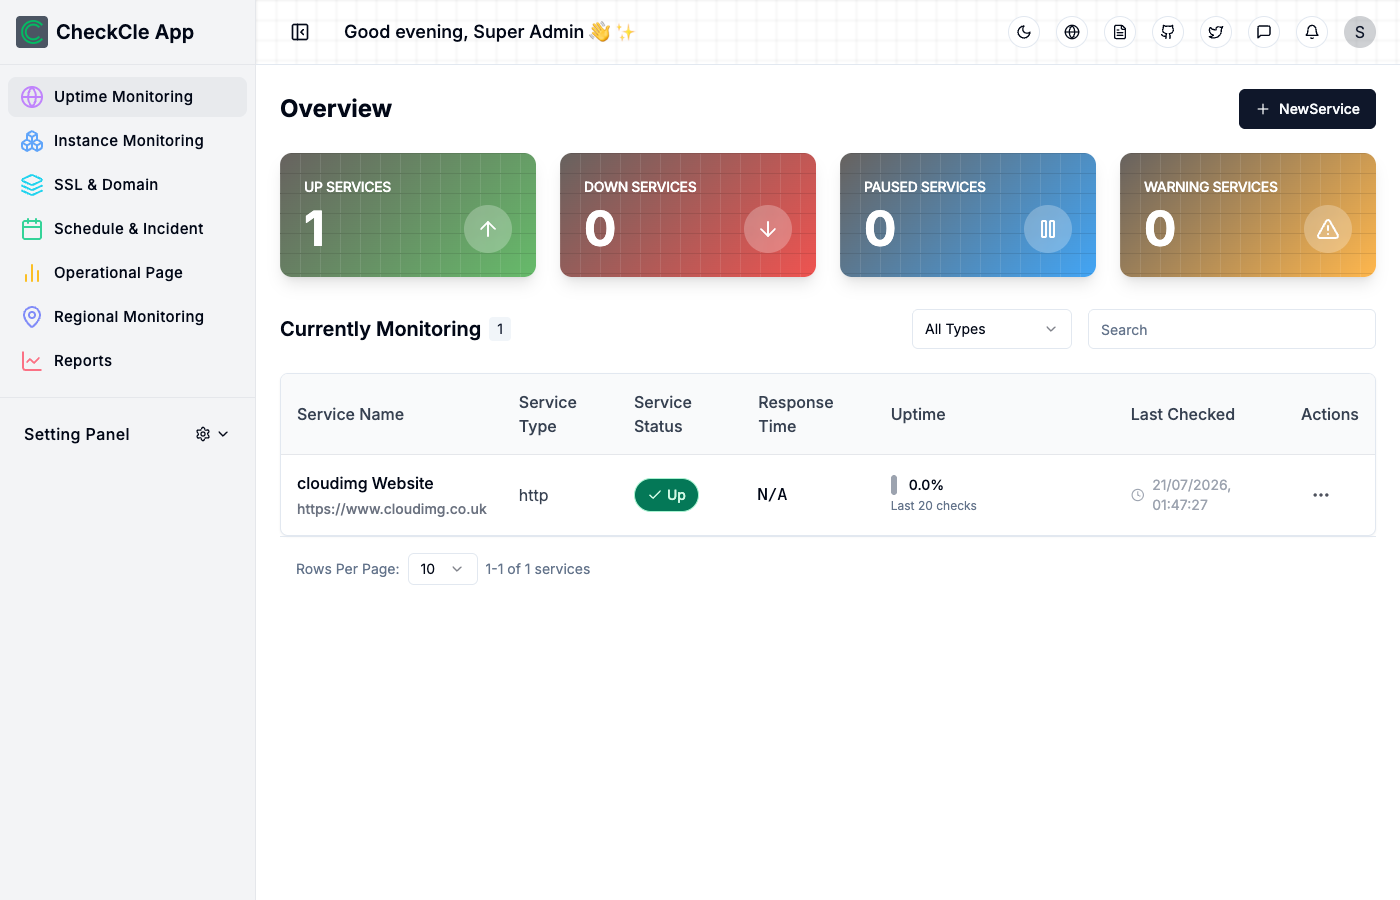
For production use, change the administrator email and password, or create additional users, under the Setting Panel. CheckCle serves plain HTTP on port 80 out of the box, so put it behind TLS (step 8) before exposing it to the internet.
Step 6: Create Your First Monitor
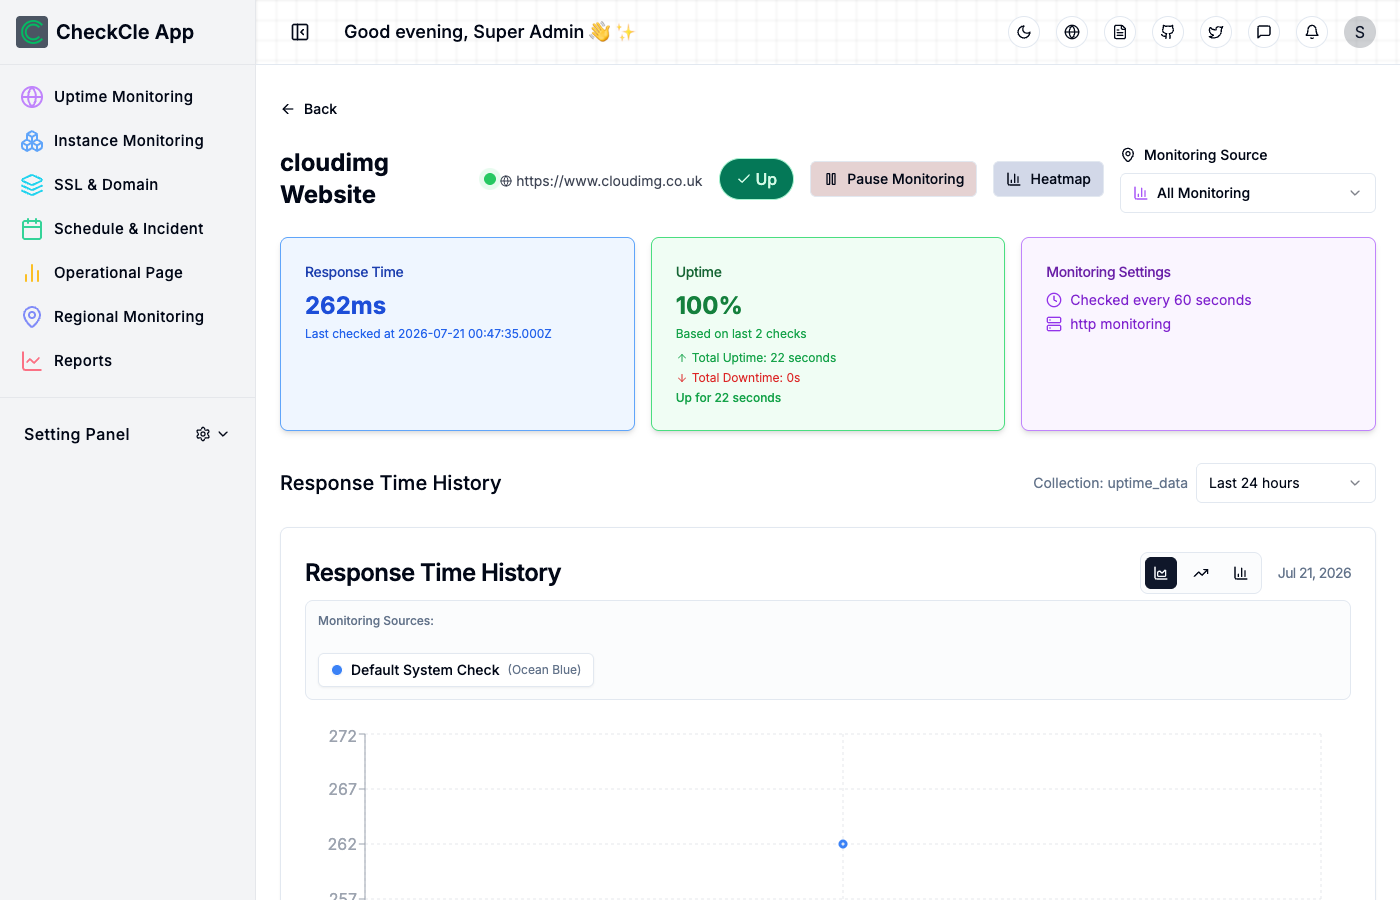
From the overview, select NewService. Give the service a name, choose a service type (HTTP, ping, TCP, DNS and others are supported), enter the target URL or host, and set a check interval. Select Create Service. CheckCle begins checking immediately, and within one interval the service appears on the overview with a live Up or Down status, response time, and uptime percentage. Selecting a monitor opens its detail view with response-time history.
You can verify the backend and the per-instance credential from the instance itself. This reads the generated password from the root-only file and authenticates against the PocketBase superuser API, which returns an authentication token:
PW=$(sudo grep '^checkcle.admin.pass=' /root/checkcle-credentials.txt | cut -d= -f2-)
RESP=$(curl -s -X POST -H 'Content-Type: application/json' \
  -d "{\"identity\":\"admin@example.com\",\"password\":\"$PW\"}" \
  http://localhost:8090/api/collections/_superusers/auth-with-password)
echo "$RESP" | grep -q '"token"' && echo "AUTH OK (superuser token issued)" || echo "AUTH FAILED"
AUTH OK (superuser token issued)
Step 7: Configure Alerting and Status Pages
Open the Schedule & Incident and Operational Page areas to configure incident handling and to publish a public status page for your monitored services. Notification channels and alert templates are configured per service when you create or edit a monitor, so an on-call engineer is notified the moment a check fails. SSL & Domain adds certificate expiry monitoring for your domains, and Regional Monitoring lets you run checks from distributed agents.
Step 8: Configure HTTPS
CheckCle is served over plain HTTP on port 80 by default. To serve it over HTTPS, point a DNS record at the instance, ensure inbound port 443 is open in the security group, and use the packaged nginx with Certbot. Replace <your-domain> with your fully qualified domain name and <your-email> with your contact email:
sudo apt-get update
sudo apt-get install -y certbot python3-certbot-nginx
sudo certbot --nginx -d <your-domain> -m <your-email> --agree-tos --redirect -n
Certbot obtains a certificate, edits the nginx site to serve TLS on port 443, and sets up automatic renewal. After it completes, browse to https://<your-domain>/.
Step 9: Back Up and Maintain
All CheckCle state - the SQLite database, monitoring history and file storage - lives under /opt/checkcle/pb_data on the dedicated data volume. Confirm the mount and its free space:
df -h /opt/checkcle/pb_data | tail -1
Back up the monitoring data by snapshotting the EBS data volume, or by archiving the directory to a location of your choice. Replace <backup-dir> with your target path:
sudo tar -czf <backup-dir>/checkcle-pb_data-$(date +%F).tgz -C /opt/checkcle pb_data
Review the container and service logs when troubleshooting:
sudo docker logs checkcle --tail 50
sudo journalctl -u nginx.service --no-pager | tail -20
To upgrade CheckCle, contact cloudimg support - we validate each new release against this image and publish updated AMIs.
Support
cloudimg provides 24/7 technical support for this product via email and live chat. We help with initial deployment, upgrades to new CheckCle releases, configuring uptime, SSL, server and service monitors, alerting, notifications and public status pages, TLS termination, and performance tuning.
- Email: support@cloudimg.co.uk
- Live chat: available 24/7 on www.cloudimg.co.uk
For refund requests or billing inquiries, contact us via email and we will respond within one business day.