Concourse CI on Ubuntu 24.04 on Azure User Guide
Overview
Concourse CI is an open-source continuous-integration and continuous-delivery system built on a single idea: everything is a pipeline. Pipelines are declared as plain YAML made of resources, jobs and tasks, version-controlled alongside your code, and every build runs in a clean container - so builds are reproducible and there is no snowflake build server to maintain. The cloudimg image installs Concourse CI 8.2.4 as a complete single-node deployment - the web node (the ATC API, the web UI and the TSA worker gateway), one worker that runs your task containers, and a PostgreSQL database - on Ubuntu 24.04 LTS. The web UI is published on port 80 through an nginx reverse proxy, PostgreSQL and the worker store their data on a dedicated Azure data disk, and a unique admin password is generated on the first boot of every VM. Backed by 24/7 cloudimg support.
What is included:
- Concourse CI 8.2.4 (web + worker) and the
flycommand-line client - PostgreSQL backing the Concourse ATC, with its data directory on a dedicated data disk
- The web UI published on port 80 via nginx (with WebSocket upgrade for live build logs)
- A dedicated Azure data disk at
/var/lib/concoursefor the PostgreSQL cluster and the worker work-dir - A unique admin password and freshly rotated session signing key generated on first boot, written to a root-only credentials file
concourse-web.service,concourse-worker.service,postgresql.serviceandnginx.serviceas systemd units, enabled and active- 24/7 cloudimg support
Prerequisites
An active Azure subscription, an SSH key pair, and a VNet + subnet in the target region. Standard_B4ms (4 vCPU / 16 GiB RAM) is a good starting point - Concourse runs the web, the worker and PostgreSQL on one VM. NSG inbound: allow 22/tcp from your management network and 80/tcp for the web UI (front with TLS for public exposure - see Enabling HTTPS).
Step 1 - Deploy from the Azure Marketplace
Sign in to the Azure Portal, choose Create a resource, search the Marketplace for Concourse CI by cloudimg, and select Create. On Basics pick your subscription, resource group, region and size; under Administrator account choose SSH public key and paste your key; under Inbound port rules allow SSH (22) and HTTP (80). Review the dedicated data disk on the Disks tab, then Review + create -> Create.
Step 2 - Deploy from the Azure CLI
az vm create \
  --resource-group <your-rg> \
  --name concourse-ci \
  --image <marketplace-image-urn> \
  --size Standard_B4ms \
  --admin-username azureuser \
  --ssh-key-values ~/.ssh/id_ed25519.pub \
  --vnet-name <your-vnet> --subnet <your-subnet> \
  --public-ip-sku Standard

az vm open-port --resource-group <your-rg> --name concourse-ci --port 80 --priority 1010
Step 3 - Connect to your VM
ssh azureuser@<vm-public-ip>
Step 4 - Confirm the services are running
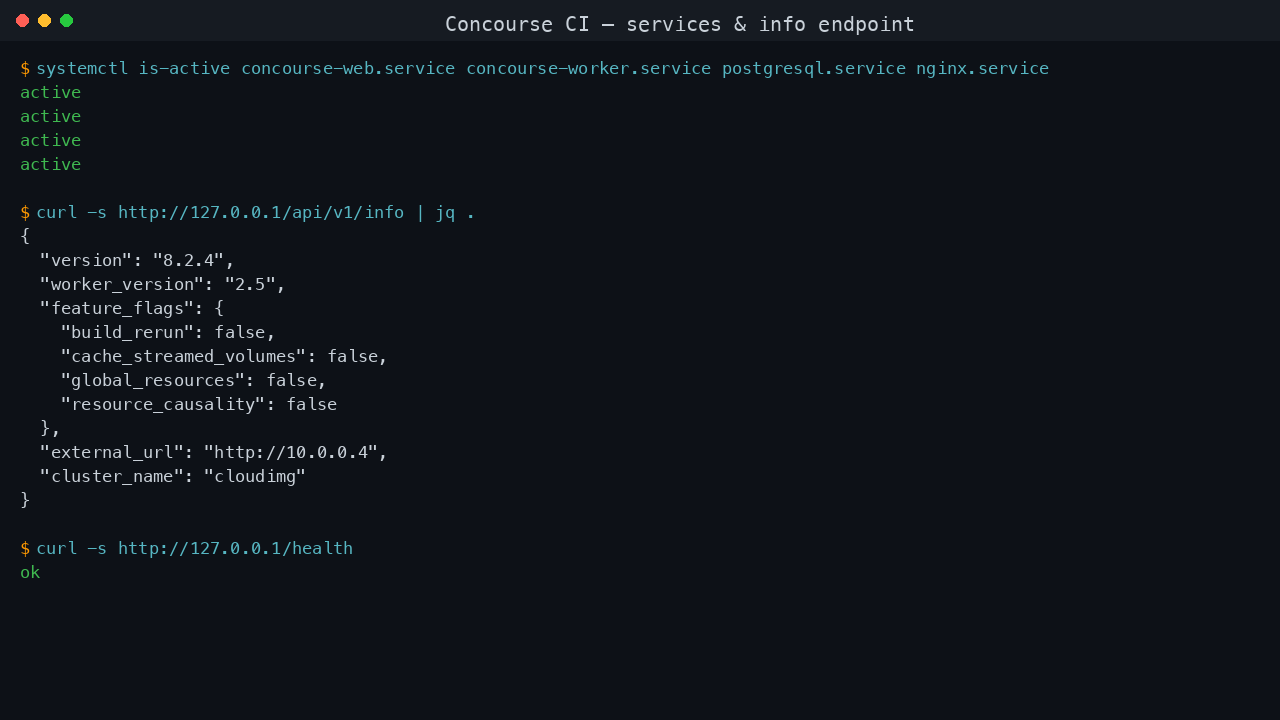
On first boot the VM generates a unique admin password, rotates the Concourse session signing key, then starts the web node, the worker and PostgreSQL. Confirm all four services are active:
systemctl is-active concourse-web.service concourse-worker.service postgresql.service nginx.service
Each line reports active.
Step 5 - Check the Concourse info endpoint
The Concourse ATC exposes an unauthenticated info endpoint that returns the running version as JSON. nginx proxies it on port 80:
curl -s http://127.0.0.1/api/v1/info | jq .
Expected output (the version is 8.2.4):
{
  "version": "8.2.4",
  "worker_version": "2.5",
  "feature_flags": {
    "build_rerun": false,
    "cache_streamed_volumes": false,
    "global_resources": false,
    "resource_causality": false
  },
  "external_url": "http://10.0.0.4",
  "cluster_name": "cloudimg"
}
nginx also serves a static health endpoint that does not depend on the upstream:
curl -s http://127.0.0.1/health
It returns ok.
Step 6 - Retrieve your admin password
A unique admin password is generated on the first boot of your VM and written to a root-only file:
sudo cat /root/concourse-ci-credentials.txt
This file contains CONCOURSE_URL, CONCOURSE_ADMIN_USER (admin) and CONCOURSE_ADMIN_PASSWORD. Store the password somewhere safe - it grants full administrative access to the main team.

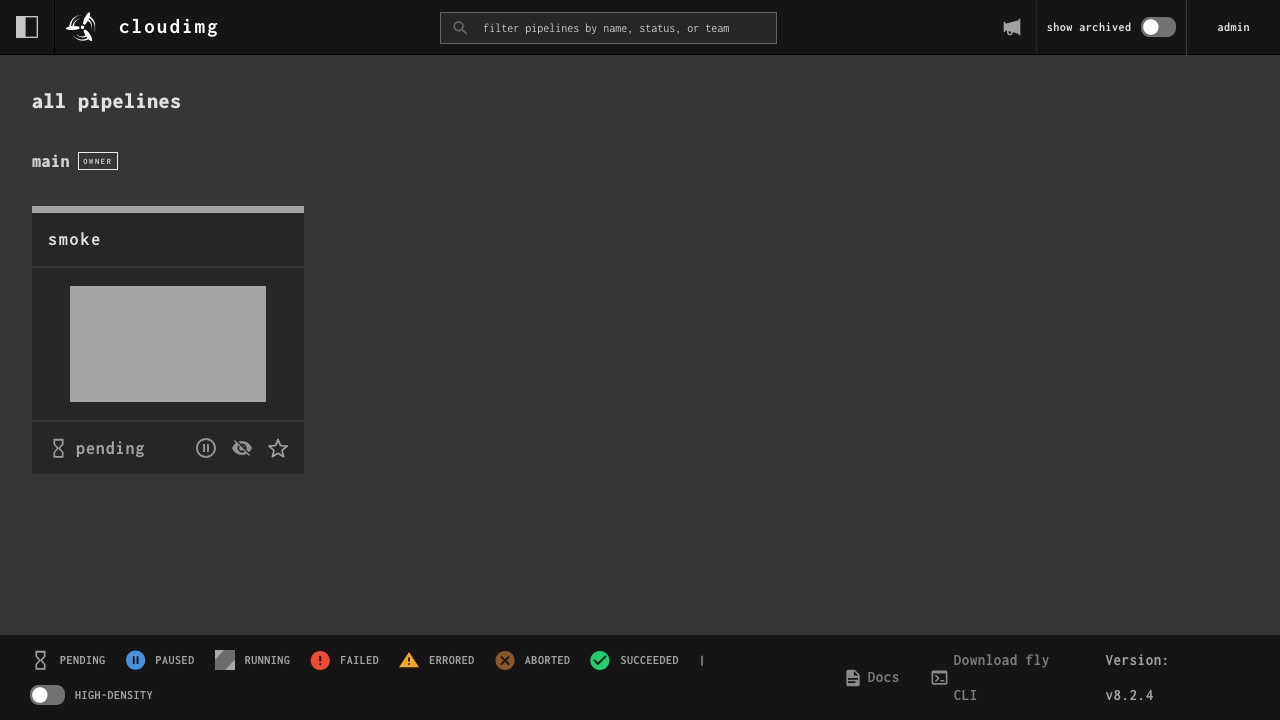
Step 7 - Sign in to the web UI
Open http://<vm-public-ip>/ in a browser. Click login, choose the main team, and sign in with admin and the password from Step 6. The dashboard shows your teams and pipelines.

Step 8 - Log in with the fly CLI
fly is the Concourse command-line client; it is preinstalled at /usr/local/bin/fly. Confirm its version matches the server:
fly --version
It prints 8.2.4.
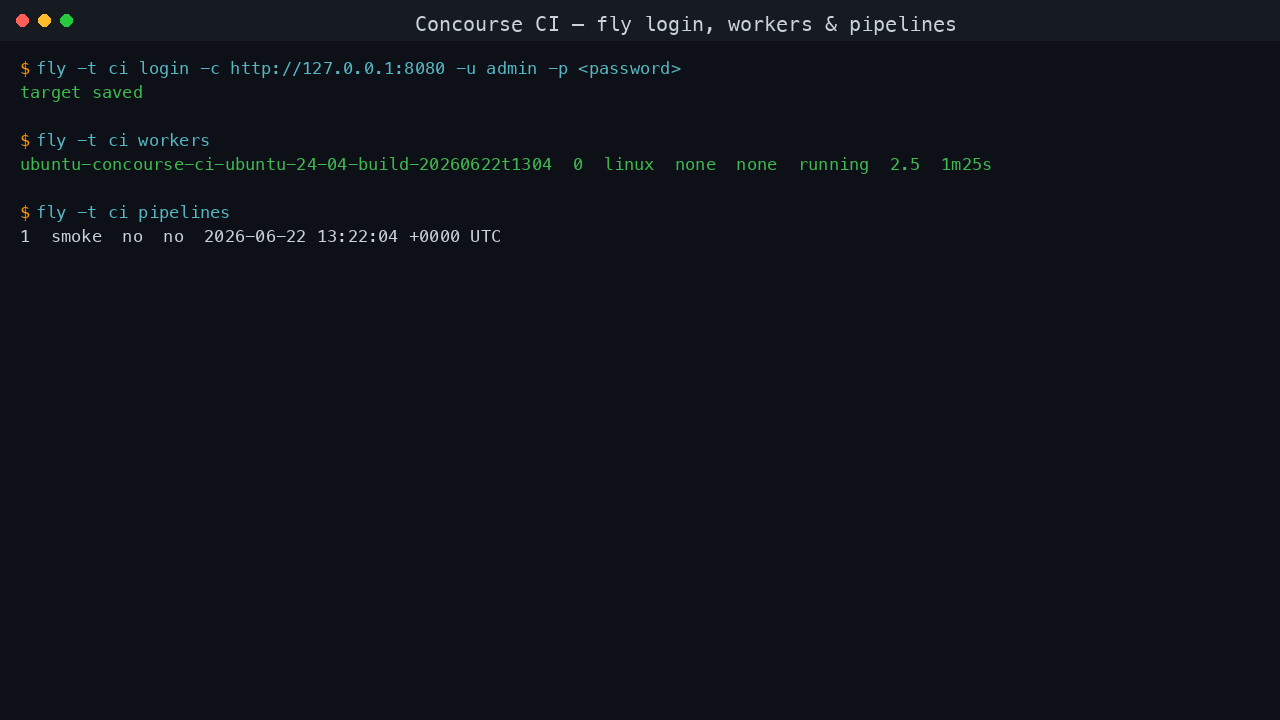
Log in to a target named ci. Substitute your admin password from Step 6 for <CONCOURSE_ADMIN_PASSWORD>:
fly -t ci login -c http://127.0.0.1:8080 -u admin -p <CONCOURSE_ADMIN_PASSWORD>
You should see target saved. List the registered workers - one worker reports running:
sudo HOME=/root fly -t ci workers
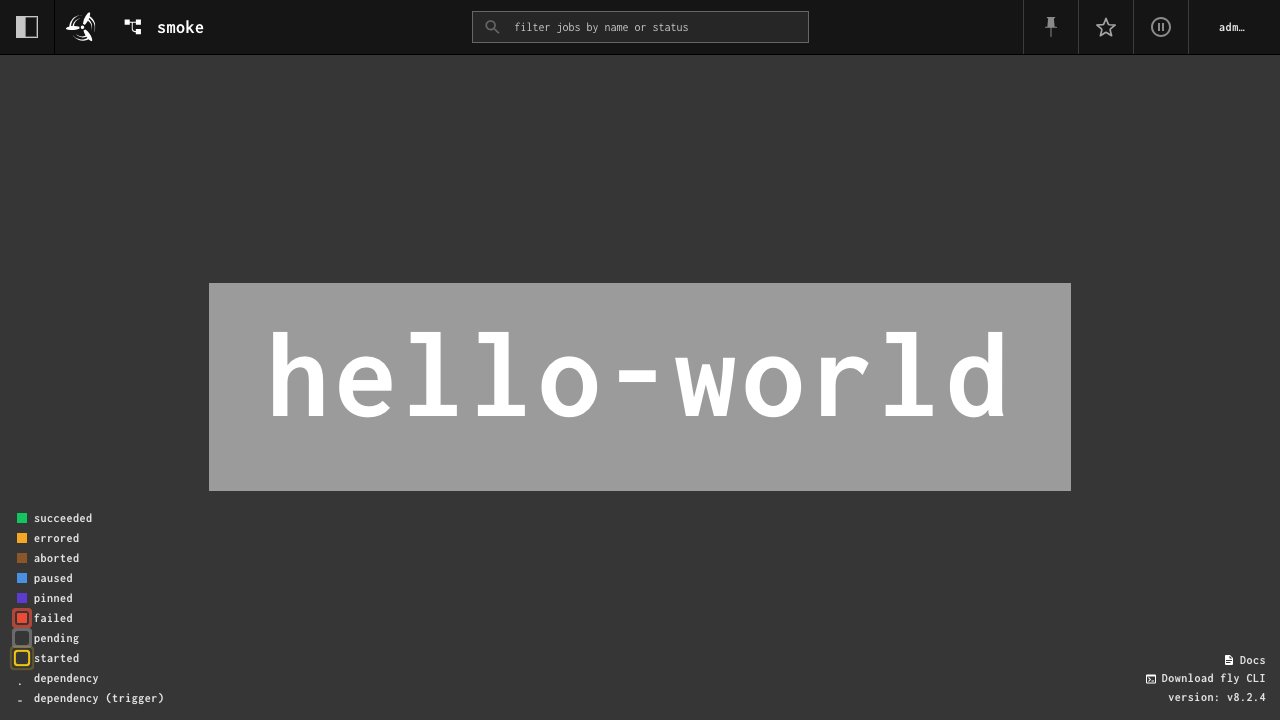
Step 9 - Set and trigger a pipeline
Create a minimal pipeline file:
cat > /tmp/hello-world.yml <<'YML'
jobs:
  - name: hello-world
    plan:
      - task: say-hello
        config:
          platform: linux
          image_resource:
            type: registry-image
            source: { repository: busybox }
          run:
            path: echo
            args: ["hello from cloudimg concourse"]
YML
Set the pipeline (non-interactive with -n), then unpause it:
sudo HOME=/root fly -t ci set-pipeline -p hello -c /tmp/hello-world.yml -n
sudo HOME=/root fly -t ci unpause-pipeline -p hello
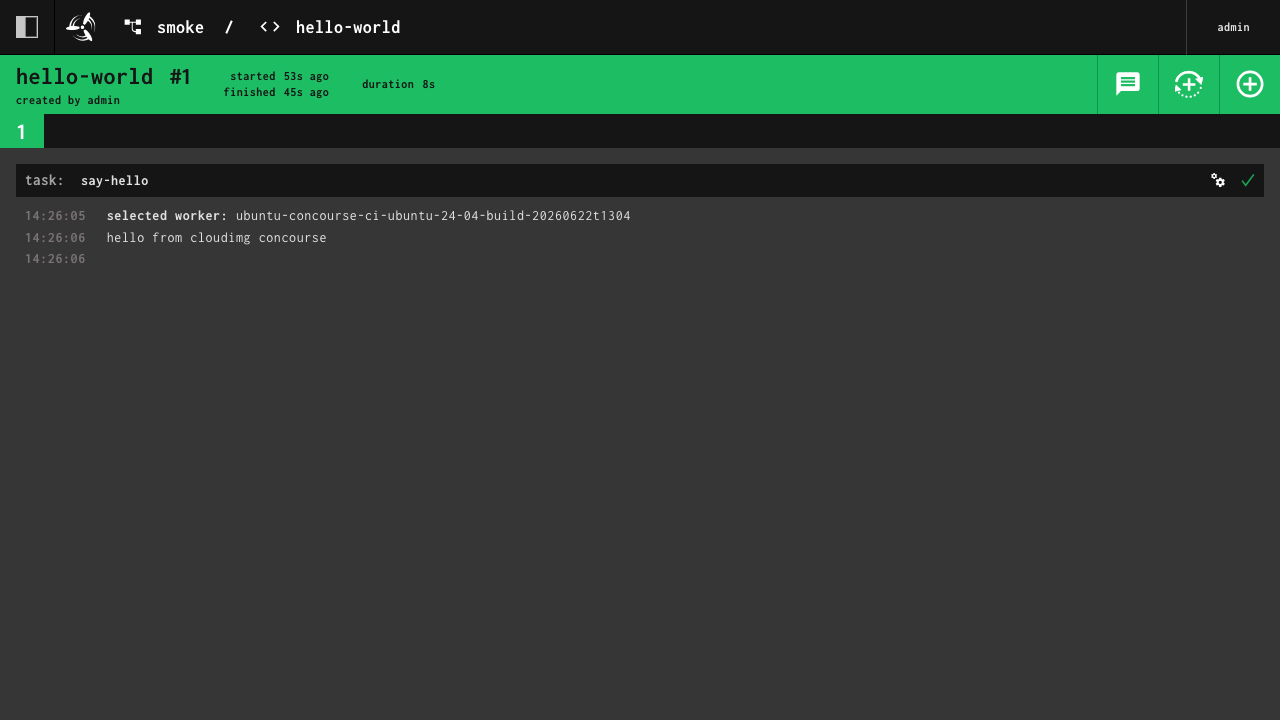
The pipeline now appears on the dashboard. You can trigger the job from the web UI, or with fly -t ci trigger-job -j hello/hello-world --watch. The first run pulls the busybox image, runs the task in a fresh container, and prints the build log live.
Step 10 - Where data lives
PostgreSQL (the Concourse database) and the worker work-dir both live on a dedicated Azure data disk mounted at /var/lib/concourse, separate from the OS disk and independently resizable:
df -h /var/lib/concourse
The disk is re-provisioned with every VM created from this image.
Enabling HTTPS
The image serves the Concourse web UI over plain HTTP on port 80. For production, front it with TLS using your own domain. Point a DNS record at the VM public IP, then install a certificate with certbot and the nginx plugin (replace your-domain.example.com with your hostname):
sudo apt-get update && sudo apt-get install -y certbot python3-certbot-nginx
sudo certbot --nginx -d your-domain.example.com
After enabling TLS, set CONCOURSE_EXTERNAL_URL=https://your-domain.example.com/ in /etc/concourse/web.env and restart concourse-web.service so generated links and fly login use HTTPS.
Maintenance
The Concourse and fly binaries live under /opt/concourse and /usr/local/bin/fly; configuration is in /etc/concourse. To view logs:
sudo journalctl -u concourse-web.service --no-pager | tail -20
PostgreSQL is the stock Ubuntu package and receives security updates through unattended-upgrades. To back up your Concourse database, use pg_dump against the atc database as the postgres user. Restart the stack with sudo systemctl restart concourse-web.service concourse-worker.service.
Support
This image is maintained by cloudimg with 24/7 support. Concourse is a trademark of its respective owners; cloudimg packages and supports the open-source distribution and is not affiliated with the Concourse project.