Coolify Self-Hosted PaaS on Ubuntu 24.04 on Azure User Guide
Overview
Coolify is an open source, self-hostable platform as a service — a Heroku, Netlify and Vercel alternative you run on your own server. Connect a Git repository or point it at a Dockerfile or Compose file and Coolify builds, deploys and reverse-proxies your application, with automatic HTTPS, one-click managed databases, environment and secret management and live build logs, all from a single dashboard. The cloudimg image installs Coolify 4.1.2 from the official installer as a Docker Compose stack and runs it as a systemd service, so a production-grade self-hosted PaaS is online within minutes of launch.
What is included:
- Coolify 4.1.2 (Apache 2.0) installed from the official installer, pinned so the image never silently upgrades at build time
- Docker Engine (Docker CE) + the Docker Compose plugin, installed by the Coolify installer as the build and deployment runtime
- The Coolify Docker Compose stack: the
coolifyLaravel app,coolify-db(PostgreSQL 15),coolify-redis(Redis 7) andcoolify-realtime(the Soketi websocket server for the live dashboard) - The dashboard published on port 8000 with Coolify's own first-party email + password authentication
- Coolify's built-in Traefik reverse proxy (
coolify-proxy) owning ports 80 and 443 to route traffic to the applications you deploy - All Coolify state (application database, per-application build state, managed SSH keys, backups and
source/.env) on a dedicated 40 GiB data disk mounted at/data/coolify, independently resizable and re-provisioned on every VM - A per-VM administrator login (email + a 25-character password) generated and seeded at first boot, with open self-registration disabled
- Two systemd units:
coolify.service(a oneshot wrapper arounddocker compose up -d) andcoolify-firstboot.service - 24/7 cloudimg support
Prerequisites
An active Azure subscription, an SSH key, and a VNet + subnet. Standard_B4ms (16 GB RAM) is the recommended size — comfortable for the Coolify stack plus the containers you deploy. NSG inbound rules: allow 22/tcp from your management CIDR for SSH, 8000/tcp from the CIDR that needs the Coolify dashboard, and 80/tcp + 443/tcp from any client CIDR that will reach the applications Coolify deploys through its Traefik proxy.
Step 1: Connect over SSH
Replace <vm-ip> with the public IP of your VM. The default login user is azureuser.
ssh azureuser@<vm-ip>
Step 2: Confirm the services are active
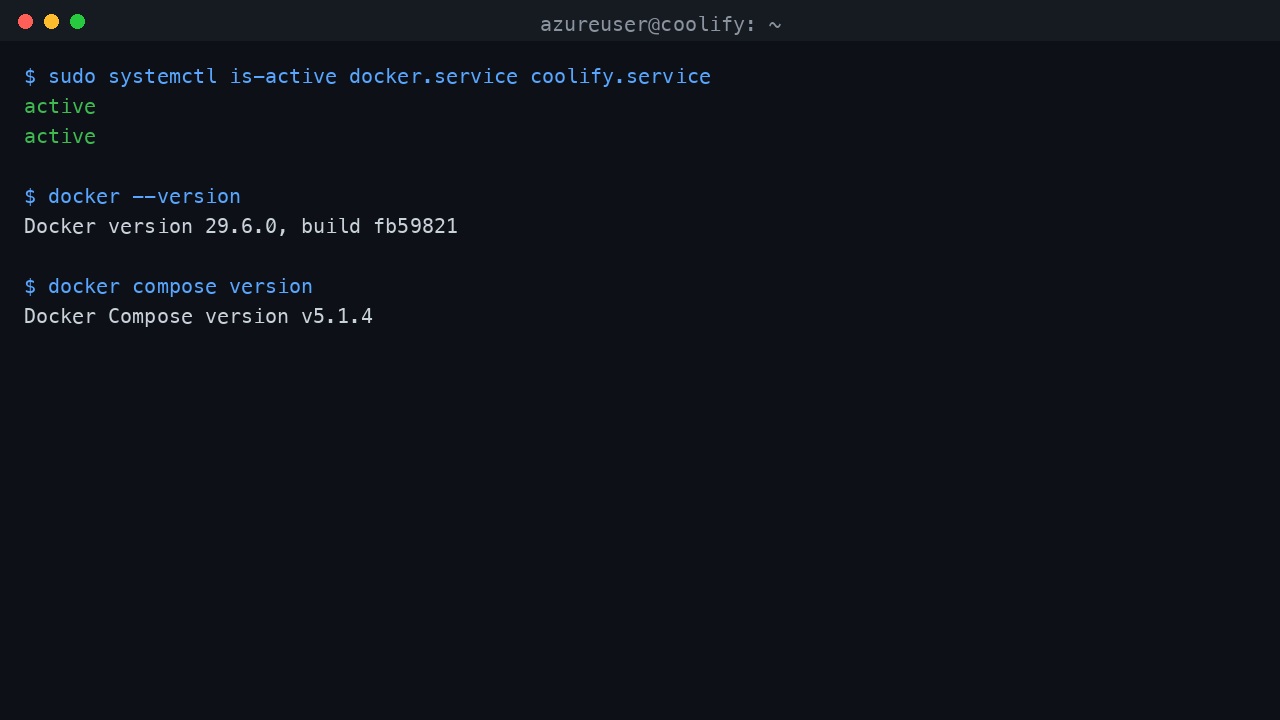
sudo systemctl is-active docker.service coolify.service
docker --version
docker compose version
You should see active printed twice, the Docker Engine version, and the Docker Compose v2 plugin version.
Step 3: Confirm the Coolify containers are running
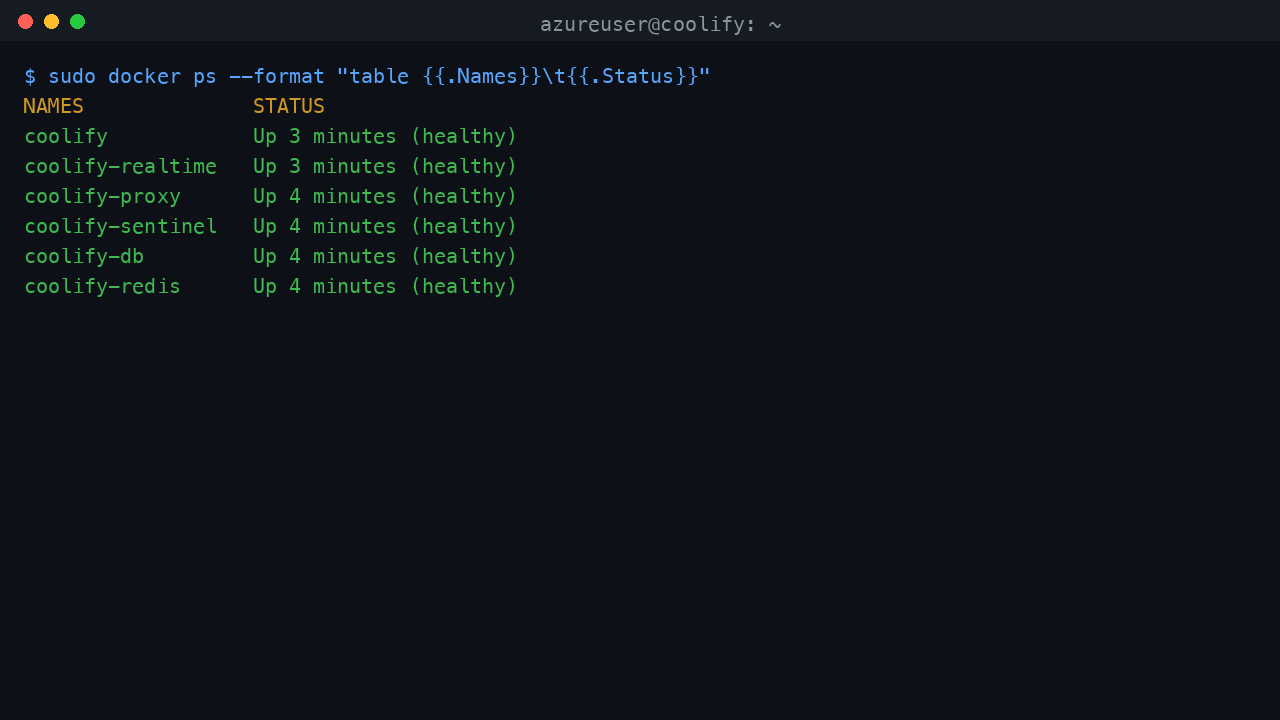
sudo docker ps --format "table {{.Names}}\t{{.Status}}"
You should see coolify, coolify-db, coolify-redis and coolify-realtime all in the Up / healthy state. Coolify's own Traefik proxy (coolify-proxy) starts when you connect your first server from the dashboard.
Step 4: Confirm the data disk is mounted
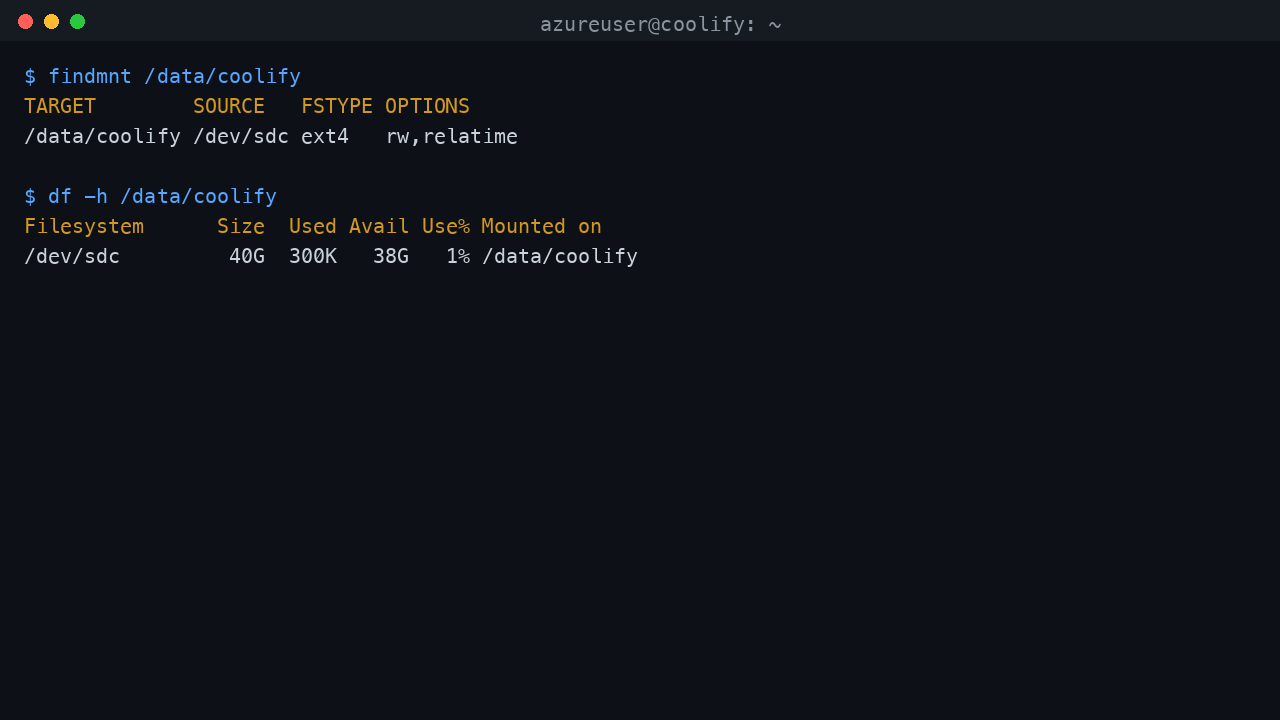
All Coolify state lives on a dedicated data disk mounted at /data/coolify.
findmnt /data/coolify
df -h /data/coolify
findmnt shows the device backing /data/coolify and df confirms the 40 GiB volume.
Step 5: Read the per-VM administrator credentials
A unique administrator email and password are generated for your instance on its first boot and written to a root-only file. Self-registration is disabled — this is the only login until you invite more users from the dashboard.
sudo cat /root/coolify-credentials.txt
Note the coolify.url, coolify.admin.email and coolify.admin.pass values. The dashboard URL is http://<vm-ip>:8000/.
Step 6: Confirm the dashboard health endpoint
curl -fsS http://127.0.0.1:8000/api/health
Coolify returns OK once the application is fully up.
Step 7: Verify the administrator login works
This confirms the per-VM administrator password authenticates against Coolify's login. It fetches the CSRF token, posts the credentials, and checks the response is a successful redirect.
EMAIL=$(sudo grep '^coolify.admin.email=' /root/coolify-credentials.txt | cut -d= -f2-)
CJ=$(mktemp)
curl -s -c "$CJ" 'http://127.0.0.1:8000/login' >/dev/null
XSRF=$(grep XSRF-TOKEN "$CJ" | awk '{print $NF}' | python3 -c 'import sys,urllib.parse;print(urllib.parse.unquote(sys.stdin.read().strip()))')
curl -s -b "$CJ" -o /dev/null -w 'login HTTP %{http_code}\n' \
  -H "X-XSRF-TOKEN: ${XSRF}" -H 'X-Requested-With: XMLHttpRequest' \
  --data-urlencode "email=${EMAIL}" --data-urlencode "password=<COOLIFY_ADMIN_PASSWORD>" \
  'http://127.0.0.1:8000/login'
rm -f "$CJ"
A 302 (redirect to the dashboard) confirms the login succeeded.
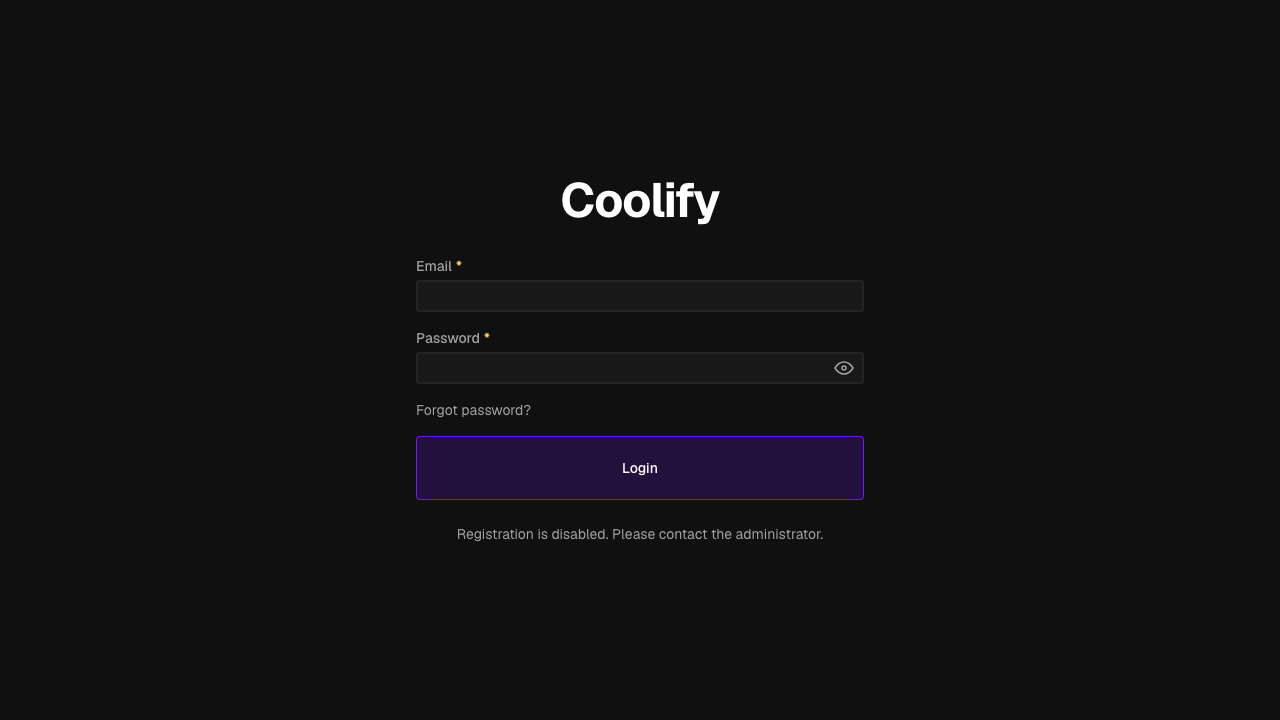
Step 8: Sign in to the Coolify dashboard
Browse to http://<vm-ip>:8000/ and sign in with the email and password from Step 5. The login page notes that registration is disabled — the first-boot root administrator is the only account.
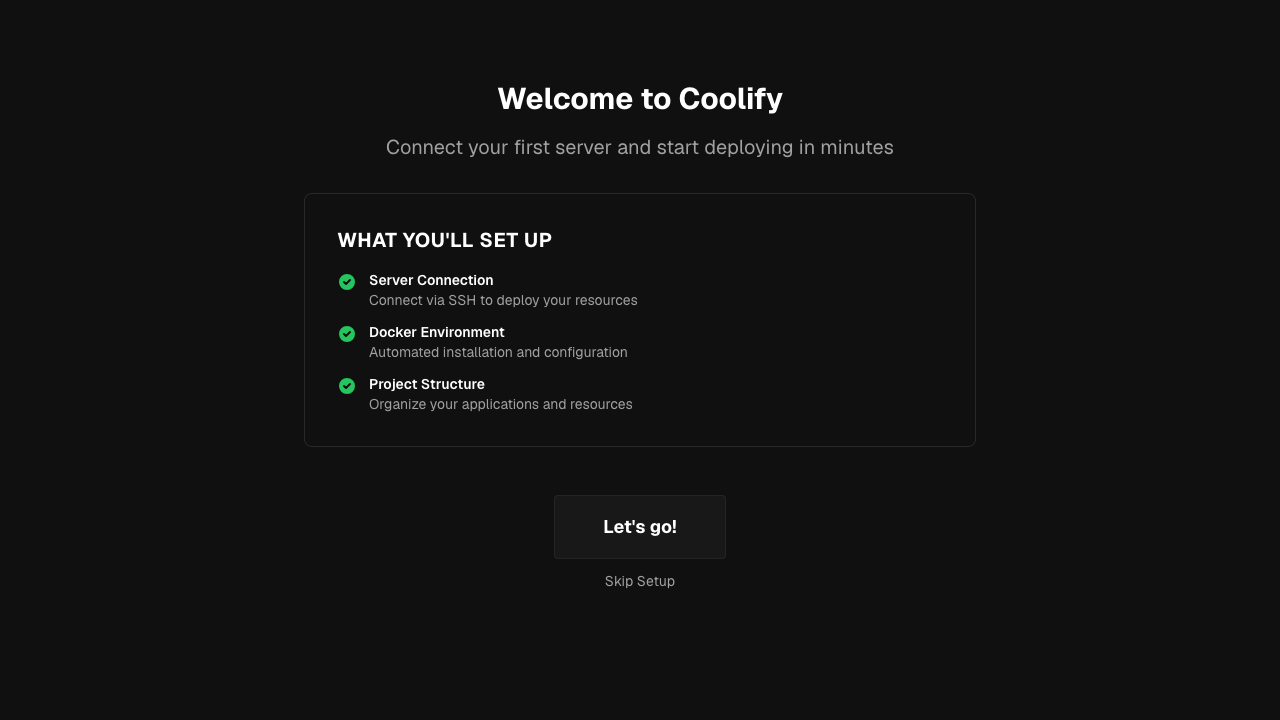
Step 9: Complete the welcome / onboarding
On first sign-in Coolify shows a short onboarding screen. Click Skip Setup to go straight to the dashboard, or Let's go! to walk through connecting your first server.
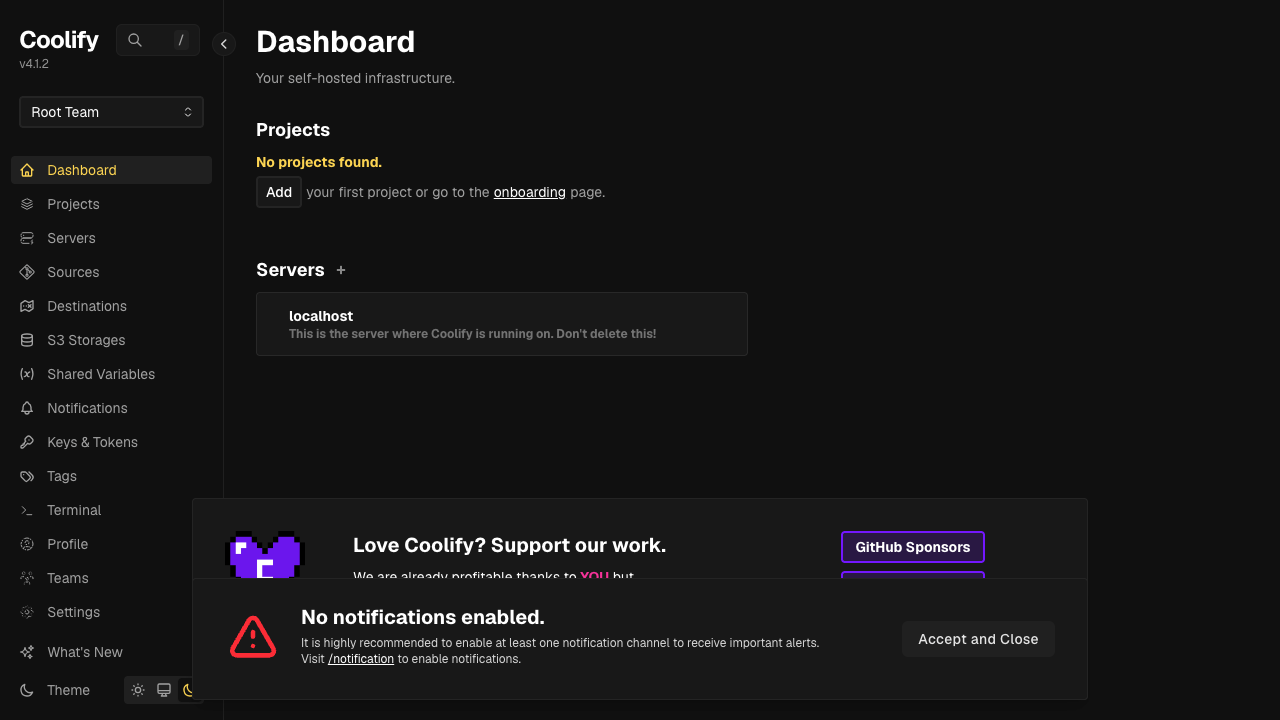
Step 10: The Coolify dashboard
The dashboard is your single pane of glass. The left sidebar gives you Projects, Servers, Sources (Git providers), Destinations, S3 Storages, Shared Variables, Keys & Tokens, Settings and more. The localhost server — the Docker host Coolify runs on — is ready to deploy to immediately.
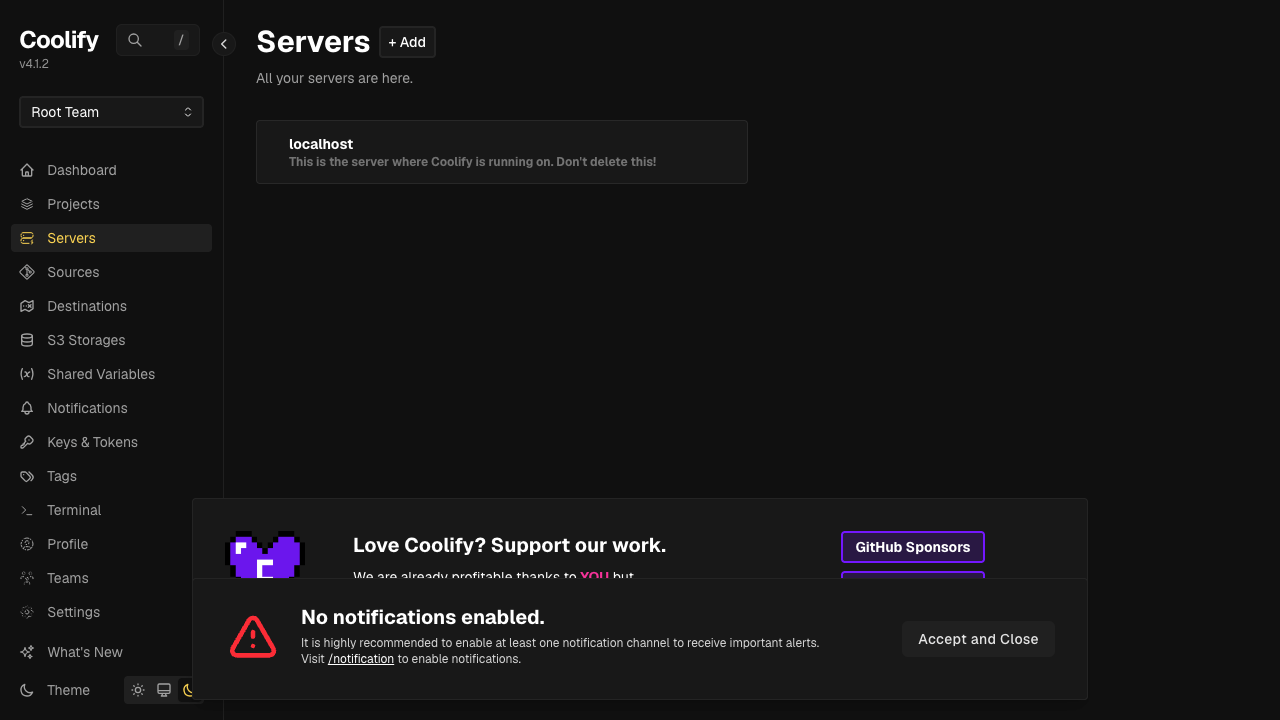
Step 11: Servers
Open Servers to manage the local Docker host and connect additional servers for distributed deployments. The pre-configured localhost entry is the server Coolify itself runs on — do not delete it.
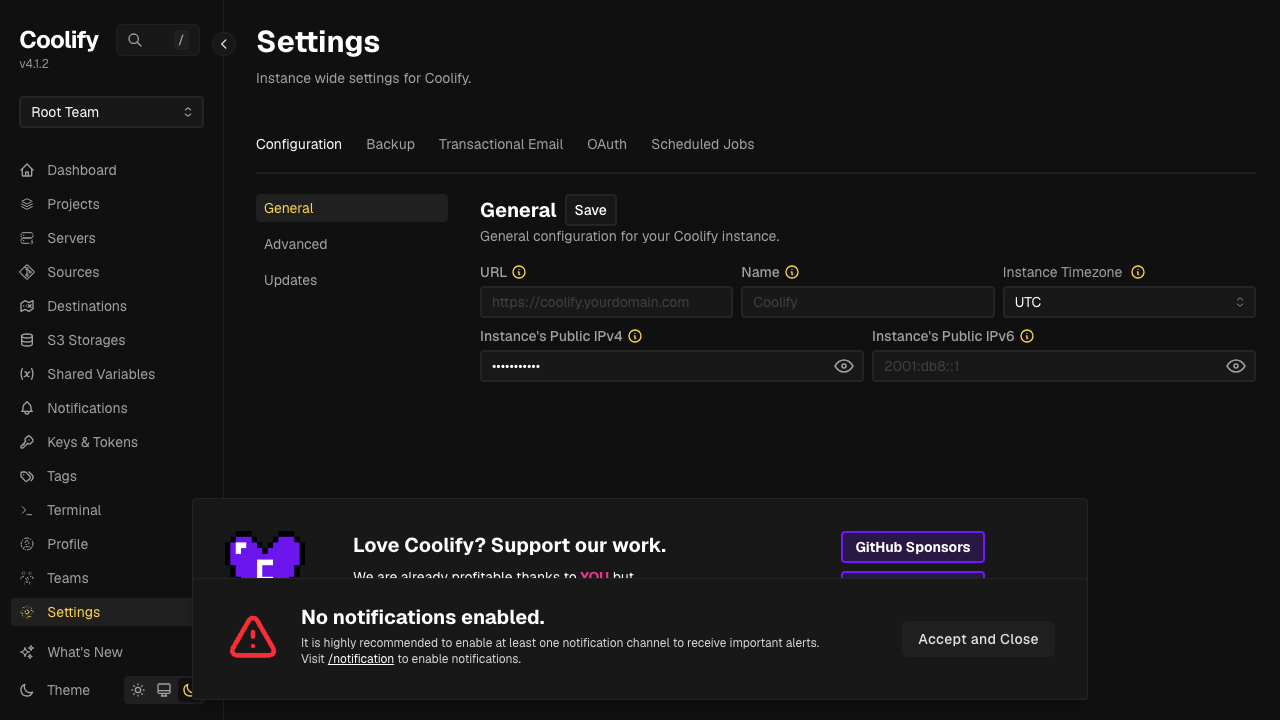
Step 12: Instance settings
Open Settings to configure the instance: the public URL and name, the instance timezone, the public IPv4/IPv6 used for deployments, transactional email, OAuth providers, automated backups and scheduled jobs. Set the URL to your own domain here once you front the dashboard with HTTPS.
Step 13: Deploy your first application
From the dashboard, create a Project, then add a resource: connect a Source (GitHub, GitLab, Bitbucket or a public Git URL), or point Coolify at a Dockerfile or Docker Compose file. Coolify builds the image, deploys the container, wires it into its Traefik proxy and (optionally) provisions a Let's Encrypt certificate. You can also provision one-click managed databases (PostgreSQL, MySQL, MariaDB, MongoDB, Redis, KeyDB and more) and deploy ready-made services from the catalogue.
The applications you deploy are served through Coolify's own Traefik proxy on ports 80 and 443 — that is why this image does not run nginx and does not rebind port 80. The dashboard stays on port 8000.
Step 14: Serve the dashboard over HTTPS on your own domain (optional)
To reach the dashboard at https://coolify.example.com instead of http://<vm-ip>:8000, point a DNS A record at the VM's public IP, then in Settings → Configuration → General set the instance URL to your domain. Coolify's Traefik proxy will request a Let's Encrypt certificate and route the domain to the dashboard. Make sure ports 80 and 443 are open in your NSG so the ACME HTTP-01 challenge and HTTPS traffic can reach the proxy.
Step 15: Day-2 operations
Manage the stack with systemd and Docker Compose:
sudo systemctl status coolify.service --no-pager
sudo systemctl restart coolify.service
The Coolify state — including the application database — lives under /data/coolify on the dedicated data disk, so it survives instance replacement and can be resized independently. To upgrade Coolify, use the official upgrade script that ships under /data/coolify/source/upgrade.sh (review the Coolify release notes first).
Support
cloudimg provides 24/7 technical support by email and chat: deployment, connecting Git providers and servers, application and database deployment, the Traefik reverse proxy and HTTPS, environment and secret management, backups and runtime tuning.
All product and company names are trademarks or registered trademarks of their respective holders. Use of them does not imply any affiliation with or endorsement by them. Coolify is a trademark of its respective owner.