Dolibarr ERP CRM on AWS User Guide
Overview
This image runs Dolibarr behind nginx, with PHP FPM 8.3 and OPcache enabled. Business data and configuration are stored in MariaDB on the same instance, bound to the loopback interface only. The Dolibarr code tree lives at /var/www/dolibarr/htdocs and uploaded and generated documents are stored outside the web root at /var/www/dolibarr/documents. Both directories sit on a dedicated, independently resizable EBS volume, and the MariaDB data directory sits on a second dedicated volume, so the application tier and the database tier can each be grown without touching the operating system disk. Dolibarr's scheduled jobs run every five minutes through a systemd timer.
The Dolibarr install wizard is already completed and locked in this image, so there is no setup screen to work through — you go straight to the sign in page on first access. Dolibarr administrator and MariaDB credentials are generated on the first boot of every deployed instance. Two instances launched from the same Amazon Machine Image never share passwords. The initial administrator password and the MariaDB password are written to /root/dolibarr-credentials.txt with mode 0600 so that only the root user can read them.
Dolibarr derives its base address from the host of each request, so the application automatically works on whatever public DNS name or IP address users reach the instance on. There is no instance metadata lookup and no value to edit on first boot — deployments behind an Application Load Balancer, a private subnet, or a custom domain all work without changes.
Prerequisites
Before you deploy this image you need:
- An Amazon Web Services account where you can launch EC2 instances
- IAM permissions to launch instances, create security groups, and subscribe to AWS Marketplace products
- An EC2 key pair in the target Region for SSH access to the instance
- A VPC and subnet in the target Region, with a security group allowing inbound port 22 from your management network and inbound ports 80 and 443 from the networks your users will use
- The AWS CLI (version 2) installed locally if you plan to deploy from the command line
Step 1: Launch the Instance from the AWS Marketplace
Sign in to the AWS Management Console, open the EC2 service, and select Launch instance. Under Application and OS Images choose AWS Marketplace AMIs and search for Dolibarr ERP CRM. Select the cloudimg listing and choose Select, then Continue on the subscription summary.
Pick an instance type of m5.large or larger — the Dolibarr workload is PHP and MariaDB heavy. Choose your EC2 key pair under Key pair (login). Under Network settings select your VPC and subnet, and either create or select a security group that allows inbound port 22 from your management network and inbound ports 80 and 443 from the networks your users use. Leave the root volume at the default size or larger.
Select Launch instance. First boot initialisation takes approximately one minute after the instance state becomes Running and the status checks pass.
Step 2: Launch the Instance from the AWS CLI
The following block launches an instance from the cloudimg Dolibarr Marketplace AMI into an existing subnet and security group. Replace <ami-id> with the AMI ID shown on the Marketplace listing, <key-name> with your EC2 key pair name, <subnet-id> with your subnet ID, and <security-group-id> with a security group that opens ports 22, 80, and 443 as described above.
aws ec2 run-instances \
  --image-id <ami-id> \
  --instance-type m5.large \
  --key-name <key-name> \
  --subnet-id <subnet-id> \
  --security-group-ids <security-group-id> \
  --block-device-mappings '[{"DeviceName":"/dev/sda1","Ebs":{"VolumeSize":30,"VolumeType":"gp3"}}]' \
  --tag-specifications 'ResourceType=instance,Tags=[{Key=Name,Value=dolibarr-01}]'
The command prints a JSON document on success. Note the instance ID, then retrieve its public address once it is running with aws ec2 describe-instances --instance-ids <instance-id> --query "Reservations[].Instances[].PublicIpAddress" --output text.
Step 3: Connect and Retrieve Initial Credentials
Connect over SSH with the key pair you selected and the public IP address from step 2. The SSH login user depends on the operating system of the AMI variant you launched:
| AMI variant | SSH login user |
|---|---|
| Dolibarr 23 on Ubuntu 24.04 | ubuntu |
ssh -i <path-to-key.pem> ubuntu@<instance-public-ip>
The initial Dolibarr administrator password and the MariaDB password are generated on first boot and stored in a root only file. Print them with:
sudo cat /root/dolibarr-credentials.txt
The file lists the Dolibarr sign in URL, the administrator user name (admin) and password, and the MariaDB database name, user and password. Store these somewhere safe and treat the file as sensitive.
Step 4: Sign In to Dolibarr
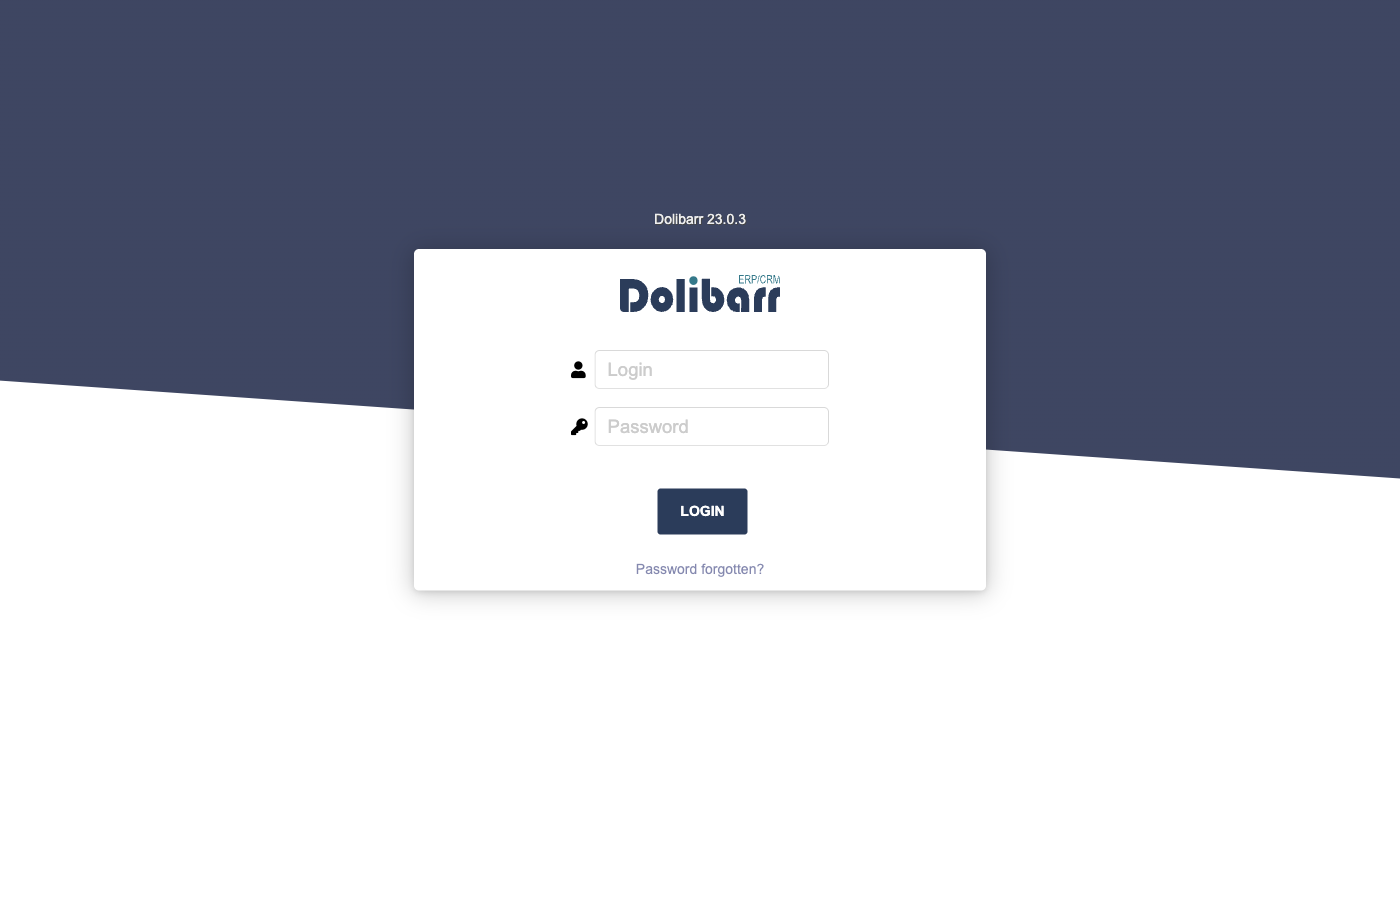
Open http://<instance-public-ip>/ in your browser. The Dolibarr sign in page is served immediately — the install wizard is already completed and locked, so there is no setup to perform.
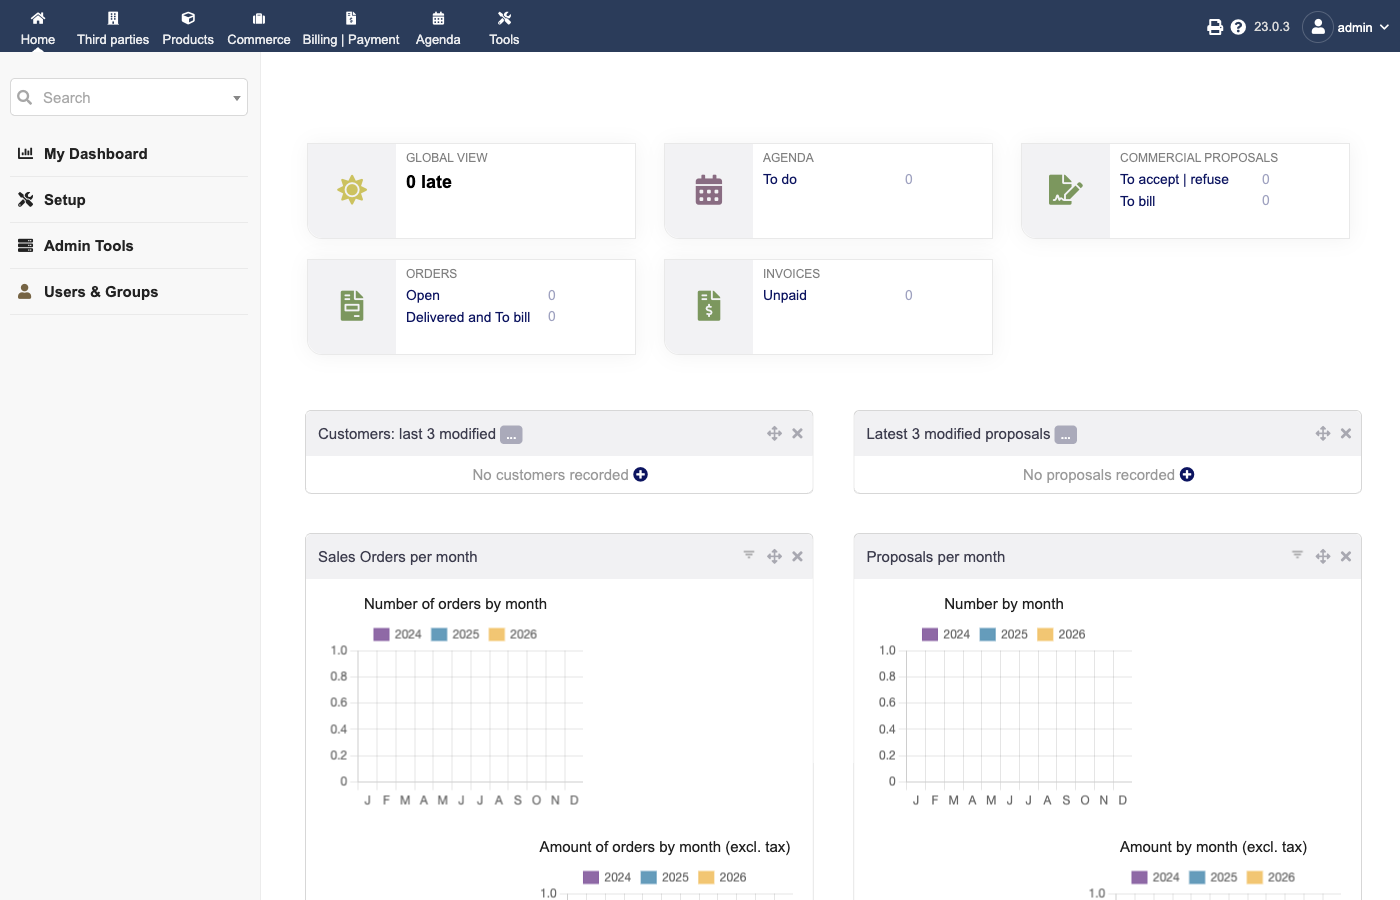
Sign in as the admin user with the password from /root/dolibarr-credentials.txt. You land on the Dolibarr home dashboard, which shows the open business indicators (proposals, orders, invoices, projects and more) and the working board.
Step 5: Manage Third Parties (Customers and Suppliers)
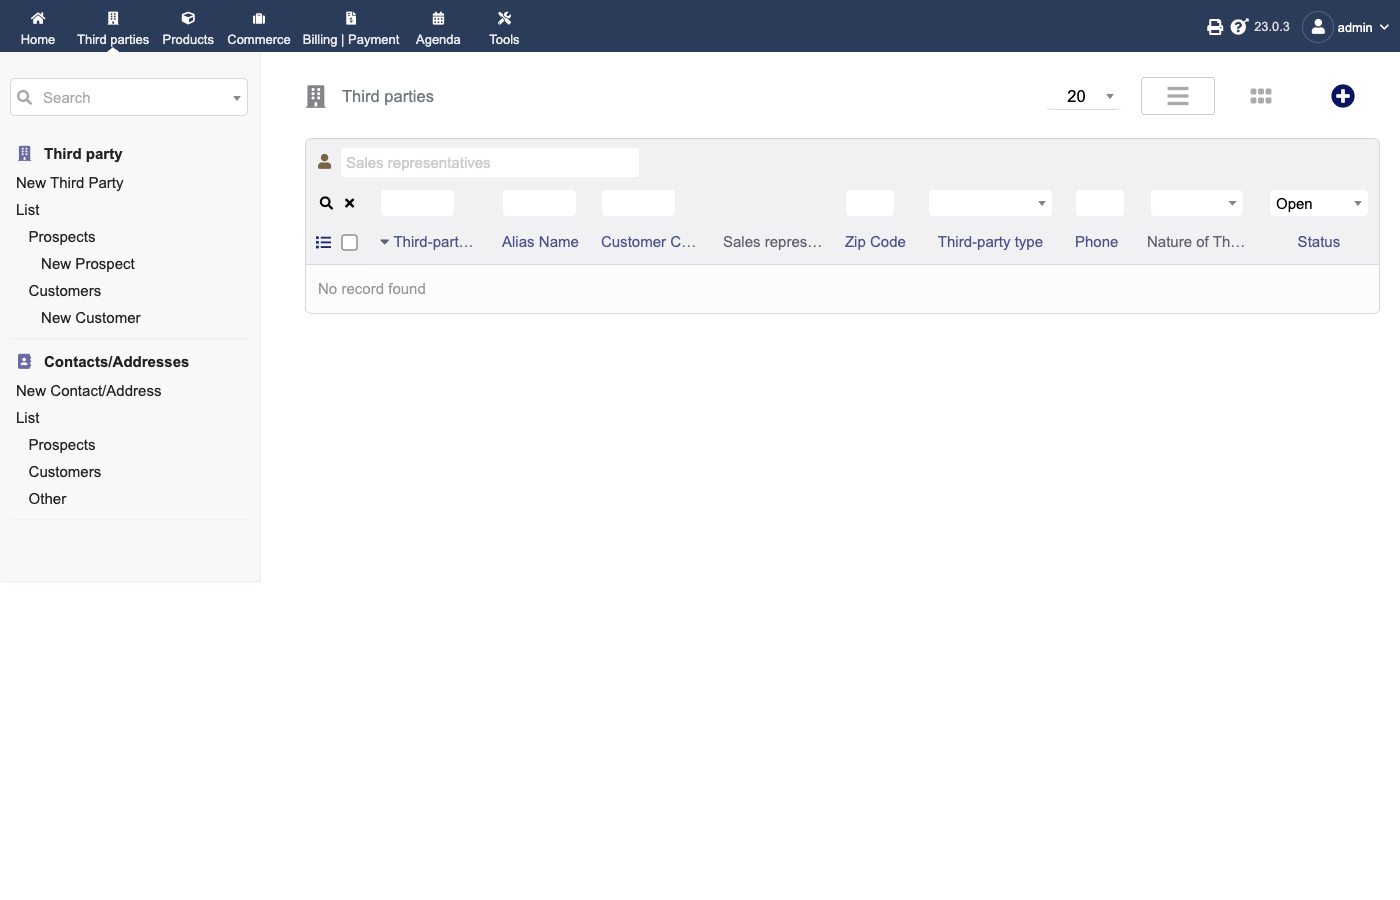
Dolibarr organises customers, prospects and suppliers as third parties. Open the Third parties area from the top menu to create and browse companies and the contacts attached to them. From a third party record you can raise proposals, orders, invoices and contracts and see the full commercial history in one place.
Step 6: Work with Invoices
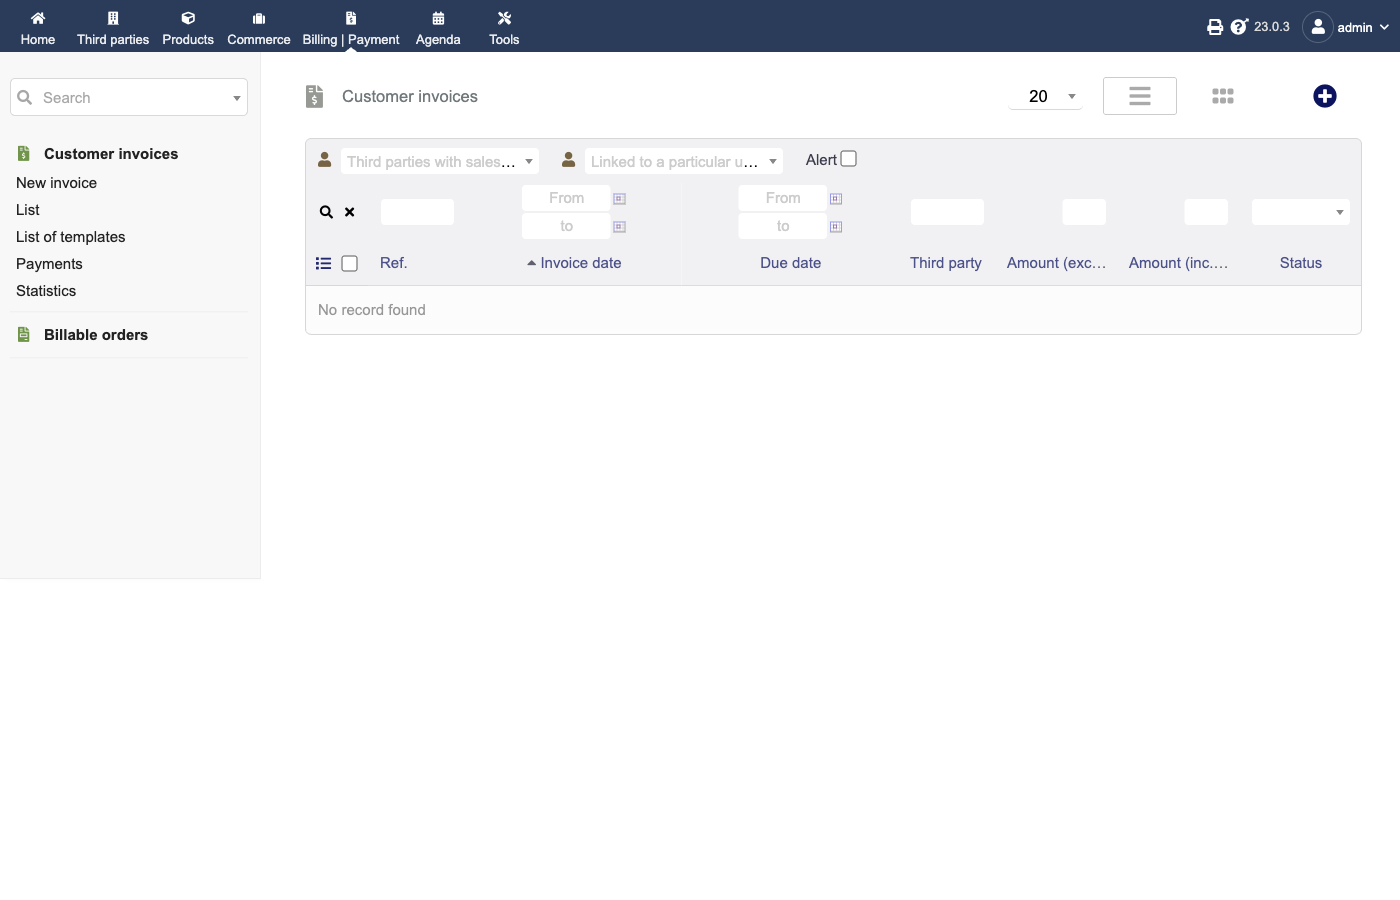
Open the Billing | Payment area to create and manage customer invoices, record payments, and follow the unpaid balance. Invoices can be raised directly or generated from a validated proposal or sales order, and Dolibarr produces a PDF for each one.
Step 7: Enable Additional Modules
Dolibarr's functionality is delivered through modules. This image ships with the core ERP and CRM modules already enabled — third parties, products and services, proposals, sales orders and invoices, the agenda and user management. To turn on more (projects, stock, accounting, ticketing, members, point of sale and many others), open Home → Setup → Modules/Applications, find the module, and switch it on. New menus appear immediately.
To change the company identity used on documents, open Home → Setup → Company/Organization and edit the name, address, country and logo. Dolibarr uses these values on every generated proposal, order and invoice PDF.
Step 8: Configure Outbound Email
Dolibarr sends quotes, orders and invoices by email and runs email driven workflows. Open Home → Setup → Emails and enter your SMTP relay host, port, and any authentication credentials, then send a test message from the same page. Using a managed relay such as Amazon SES keeps your instance off shared deny lists and improves deliverability.
Step 9: Enable HTTPS with Let's Encrypt
For production use, place Dolibarr behind HTTPS. With a DNS name pointed at the instance and inbound port 443 open, install Certbot and request a certificate. Run the following as a prose driven sequence rather than copying it blindly — substitute your own domain name.
Install Certbot and the nginx plugin:
sudo apt-get update
sudo apt-get install -y certbot python3-certbot-nginx
Then request and install a certificate for your domain. Certbot will prompt for an email address and agreement to the terms of service, edit the nginx server block in place, and reload nginx:
sudo certbot --nginx -d your-domain.example.com
Certbot installs a renewal timer automatically. After HTTPS is active you may set $dolibarr_main_force_https to 1 in /var/www/dolibarr/htdocs/conf/conf.php to force all traffic onto HTTPS.
Step 10: Backup and Maintenance
Two pieces of state matter: the MariaDB database and the documents directory. Back up the database with a logical dump and archive the documents tree:
sudo mysqldump --single-transaction dolibarr | gzip > /tmp/dolibarr-db-$(date +%F).sql.gz
sudo tar czf /tmp/dolibarr-documents-$(date +%F).tar.gz -C /var/www/dolibarr documents
Because the database lives on its own EBS volume mounted at /var/lib/mysql and the application and documents live on a second EBS volume mounted at /var/www, you can also snapshot those volumes with Amazon EBS snapshots for point in time recovery, and grow either tier independently with a volume resize followed by a filesystem grow.
Apply operating system security updates with sudo apt-get update && sudo apt-get upgrade. Dolibarr itself is upgraded by replacing the code tree with a newer release and running its upgrade process; review the Dolibarr release notes before upgrading a production instance, and take a database and documents backup first.
Service Layout Reference
| Component | Detail |
|---|---|
| Web server | nginx, document root /var/www/dolibarr/htdocs |
| PHP | PHP FPM 8.3 with OPcache |
| Database | MariaDB on localhost, data directory /var/lib/mysql (dedicated EBS volume) |
| Documents | /var/www/dolibarr/documents (dedicated EBS volume, outside the web root) |
| Configuration | /var/www/dolibarr/htdocs/conf/conf.php |
| Credentials | /root/dolibarr-credentials.txt (mode 0600) |
| Scheduled jobs | dolibarr-cron.timer, every five minutes |
| First boot service | dolibarr-firstboot.service |
Support
This image is supported 24/7 by cloudimg. Contact us for help with Dolibarr deployment, module activation, upgrades, performance tuning and database administration.