Etherpad on Ubuntu 24.04 on Azure User Guide
Overview
Etherpad is an open-source, real-time collaborative document editor. Multiple people can edit the same document at the same time and see each other's changes instantly, with colored authorship, a built-in chat sidebar, and a full revision timeslider. The cloudimg image installs Etherpad 2.7.3, runs it as a systemd service bound to loopback behind an nginx reverse proxy on port 80, persists its database on a dedicated Azure data disk, and generates a unique admin password on the first boot of every VM. Backed by 24/7 cloudimg support.
What is included:
- Etherpad 2.7.3 (at
/opt/etherpad) with an embedded SQLite database - Node.js 22 LTS from the official NodeSource repository
- nginx on
:80as a reverse proxy to the loopback Etherpad backend, with WebSocket upgrade headers for real-time collaboration over socket.io - A per-VM admin password generated on first boot and recorded in a root-only file
- A dedicated Azure data disk at
/var/lib/etherpadfor the database (etherpad.db) etherpad.service+nginx.serviceas systemd units, enabled and active- 24/7 cloudimg support
Prerequisites
An active Azure subscription, an SSH key pair, and a VNet + subnet in the target region. Standard_B2ms (2 vCPU / 8 GiB RAM) is a good starting point. NSG inbound: allow 22/tcp from your management network and 80/tcp. Etherpad serves plain HTTP on port 80; for production, terminate TLS in front of it with your own domain.
Step 1 - Deploy from the Azure Marketplace
Sign in to the Azure Portal, choose Create a resource, search the Marketplace for Etherpad by cloudimg, and select Create. On Basics pick your subscription, resource group, region and size; under Administrator account choose SSH public key and paste your key; under Inbound port rules allow SSH (22) and HTTP (80). Review the dedicated data disk on the Disks tab, then Review + create -> Create.
Step 2 - Deploy from the Azure CLI
az vm create \
  --resource-group <your-rg> \
  --name etherpad \
  --image <marketplace-image-urn> \
  --size Standard_B2ms \
  --admin-username azureuser \
  --ssh-key-values ~/.ssh/id_ed25519.pub \
  --vnet-name <your-vnet> --subnet <your-subnet> \
  --public-ip-sku Standard

az vm open-port --resource-group <your-rg> --name etherpad --port 80 --priority 1010
Step 3 - Connect to your VM
ssh azureuser@<vm-public-ip>
Step 4 - Confirm the services are running
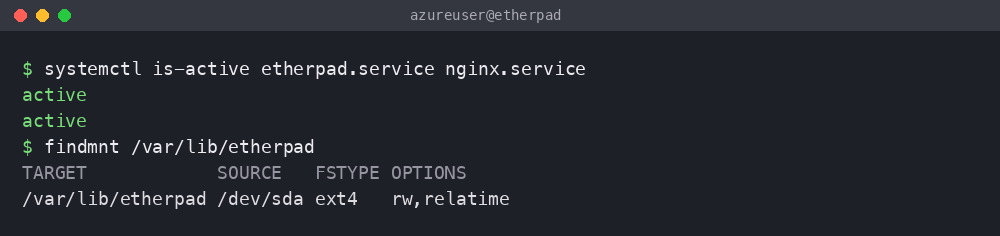
systemctl is-active etherpad.service nginx.service
Both report active. On first boot the image generates a per-VM admin password and the data disk is mounted at /var/lib/etherpad.
findmnt /var/lib/etherpad
The mount is backed by a separate Azure data disk captured into the image and re-provisioned on every VM.
Step 5 - Retrieve your admin password
The admin password is generated uniquely on the first boot of your VM and written to a root-only file:
sudo cat /root/etherpad-credentials.txt
This file contains etherpad.admin.user (admin) and etherpad.admin.pass, along with the editor and admin URLs. Store the password somewhere safe.
Step 6 - Confirm the editor is serving
Etherpad answers on port 80 (nginx proxies to the loopback backend on 9001):
curl -s -o /dev/null -w '%{http_code}\n' http://localhost/
It returns 200 - that is the pad index page. You can confirm the installed version too:
node -e "console.log('Etherpad', require('/opt/etherpad/src/package.json').version)"
It prints Etherpad 2.7.3.

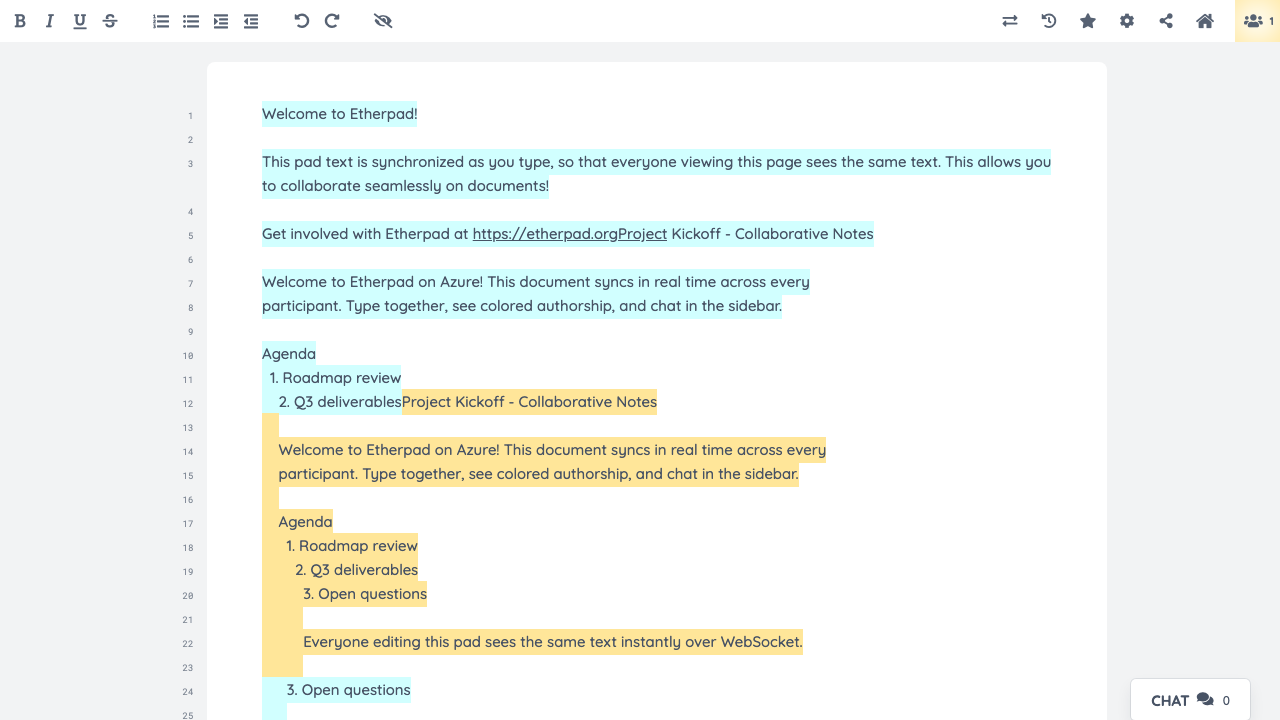
Step 7 - Open a pad and collaborate
Browse to http://<vm-public-ip>/ and you will land on a new pad. Anyone you share the pad URL with can edit the same document in real time - changes appear instantly, each author's text is highlighted in their own color, and the toolbar offers formatting, an authorship view, the revision timeslider, and import/export.
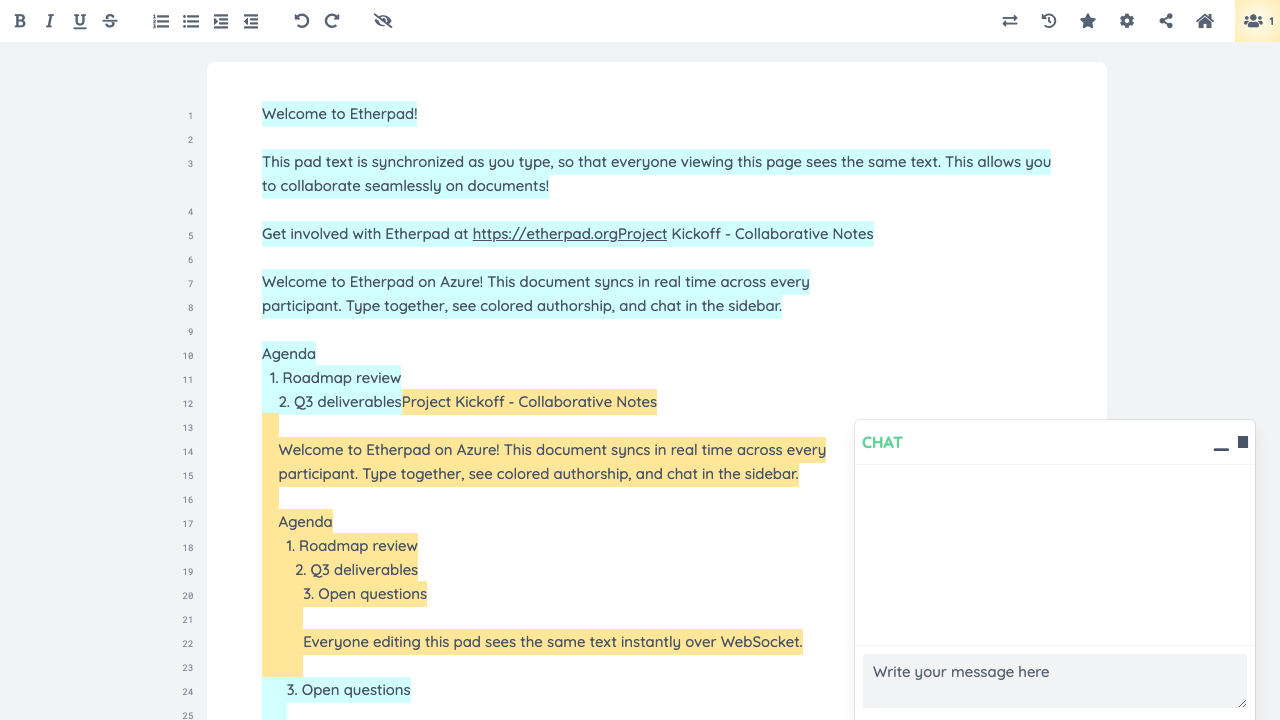
Open the Chat panel in the bottom-right of any pad to message everyone editing alongside you - useful for discussing edits without leaving the document.
To create a named pad, append a name to the URL, for example http://<vm-public-ip>/p/team-standup. Share that link and everyone with it joins the same live document.
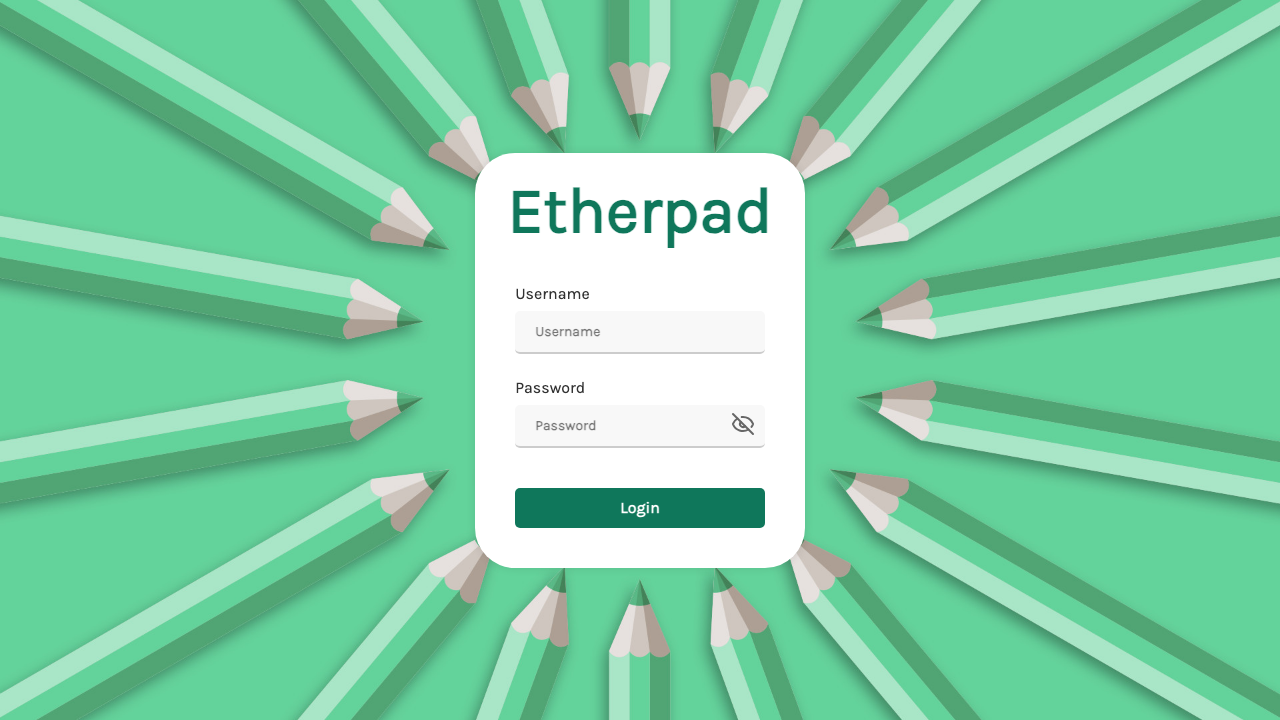
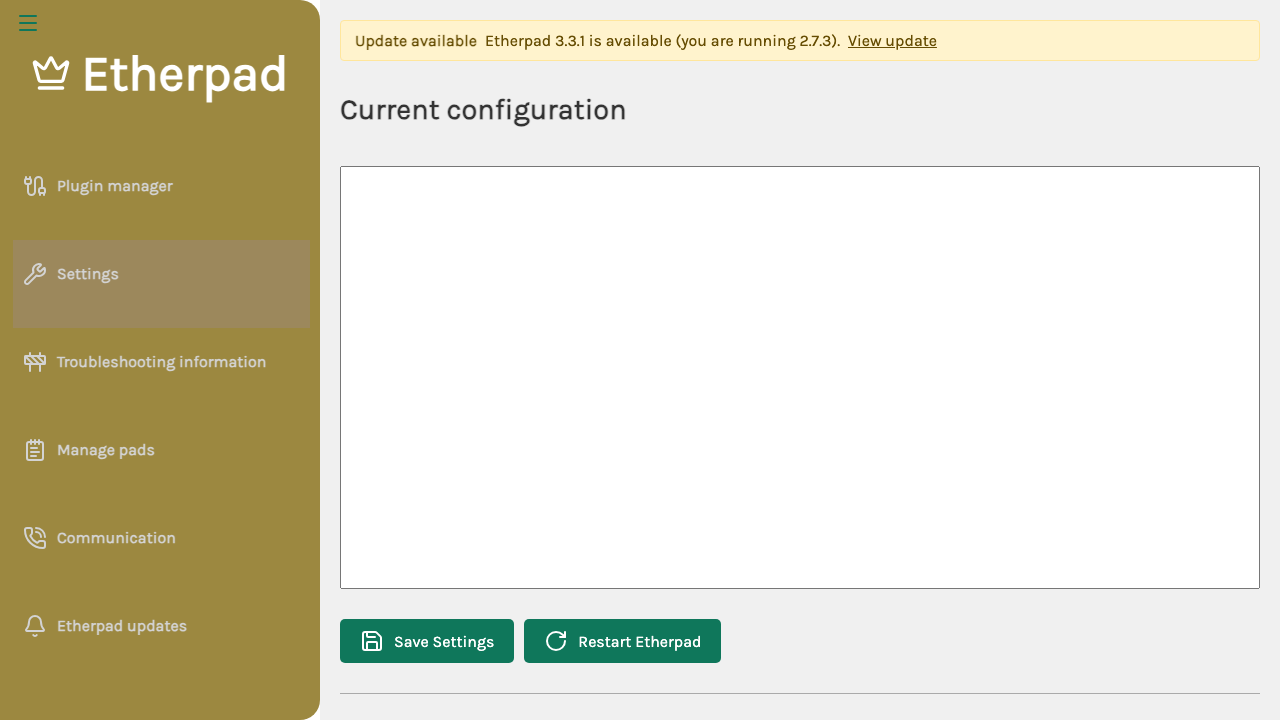
Step 8 - Open the admin dashboard
Browse to http://<vm-public-ip>/admin/. The dashboard prompts for the admin credentials from Step 5 (username admin).
After signing in you can install plugins, edit the live settings.json, manage pads, configure communication, and view troubleshooting information.
Step 9 - Verify admin authentication from the command line
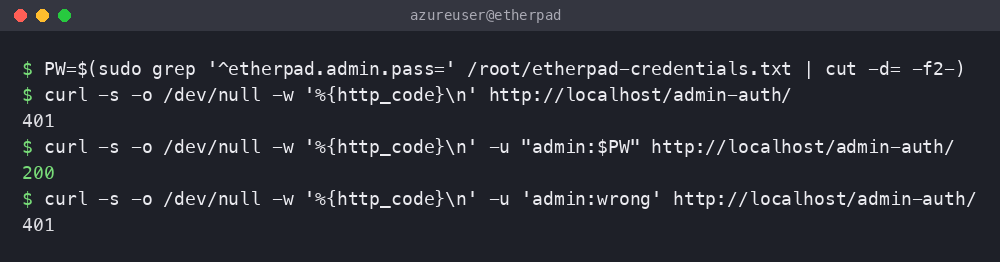
The admin area is gated by HTTP Basic auth at /admin-auth/. It rejects an unauthenticated request and a wrong password, and accepts the per-VM admin password. Read the password into a variable, then test all three cases:
PW=$(sudo grep '^etherpad.admin.pass=' /root/etherpad-credentials.txt | cut -d= -f2-)
curl -s -o /dev/null -w '%{http_code}\n' http://localhost/admin-auth/
curl -s -o /dev/null -w '%{http_code}\n' -u "admin:$PW" http://localhost/admin-auth/
curl -s -o /dev/null -w '%{http_code}\n' -u "admin:wrong-password" http://localhost/admin-auth/
The three responses are 401 (unauthenticated), 200 (correct password), and 401 (wrong password).
Step 10 - Confirm data lives on the dedicated disk
The Etherpad database is stored on the dedicated Azure data disk so it survives OS changes and can be resized independently:
sudo ls -la /var/lib/etherpad/etherpad.db
The SQLite database file (etherpad.db) lives on the data disk mounted at /var/lib/etherpad, captured into the image and re-provisioned on every VM.
Working with Etherpad
- Pads: every URL under
/p/<name>is its own live document with a shareable link, colored authorship, chat, and a revision timeslider (the clock icon in the toolbar). - API: Etherpad exposes an HTTP API for creating pads, setting text, and managing groups and sessions programmatically; the API key is at
/opt/etherpad/APIKEY.txt(rotated per VM on first boot). - Plugins: install community plugins (export to PDF, authentication backends, themes, and more) from the admin Plugin manager.
See the Etherpad documentation for the API reference, plugins and configuration options.
Maintenance
- Admin password: the per-VM password is in
/root/etherpad-credentials.txt. To change it, editusers.admin.passwordin/opt/etherpad/settings.jsonandsudo systemctl restart etherpad. - Settings: the live configuration is
/opt/etherpad/settings.json; restart the service after edits. - Data: the SQLite database lives at
/var/lib/etherpad/etherpad.db; snapshot the/var/lib/etherpaddata disk to back it up. - TLS: Etherpad serves plain HTTP on port 80; front it with TLS (e.g. certbot) and your own domain before production use.
- Upgrades: pull a newer Etherpad tag into
/opt/etherpad, re-runbin/installDeps.shandpnpm run build:etherpad, thensudo systemctl restart etherpad. - Security patches: unattended-upgrades remains enabled so the OS continues to receive security updates automatically.
Support
cloudimg provides 24/7 expert support for this image. Contact support@cloudimg.co.uk.