
FreshRSS on AWS User Guide
Overview
This image runs FreshRSS, the open source self-hosted RSS and Atom feed aggregator and reader. FreshRSS lets you follow news sites, blogs, podcasts, YouTube channels and any other source that publishes a feed, and read everything in one fast, clean web interface that you own and control.
FreshRSS runs as a PHP application. nginx answers on port 80 (and 443 once you add TLS) and passes requests to php-fpm over a local socket; FreshRSS reads and writes its content directly on disk. It uses a self-contained SQLite database, so there is no separate database server to install, tune or back up. The reader's data - the configuration, the SQLite feed database, the article and favicon cache, PubSubHubbub state and extension data - lives on a dedicated EBS data volume mounted at /var/lib/freshrss, independently resizable and separate from the operating system disk. The program code itself lives at /var/www/freshrss, and only its public /var/www/freshrss/p directory is exposed to the web.
On the first boot of every deployed instance, a one-shot service generates a single administrator account with a per-instance password, creates it in FreshRSS, and writes the login to /root/freshrss-credentials.txt with mode 0600. No shared or default credentials ship in the image.
Prerequisites
Before you deploy this image you need:
- An Amazon Web Services account where you can launch EC2 instances
- IAM permissions to launch instances, create security groups, and subscribe to AWS Marketplace products
- An EC2 key pair in the target Region for SSH access to the instance
- A VPC and subnet in the target Region, with a security group allowing inbound port 22 from your management network and inbound ports 80 and 443 from the networks your readers will reach FreshRSS on
- The AWS CLI (version 2) installed locally if you plan to deploy from the command line
Step 1: Launch the Instance from the AWS Marketplace
Sign in to the AWS Management Console, open the EC2 service, and select Launch instance. Under Application and OS Images choose AWS Marketplace AMIs and search for FreshRSS. Select the cloudimg listing and choose Select, then Continue on the subscription summary.
Pick an instance type of t3.small or larger. Choose your EC2 key pair under Key pair (login). Under Network settings select your VPC and subnet, and either create or select a security group that allows inbound port 22 from your management network and inbound ports 80 and 443 from the networks your readers use. Leave the root volume at the default size or larger; the image adds a separate data volume for the reader content automatically.
Select Launch instance. First boot initialisation takes only a few seconds after the instance state becomes Running and the status checks pass.
Step 2: Launch the Instance from the AWS CLI
The following block launches an instance from the cloudimg FreshRSS Marketplace AMI into an existing subnet and security group. Replace <ami-id> with the AMI ID shown on the Marketplace listing, <key-name> with your EC2 key pair name, <subnet-id> with your subnet ID, and <security-group-id> with a security group that opens ports 22, 80, and 443 as described above.
aws ec2 run-instances \
  --image-id <ami-id> \
  --instance-type t3.small \
  --key-name <key-name> \
  --subnet-id <subnet-id> \
  --security-group-ids <security-group-id> \
  --block-device-mappings '[{"DeviceName":"/dev/sda1","Ebs":{"VolumeSize":20,"VolumeType":"gp3"}}]' \
  --tag-specifications 'ResourceType=instance,Tags=[{Key=Name,Value=freshrss-01}]'
The command prints a JSON document on success. Note the instance ID, then retrieve its public address once it is running with aws ec2 describe-instances --instance-ids <instance-id> --query "Reservations[].Instances[].PublicIpAddress" --output text.
Step 3: Connect and Retrieve the Administrator Login
Connect over SSH with the key pair you selected and the public IP address from step 2. The SSH login user depends on the operating system of the AMI variant you launched:
| AMI variant | SSH login user |
|---|---|
| FreshRSS on Ubuntu 24.04 | ubuntu |
ssh -i /path/to/your-key.pem ubuntu@<public-ip>
The per-instance administrator password is written on first boot to a root-only file. Read it with:
sudo cat /root/freshrss-credentials.txt
The file contains the reader URL, the admin username (admin) and the generated FRESHRSS_ADMIN_PASSWORD. These credentials are unique to this instance.
You can confirm the services are running and the reader is answering locally:
systemctl is-active nginx php8.3-fpm
curl -s -o /dev/null -w 'healthz %{http_code}\n' http://127.0.0.1/healthz
curl -s -o /dev/null -w 'login   %{http_code}\n' 'http://127.0.0.1/i/?c=auth&a=login'
nginx and php8.3-fpm report active, and both HTTP checks return 200. The /healthz endpoint is unauthenticated and is ideal for a load balancer or uptime monitor.
Step 4: First Sign-in
Open the reader in your browser at http://<instance-public-ip>/. The FreshRSS login page loads immediately - no installer, no database setup.
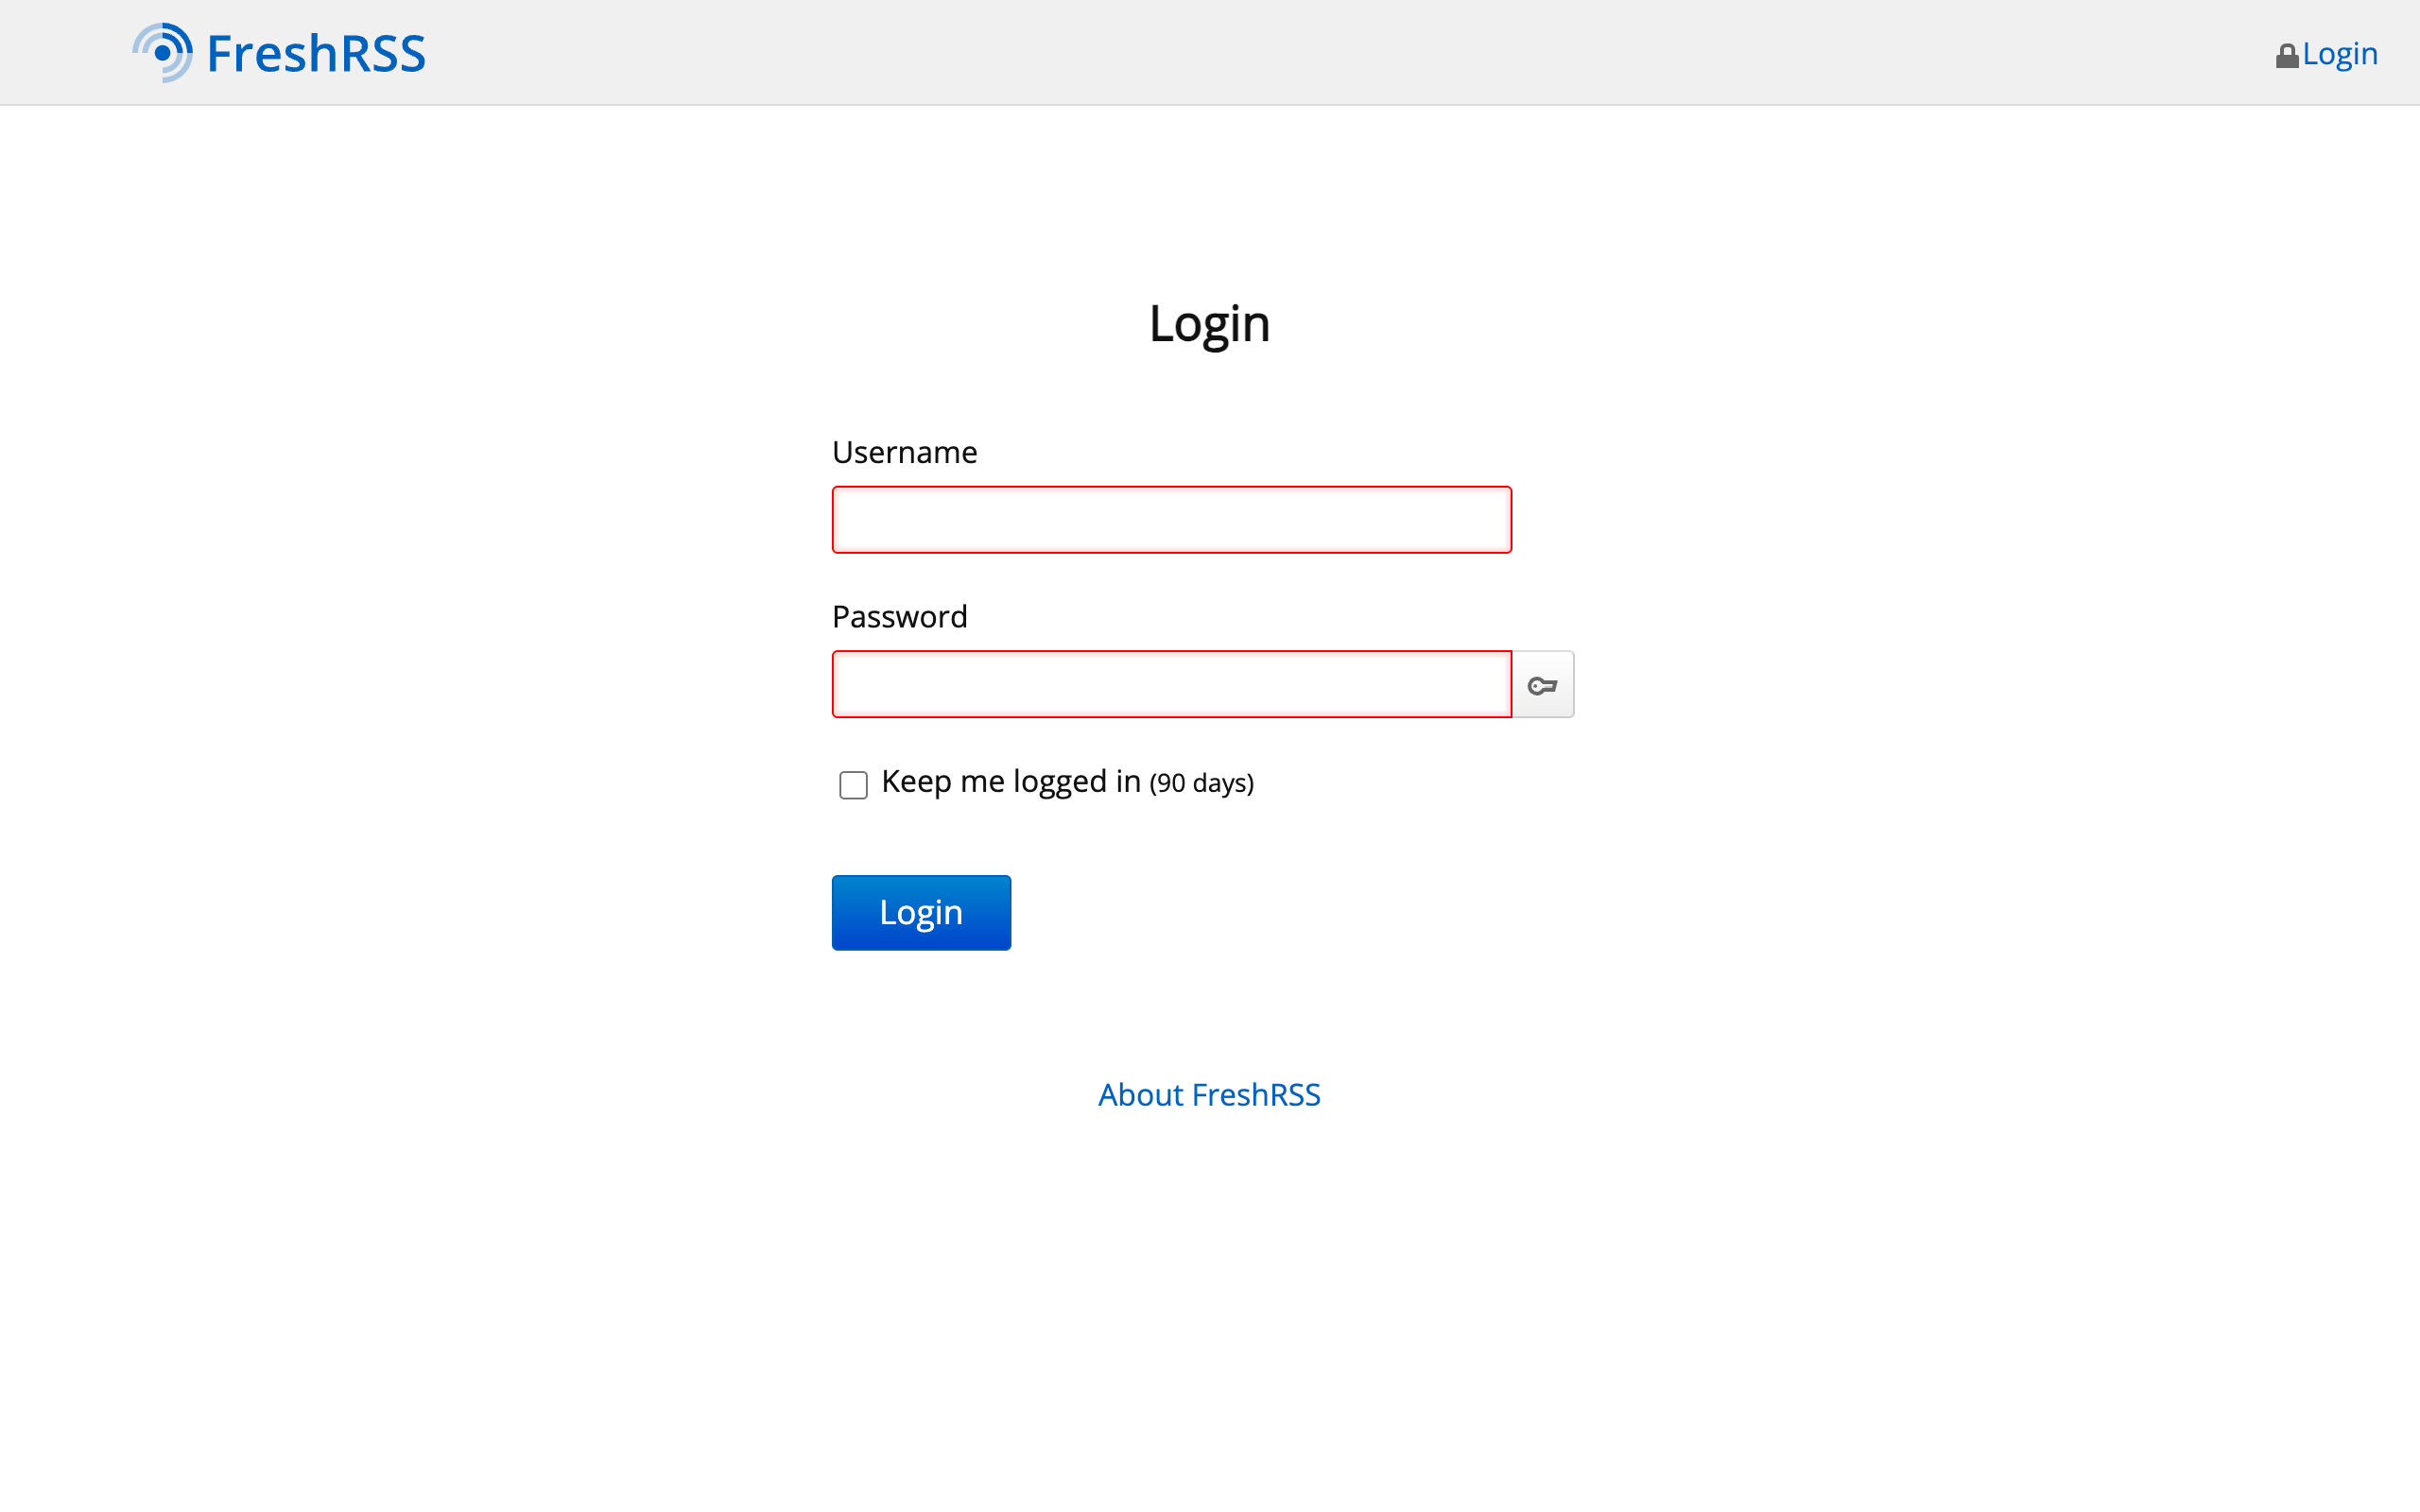
Enter the username admin and the password from /root/freshrss-credentials.txt, then select Login. FreshRSS never sends your plaintext password over the wire: the login form hashes it in your browser and submits only a one-time challenge, so make sure JavaScript is enabled.
Step 5: Subscribe to Feeds
Once signed in you land on the reading stream. A fresh instance starts empty, so the first thing to do is add some feeds. Select Subscription management at the top left, then Add a feed or category, and paste the address of any RSS or Atom feed - for example a news site, a blog, a subreddit, a YouTube channel or a podcast. FreshRSS discovers the feed, fetches recent articles and adds it to your chosen category.
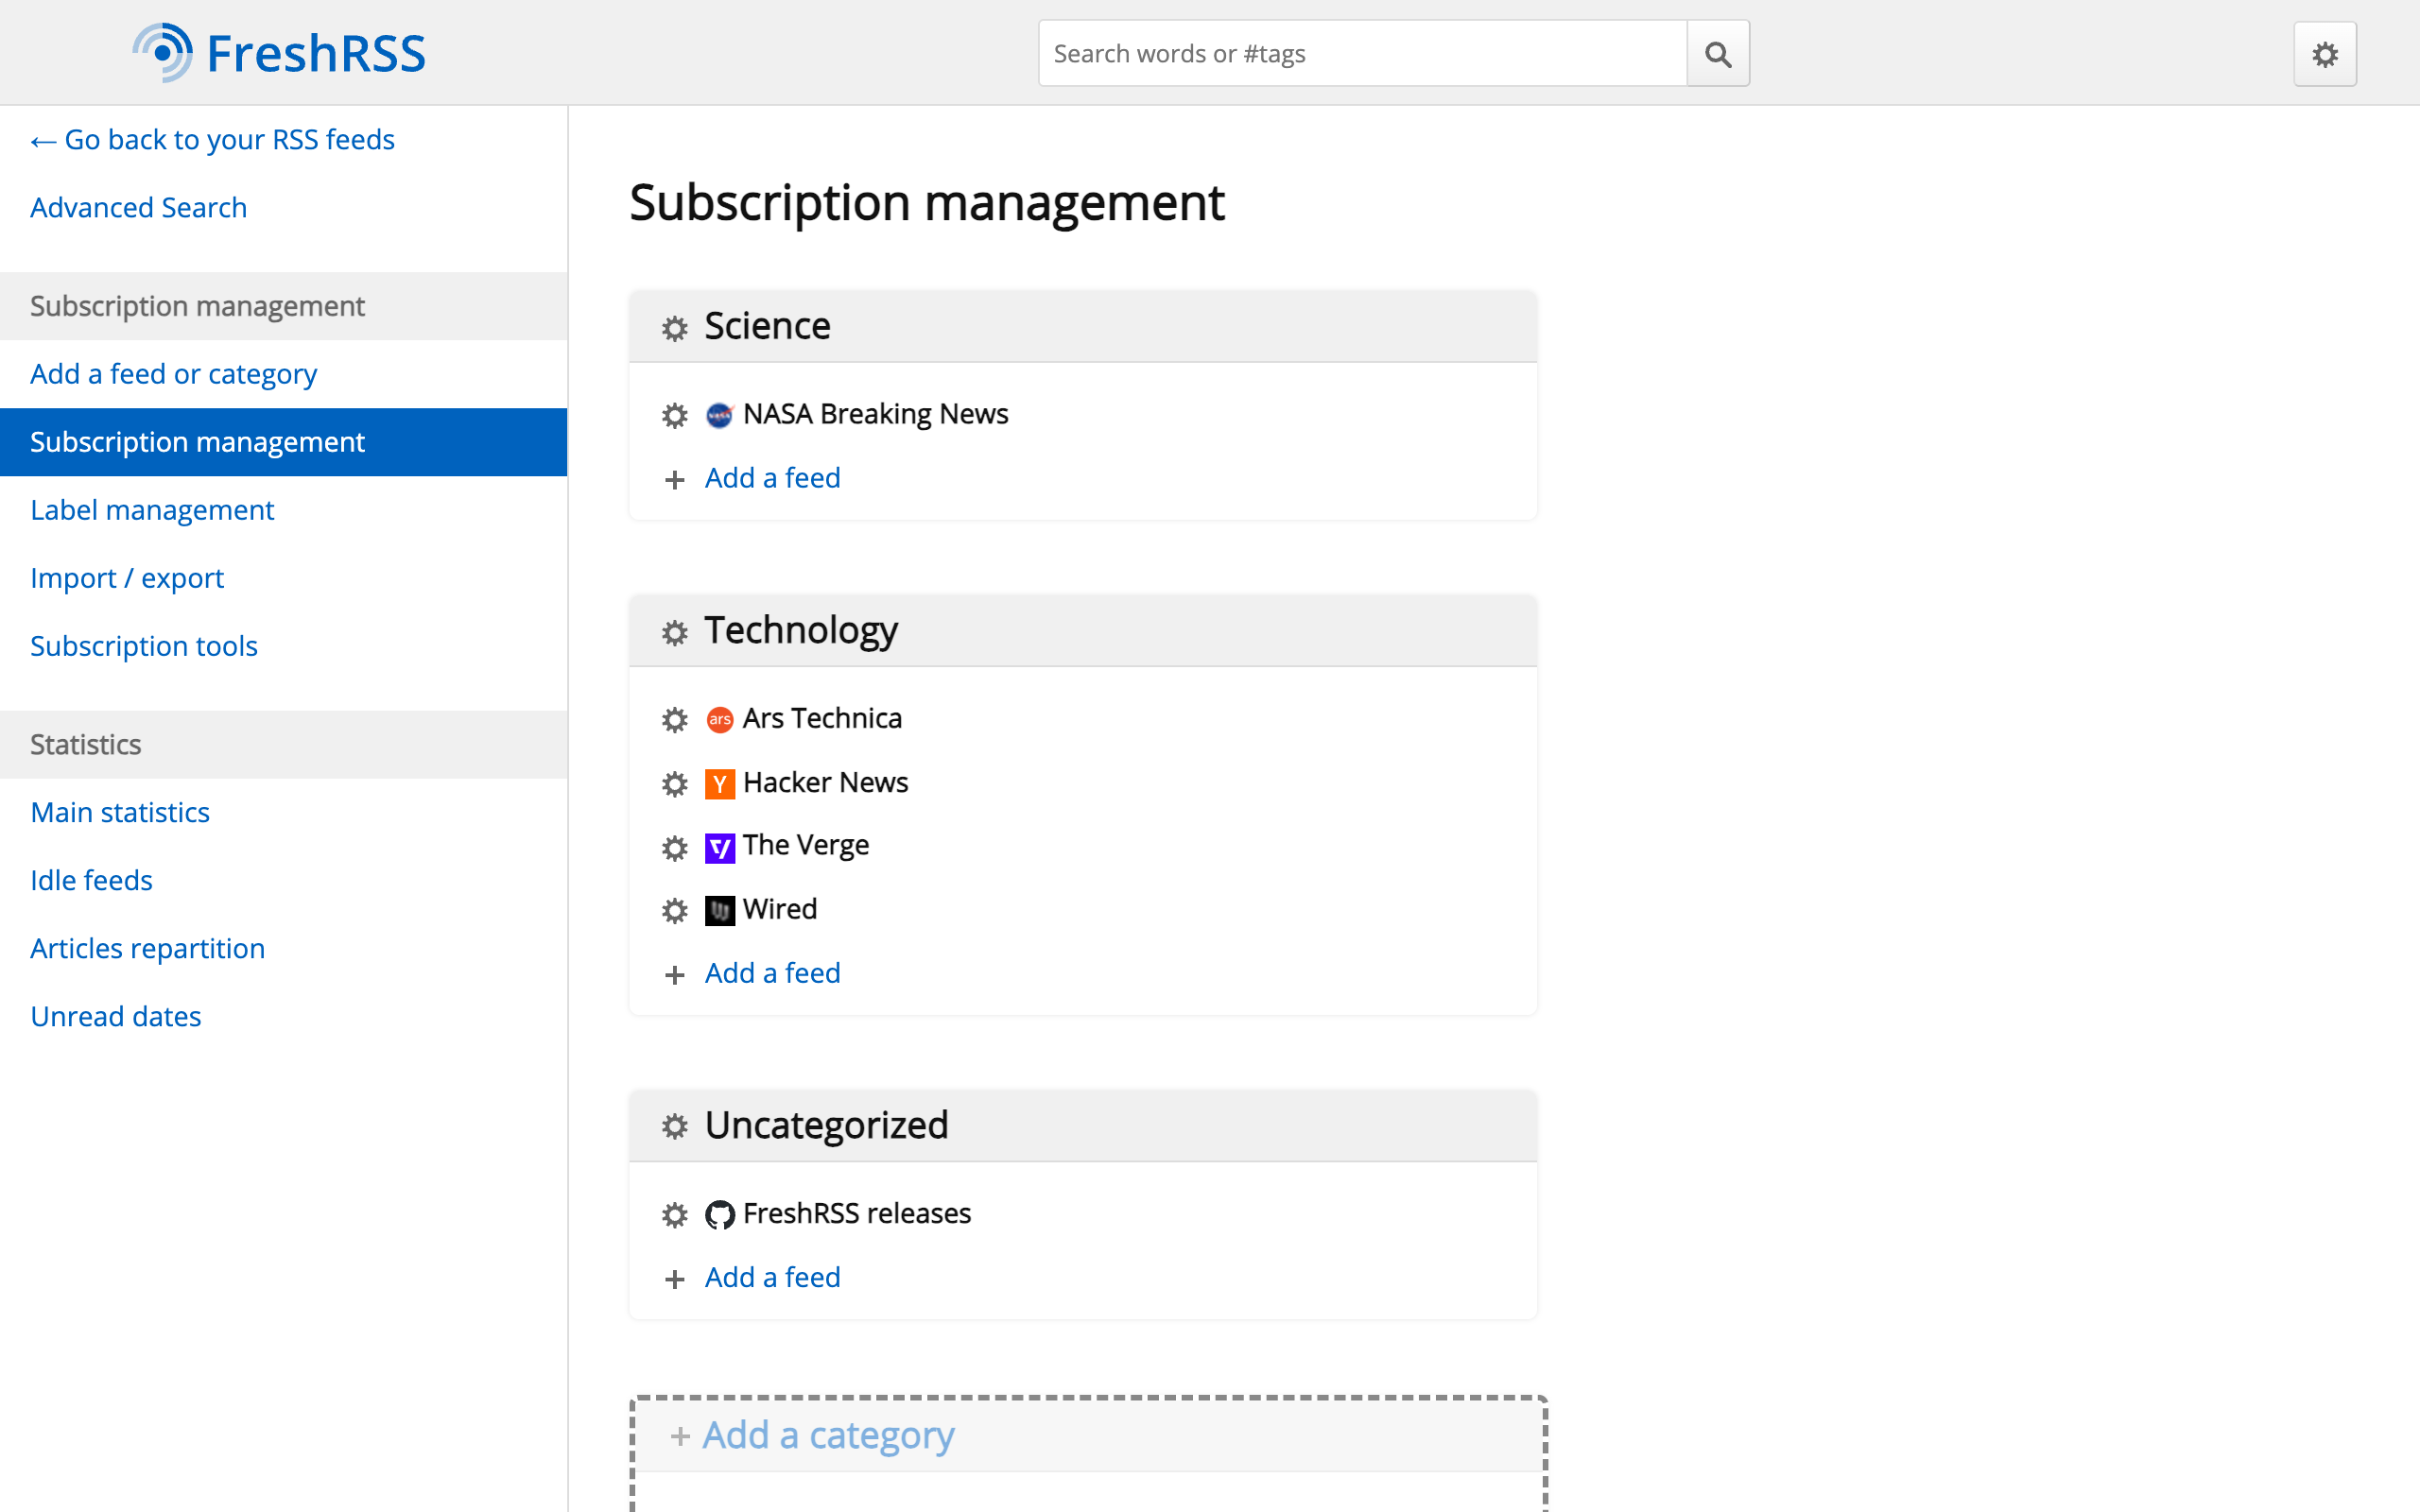
If you already use another reader, choose Import / export and upload your existing OPML file to bring all of your subscriptions across at once. You can export your subscriptions the same way at any time.
Step 6: Read Your Feeds
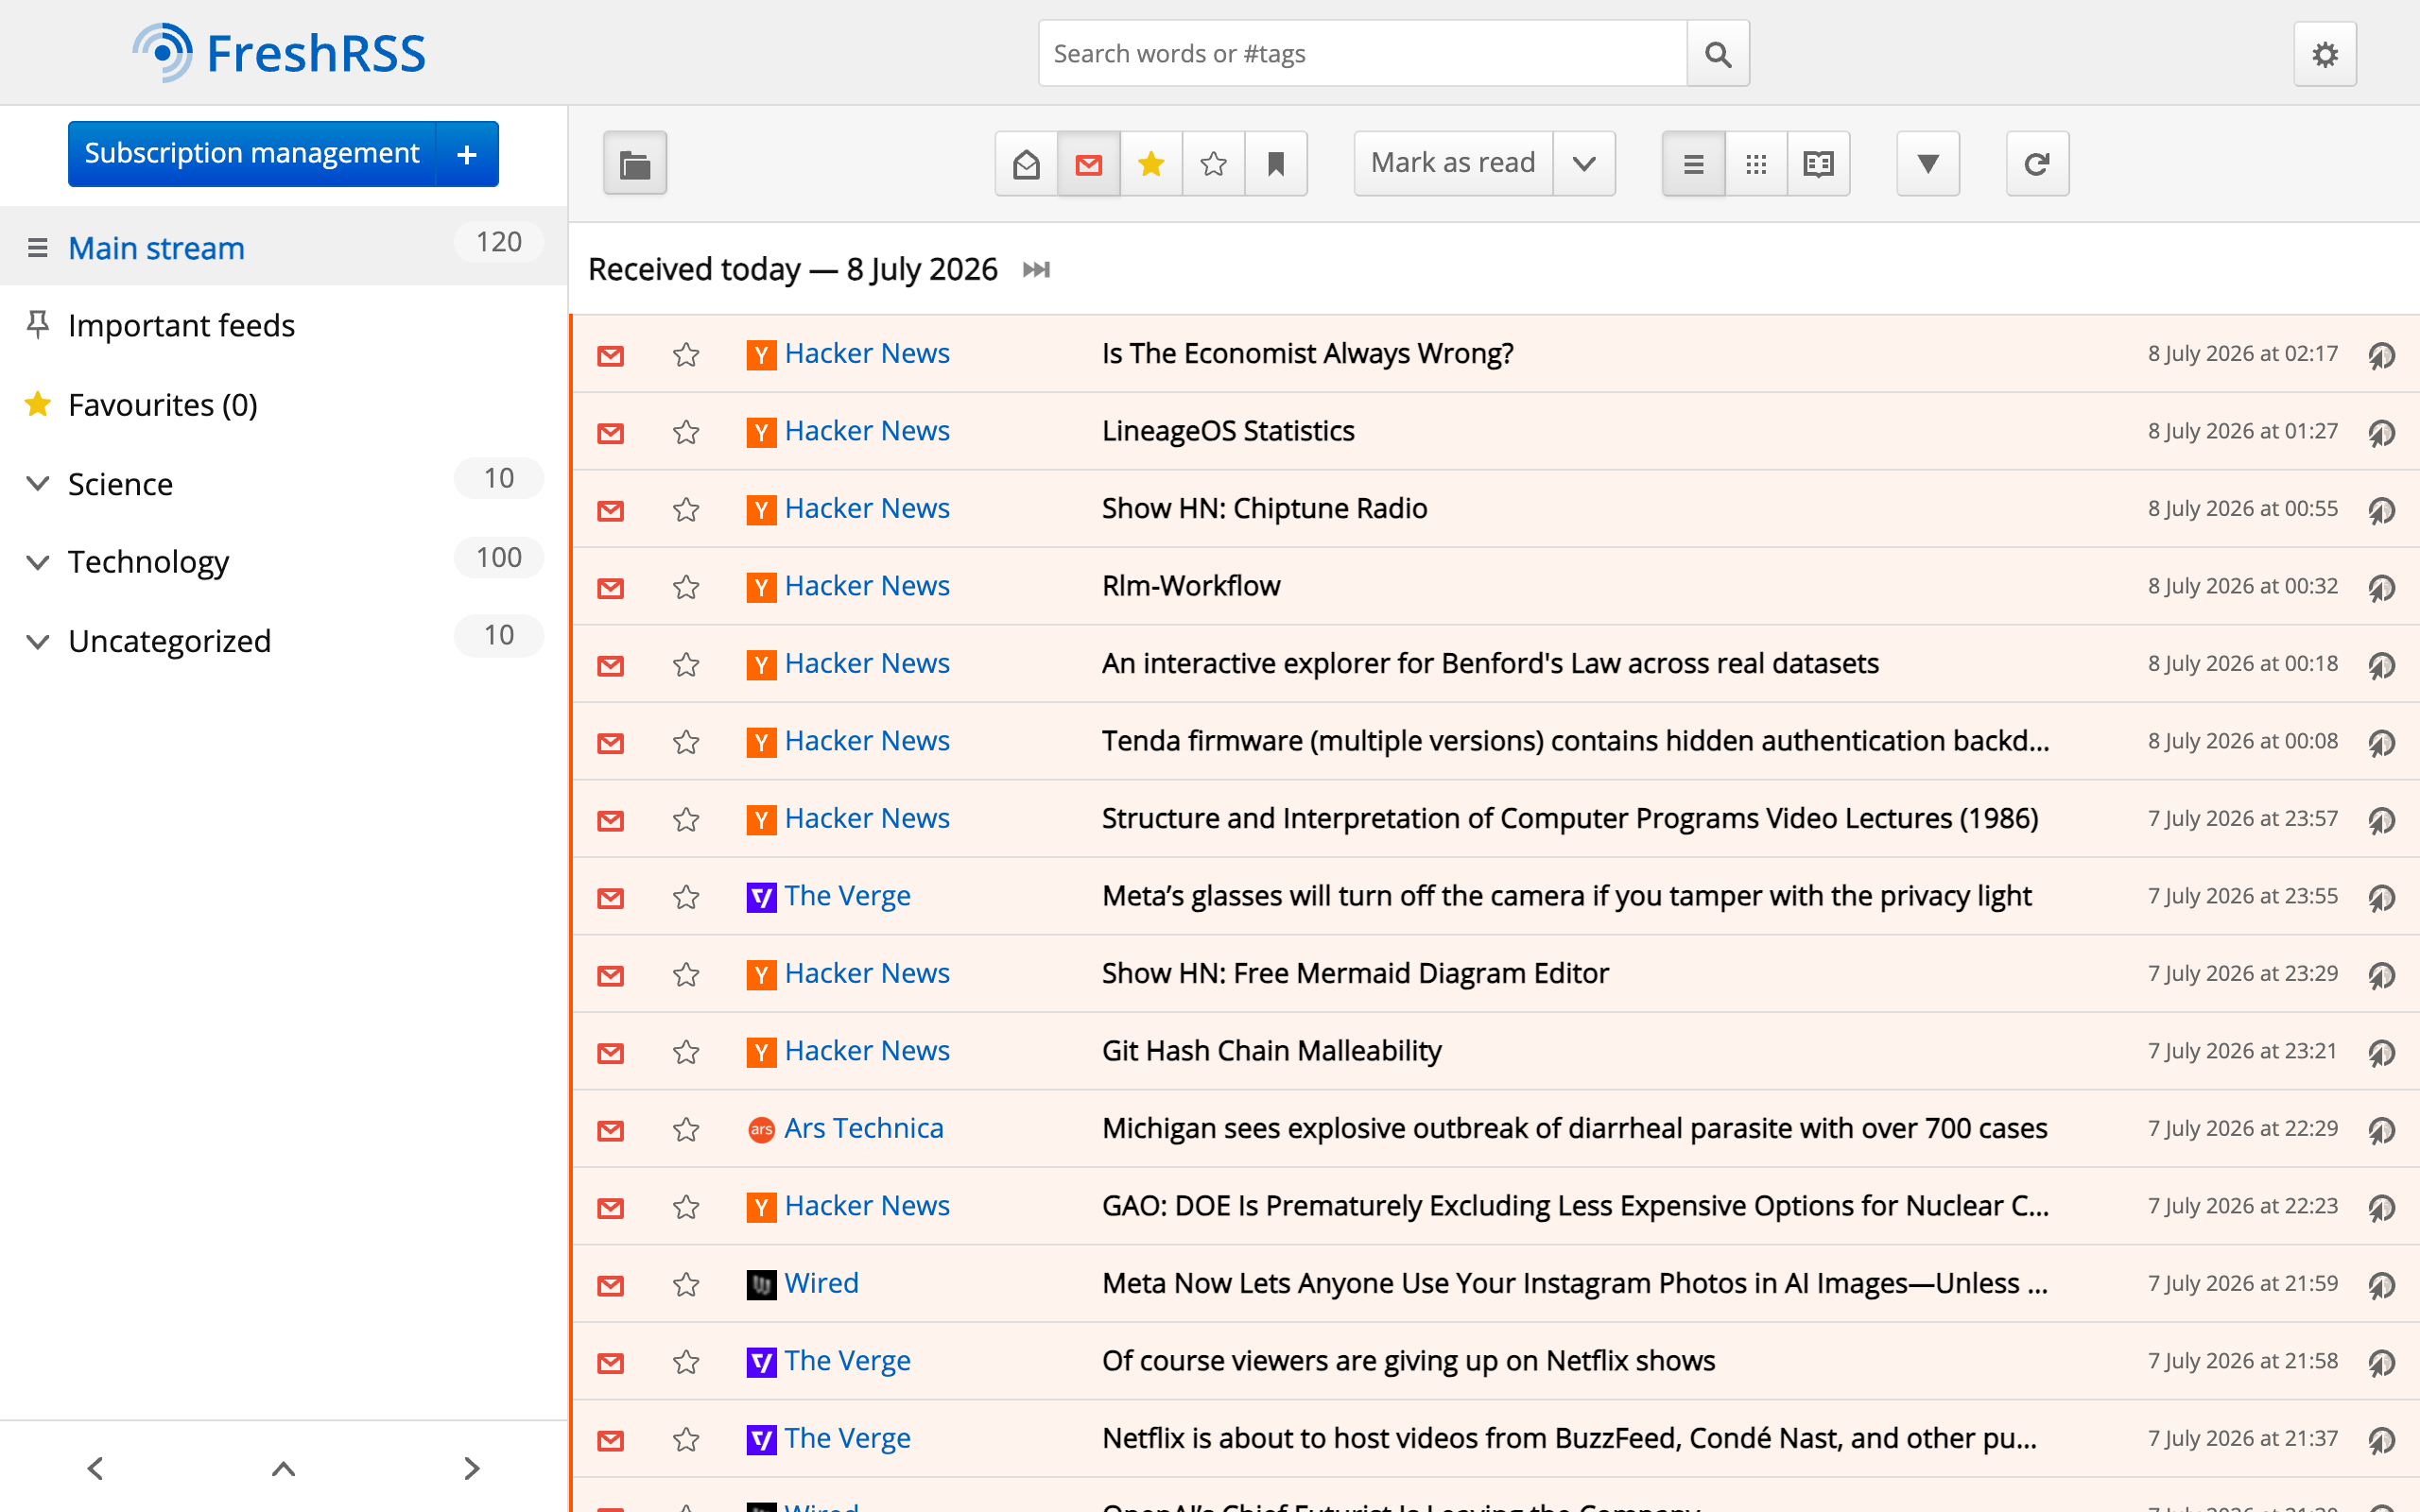
Back on the main stream, new articles appear grouped by category with an unread count next to each feed and category. Open an article to read it inline, mark items as read as you scroll, star the ones you want to keep, and use the search box to find articles across every feed. Keyboard shortcuts, several reading layouts and light and dark themes are all available, and per-feed refresh and retention rules let you tune how much history each feed keeps.
Step 7: Configuration, Users and the Mobile APIs
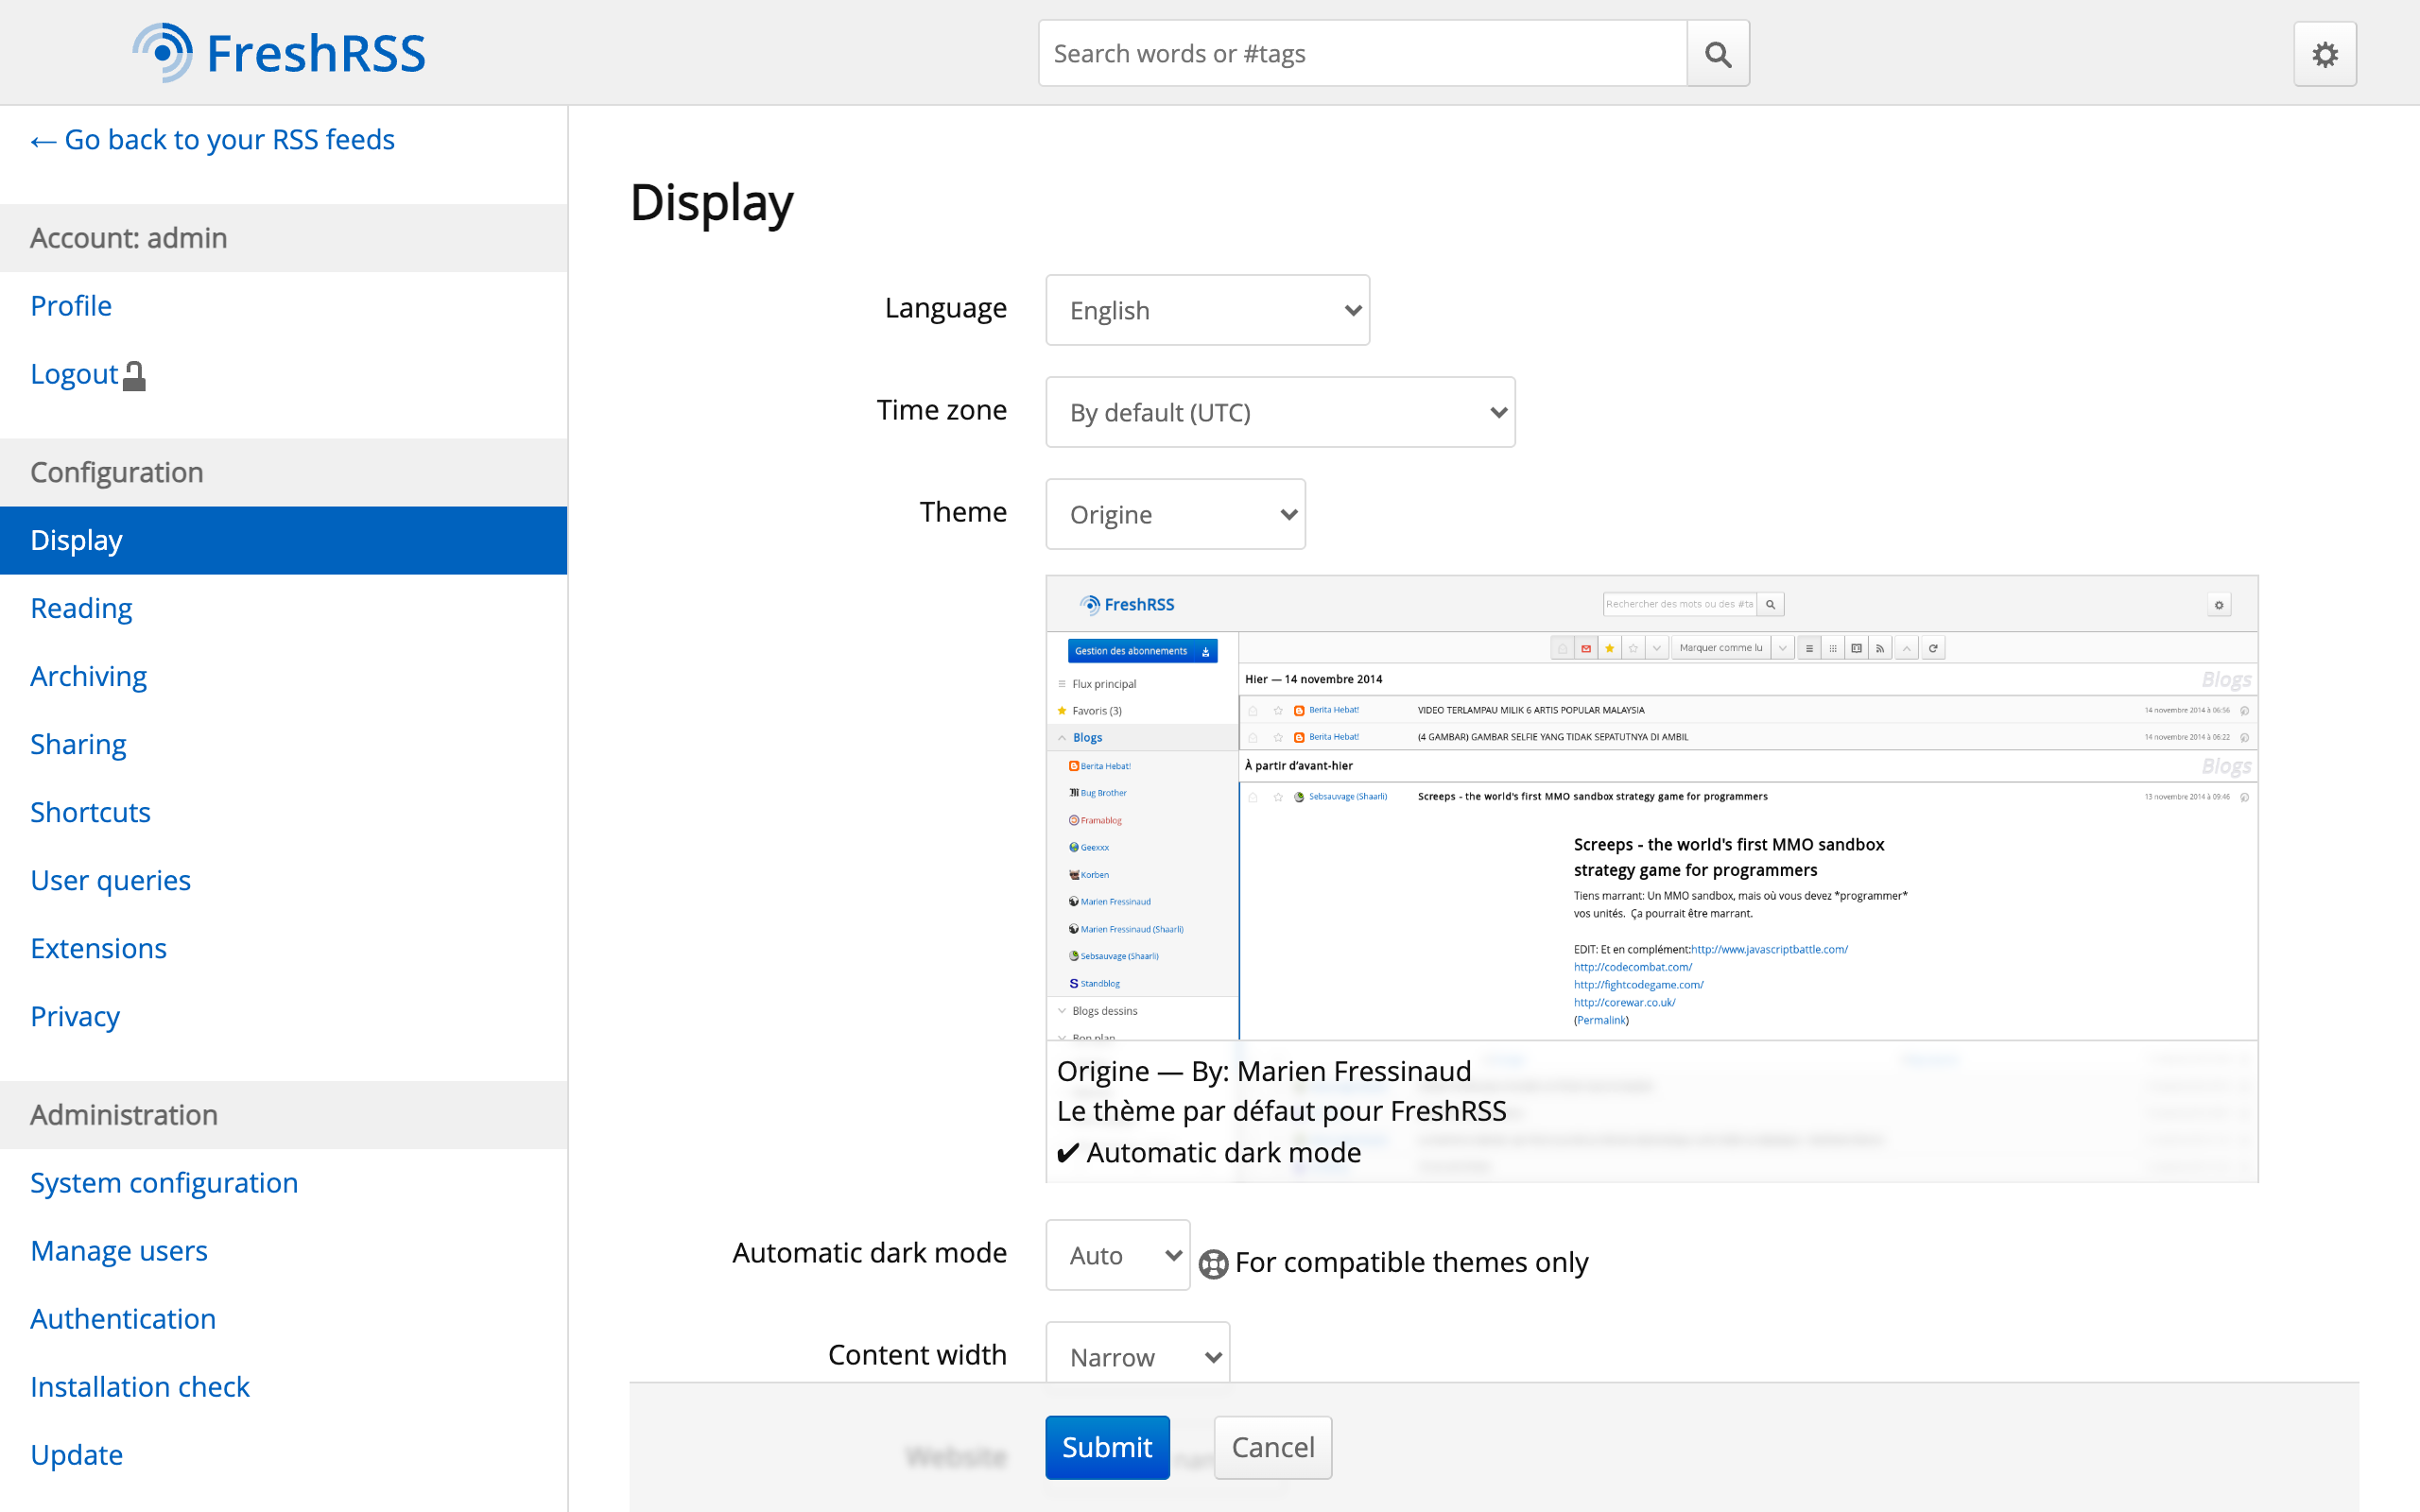
The gear icon at the top right opens the configuration area, where you can set your display, reading, archiving and sharing preferences, manage extensions, and - under the administration section - manage users, tune the system configuration and review the logs.
FreshRSS exposes Google Reader and Fever compatible APIs so you can read and sync your feeds from popular mobile and desktop reader apps. Under Profile set an API password for your account, and under System configuration enable the API. Point your reader app at http://<instance-public-ip>/api/greader.php (Google Reader API) or http://<instance-public-ip>/api/fever.php (Fever API) with the username admin and the API password you set.
Step 8: Configuring HTTPS
The image serves plain HTTP on port 80 so it works the moment it boots. For production use put the reader behind TLS. The simplest approach is to place the instance behind an Application Load Balancer or Amazon CloudFront with an AWS Certificate Manager certificate and terminate TLS there, forwarding to port 80 on the instance.
Alternatively terminate TLS on the instance itself with a certificate from your certificate authority. Point a DNS record at the instance, obtain a certificate for that name, and add a TLS server block to the nginx site at /etc/nginx/sites-available/cloudimg-freshrss listening on port 443 with your certificate, keeping the existing PHP and routing rules. Open port 443 in the security group. When FreshRSS is reached over HTTPS it automatically uses secure cookies.
Step 9: Backup and Maintenance
All of the reader's state lives under /var/lib/freshrss on the dedicated EBS data volume, so your backup strategy is simply to snapshot that volume. Create an Amazon EBS snapshot of the data volume on a schedule with Amazon Data Lifecycle Manager, or copy the directory to Amazon S3.
FreshRSS also ships command line tools under /var/www/freshrss/cli, run as the www-data user - for example sudo -u www-data php /var/www/freshrss/cli/list-users.php to list accounts, import-for-user.php and export-opml-for-user.php for OPML, and db-backup.php to back up the database. Feeds refresh automatically; you can force a refresh with sudo -u www-data php /var/www/freshrss/cli/actualize-user.php --user admin.
Keep the operating system patched with sudo apt-get update && sudo apt-get upgrade. The nginx and php8.3-fpm services are managed by systemd and start automatically on boot.
Support
This image is published and supported by cloudimg. If you need help deploying or operating it, contact cloudimg support by email or chat. We can assist with deployment, feed and category organisation, OPML import and export, API and mobile-app setup, extension selection, storage and retention tuning, backup and upgrade planning.
All product and company names are trademarks or registered trademarks of their respective holders. Use of them does not imply any affiliation with or endorsement by them.