
Healthchecks on AWS User Guide
Overview
Healthchecks is a dead man's switch for your scheduled tasks. Every cron job, backup script, certificate renewal or batch process gets its own unique ping URL; the job requests that URL when it completes. If a ping does not arrive on schedule, Healthchecks flags the check as late and then down, and notifies you through email, Slack, Discord, Telegram, PagerDuty, webhooks and dozens of other integrations. Unlike active uptime probing, this passive model catches the jobs that silently stopped running.
This image runs Healthchecks bare metal behind nginx. The Django application is served by gunicorn on the loopback interface, and the alert delivery daemon (the sendalerts management command) runs as its own systemd service so notifications are dispatched the moment a check changes state. The database is SQLite on a dedicated data volume, the upstream supported default for single node deployments, so there is no separate database server to manage.
An administrator account and a fresh Django secret key are generated on the first boot of every deployed instance. Two instances launched from the same Amazon Machine Image never share credentials. The administrator email and password are written to /root/healthchecks-credentials.txt with mode 0600 so that only the root user can read them. Open registration is disabled, so only the administrator can sign in or invite further users. No checks and no shared credentials ship in the image.
The Healthchecks application, its Python environment and the SQLite database all live under /opt/healthchecks on a dedicated EBS volume separate from the operating system disk, so application data can be resized and snapshotted independently.
Prerequisites
Before you deploy this image you need:
- An Amazon Web Services account where you can launch EC2 instances
- IAM permissions to launch instances, create security groups, and subscribe to AWS Marketplace products
- An EC2 key pair in the target Region for SSH access to the instance
- A VPC and subnet in the target Region, with a security group allowing inbound port 22 from your management network and inbound ports 80 and 443 from the networks your users and your monitored jobs will reach Healthchecks on
- The AWS CLI (version 2) installed locally if you plan to deploy from the command line
Step 1: Launch the Instance from the AWS Marketplace
Sign in to the AWS Management Console, open the EC2 service, and select Launch instance. Under Application and OS Images choose AWS Marketplace AMIs and search for Healthchecks. Select the cloudimg listing and choose Select, then Continue on the subscription summary.
Pick an instance type of m5.large for production use; the application is light and a smaller instance also works for lab deployments. Choose your EC2 key pair under Key pair (login). Under Network settings select your VPC and subnet, and either create or select a security group that allows inbound port 22 from your management network and inbound ports 80 and 443 from the networks your users and monitored jobs use. Leave the root volume at the default size.
Select Launch instance. First boot initialisation takes under a minute after the instance state becomes Running and the status checks pass.
Step 2: Launch the Instance from the AWS CLI
The following block launches an instance from the cloudimg Healthchecks Marketplace AMI into an existing subnet and security group. Replace <ami-id> with the AMI ID shown on the Marketplace listing, <key-name> with your EC2 key pair name, <subnet-id> with your subnet ID, and <security-group-id> with a security group that opens ports 22, 80, and 443 as described above.
aws ec2 run-instances \
  --image-id <ami-id> \
  --instance-type m5.large \
  --key-name <key-name> \
  --subnet-id <subnet-id> \
  --security-group-ids <security-group-id> \
  --tag-specifications 'ResourceType=instance,Tags=[{Key=Name,Value=healthchecks-01}]'
The command prints a JSON document on success. Note the instance ID, then retrieve its public address once it is running with aws ec2 describe-instances --instance-ids <instance-id> --query "Reservations[].Instances[].PublicIpAddress" --output text.
Step 3: Connect and Retrieve Initial Credentials
Connect over SSH with the key pair you selected and the public IP address from step 2. The SSH login user depends on the operating system of the AMI variant you launched:
| AMI variant | SSH login user |
|---|---|
| Healthchecks 4.2 on Ubuntu 24.04 | ubuntu |
ssh -i <key.pem> ubuntu@<public-ip>
The per instance administrator credentials are written to a root only file. Read it with sudo:
sudo cat /root/healthchecks-credentials.txt
The file lists the administrator email address, the administrator password and the URL to reach the web interface. Keep these somewhere safe.
Step 4: First Login to the Healthchecks Web Interface
Open a web browser and navigate to http://<instance-public-ip>/. You are redirected to the sign-in page. Enter the administrator email address and password from /root/healthchecks-credentials.txt and select Log In.
On first boot the instance configured its own public address as the site root, so the web interface and every generated ping URL use the instance's launch address immediately. Open registration is disabled; new team members are added by invitation from Settings within a project, not by self sign-up.
You can verify the security posture from the SSH session: the sign-in page is served without authentication, while the dashboard requires a session and redirects to the sign-in page:
# The sign-in page is served without authentication (200)
curl -s -o /dev/null -w '%{http_code}\n' http://127.0.0.1/accounts/login/
# Without a session the dashboard redirects to the sign-in page (302)
curl -s -o /dev/null -w '%{http_code}\n' http://127.0.0.1/
The generated administrator credentials work for a scripted sign-in too. The following performs the same CSRF correct login round trip a browser does and prints 302, the redirect into the dashboard:
JAR=$(mktemp)
CSRF=$(curl -s -c "$JAR" http://127.0.0.1/accounts/login/ | grep -o 'name="csrfmiddlewaretoken" value="[^"]*"' | head -1 | cut -d'"' -f4)
curl -s -b "$JAR" -c "$JAR" -o /dev/null -w '%{http_code}\n' \
  --data-urlencode "csrfmiddlewaretoken=$CSRF" \
  --data-urlencode "action=login" \
  --data-urlencode "email=admin@example.com" \
  --data-urlencode "password=<HEALTHCHECKS_ADMIN_PASSWORD>" \
  -e http://127.0.0.1/accounts/login/ http://127.0.0.1/accounts/login/
rm -f "$JAR"
Step 5: Change the Administrator Email and Password
For a production deployment change the administrator email address from the placeholder to a real mailbox, and rotate the generated password. Sign in, open Account in the top right, then Account Settings. Use Change Email Address to set your real address and Set Password to choose a new password. The credentials file under /root is a bootstrap record only; it is not consulted after first boot, so changes in the web interface do not need to be mirrored there.
Step 6: Create Your First Check and Wire It Into a Job
Select Add Check on the checks page. Give the check a name (for example Nightly database backup), then set its Period, how often you expect the job to run, and its Grace Time, how late a ping may be before the check is flagged. Each check gets a unique ping URL of the form http://<instance-public-ip>/ping/<uuid>.
Append a request to that URL to the end of the job you want to monitor. In a crontab that looks like:
# m h dom mon dow command
15 2 * * * /usr/local/bin/backup.sh && curl -fsS -m 10 --retry 5 -o /dev/null <ping-url>
The && ensures the ping is only sent when the job succeeded, -m 10 bounds the request time and --retry 5 rides out transient network blips. The check turns green on the first ping; from then on a missing ping flips it to late, then down, and notifications fire. The check's detail page shows the full ping log with the source address of every ping received.
Healthchecks also supports signalling explicit failures (/ping/<uuid>/fail), job start times (/ping/<uuid>/start) for measuring run duration, and attaching log output in the request body. See the Usage Examples button on any check's detail page for ready made snippets in bash, Python, PowerShell and more.
Step 7: Notification Integrations
Open Integrations to connect notification channels. Email, Slack, Discord, Telegram, Microsoft Teams, PagerDuty, Opsgenie, Pushover, ntfy, Signal, SMS, generic webhooks and many more are supported. Each check can be routed to any subset of the configured integrations, so a failing backup can page the on-call engineer while a failing report job only posts to a chat channel.
Email notifications require an SMTP relay, which is not preconfigured in the image. To enable it, append your SMTP settings to /opt/healthchecks/hc.env, for example using Amazon SES SMTP credentials, then restart the services:
EMAIL_HOST=email-smtp.us-east-1.amazonaws.com
EMAIL_PORT=587
EMAIL_HOST_USER=<your-ses-smtp-user>
EMAIL_HOST_PASSWORD=<your-ses-smtp-password>
EMAIL_USE_TLS=True
DEFAULT_FROM_EMAIL=healthchecks@your-domain.example
After editing the file run sudo systemctl restart healthchecks healthchecks-sendalerts so both the web application and the alert daemon pick up the new settings.
Step 8: Services and Operations
The image runs three systemd units: nginx terminates HTTP on port 80 and reverse proxies the gunicorn application server on 127.0.0.1:8000, and the sendalerts daemon delivers notifications. Confirm all three are active:
systemctl is-active nginx healthchecks healthchecks-sendalerts
The alert daemon logs every delivery attempt; review its recent activity with:
sudo journalctl -u healthchecks-sendalerts --no-pager -n 10
The application is configured entirely through environment variables in /opt/healthchecks/hc.env, which is rewritten on first boot with the per instance secret key and site root. Inspect the operational settings at any time:
sudo grep -E '^(SITE_ROOT|REGISTRATION_OPEN|DB_NAME)=' /opt/healthchecks/hc.env
Django management commands run through the bundled wrapper, which loads the same environment and drops to the application user: sudo /usr/local/sbin/hc-manage <command>. After any change to hc.env restart both application services with sudo systemctl restart healthchecks healthchecks-sendalerts.
If you place Healthchecks behind a custom domain or a load balancer, update SITE_ROOT in /opt/healthchecks/hc.env to that address so generated ping URLs and links are correct, then restart the services.
Step 9: Enable HTTPS with Let's Encrypt
For any production deployment serve the site over HTTPS so session cookies and ping requests cannot be intercepted. The image ships with nginx, which certbot can configure automatically. The following assumes a DNS record points your fully qualified domain name at the instance's public IP address:
sudo apt-get update && sudo apt-get install -y certbot python3-certbot-nginx
sudo certbot --nginx -d checks.your-domain.example \
  --non-interactive --agree-tos -m you@your-domain.example \
  --redirect
After certbot finishes, point Healthchecks at the HTTPS URL so generated ping URLs use it, and tell Django the original request scheme arrives in the forwarded header:
sudo sed -i 's|^SITE_ROOT=.*|SITE_ROOT=https://checks.your-domain.example|' /opt/healthchecks/hc.env
echo 'SECURE_PROXY_SSL_HEADER=HTTP_X_FORWARDED_PROTO,https' | sudo tee -a /opt/healthchecks/hc.env
sudo systemctl restart healthchecks healthchecks-sendalerts
Existing checks keep working: ping URLs accept requests on both the old and new addresses as long as nginx serves them, but freshly displayed URLs use the new site root.
Step 10: Backups and Maintenance
All application state lives in the SQLite database on the data volume. Take a consistent online copy with SQLite's backup command, then ship it off the instance (the example removes the local copy again):
sudo sqlite3 /opt/healthchecks/data/hc.sqlite ".backup '/tmp/healthchecks-backup.sqlite'"
ls -l /tmp/healthchecks-backup.sqlite
sudo rm -f /tmp/healthchecks-backup.sqlite
Copy the backup to an Amazon S3 bucket or another object store on your own schedule, or take EBS snapshots of the data volume; because the application and its database live on their own volume, a snapshot of that single volume captures everything.
For kernel and package updates, Ubuntu's unattended-upgrades is enabled, so security patches apply automatically. To update Healthchecks itself, follow the upgrade steps in the official documentation at https://healthchecks.io/docs/self_hosted/.
Step 11: Growing Beyond a Single Instance
For larger deployments Healthchecks supports PostgreSQL and MySQL as alternative database engines: point the DB, DB_HOST, DB_NAME, DB_USER and DB_PASSWORD variables in /opt/healthchecks/hc.env at an Amazon RDS instance and restart the services. Put the web tier behind an Application Load Balancer and update SITE_ROOT accordingly. The sendalerts daemon can run on a separate instance against the shared database, and Amazon SES provides a scalable SMTP backend for email notifications. Each of these is documented at https://healthchecks.io/docs/.
Screenshots
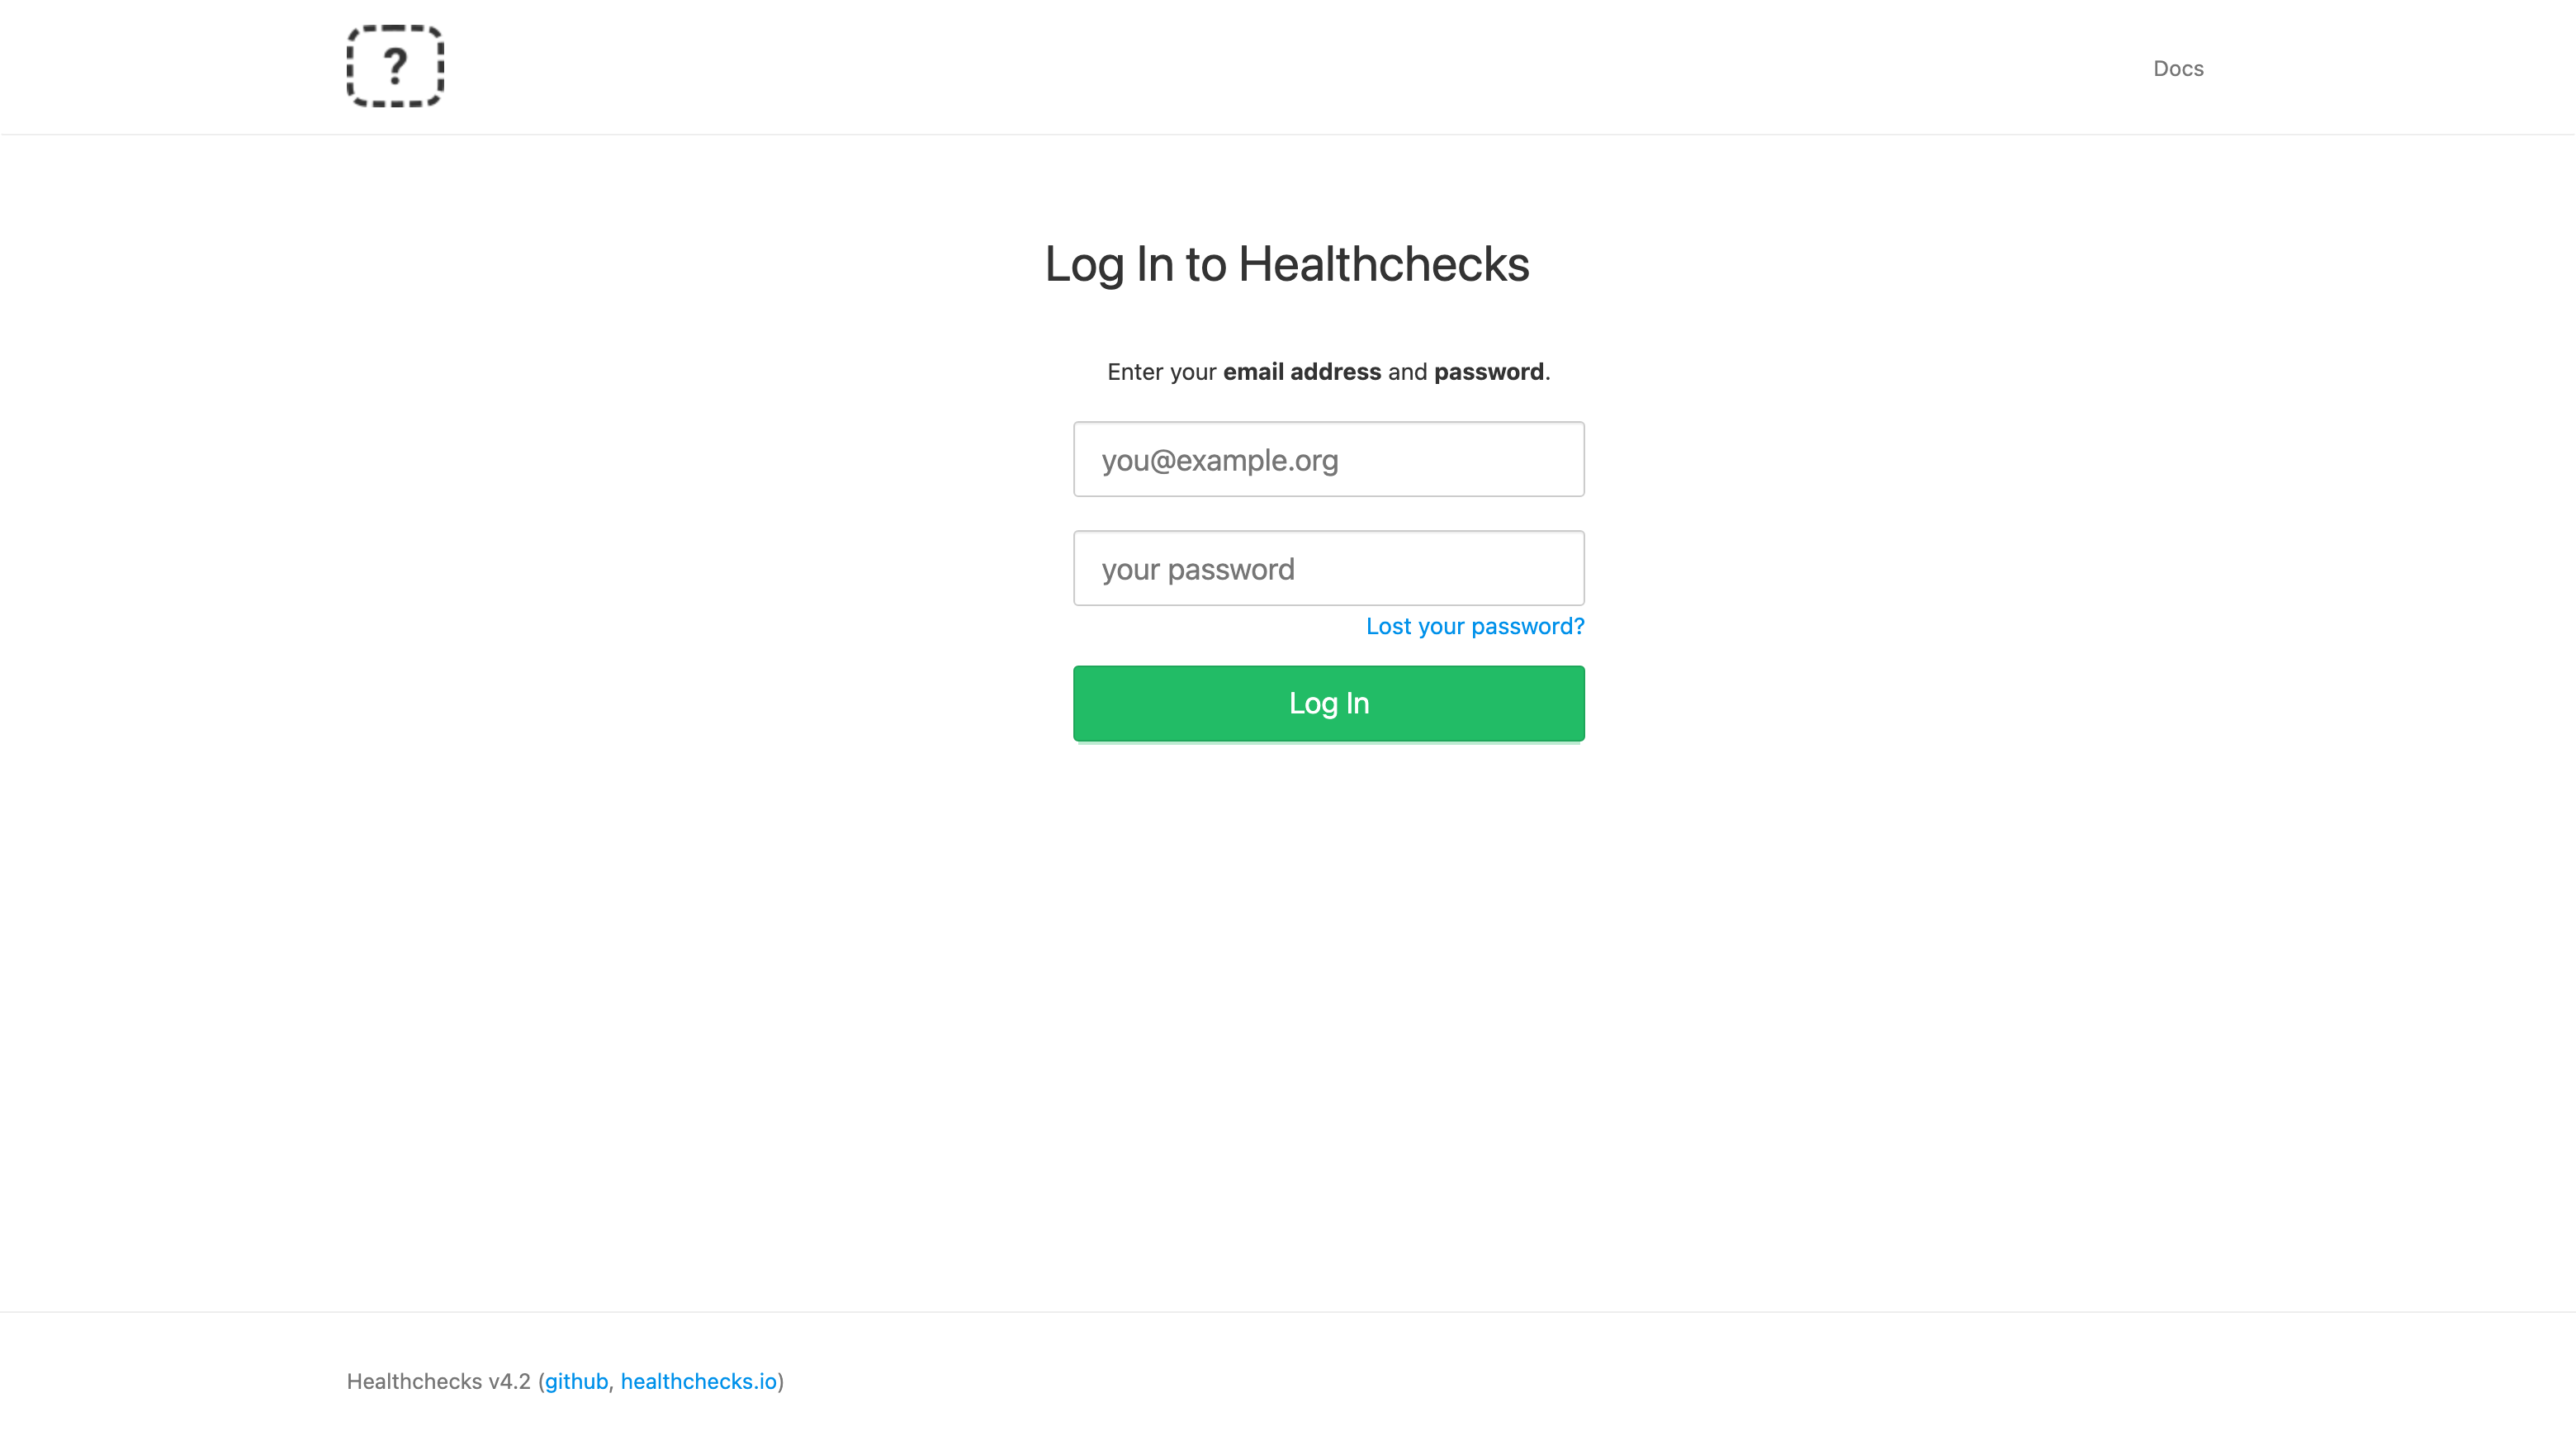
The Healthchecks sign-in page, served on first boot with a per-instance administrator password and open registration disabled.
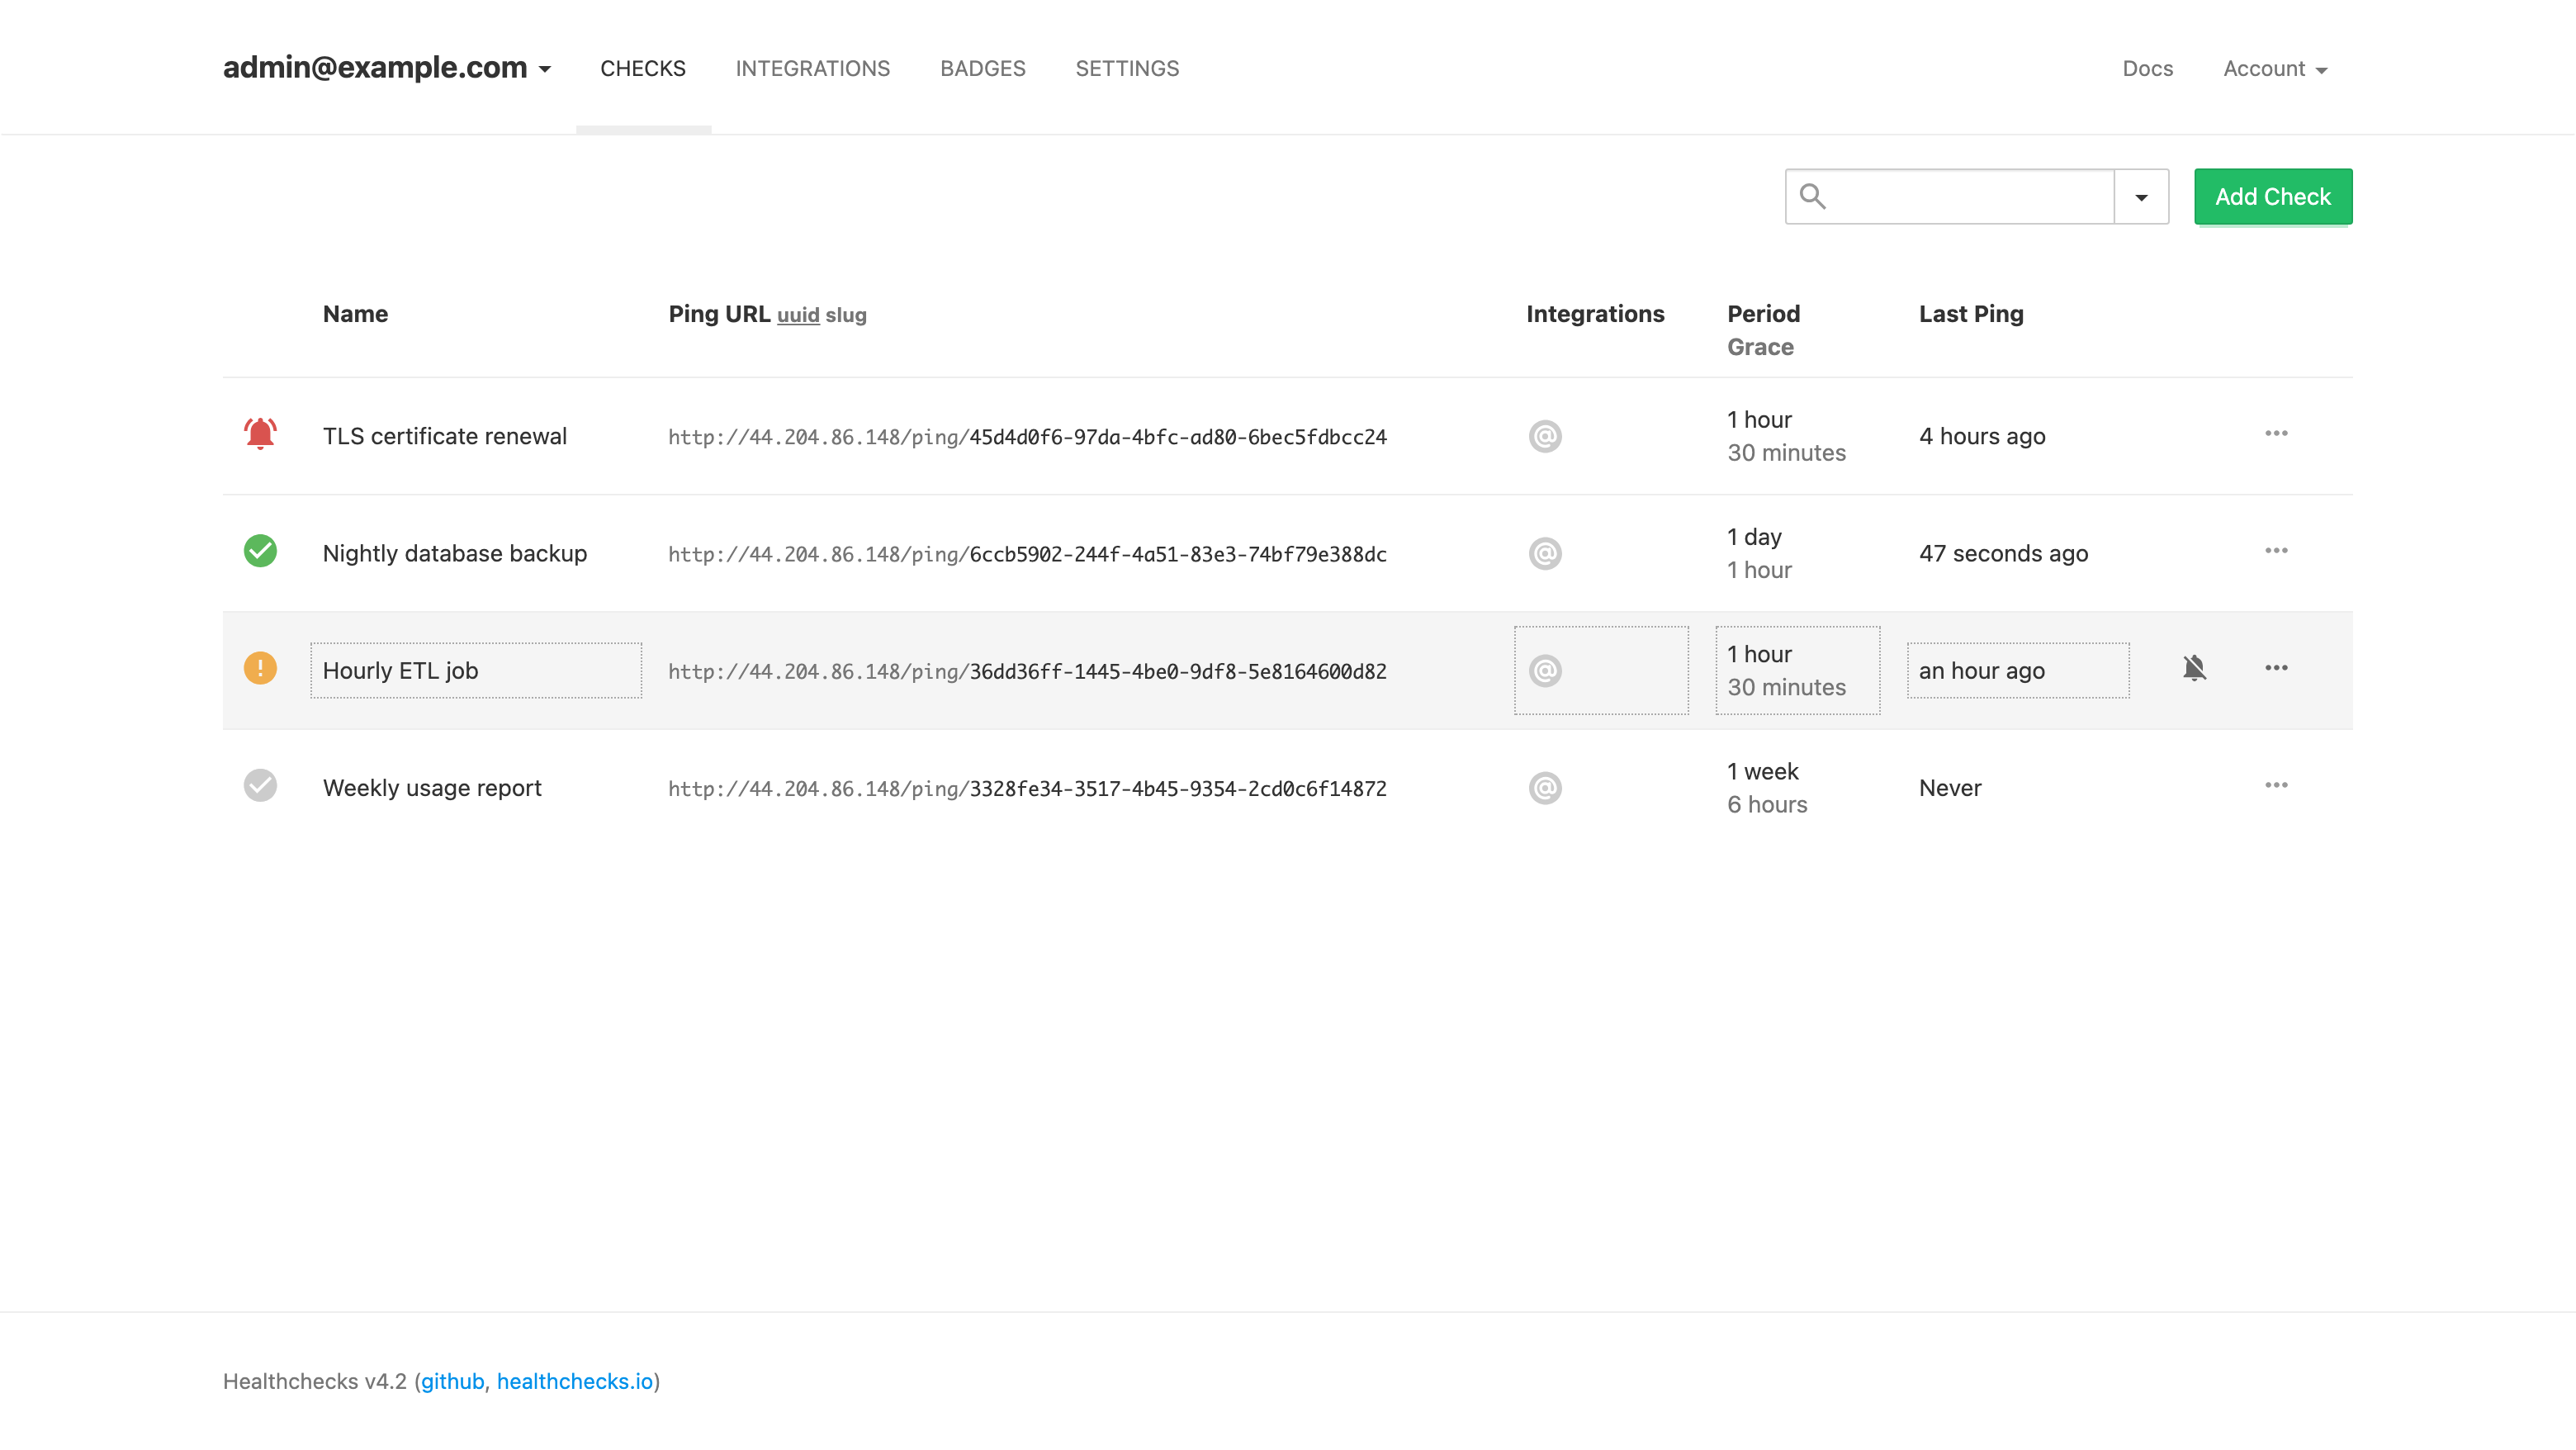
The checks dashboard showing monitored jobs with their ping URLs, schedules and current state: up, late, down and new at a glance.
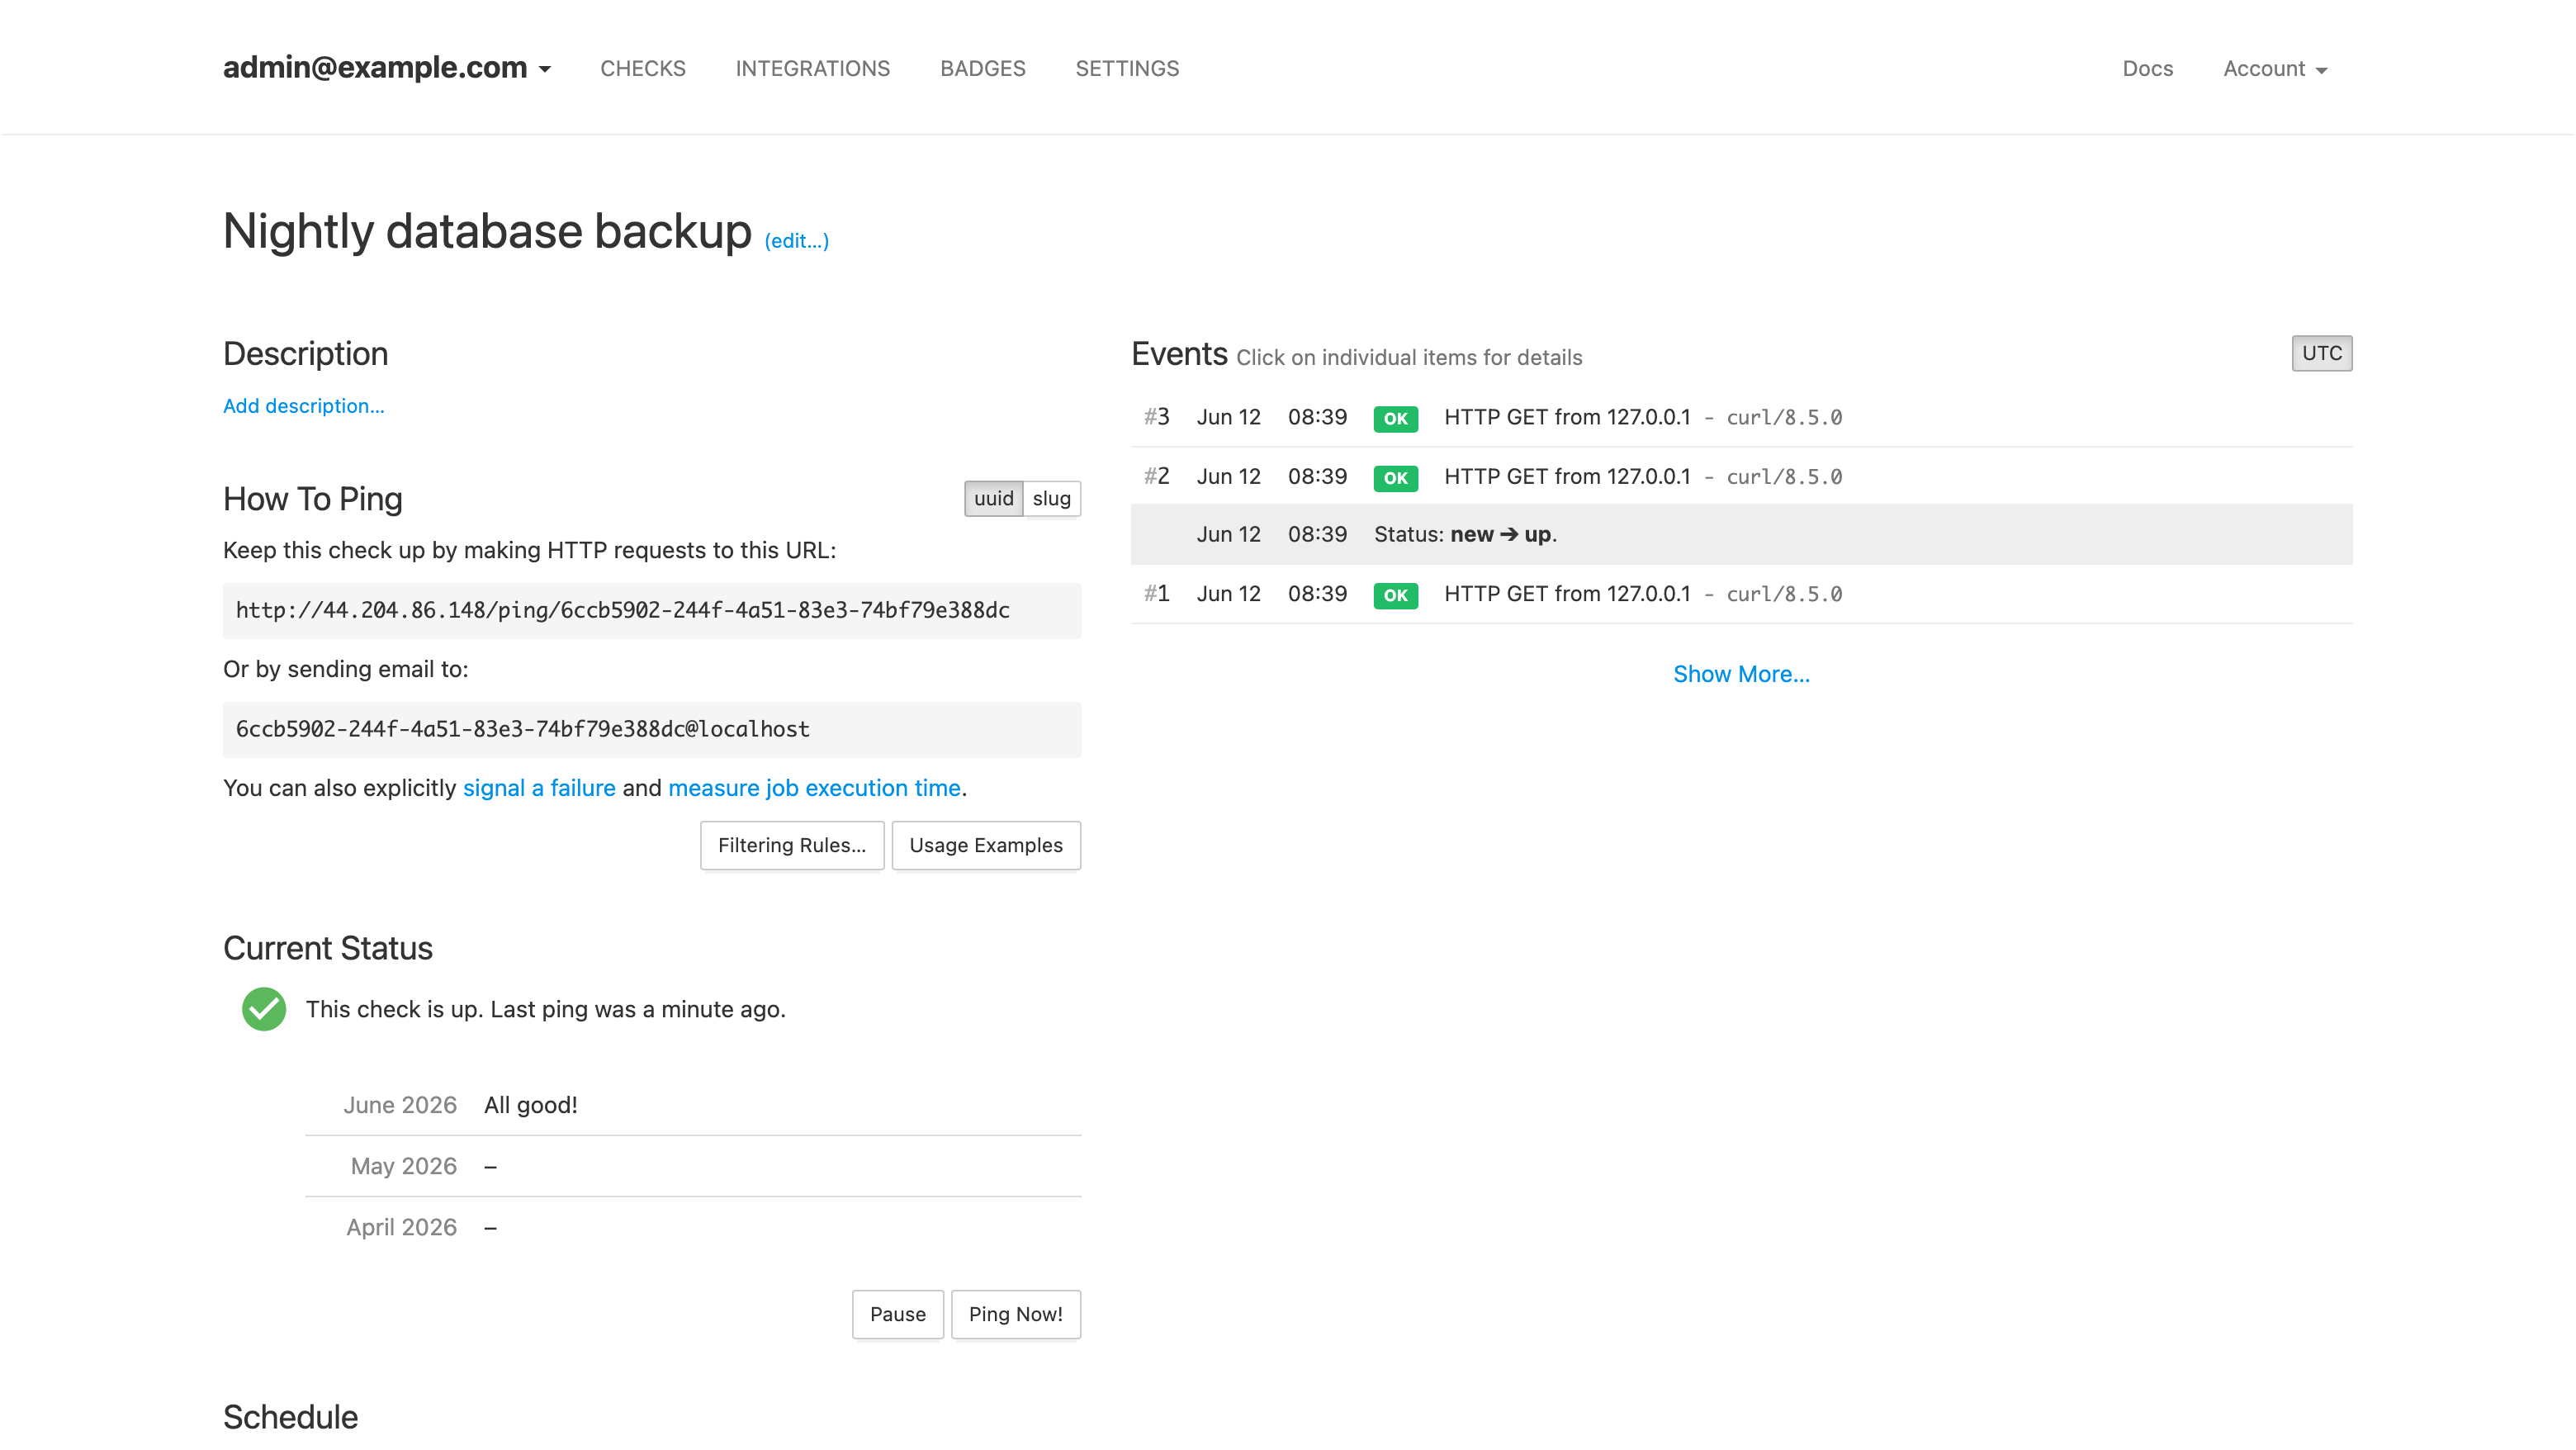
A check's detail view with its unique ping URL, how-to-ping snippets, current status and the event log of received pings.
Support
cloudimg provides 24/7/365 expert technical support for this image. Guaranteed response within 24 hours, one hour average for critical issues. Contact support@cloudimg.co.uk.