HedgeDoc on AWS User Guide
Overview
This image runs HedgeDoc 1.10.8, the open source real-time collaborative markdown editor (the community fork of HackMD), on Ubuntu 24.04 LTS. HedgeDoc is installed from the official release tarball (which ships the pre-built frontend) on the Node.js 20 LTS runtime and is run by an unprivileged hedgedoc system account under a systemd service that starts it on boot and restarts it on failure.
The application listens on the loopback address 127.0.0.1:3000 by design and is never exposed directly. nginx is installed as a reverse proxy on port 80 with WebSocket upgrade support - real-time collaboration runs over socket.io websockets, so the proxy passes Upgrade and Connection headers through to the application. Visitors reach HedgeDoc on the standard HTTP port.
The image is secure by default: anonymous access and open self-registration are disabled. On the first boot of every deployed instance a one-shot service generates a fresh session secret, seeds a unique admin account with a random password through HedgeDoc's own user management tooling, and writes the credentials to /root/hedgedoc-credentials.txt (mode 0600, readable only by root). Two instances launched from the same AMI never share credentials, and no default account ships in the image.
The persistent data - the SQLite database (db.hedgedoc.sqlite, holding notes, users and revisions) and uploaded images - lives under /var/lib/hedgedoc on a dedicated, independently resizable EBS data volume kept separate from the operating system disk.
The default security group for this listing opens port 22 (SSH) and port 80 (HTTP) only.
Prerequisites
- An AWS account subscribed to this product in AWS Marketplace.
- An EC2 key pair in your target region for SSH access.
- A security group allowing inbound TCP 22 (SSH) from your IP and TCP 80 (HTTP) from your users.
- Recommended instance type:
t3.smallor larger.
Connecting to your instance
SSH in as the default login user for your operating system variant, using the key pair you launched with.
| OS variant | Login user | Example |
|---|---|---|
| Ubuntu 24.04 | ubuntu |
ssh -i your-key.pem ubuntu@<instance-public-ip> |
Step 1 - Launch from the AWS Marketplace console
- Open the product page in AWS Marketplace and choose Continue to Subscribe, then Continue to Configuration.
- Select the software version and your AWS Region, then choose Continue to Launch.
- Choose an instance type (
t3.smallor larger), your VPC subnet, the security group described above, and your EC2 key pair. - Launch the instance and wait for it to reach the running state with status checks passed.
Step 2 - Launch from the AWS CLI (alternative)
Replace the AMI id, key name, security group and subnet with your own values:
aws ec2 run-instances \
  --image-id ami-xxxxxxxxxxxxxxxxx \
  --instance-type t3.small \
  --key-name your-key \
  --security-group-ids sg-xxxxxxxx \
  --subnet-id subnet-xxxxxxxx \
  --metadata-options "HttpTokens=required" \
  --tag-specifications 'ResourceType=instance,Tags=[{Key=Name,Value=hedgedoc}]'
Step 3 - Retrieve the per-instance admin credentials
SSH to the instance and read the credentials file written on first boot. It is mode 0600 and owned by root, so read it with sudo:
sudo cat /root/hedgedoc-credentials.txt
You will see the unique URL and admin credentials generated for this instance:
# HedgeDoc - generated on first boot by hedgedoc-firstboot.service
# These credentials are unique to this VM. Store them somewhere safe.

HEDGEDOC_URL=http://203.0.113.10/
HEDGEDOC_ADMIN_EMAIL=admin@hedgedoc.local
HEDGEDOC_ADMIN_PASSWORD=xoySZw2ndJkElnN6uyx9urbJ

# Browse to the URL above and choose "Sign In", then sign in with the e-mail
# and password above. Anonymous access and open registration are disabled.
# Create more users: see the user guide (bin/manage_users).
# App: /opt/hedgedoc  Config: /etc/hedgedoc/hedgedoc.env
# Data (SQLite DB + uploads): /var/lib/hedgedoc (dedicated EBS volume)
Step 4 - Confirm the service is healthy
HedgeDoc runs on loopback 127.0.0.1:3000 and nginx fronts it on port 80. Confirm both services are active:
systemctl is-active hedgedoc.service nginx.service
active
active
Confirm the listeners - HedgeDoc is loopback-only on 3000 and nginx is on 80:
sudo ss -tlnp | grep -E ':80 |:3000 '
LISTEN 0  511  127.0.0.1:3000  0.0.0.0:*  users:(("node",pid=3621,fd=20))
LISTEN 0  511    0.0.0.0:80    0.0.0.0:*  users:(("nginx",...))
Because anonymous access is disabled, the unauthenticated session endpoint reports forbidden until you sign in:
curl -s http://127.0.0.1/me
{"status":"forbidden"}
Verify the generated admin account end-to-end with a login round-trip through the proxy:
EMAIL=$(sudo grep '^HEDGEDOC_ADMIN_EMAIL=' /root/hedgedoc-credentials.txt | cut -d= -f2-)
PASS=$(sudo grep '^HEDGEDOC_ADMIN_PASSWORD=' /root/hedgedoc-credentials.txt | cut -d= -f2-)
CJ=$(mktemp)
curl -s -o /dev/null -c "$CJ" --data-urlencode "email=$EMAIL" --data-urlencode "password=$PASS" http://127.0.0.1/login
curl -s -b "$CJ" http://127.0.0.1/me
rm -f "$CJ"
{"status":"ok","id":"35d7b07c-411f-42d0-886f-fd6dc86b4821","name":"admin","photo":"https://cdn.libravatar.org/avatar/1a43fa92ea14849c2273769e6c21db66?default=identicon&s=96"}
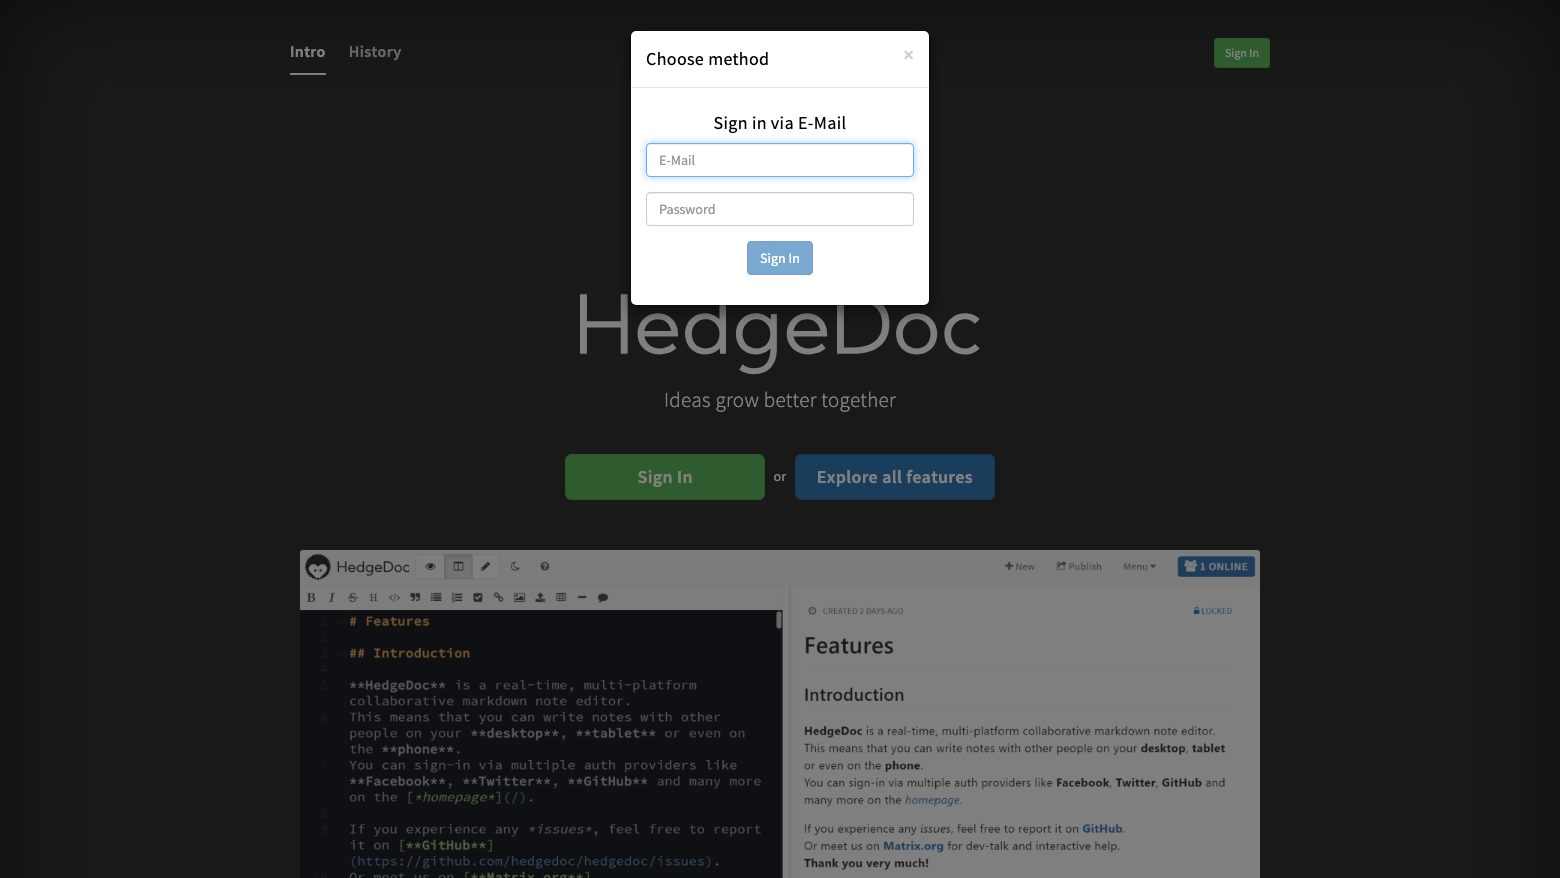
Step 5 - Sign in
Browse to http://<instance-public-ip>/ and choose Sign In, then enter the e-mail address and password from Step 3 under Sign in via E-Mail.
Step 6 - Write and collaborate in real time
After signing in, choose New note. The split-pane editor shows your markdown on the left and the rendered result on the right, live as you type. Share the note URL with other signed-in users and edit together in real time - everyone's cursors and changes appear instantly over the WebSocket connection.
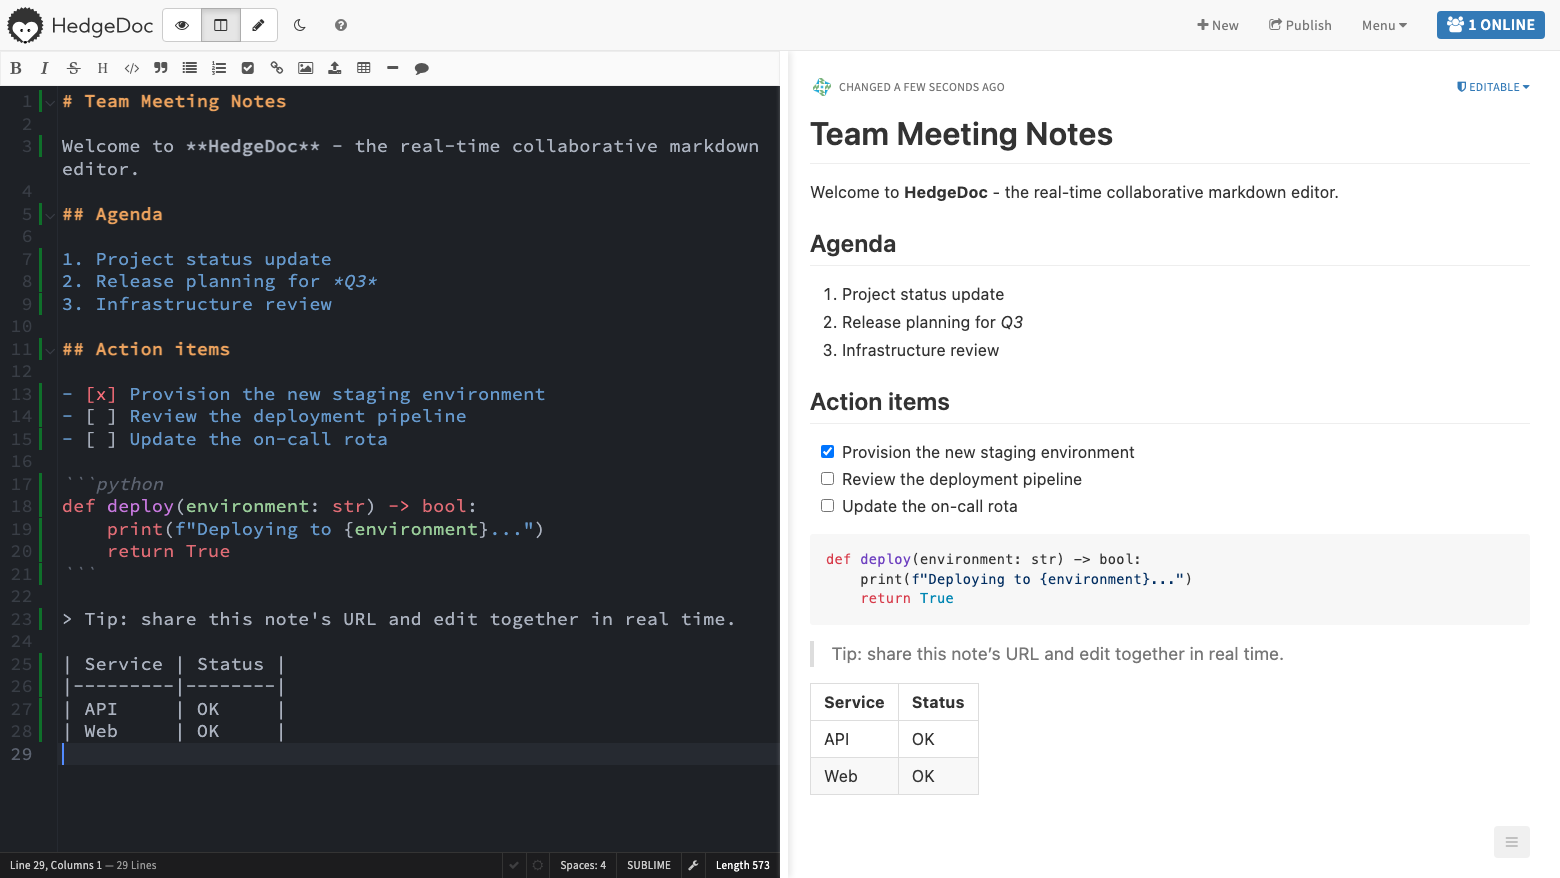
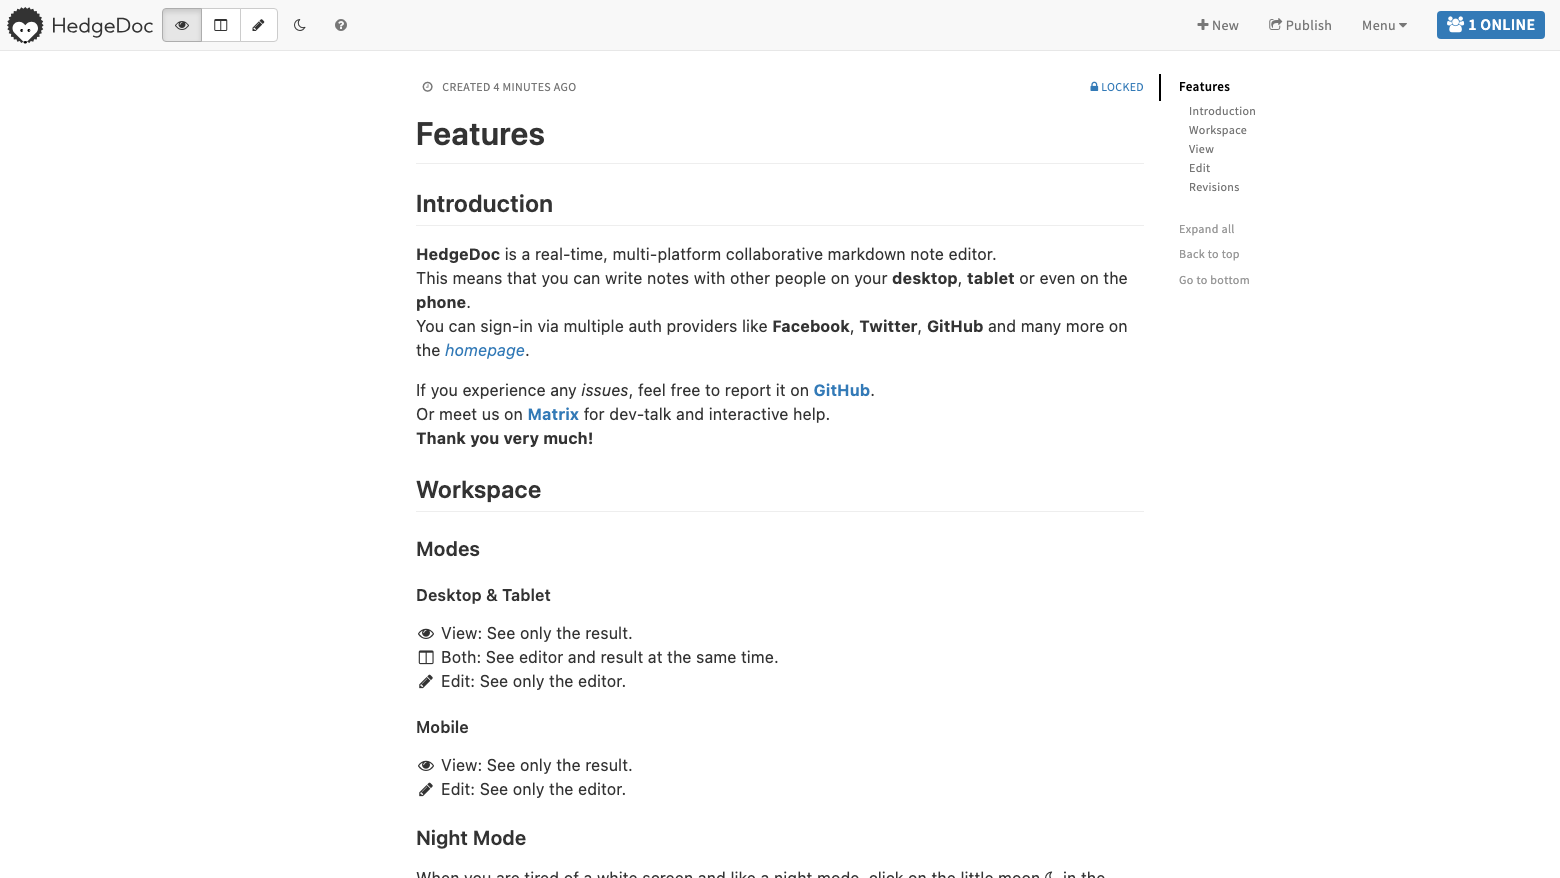
Notes support GitHub-flavoured markdown plus code blocks with syntax highlighting, task lists, tables, MathJax math, sequence and flow diagrams, and image uploads (stored on the data volume). Use the view-mode buttons in the toolbar to switch between editor, split and preview modes, and Publish to share a read-only rendered view. Any note can also be presented as a slide deck via Menu - Slide Mode.
Step 7 - Manage users
Open self-registration is disabled, so accounts are created from the command line with HedgeDoc's bundled manage_users tool. Create a user (and remove one) like this:
cd /opt/hedgedoc
sudo -u hedgedoc env HOME=/var/lib/hedgedoc NODE_ENV=production CMD_DB_URL=sqlite:///var/lib/hedgedoc/db.hedgedoc.sqlite node bin/manage_users --add demo@example.com --pass 'ChangeMe-Demo-12345'
sudo -u hedgedoc env HOME=/var/lib/hedgedoc NODE_ENV=production CMD_DB_URL=sqlite:///var/lib/hedgedoc/db.hedgedoc.sqlite node bin/manage_users --del demo@example.com
Using password from commandline...
Created user with email demo@example.com
Deleted user demo@example.com ...
Use --reset instead of --add to change an existing user's password. To allow open self-registration instead, set CMD_ALLOW_EMAIL_REGISTER=true in /etc/hedgedoc/hedgedoc.env and restart the service - or connect an external identity provider (LDAP, SAML, OAuth2, GitHub, GitLab and more) with the corresponding CMD_* variables; see the HedgeDoc configuration documentation at docs.hedgedoc.org.
Step 8 - Enable HTTPS (recommended)
For production use, terminate TLS so traffic (including the WebSocket collaboration channel) is encrypted. Two common options:
Option A - certbot on the instance. Point a DNS name at the instance, open port 443 in the security group, then install certbot and obtain a certificate. Run these interactively (they prompt for your e-mail and domain):
- Install the packages:
sudo apt-get update && sudo apt-get install -y certbot python3-certbot-nginx - Obtain and install the certificate:
sudo certbot --nginx -d your-domain.example.com
After enabling TLS, tell HedgeDoc its public URL is HTTPS by setting CMD_DOMAIN=your-domain.example.com and CMD_PROTOCOL_USESSL=true in /etc/hedgedoc/hedgedoc.env, then sudo systemctl restart hedgedoc.service.
Option B - terminate TLS upstream. Place an AWS Application Load Balancer or Amazon CloudFront in front of the instance with an ACM certificate, forwarding to port 80 (ensure WebSocket support is enabled on the load balancer). Set CMD_PROTOCOL_USESSL=true and CMD_DOMAIN as above so generated links use HTTPS.
Step 9 - Configuration and data locations
| Path | Purpose |
|---|---|
/etc/hedgedoc/hedgedoc.env |
Server configuration (CMD_* variables): domain, ports, database URL, auth settings, session secret. |
/opt/hedgedoc |
The HedgeDoc application (release tarball + production dependencies). |
/var/lib/hedgedoc |
Data volume mount: db.hedgedoc.sqlite (notes, users, revisions) and uploads/ (images). |
/root/hedgedoc-credentials.txt |
The per-instance admin credentials generated on first boot (mode 0600). |
/etc/nginx/sites-available/cloudimg-hedgedoc |
The nginx reverse-proxy site configuration (WebSocket upgrade headers). |
Confirm the data tier is on its own volume:
df -h /var/lib/hedgedoc | tail -1
/dev/nvme1n1 20G 52M 19G 1% /var/lib/hedgedoc
Step 10 - Service management
systemctl status hedgedoc.service --no-pager
Restart HedgeDoc or nginx after a configuration change:
- Restart HedgeDoc:
sudo systemctl restart hedgedoc.service - Restart nginx:
sudo systemctl restart nginx.service
Step 11 - Backup and maintenance
- Back up the data volume. Take regular EBS snapshots of the
/var/lib/hedgedocvolume, or copydb.hedgedoc.sqliteand theuploads/directory to off-instance storage. This captures every note, revision, user and image. - Keep the OS patched. Apply Ubuntu security updates regularly with
sudo apt-get update && sudo apt-get upgrade. - Resize storage. Because the data lives on a dedicated EBS volume, you can grow it with the AWS console or CLI and then extend the filesystem, with no change to the OS disk.
- Upgrades. HedgeDoc 1.10.x is the stable line. Before any upgrade, snapshot the data volume; then unpack the new release tarball over
/opt/hedgedocand re-run its setup per the HedgeDoc release notes.
Support
cloudimg provides 24/7 technical support for this image by email and chat, covering HedgeDoc deployment, user management, authentication providers, TLS termination, backups, upgrades and scaling.
All product and company names are trademarks or registered trademarks of their respective holders. Use of them does not imply any affiliation with or endorsement by them.