
Jellystat on AWS User Guide
Overview
This image runs Jellystat, the open source, self-hosted statistics and analytics dashboard for a Jellyfin media server. Jellystat records playback activity and presents your libraries, users, watch history, most-active content and live now-playing sessions in a clean, modern interface with charts and drill-downs.
The application is a Node.js server, built from source on this image, that stores its data in a local PostgreSQL database bound to the loopback interface. The server listens on 127.0.0.1:3000 and is reached through nginx as a reverse proxy on port 80 (and 443 once you add TLS). nginx is pre-configured to proxy the Socket.io WebSocket channel that powers live now-playing session monitoring.
This image is secure by default: no administrator account and no static secret are baked into the image. It boots to a first-run setup wizard where you create your own administrator, and a fresh per-instance JWT signing secret and PostgreSQL password are generated automatically on the first boot of every deployed instance. No shared passwords or pre-seeded database rows exist in the image.
Prerequisites
Before you deploy this image you need:
- An AWS account subscribed to this product on AWS Marketplace.
- A running Jellyfin media server that you administer, and the ability to generate an API key on it (Jellyfin: Dashboard, API Keys). Jellystat connects to your Jellyfin server to gather statistics; it does not replace Jellyfin.
- An EC2 key pair in your target region for SSH access.
- A security group allowing inbound TCP 22 (SSH) from your IP, and TCP 80 (and 443 if you add TLS) from the clients that will use the dashboard.
The recommended instance type is m5.large. Jellystat is lightweight; a smaller instance also works, and you can resize later.
Connecting to your instance
Connect over SSH as your operating system variant's default login user. This listing currently ships the following variant:
| OS variant | SSH login user |
|---|---|
| Ubuntu 24.04 LTS | ubuntu |
ssh ubuntu@<public-ip>
First boot: create your administrator
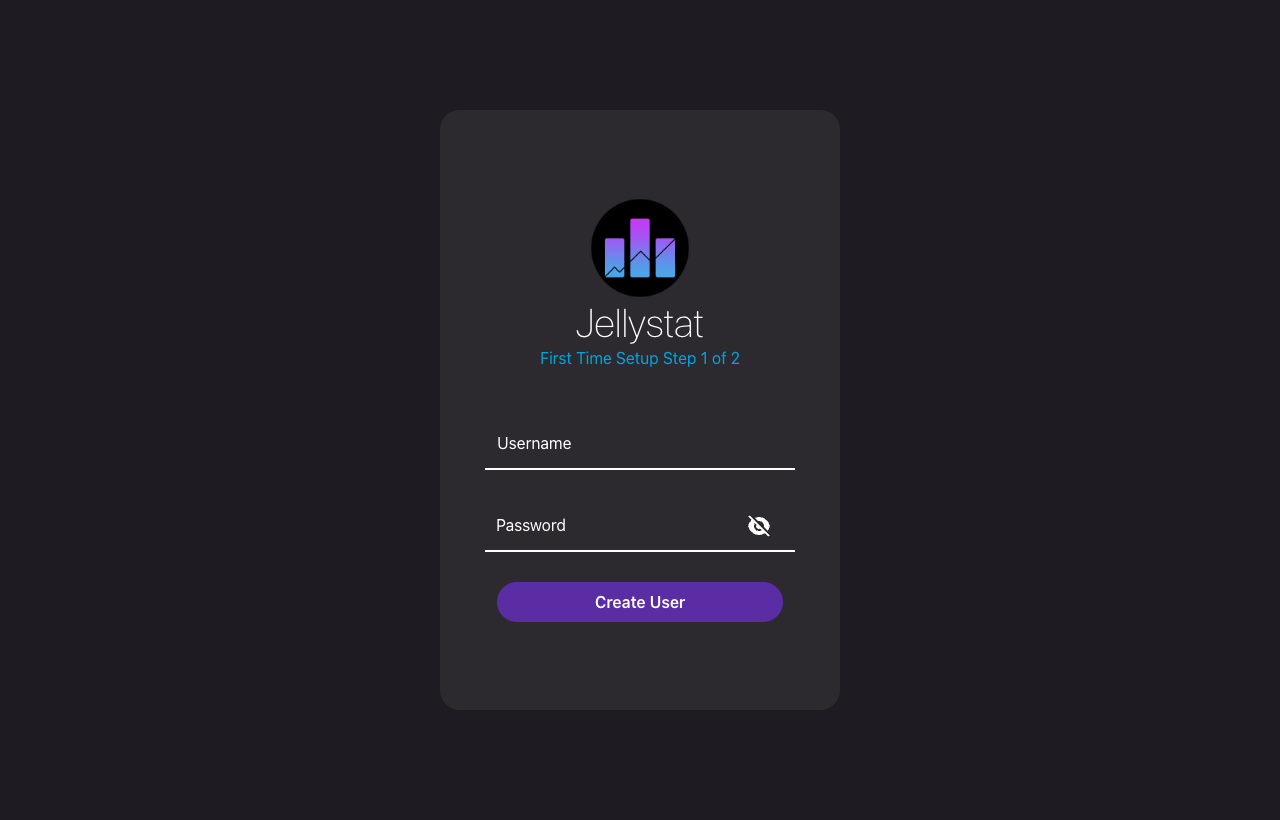
On the first visit, Jellystat presents a two-step setup wizard. There is no default account, so the first thing you do is create your own administrator.
Open http://<public-ip>/ in a browser. On First Time Setup Step 1 of 2, choose an administrator username and password and select Create User.
Connect your Jellyfin server
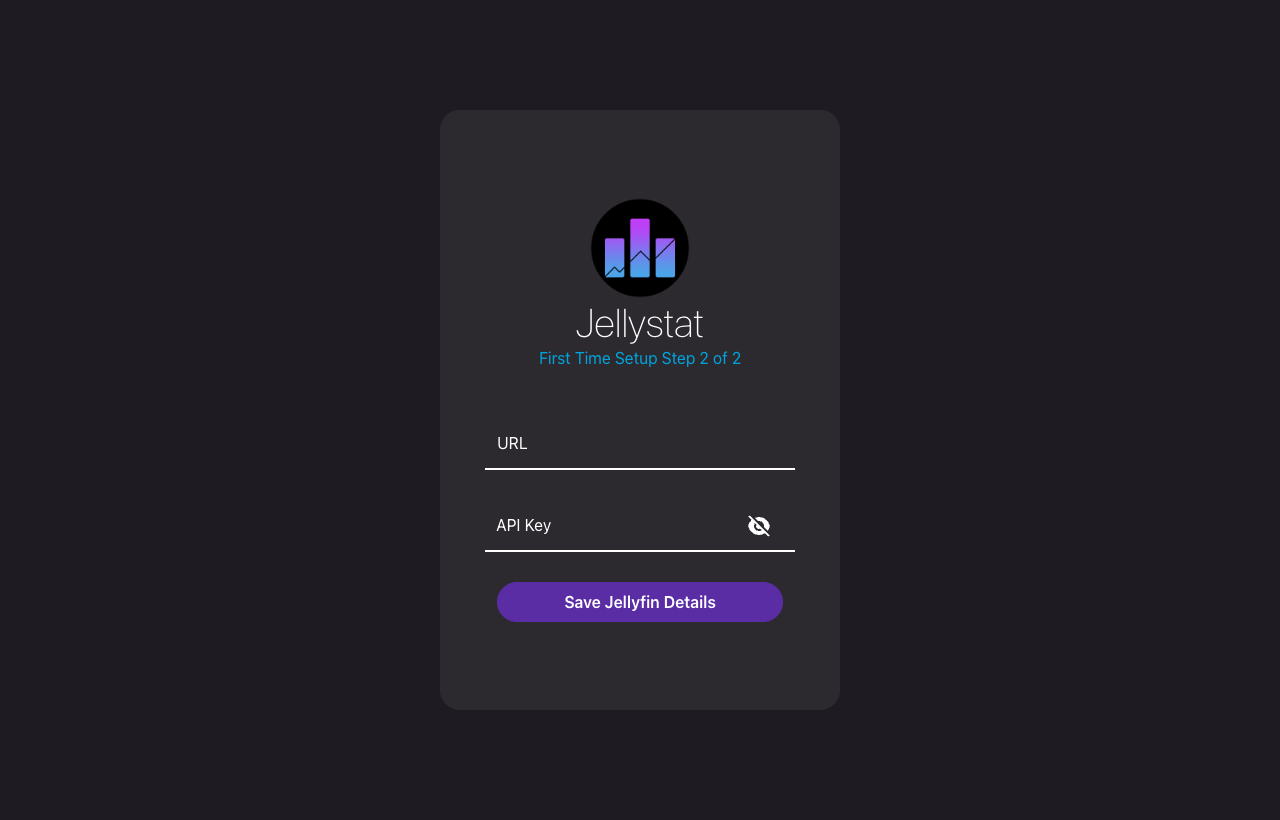
On First Time Setup Step 2 of 2, enter the URL of your Jellyfin server and an API key generated on it (in Jellyfin: Dashboard, API Keys, and add a key named for example Jellystat). Select Save Jellyfin Details. Jellystat validates the connection before saving.
The dashboard
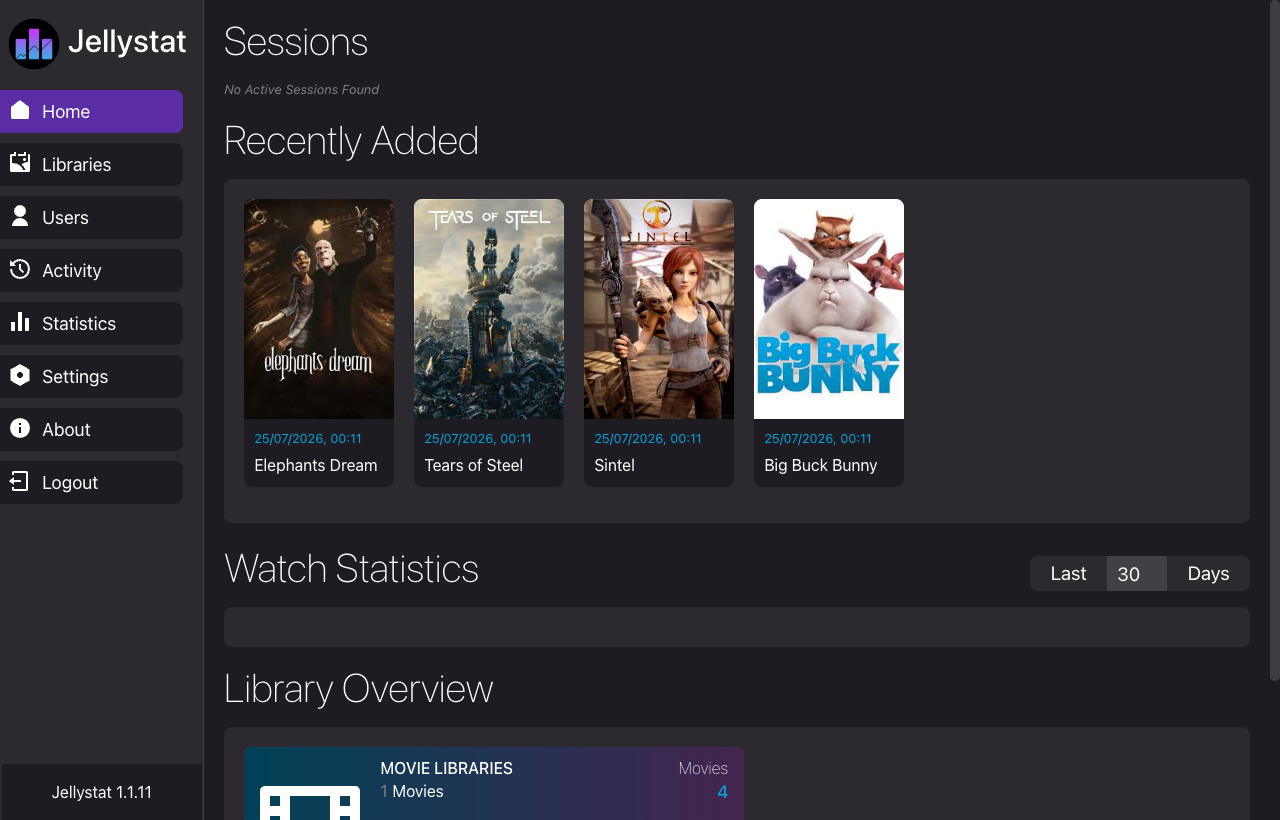
Once your Jellyfin server is connected and Jellystat has performed its first sync, the Home dashboard shows live sessions, recently added items, watch statistics and a library overview. Jellystat keeps its own history, so your statistics accumulate over time independently of Jellyfin.
Statistics and reporting
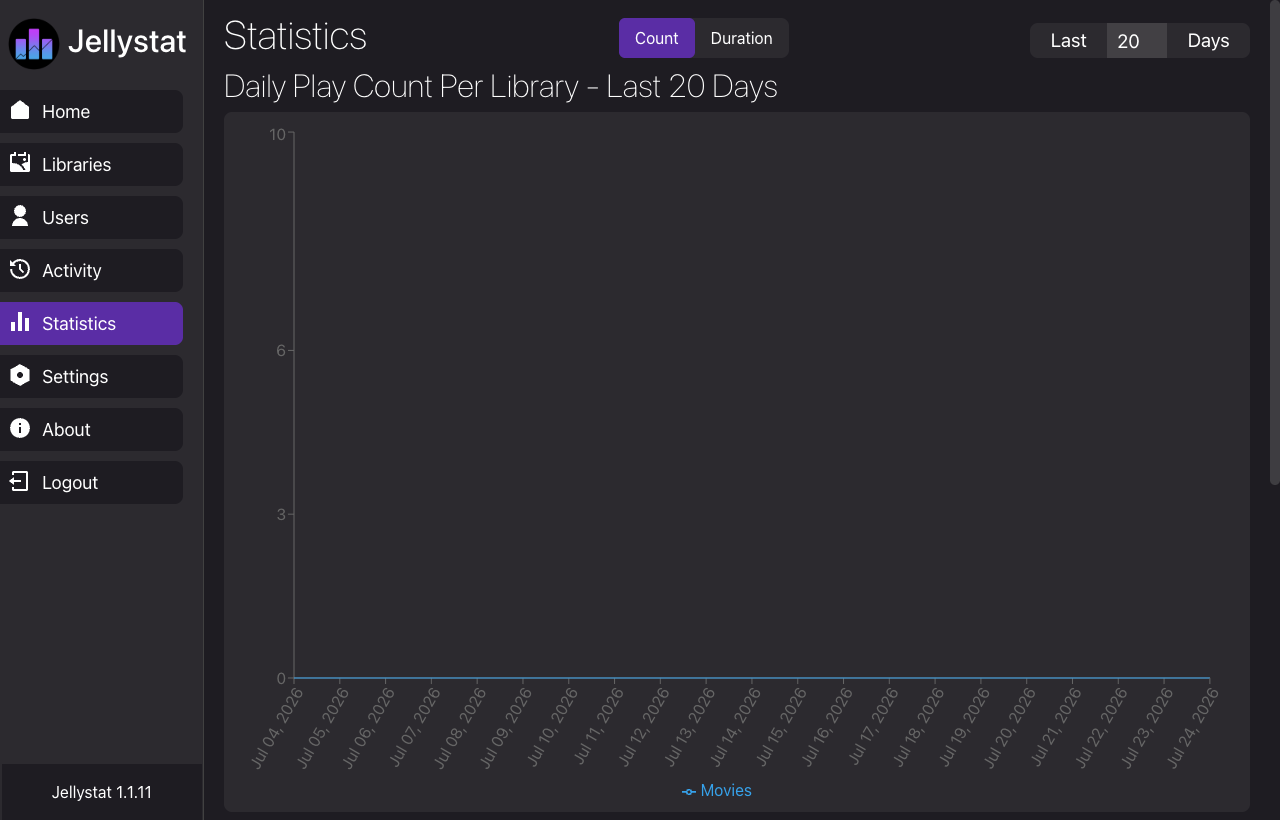
The Statistics view charts daily play counts and durations per library over a configurable time range, and the Activity and Users views break playback down by title and by user. Use the range selector to switch between the last 20, 30 or more days.
Checking the services
Three systemd services run this image: PostgreSQL, the Jellystat Node server, and nginx. Confirm they are active:
sudo systemctl is-active postgresql jellystat nginx
Expected output:
active
active
active
The application answers a health endpoint through nginx. Before you complete the setup wizard it reports state:0, meaning no administrator has been created yet (secure by default):
curl -s http://127.0.0.1/auth/isconfigured
{"state":0,"version":"1.1.11"}
The Node server and PostgreSQL both bind to the loopback interface only; only nginx (port 80) is exposed:
sudo ss -tlnp | grep -E ':80 |:3000 |:5432 '
Per-instance secrets
The Jellystat administrator is the one you create at the setup wizard, so there is no admin password to retrieve from the instance. For recovery and administration, the two per-instance secrets that firstboot generated (the JWT signing secret and the PostgreSQL role password) are recorded in a root-only file:
sudo cat /root/jellystat-credentials.txt
The file (mode 0600, root only) contains, with the secret values unique to your instance:
JELLYSTAT_URL=http://REDACTED_HOST/
SETUP_WIZARD=http://REDACTED_HOST/
JWT_SECRET=REDACTED_SECRET
POSTGRES_PASSWORD=REDACTED_SECRET
POSTGRES_USER=jellystat
POSTGRES_DB=jfstat
You do not normally need these values; keep the file private.
Enabling HTTPS
nginx serves the dashboard on port 80 and is ready for a TLS certificate on 443. To obtain a free certificate from Let's Encrypt, point a domain at the instance, open port 443 in the security group, then run certbot for nginx:
sudo apt-get update && sudo apt-get install -y certbot python3-certbot-nginx
sudo certbot --nginx -d your-domain.example.com
certbot edits the nginx site to add the 443 server block and sets up automatic renewal.
Backups
Jellystat keeps its history in the local PostgreSQL database jfstat. Snapshot the EC2 instance's EBS volume for a full point-in-time backup, or take a logical dump of the database:
sudo -u postgres pg_dump jfstat > /tmp/jfstat-backup.sql
Jellystat also has a built-in backup feature under Settings that writes to its own backup directory, which you can then copy to Amazon S3.
Support
This image includes 24/7 cloudimg support by email and live chat. Contact support@cloudimg.co.uk for help with deployment, upgrades, connecting Jellystat to your Jellyfin server, TLS termination, PostgreSQL maintenance, or troubleshooting.
Jellystat and Jellyfin are trademarks of their respective owners. This is a repackaged open source software product; additional charges apply for cloudimg support services.