Jitsi Meet on Ubuntu 24.04 on Azure User Guide
Overview
Jitsi Meet is a fully encrypted, open-source video conferencing platform that runs entirely on your own infrastructure. There are no third-party accounts, no per-minute fees and no data leaving your server: participants join a meeting straight from their browser, with no plugin or app to install. The cloudimg image installs the complete Jitsi Meet stack as system services, hardened with secure-domain authentication, and generates a unique moderator account on the first boot of every VM. Backed by 24/7 cloudimg support.
What is included:
- The complete Jitsi Meet stack from the official Jitsi repository, run as system services:
prosody- the XMPP server that handles signalling and authenticationjicofo- the conference focus that allocates resources for each meetingjitsi-videobridge2- the WebRTC video bridge that routes audio and video between participantsnginx- serves the meeting web app over HTTPS and proxies the signalling channel- Secure-domain authentication: only an authenticated moderator can open a room while invited guests join freely
- A per-VM moderator account with a strong unique password generated on first boot and recorded in a root-only file
- A dedicated Azure data disk at
/var/lib/prosodyfor the XMPP authentication state - 24/7 cloudimg support
Prerequisites
An active Azure subscription, an SSH key pair, and a VNet + subnet in the target region. Standard_B2ms (2 vCPU / 8 GiB RAM) is a good starting point. NSG inbound rules: allow 22/tcp from your management network, 443/tcp for the meeting web app, and 10000/udp for the video bridge media. Without UDP 10000 open to your participants, browsers fall back to a TCP relay or fail to connect media.
Step 1 - Deploy from the Azure Marketplace
Sign in to the Azure Portal, choose Create a resource, search the Marketplace for Jitsi Meet by cloudimg, and select Create. On Basics pick your subscription, resource group, region and size; under Administrator account choose SSH public key and paste your key; under Inbound port rules allow SSH (22) and HTTPS (443). After creation, add an inbound NSG rule for UDP 10000 (the video bridge media port). Review the dedicated data disk on the Disks tab, then Review + create -> Create.
Step 2 - Deploy from the Azure CLI
az vm create \
  --resource-group <your-rg> \
  --name jitsi-meet \
  --image <marketplace-image-urn> \
  --size Standard_B2ms \
  --admin-username azureuser \
  --ssh-key-values ~/.ssh/id_ed25519.pub \
  --public-ip-sku Standard

az vm open-port --resource-group <your-rg> --name jitsi-meet --port 443  --priority 1001
az vm open-port --resource-group <your-rg> --name jitsi-meet --port 10000 --priority 1002
The video bridge uses UDP 10000. If az vm open-port creates a TCP-only rule, add a UDP rule for port 10000 with az network nsg rule create ... --protocol Udp --destination-port-ranges 10000.
Step 3 - Connect to your VM
ssh azureuser@<vm-public-ip>
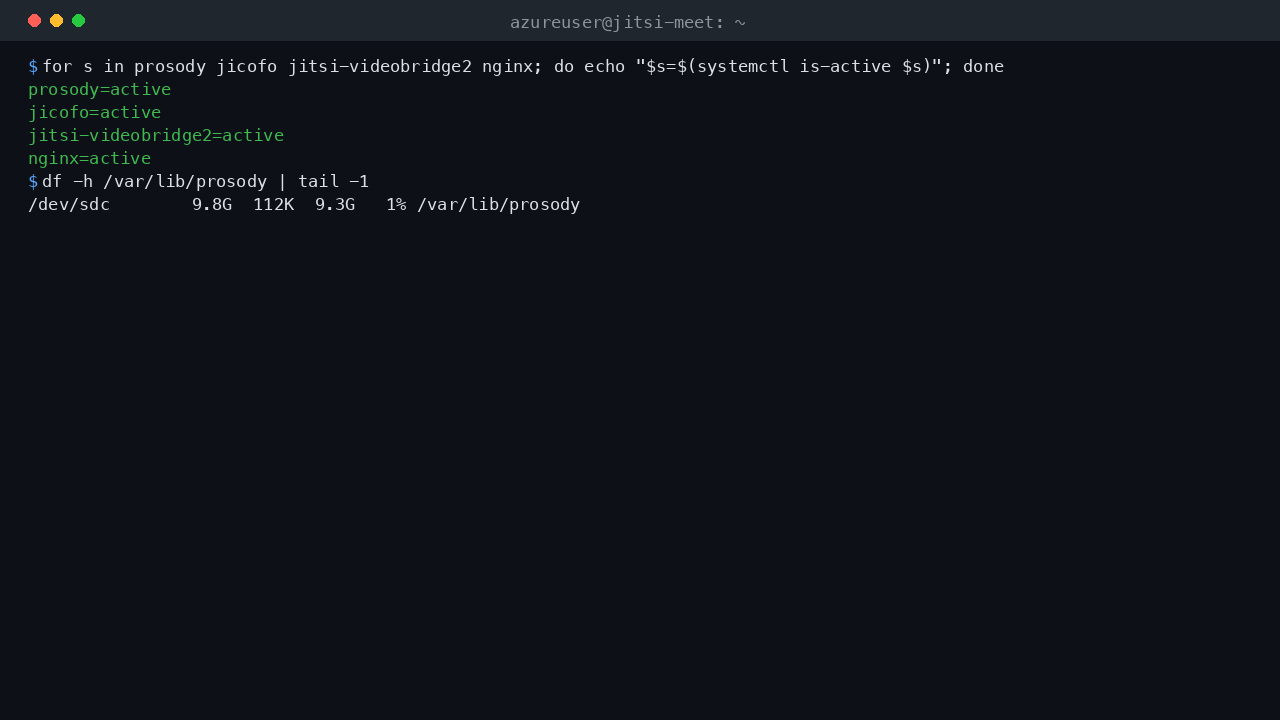
Step 4 - Confirm the four services are running
for s in prosody jicofo jitsi-videobridge2 nginx; do echo "$s=$(systemctl is-active $s)"; done
Expected output - all four report active:
prosody=active
jicofo=active
jitsi-videobridge2=active
nginx=active
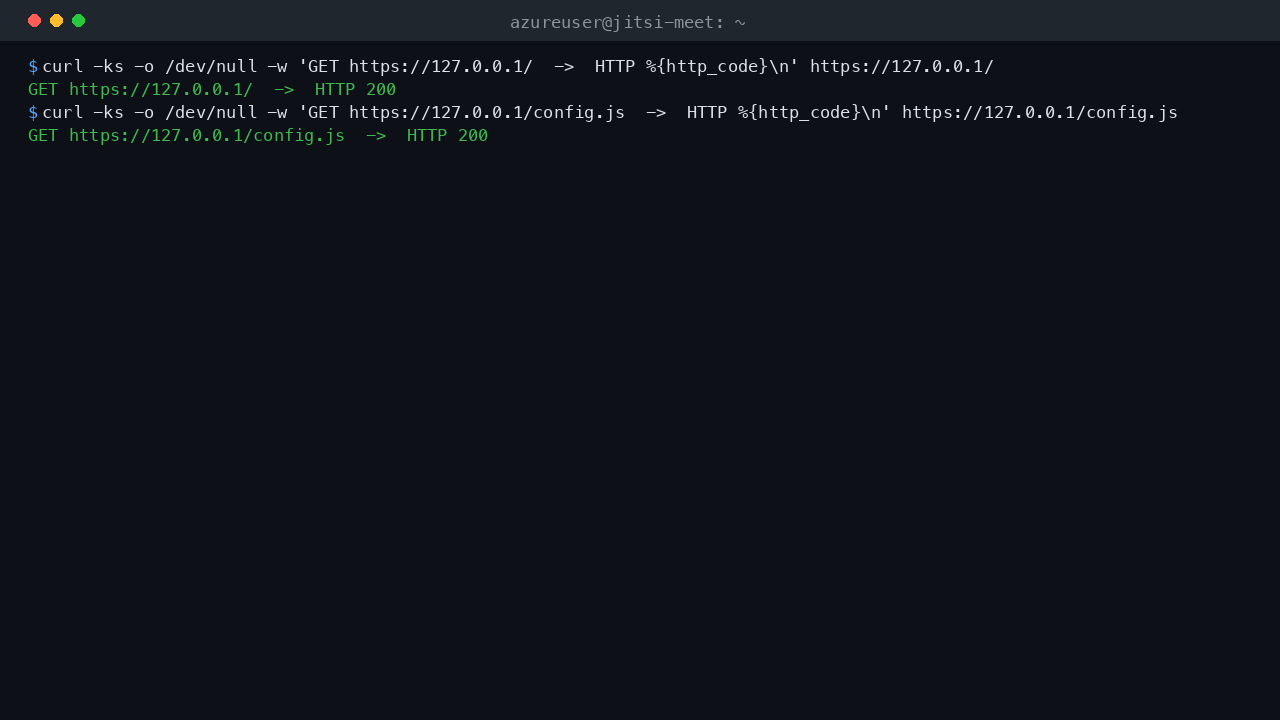
Step 5 - Confirm the meeting web app is serving over HTTPS
curl -ks -o /dev/null -w 'GET https://127.0.0.1/ -> HTTP %{http_code}\n' https://127.0.0.1/
Expected output:
GET https://127.0.0.1/ -> HTTP 200
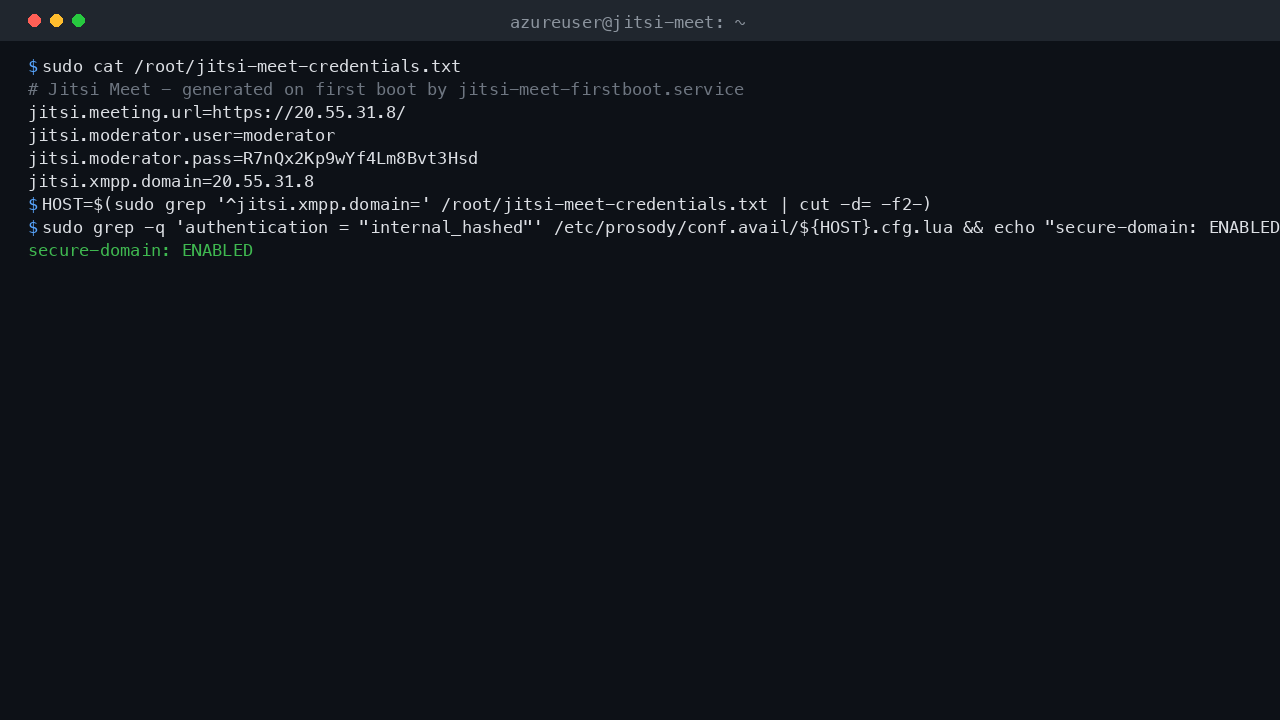
Step 6 - Retrieve your moderator credentials
A unique moderator account is generated on the first boot of every VM. Read it from the root-only credentials file:
sudo cat /root/jitsi-meet-credentials.txt
This prints the meeting URL, the moderator user (moderator) and a strong unique password, plus the XMPP domain set to your VM's public IP. Only the moderator can open (create) a room; once opened, guests join with a single link and no login.
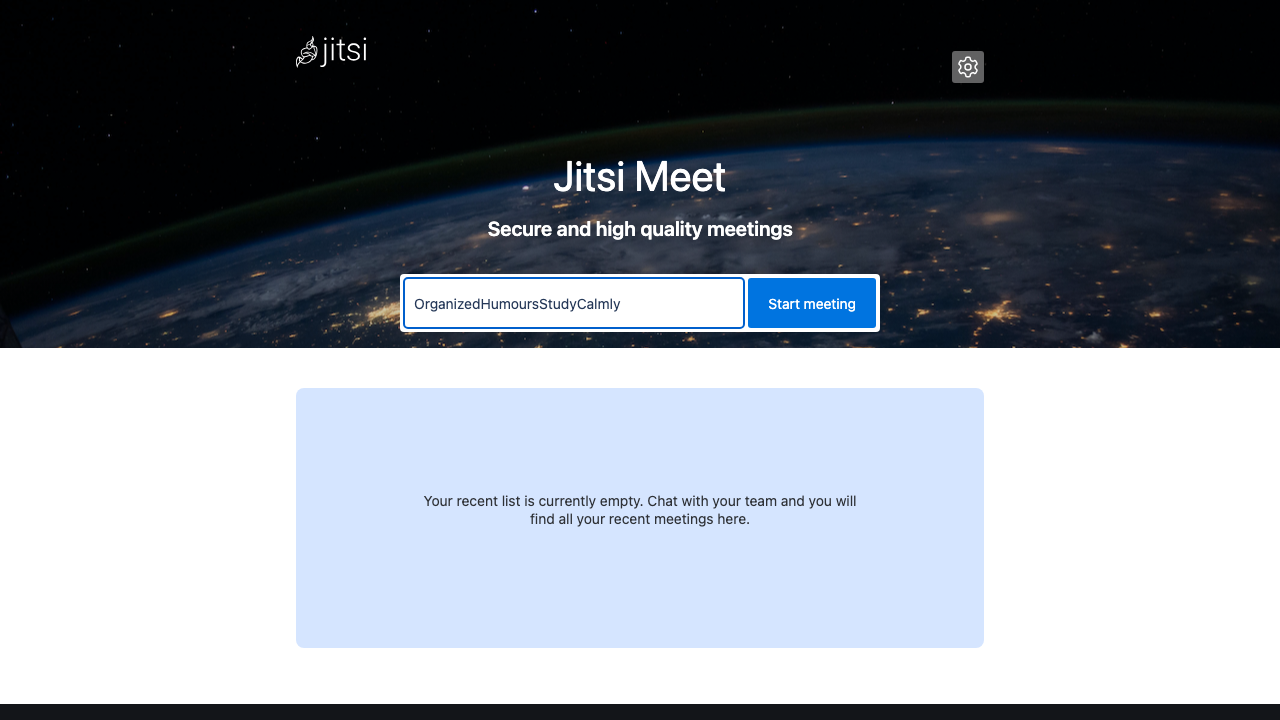
Step 7 - Open the meeting web app
Browse to https://<vm-public-ip>/ in any modern browser. The image ships a self-signed certificate, so accept the browser warning (or follow Step 11 to install a trusted certificate). You land on the Jitsi Meet welcome page, where you name a room to start a meeting.
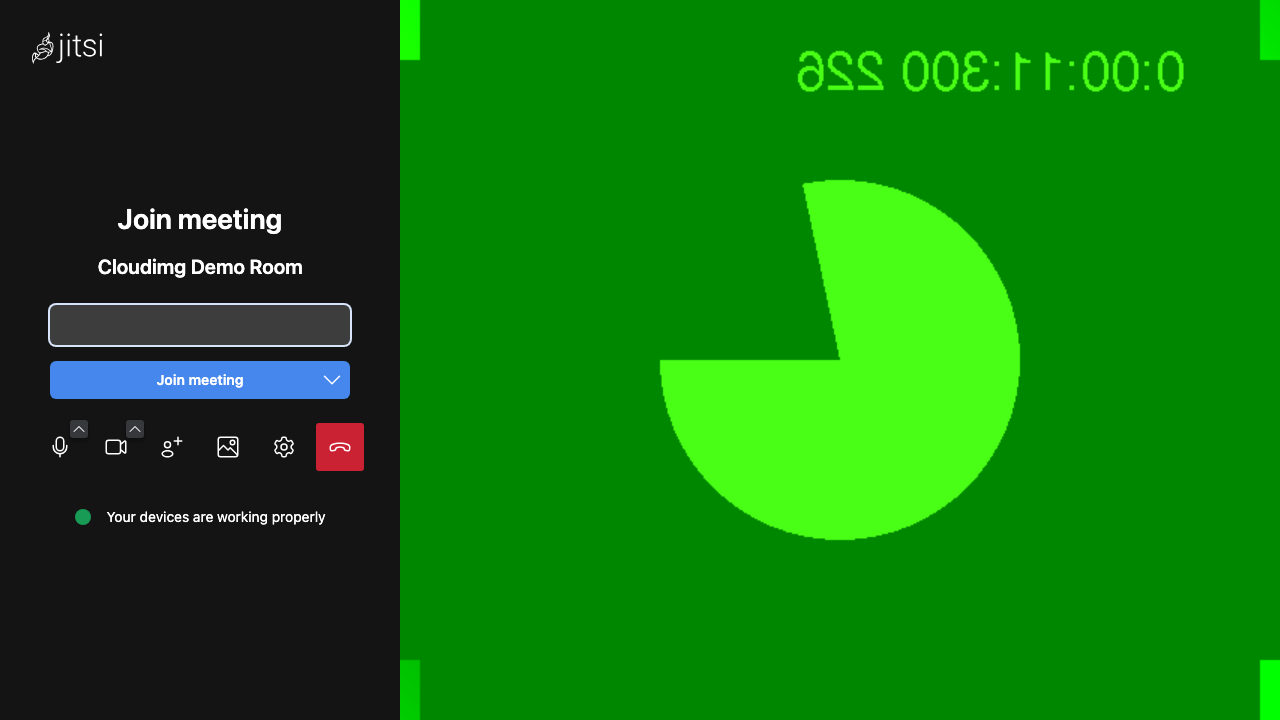
Enter a room name and you reach the prejoin screen, where you set your display name and check your camera and microphone before joining.
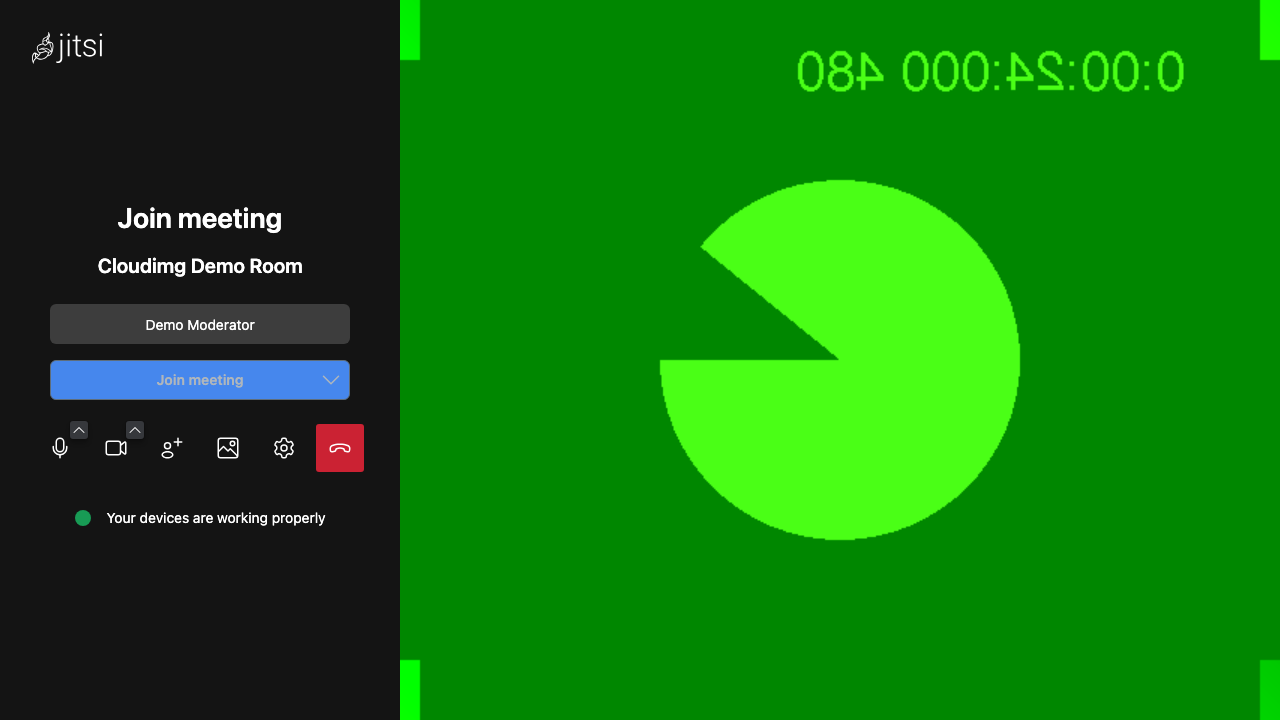
The prejoin screen confirms your devices are working and lets you switch camera, microphone and audio output.
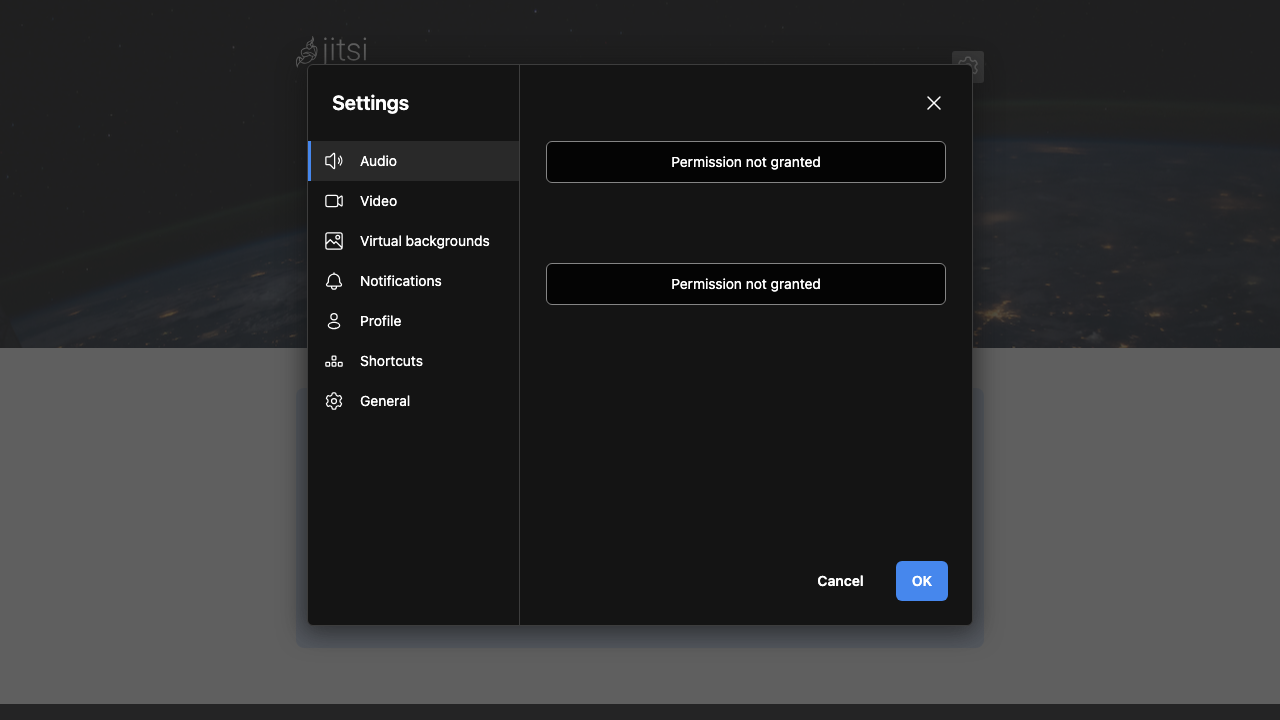
The Settings dialog (the gear icon) covers audio, video, virtual backgrounds, notifications, your profile, keyboard shortcuts and general options.
Step 8 - Start a meeting as the moderator
Because secure-domain authentication is enabled, only the moderator can open a room. Browse to https://<vm-public-ip>/<your-room-name>, and when prompted for authentication, sign in with the moderator user and password from Step 6. Once you have opened the room, share the room link (https://<vm-public-ip>/<your-room-name>) with anyone you want to invite - they join with one click and no account.
Step 9 - Confirm secure-domain authentication is in effect
HOST=$(sudo grep '^jitsi.xmpp.domain=' /root/jitsi-meet-credentials.txt | cut -d= -f2-); sudo grep -q 'authentication = "internal_hashed"' /etc/prosody/conf.avail/${HOST}.cfg.lua && echo "secure-domain: ENABLED" || echo "secure-domain: NOT enabled"
Expected output:
secure-domain: ENABLED
This confirms the main XMPP virtual host requires an authenticated moderator to open a room, while a separate anonymous guest domain lets invited participants join without a login.
Step 10 - Confirm the XMPP state lives on the dedicated disk
df -h /var/lib/prosody | tail -1
The prosody virtual-host data and the moderator account store live on a dedicated, independently resizable Azure data disk mounted at /var/lib/prosody, separate from the OS disk.
Step 11 - Install a trusted TLS certificate (recommended for production)
The image ships a self-signed certificate. For production, point a DNS name at the VM and install a trusted Let's Encrypt certificate. Jitsi ships a helper script that requests and installs the certificate and reconfigures nginx for your domain. Run it interactively as root and follow the prompts (it asks for your domain and an email address):
sudo /usr/share/jitsi-meet/scripts/install-letsencrypt-cert.sh
After it completes, browse to https://<your-domain>/ and the browser shows a valid certificate with no warning.
Maintenance
- Restart the stack:
sudo systemctl restart prosody jicofo jitsi-videobridge2 nginx - Tail the video bridge logs:
sudo journalctl -u jitsi-videobridge2 -f - Tail the focus logs:
sudo journalctl -u jicofo -f - The OS receives unattended security updates. Tune meetings for larger groups by sizing up the VM and opening additional video bridge capacity - contact support for guidance.
Support
cloudimg provides 24/7 technical support by email and chat. We help with deployment, DNS and trusted TLS certificates, secure-domain and JWT authentication, the video bridge and firewall ports, recording and live streaming, mobile apps and tuning for larger meetings. Contact support@cloudimg.co.uk.
All product and company names are trademarks or registered trademarks of their respective holders. Use of them does not imply any affiliation with or endorsement by them.