Keycloak 26 on Ubuntu 24.04 on Azure User Guide
Overview
Keycloak is the leading open-source Identity & Access Management platform — single sign-on (SSO), OAuth 2 / OpenID Connect, SAML 2.0, social login, multi-factor auth, fine-grained authorization. The cloudimg image installs Keycloak 26.6 (Quarkus distribution) from the official GitHub release tarball alongside OpenJDK 21. Per-VM cloudimg admin credentials are bootstrapped at first boot via kc.sh bootstrap-admin user.
What is included:
- Keycloak 26.6.x from official GitHub release tarball at
/opt/keycloak - OpenJDK 21 JRE headless from Ubuntu 24.04 noble universe
kc.sh buildpre-compiled (Quarkus AOT) for fast startupkeycloak.servicerunning askeycloak:keycloak- HTTP listener on TCP 8080, admin console at
/admin/master/console/ keycloak-firstboot.servicerotating cloudimg admin password viakc.sh bootstrap-admin user- H2 file database at
/opt/keycloak/data/h2(single-VM dev/test scale) - 24/7 cloudimg support
Prerequisites
Active Azure subscription, SSH key, VNet + subnet. Standard_B2s (4 GB RAM) is suitable for dev/test or small SSO deployments. For production, switch to PostgreSQL backend (set KC_DB=postgres + KC_DB_URL) and bump to D4s/D8s for larger user populations.
Step 1-3: Deploy + SSH (standard pattern)
ssh azureuser@<vm-ip>
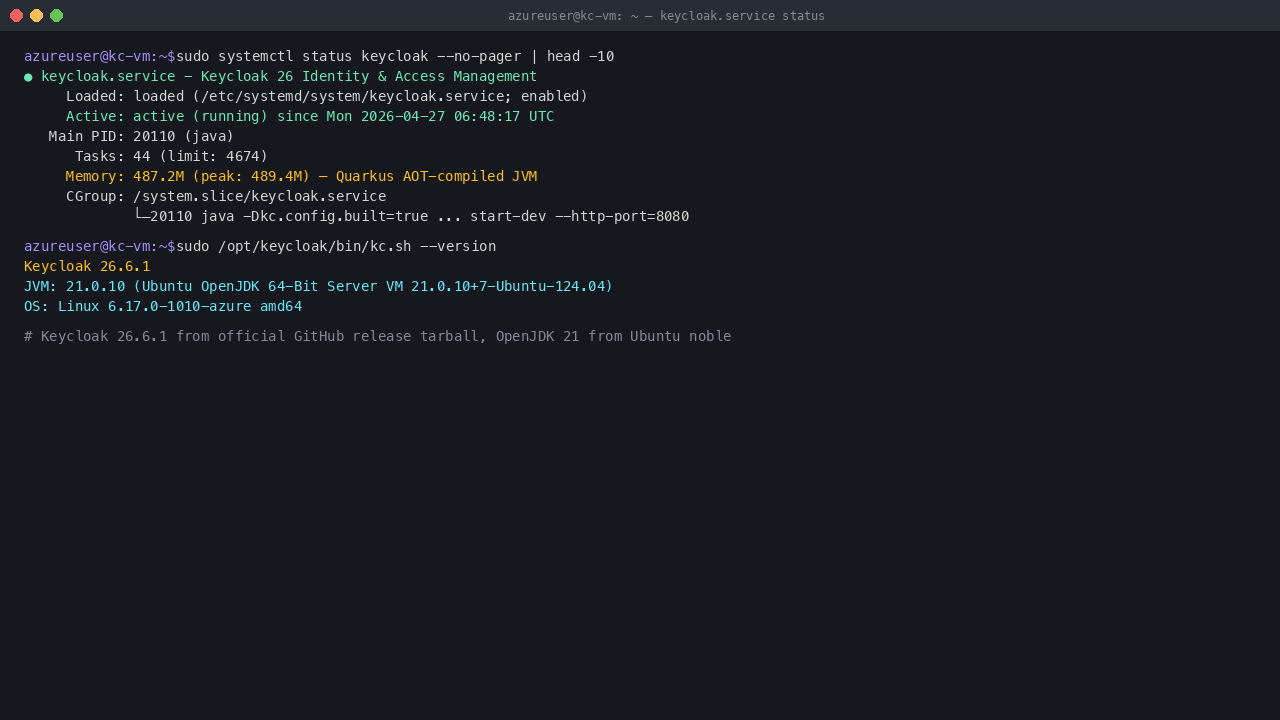
Step 4: Service Status + Version
sudo systemctl status keycloak --no-pager | head -10
sudo /opt/keycloak/bin/kc.sh --version
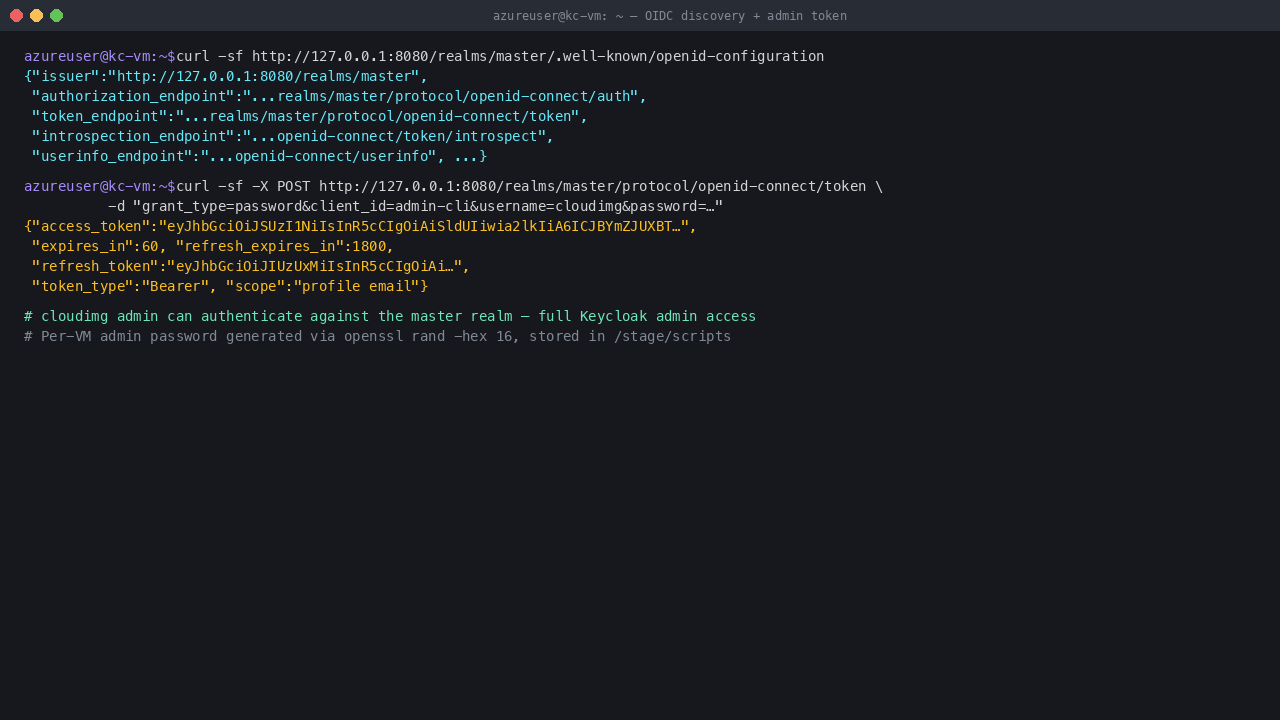
Step 5: OIDC Discovery + Admin Token
curl -sf http://127.0.0.1:8080/realms/master/.well-known/openid-configuration | head -c 400
Step 6: Read Admin Password
sudo cat /stage/scripts/keycloak-credentials.log
Pick up KEYCLOAK_ADMIN_PASSWORD and KEYCLOAK_ADMIN_URL.
Step 7: Welcome Page
Browse to http://<vm-ip>:8080/ to see the Keycloak welcome screen with links to the admin console + documentation.
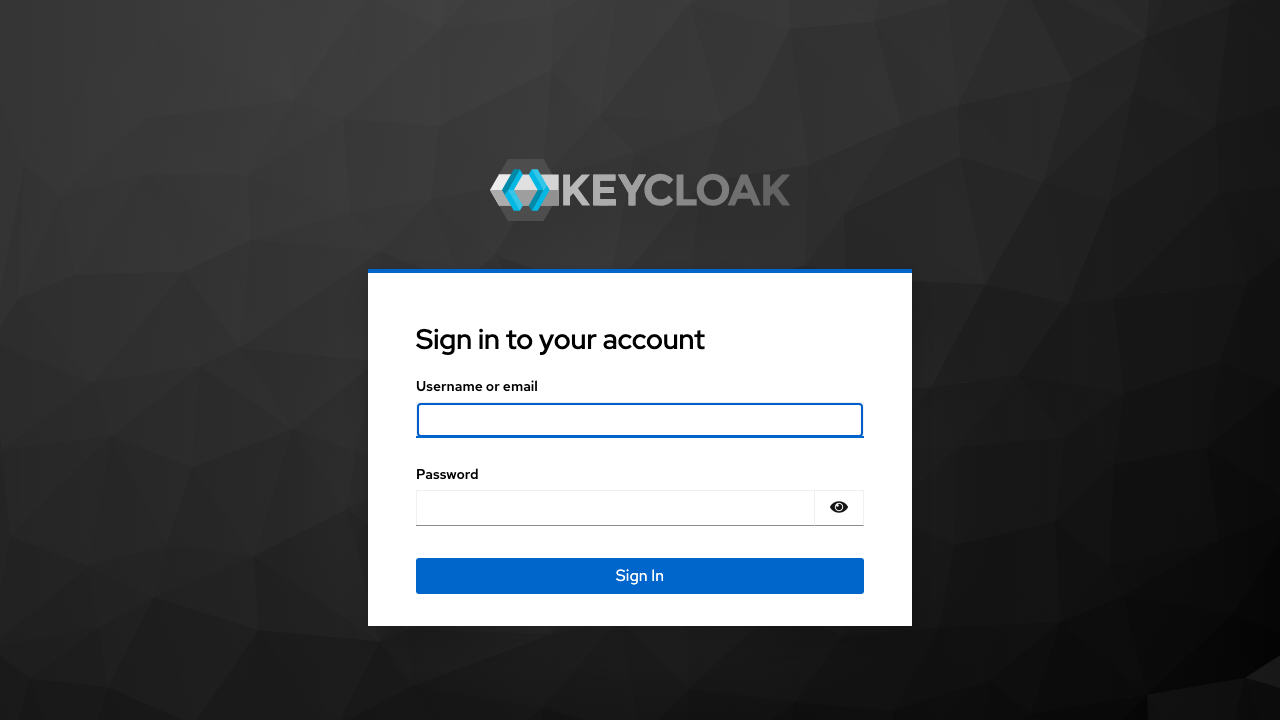
Step 8: Admin Login
Click "Administration Console" or browse /admin/master/console/ to reach the login form.

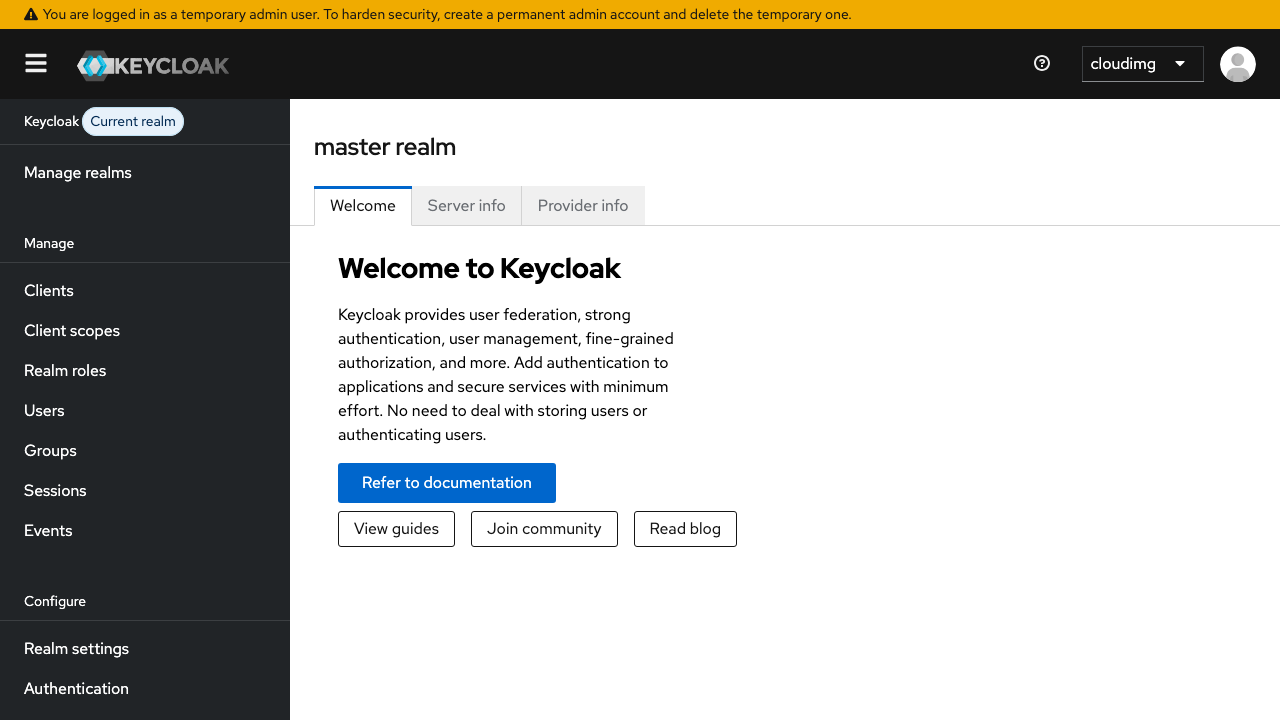
Step 9: Admin Console
After logging in as cloudimg, you reach the master realm admin console — manage realms, clients, users, groups, identity providers, and more.
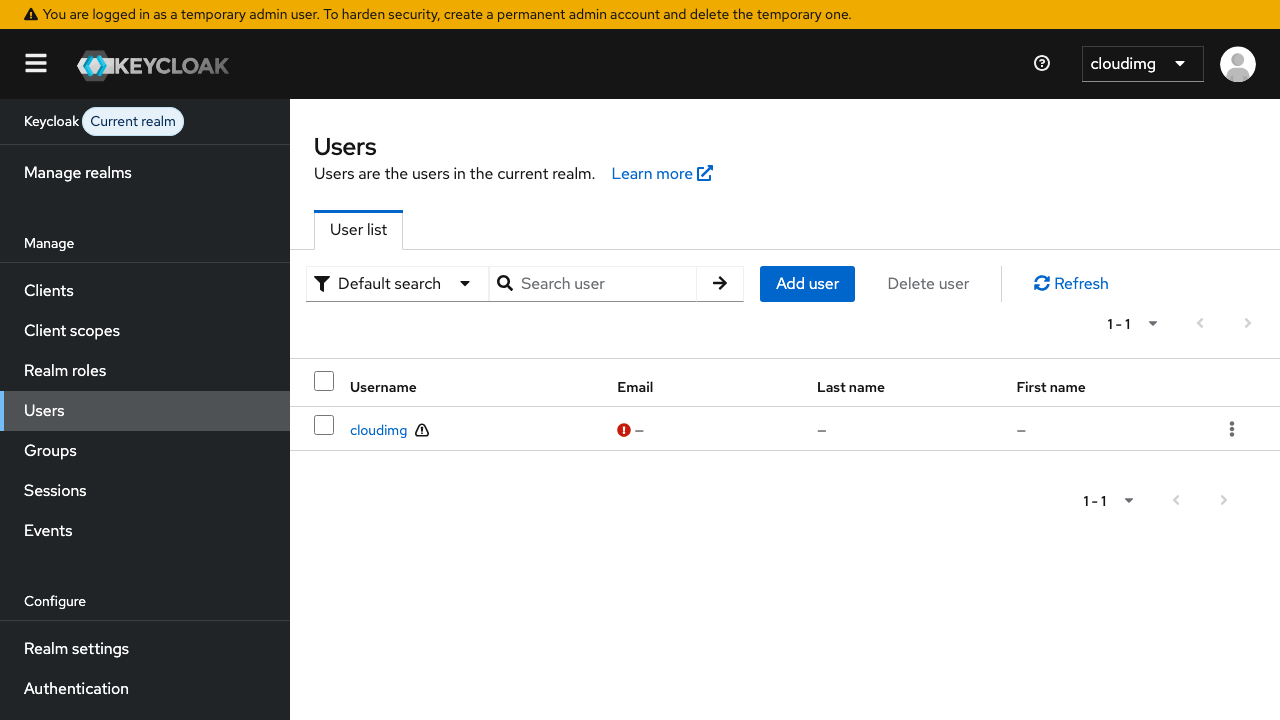
Step 10: Users
The Users page shows the cloudimg admin user and lets you add more master-realm administrators.
Step 11: Components
| Component | Path |
|---|---|
| Keycloak install | /opt/keycloak/ |
| kc.sh CLI | /opt/keycloak/bin/kc.sh |
| systemd unit | /etc/systemd/system/keycloak.service |
| Runtime env | /etc/keycloak/keycloak.env |
| H2 database | /opt/keycloak/data/h2/ |
| Logs | /opt/keycloak/data/log/ (and journalctl -u keycloak) |
| Firstboot script | /usr/local/sbin/keycloak-firstboot.sh |
| Credentials | /stage/scripts/keycloak-credentials.log (mode 0600 root:root) |
Step 12: Production Hardening
- Switch from H2 to PostgreSQL: edit
/etc/keycloak/keycloak.envto addKC_DB=postgres KC_DB_URL=jdbc:postgresql://...and restart - Switch from
start-devtostart --hostname=<your-fqdn> --proxy-headers=xforwarded(edit systemd ExecStart) - Enable HTTPS: provision a real cert and use
KC_HTTPS_*env vars - Configure email: master realm → Realm Settings → Email
- Restrict NSG so port 8080 is only open to your CDN / load balancer; keep 22 to your management CIDR
- Patch monthly:
apt-get update && apt-get upgrade && reboot; subscribe to https://www.keycloak.org/news.html for Keycloak releases
Licensing
Keycloak is Apache 2.0 — free to use commercially. cloudimg provides commercial support separately. support@cloudimg.co.uk.