Keycloak on AWS User Guide
Overview
This image runs Keycloak, the leading open source identity and access management platform. Keycloak provides single sign on, social login, identity brokering, user federation, fine grained authorization, OpenID Connect, and SAML 2.0 for web, mobile, and API workloads.
The image ships Keycloak as a systemd service running on OpenJDK 21 headless, backed by a local PostgreSQL 16 database, behind an nginx reverse proxy on TCP port 80. The Keycloak server itself listens on 127.0.0.1:8080, and nginx forwards browser and OIDC traffic to it with X-Forwarded headers and websocket upgrade for the admin console event stream. The management interface for health and metrics listens on the loopback on 127.0.0.1:9000 with the /health/ready endpoint enabled. The PostgreSQL backend stores realm, client, user, group, role, and session state on a dedicated EBS data volume mounted at /var/lib/postgresql.
The Keycloak administrator password is generated on the first boot of every deployed instance and rotated into the Keycloak server via the kc.sh bootstrap-admin user command, which is Keycloak 26's replacement for the legacy KEYCLOAK_ADMIN environment variables. Two instances launched from the same Amazon Machine Image never share a password. The plain text value is written to /root/keycloak-credentials.txt with mode 0600 so that only the root user can read it. The PostgreSQL keycloak role password is also rotated on first boot and written into a root only environment file at /etc/keycloak/db-password.env.
Prerequisites
Before you deploy this image you need:
- An Amazon Web Services account where you can launch EC2 instances
- IAM permissions to launch instances, create security groups, and subscribe to AWS Marketplace products
- An EC2 key pair in the target Region for SSH access to the instance
- A VPC and subnet in the target Region, with a security group allowing inbound port 22 from your management network and inbound port 80 from the trusted networks that will browse to Keycloak
- The AWS CLI (version 2) installed locally if you plan to deploy from the command line
Step 1: Launch the Instance from the AWS Marketplace
Sign in to the AWS Management Console, open the EC2 service, and select Launch instance. Under Application and OS Images choose AWS Marketplace AMIs and search for Keycloak. Select the cloudimg listing and choose Select, then Continue on the subscription summary.
Pick an instance type of m5.large or larger. Choose your EC2 key pair under Key pair (login). Under Network settings select your VPC and subnet, and either create or select a security group that allows inbound port 22 from your management network and inbound port 80 from the trusted networks that will reach Keycloak. Do not open port 80 to the public internet until you have configured TLS (see the HTTPS section).
Select Launch instance. First boot initialisation takes approximately two to three minutes after the instance state becomes Running and the status checks pass.
Step 2: Launch the Instance from the AWS CLI
The following block launches an instance from the cloudimg Keycloak Marketplace AMI into an existing subnet and security group. Replace <ami-id> with the AMI ID shown on the Marketplace listing, <key-name> with your EC2 key pair name, <subnet-id> with your subnet ID, and <security-group-id> with a security group that opens ports 22 and 80 as described above.
aws ec2 run-instances \
  --image-id <ami-id> \
  --instance-type m5.large \
  --key-name <key-name> \
  --subnet-id <subnet-id> \
  --security-group-ids <security-group-id> \
  --block-device-mappings '[{"DeviceName":"/dev/sda1","Ebs":{"VolumeSize":30,"VolumeType":"gp3"}}]' \
  --tag-specifications 'ResourceType=instance,Tags=[{Key=Name,Value=keycloak-01}]'
The command prints a JSON document on success. Note the instance ID, then retrieve its public address once it is running with aws ec2 describe-instances --instance-ids <instance-id> --query "Reservations[].Instances[].PublicIpAddress" --output text.
Step 3: Connecting to Your Instance
Connect over SSH with the key pair you selected and the public IP address from step 2. The SSH login user depends on the operating system of the AMI variant you launched:
| AMI variant | SSH login user |
|---|---|
| Keycloak 26 on Ubuntu 24.04 | ubuntu |
The first boot service runs after the SSH daemon becomes ready, so the credentials file is in place within about two minutes of the instance entering the Running state. Wait for the file to appear before signing in to the web interface.
ssh <login-user>@<public-ip>
sudo cat /root/keycloak-credentials.txt
You will see a plain text file containing the Keycloak URL, the administrator username (cloudimg), and the administrator password. Copy these values somewhere secure such as a password manager or an encrypted vault, and do not commit them to source control.
Each command block in this guide that talks to the Keycloak HTTP API begins by reading the administrator password from the credentials file into a PASSWORD shell variable, so every block is self contained:
PASSWORD="$(sudo awk -F= '/^KEYCLOAK_ADMIN_PASSWORD=/ {print $2}' /root/keycloak-credentials.txt)"
echo "admin password length: ${#PASSWORD}"
Step 4: Verify the Server is Healthy
Keycloak exposes an unauthenticated /health/ready page on its management interface that confirms the server, the JDBC pool, and the cache are all healthy. The OIDC token endpoint on the master realm proves that the administrator user can sign in:
PASSWORD="$(sudo awk -F= '/^KEYCLOAK_ADMIN_PASSWORD=/ {print $2}' /root/keycloak-credentials.txt)"
curl -s -o /dev/null -w "health HTTP: %{http_code}\n" http://127.0.0.1:9000/health/ready
TOKEN=$(curl -s -m 10 \
  -d "grant_type=password" -d "client_id=admin-cli" \
  -d "username=cloudimg" -d "password=${PASSWORD}" \
  http://127.0.0.1:8080/realms/master/protocol/openid-connect/token | jq -r .access_token)
echo "token length: ${#TOKEN}"
The first response should return health HTTP: 200. The second prints the length of the OIDC access token; a value above 500 confirms that the administrator credentials authenticated successfully and that the master realm is serving tokens.
With the token in hand you can also call the admin REST API. The following query returns the realms configured on the server (initially just master):
PASSWORD="$(sudo awk -F= '/^KEYCLOAK_ADMIN_PASSWORD=/ {print $2}' /root/keycloak-credentials.txt)"
TOKEN=$(curl -s -m 10 -d "grant_type=password" -d "client_id=admin-cli" \
  -d "username=cloudimg" -d "password=${PASSWORD}" \
  http://127.0.0.1:8080/realms/master/protocol/openid-connect/token | jq -r .access_token)
curl -s -H "Authorization: Bearer ${TOKEN}" \
  http://127.0.0.1:8080/admin/realms | jq '[.[] | {realm, enabled}]'
Step 5: Server Components
| Component | Version | Source |
|---|---|---|
| Keycloak | 26.x | github.com/keycloak/keycloak/releases |
| OpenJDK | 21 headless | Ubuntu noble main |
| PostgreSQL | 16 | apt.postgresql.org |
| nginx | 1.24 | Ubuntu noble main |
| Ubuntu | 24.04 LTS | cloudimg golden base image |
| cloudimg overrides | keycloak.conf + systemd drop-ins |
baked into the image |
The image carries no second backend database, no message broker, and no second exposed port. Keycloak's built in user database and the local PostgreSQL backend are used for authentication and persistence, and the server stores all of its persistent state in the PostgreSQL keycloak database on the dedicated data volume.
Step 6: Filesystem Layout
The image places Keycloak under /opt/keycloak and the PostgreSQL data directory on the dedicated EBS volume mounted at /var/lib/postgresql. The main directories and files the image exposes are:
/opt/keycloak/— the upstream Keycloak distribution/opt/keycloak/conf/keycloak.conf— Keycloak's Quarkus configuration (db, http, proxy, health)/opt/keycloak/bin/kc.sh— Keycloak command line interface (build,start,bootstrap-admin,export,import)/etc/systemd/system/keycloak.service— Keycloak systemd unit/etc/systemd/system/keycloak.service.d/cloudimg-hostname.conf— drop-in that injects--hostname=<public-ip>at first boot/etc/nginx/sites-available/keycloak— nginx reverse proxy configuration/var/lib/postgresql/— PostgreSQL data directory on the dedicated data volume (database files, write ahead log)/etc/keycloak/admin-password.txt— per instance admin password file, mode0640 root:keycloak/etc/keycloak/db-password.env— per instance PostgreSQLkeycloakrole password, mode0640 keycloak:keycloak/var/log/keycloak-firstboot.log— first boot rotation log/root/keycloak-credentials.txt— per instance administrator password, mode0600root only
Step 7: Start, Stop, and Check Status
Keycloak runs as the systemd service keycloak.service, backed by postgresql.service and fronted by nginx.service. The first boot unit is keycloak-firstboot.service and is skipped on every boot after the first because its sentinel lives at /var/lib/cloudimg/keycloak-firstboot.done. You interact with the main services using systemctl:
sudo systemctl status --no-pager keycloak
sudo systemctl is-active postgresql
sudo systemctl is-active keycloak
sudo systemctl is-active nginx
To restart the Keycloak server after editing configuration:
sudo systemctl restart keycloak
Keycloak runs as the keycloak system user, owns /opt/keycloak, and writes its log to the systemd journal. The journal is visible with sudo journalctl -u keycloak -n 200 --no-pager.
Step 8: Open the Keycloak Admin Console
nginx fronts Keycloak on TCP port 80. Once you have opened port 80 from your management network in the security group, open the following URL in your browser:
http://<public-ip>/
Keycloak presents its sign in page. Enter the administrator username cloudimg and the administrator password from /root/keycloak-credentials.txt.
After you sign in, Keycloak shows the admin console with the master realm selected. The sidebar exposes realm management, clients, client scopes, realm roles, users, groups, sessions, events, realm settings, authentication flows, identity providers, and user federation.
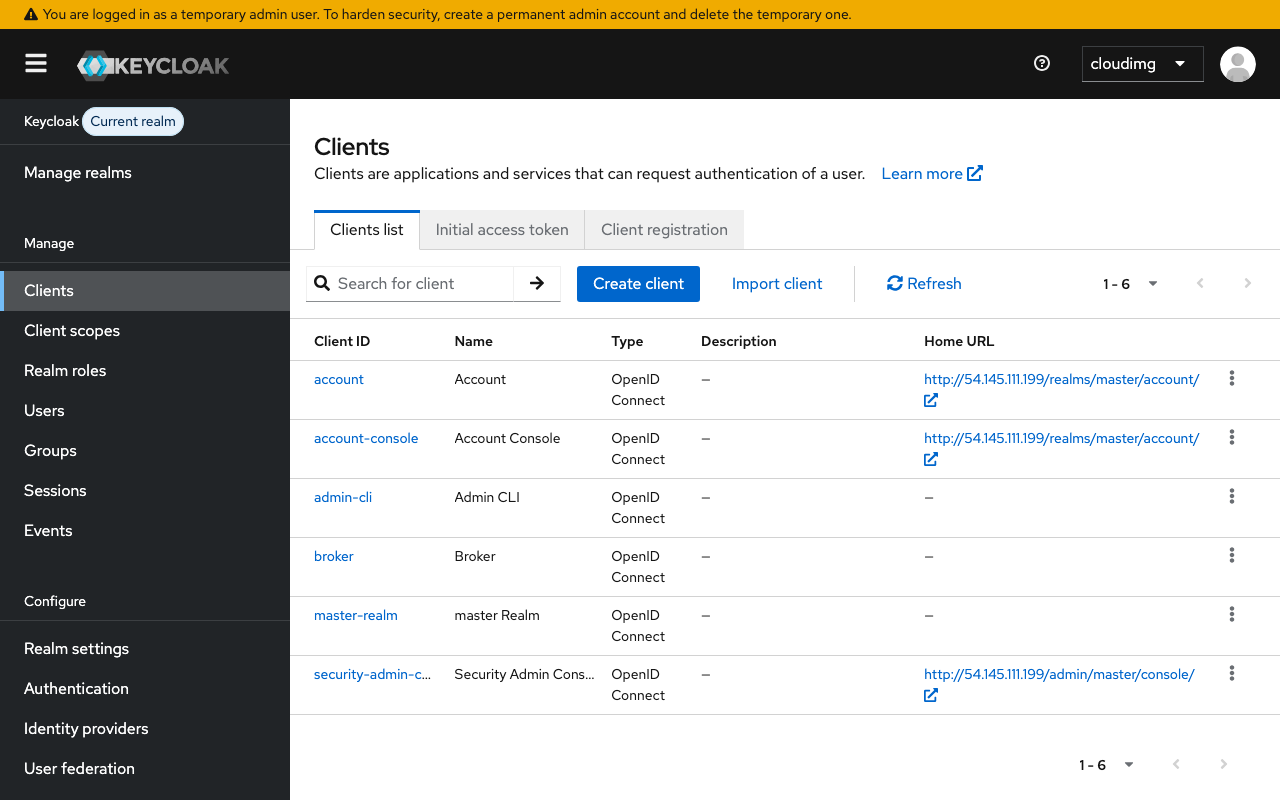
The Clients page lists every OpenID Connect and SAML client configured in the realm. A fresh master realm contains the built in clients (account, account-console, admin-cli, broker, master-realm, security-admin-console). Customer applications appear here once you register them.
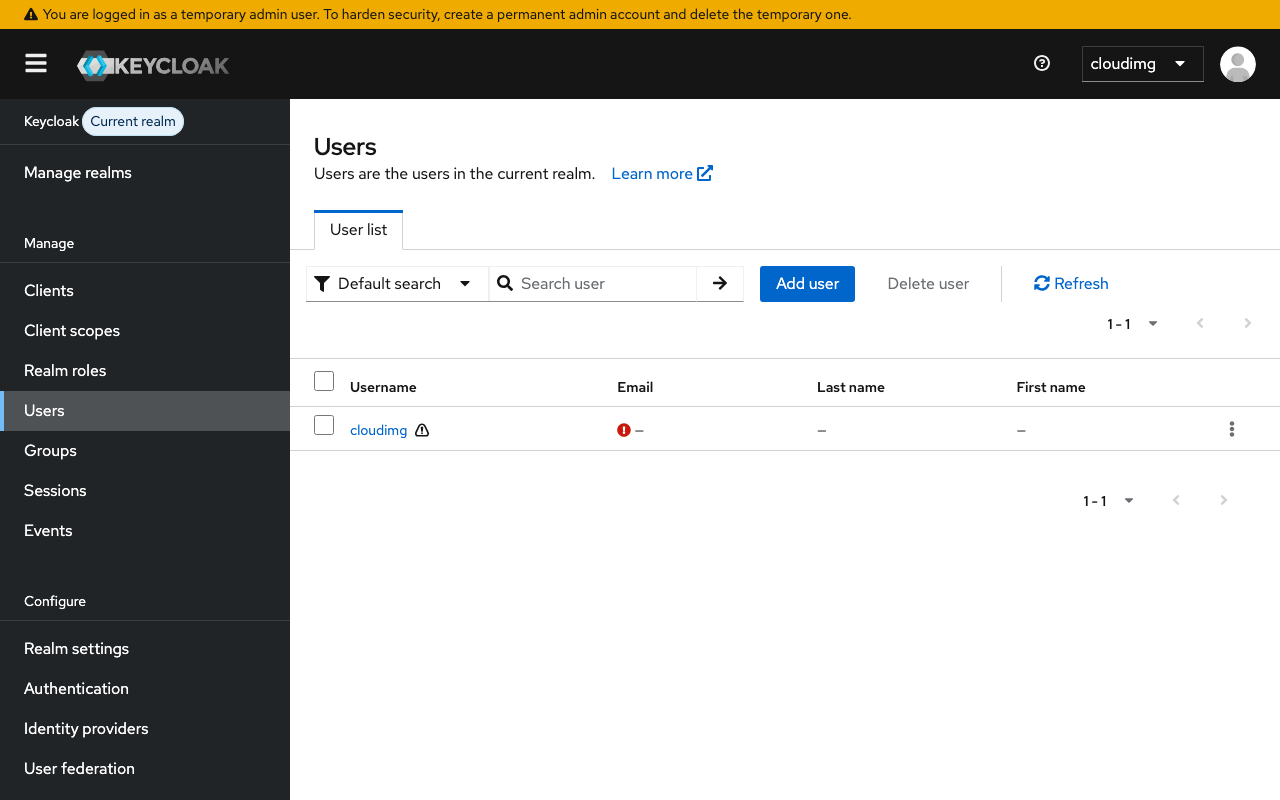
The Users page lists the end users in the realm. A fresh master realm contains the cloudimg administrator that the first boot service provisioned. Customer end users appear here once you create them or once an identity provider federates them in.
Because Keycloak exposes both a web interface and a REST API, anything you can do in the web interface can also be driven from curl, the Keycloak CLI (kcadm.sh), or one of the language SDKs.
Step 9: Create a Realm from the API
Production deployments rarely use the master realm for application identities. Instead, create a separate realm per customer environment or per tenant. The following block creates a realm named acme from the admin REST API:
PASSWORD="$(sudo awk -F= '/^KEYCLOAK_ADMIN_PASSWORD=/ {print $2}' /root/keycloak-credentials.txt)"
TOKEN=$(curl -s -m 10 -d "grant_type=password" -d "client_id=admin-cli" \
  -d "username=cloudimg" -d "password=${PASSWORD}" \
  http://127.0.0.1:8080/realms/master/protocol/openid-connect/token | jq -r .access_token)

curl -s -o /dev/null -w "create realm HTTP: %{http_code}\n" \
  -H "Authorization: Bearer ${TOKEN}" -H "Content-Type: application/json" \
  -X POST http://127.0.0.1:8080/admin/realms \
  -d '{"realm":"acme","enabled":true,"displayName":"Acme Corp"}'

curl -s -H "Authorization: Bearer ${TOKEN}" \
  http://127.0.0.1:8080/admin/realms/acme | jq '{realm, enabled, displayName}'
The first call creates the realm and returns 201 Created. The second confirms the realm exists and prints its metadata.
Step 10: Create an OpenID Connect Client
Register a client application against the acme realm so it can authenticate end users via OIDC:
PASSWORD="$(sudo awk -F= '/^KEYCLOAK_ADMIN_PASSWORD=/ {print $2}' /root/keycloak-credentials.txt)"
TOKEN=$(curl -s -m 10 -d "grant_type=password" -d "client_id=admin-cli" \
  -d "username=cloudimg" -d "password=${PASSWORD}" \
  http://127.0.0.1:8080/realms/master/protocol/openid-connect/token | jq -r .access_token)

curl -s -o /dev/null -w "create client HTTP: %{http_code}\n" \
  -H "Authorization: Bearer ${TOKEN}" -H "Content-Type: application/json" \
  -X POST http://127.0.0.1:8080/admin/realms/acme/clients \
  -d '{"clientId":"web-portal","protocol":"openid-connect","publicClient":false,"standardFlowEnabled":true,"redirectUris":["https://web-portal.example.com/*"],"webOrigins":["https://web-portal.example.com"]}'

curl -s -H "Authorization: Bearer ${TOKEN}" \
  "http://127.0.0.1:8080/admin/realms/acme/clients?clientId=web-portal" | jq '.[0] | {clientId, enabled, protocol}'
The application receives an id_token and an access_token on the OAuth 2.0 authorization code flow. Replace the redirect URIs and web origins with the actual URLs of your application.
Step 11: Create an End User
Add an end user to the acme realm. Replace the password value with one generated from your secrets manager:
PASSWORD="$(sudo awk -F= '/^KEYCLOAK_ADMIN_PASSWORD=/ {print $2}' /root/keycloak-credentials.txt)"
TOKEN=$(curl -s -m 10 -d "grant_type=password" -d "client_id=admin-cli" \
  -d "username=cloudimg" -d "password=${PASSWORD}" \
  http://127.0.0.1:8080/realms/master/protocol/openid-connect/token | jq -r .access_token)

curl -s -o /dev/null -w "create user HTTP: %{http_code}\n" \
  -H "Authorization: Bearer ${TOKEN}" -H "Content-Type: application/json" \
  -X POST http://127.0.0.1:8080/admin/realms/acme/users \
  -d '{"username":"alice","enabled":true,"email":"alice@example.com","firstName":"Alice","lastName":"Anderson","credentials":[{"type":"password","value":"change-me-in-your-secrets-manager","temporary":false}]}'

curl -s -H "Authorization: Bearer ${TOKEN}" \
  "http://127.0.0.1:8080/admin/realms/acme/users?username=alice" | jq '.[0] | {username, email, enabled}'
Step 12: Rotate the Administrator Password
For a production deployment, rotate the administrator password that was generated on first boot. The cloudimg image lets you re-run the bootstrap procedure manually after stopping Keycloak, or use the admin REST API while Keycloak is running. The REST API approach is recommended because it does not require a service restart:
PASSWORD="$(sudo awk -F= '/^KEYCLOAK_ADMIN_PASSWORD=/ {print $2}' /root/keycloak-credentials.txt)"
NEW_PASSWORD="$(head -c 32 /dev/urandom | base64 | tr -d '/+=' | head -c 24)"
TOKEN=$(curl -s -m 10 -d "grant_type=password" -d "client_id=admin-cli" \
  -d "username=cloudimg" -d "password=${PASSWORD}" \
  http://127.0.0.1:8080/realms/master/protocol/openid-connect/token | jq -r .access_token)
USER_ID=$(curl -s -H "Authorization: Bearer ${TOKEN}" \
  "http://127.0.0.1:8080/admin/realms/master/users?username=cloudimg" | jq -r '.[0].id')
curl -s -o /dev/null -w "reset HTTP: %{http_code}\n" \
  -H "Authorization: Bearer ${TOKEN}" -H "Content-Type: application/json" \
  -X PUT "http://127.0.0.1:8080/admin/realms/master/users/${USER_ID}/reset-password" \
  -d "{\"type\":\"password\",\"value\":\"${NEW_PASSWORD}\",\"temporary\":false}"
echo "$NEW_PASSWORD" | sudo tee /etc/keycloak/admin-password.txt > /dev/null
sudo chown root:keycloak /etc/keycloak/admin-password.txt
sudo chmod 0640 /etc/keycloak/admin-password.txt
sudo sed -i "s|^KEYCLOAK_ADMIN_PASSWORD=.*|KEYCLOAK_ADMIN_PASSWORD=$NEW_PASSWORD|" /root/keycloak-credentials.txt
Sign back in with the new password to confirm the rotation took effect. Store the new value in your secrets manager immediately.
Step 13: Configure an Identity Provider
Keycloak can federate identities from external identity providers, including Google, Microsoft Entra ID, GitHub, and any other OIDC or SAML 2.0 provider. Browse to your realm in the admin console, select Identity providers in the left sidebar, and choose the provider type from the menu. Enter the provider's client ID and client secret (obtained from that provider's console), and Keycloak generates a redirect URI that you paste back into the provider's configuration.
For programmatic configuration, the /admin/realms/<realm>/identity-provider/instances endpoint creates and lists identity providers. A typical Google federation configuration is:
PASSWORD="$(sudo awk -F= '/^KEYCLOAK_ADMIN_PASSWORD=/ {print $2}' /root/keycloak-credentials.txt)"
TOKEN=$(curl -s -m 10 -d "grant_type=password" -d "client_id=admin-cli" \
  -d "username=cloudimg" -d "password=${PASSWORD}" \
  http://127.0.0.1:8080/realms/master/protocol/openid-connect/token | jq -r .access_token)
curl -s -o /dev/null -w "create IdP HTTP: %{http_code}\n" \
  -H "Authorization: Bearer ${TOKEN}" -H "Content-Type: application/json" \
  -X POST http://127.0.0.1:8080/admin/realms/acme/identity-provider/instances \
  -d '{"alias":"google","providerId":"google","enabled":true,"config":{"clientId":"<google-client-id>","clientSecret":"<google-client-secret>"}}'
Once the provider is configured, the realm's sign in page shows a Sign in with Google button below the username and password form.
Step 14: Enable HTTPS with a Reverse Proxy
The cloudimg image already provides nginx in front of Keycloak. For any deployment that carries customer traffic, terminate TLS with the nginx server block so OIDC tokens and SAML assertions are not sent in clear text. nginx with a Let's Encrypt certificate gives you HTTPS without changing the Keycloak configuration.
The following assumes you have a DNS record pointing your fully qualified domain name at the instance's public IP address.
sudo apt-get update && sudo apt-get install -y certbot python3-certbot-nginx
sudo certbot --nginx -d keycloak.your-domain.example \
  --non-interactive --agree-tos -m you@your-domain.example \
  --redirect
certbot rewrites /etc/nginx/sites-available/keycloak to listen on TCP 443 and redirect HTTP to HTTPS. After the rewrite, update the Keycloak hostname so issuer URIs and admin console URLs use the new domain:
sudo install -d -m 0755 /etc/systemd/system/keycloak.service.d
sudo tee /etc/systemd/system/keycloak.service.d/cloudimg-hostname.conf > /dev/null <<'CONF'
[Service]
Environment=KC_HOSTNAME=keycloak.your-domain.example
ExecStart=
ExecStart=/opt/keycloak/bin/kc.sh start --optimized --hostname=https://keycloak.your-domain.example --hostname-strict=true
CONF
sudo systemctl daemon-reload
sudo systemctl restart keycloak
Customer applications and identity providers then talk to https://keycloak.your-domain.example, and the proxy speaks to Keycloak on localhost. Restrict port 80 in the security group to redirect-only traffic from the public internet, and port 443 to the trusted networks that need to reach Keycloak.
Step 15: Backups and Maintenance
Keycloak stores all of its persistent state in the PostgreSQL keycloak database on the dedicated /var/lib/postgresql data volume. For a point in time consistent backup, use pg_dump against the running database; for very large deployments, take an Amazon EBS snapshot of the data volume.
sudo -u postgres pg_dump -Fc keycloak \
  -f /var/backups/keycloak-$(date +%F).pgdump
Ship the dump to an Amazon S3 bucket or another object store. The custom format (-Fc) dump can be restored with pg_restore -d keycloak -c /var/backups/keycloak-<date>.pgdump. For larger Keycloak deployments, snapshot the /var/lib/postgresql EBS volume instead, which is faster than pg_dump and does not lock the database.
For kernel and package updates, Ubuntu's unattended-upgrades is enabled by default, so security patches apply automatically. To update Keycloak itself, replace the contents of /opt/keycloak with the new release's tarball and re-run sudo -u keycloak /opt/keycloak/bin/kc.sh build --db=postgres before restarting keycloak.service. Read the Keycloak release notes before applying a major version jump.
Step 16: Scaling Beyond a Single Instance
This image is a single instance Keycloak. For larger deployments:
- Grow the
/var/lib/postgresqlEBS volume and extend the filesystem when the realm and session tables outgrow the initial disk - Move PostgreSQL onto Amazon RDS for managed backups, point in time recovery, and a multi AZ deployment, and update
db-urlin/opt/keycloak/conf/keycloak.confaccordingly - Put Keycloak behind an Application Load Balancer with TLS termination, with the security group restricting port 80 to the load balancer and the management network
- Run multiple Keycloak instances against the same database; Keycloak forms an Infinispan cluster automatically so session state is shared across the cluster
- Take regular snapshots of
/var/lib/postgresqland document the restore drill in your runbook
The official Keycloak documentation at https://www.keycloak.org/documentation covers cluster setup, the operator for Kubernetes, and realm export/import in detail.
Step 17: Security Recommendations
Keycloak is a sensitive identity and access management server that issues OIDC tokens and SAML assertions trusted by your applications. Before taking customer traffic, apply the following:
- Never expose port 80 to the public internet without TLS. Configure HTTPS with Let's Encrypt (step 14) and restrict port 80 to redirect-only.
- Rotate the administrator password using the rotation step above and store the new value in your secrets manager.
- Create individual user accounts for every administrator and stop using the bootstrap
cloudimgaccount for routine work. Assign therealm-adminrole to those accounts under Role mapping. - Restrict the security group so port 80 and port 443 are only reachable from your trusted networks and identity provider callbacks.
- Use a separate realm per environment (production, staging) and per tenant. The master realm is for server administration only.
- Keep Keycloak up to date. Identity providers are a high value attack target; subscribe to the Keycloak security advisory list and apply patches promptly.
- Back up the PostgreSQL
keycloakdatabase regularly and test restores.
Screenshots
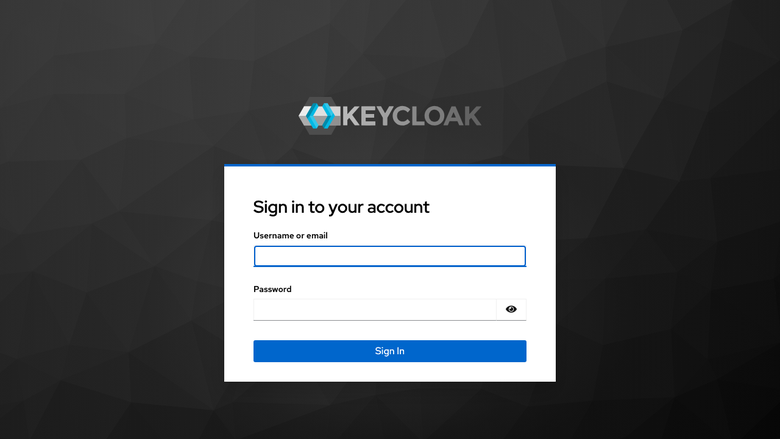
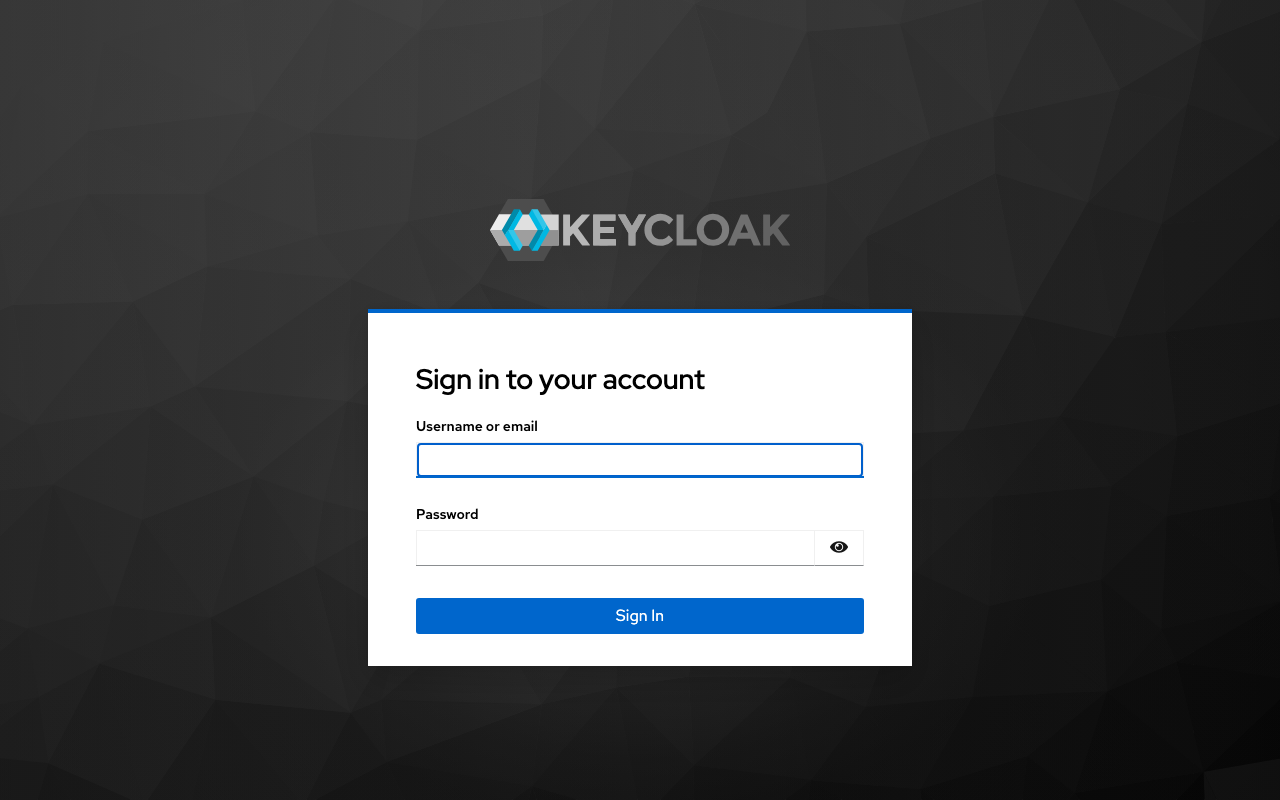
The Keycloak sign in page served behind nginx on port 80, ready for the per-instance cloudimg administrator credentials.
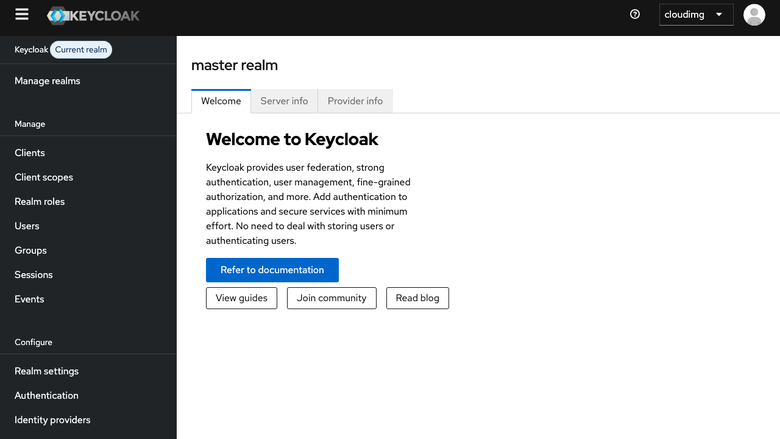
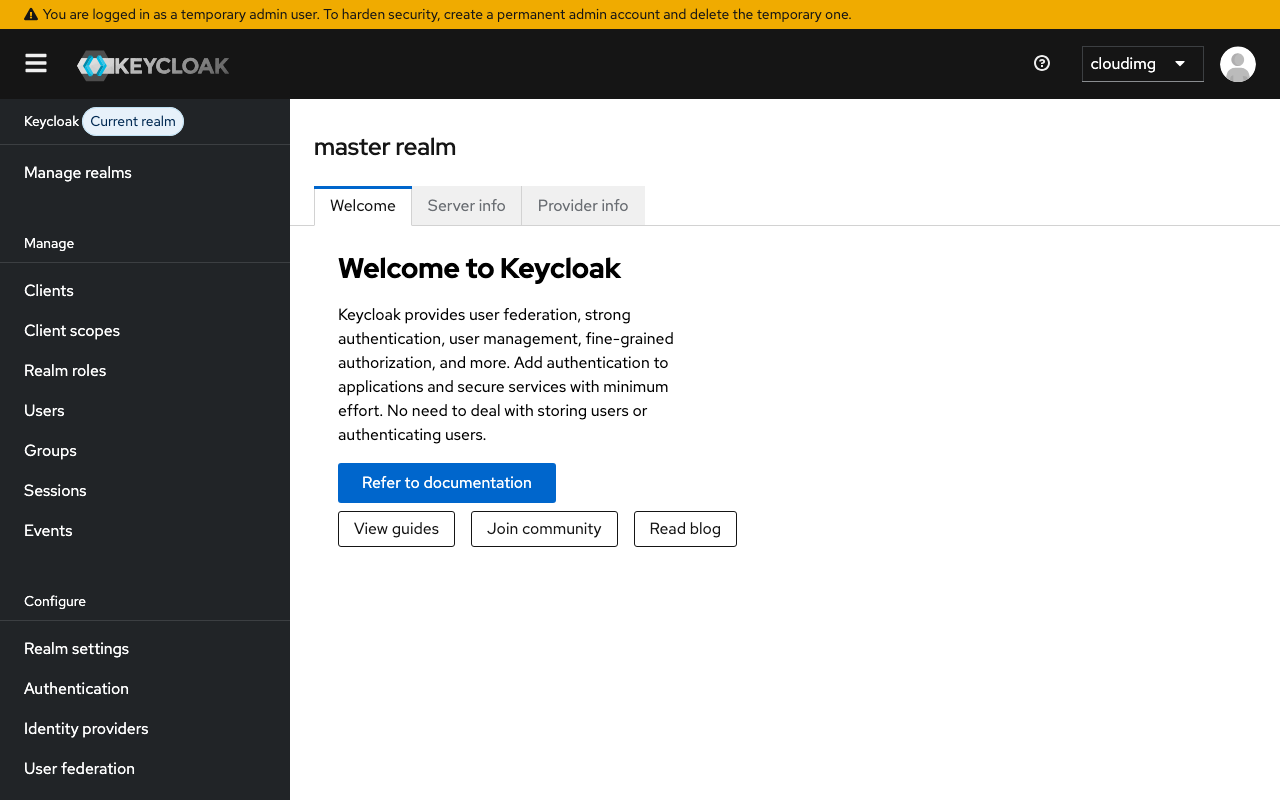
The Keycloak master realm overview after sign in, showing realm settings, clients, users, groups and identity providers.
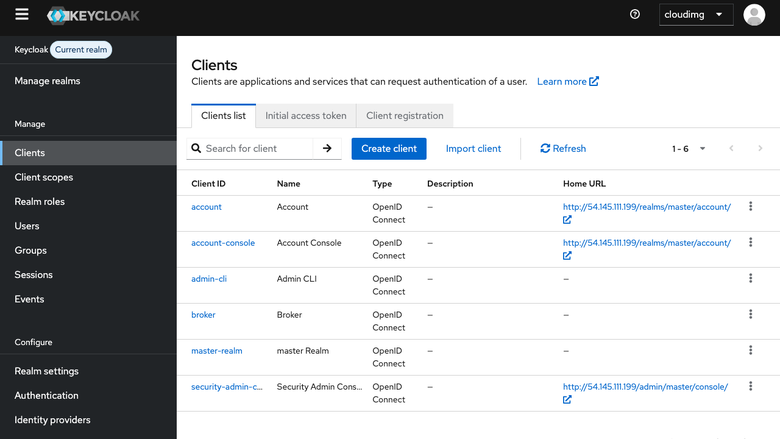
The Keycloak Clients list showing OpenID Connect and SAML applications registered in the realm and their endpoints.
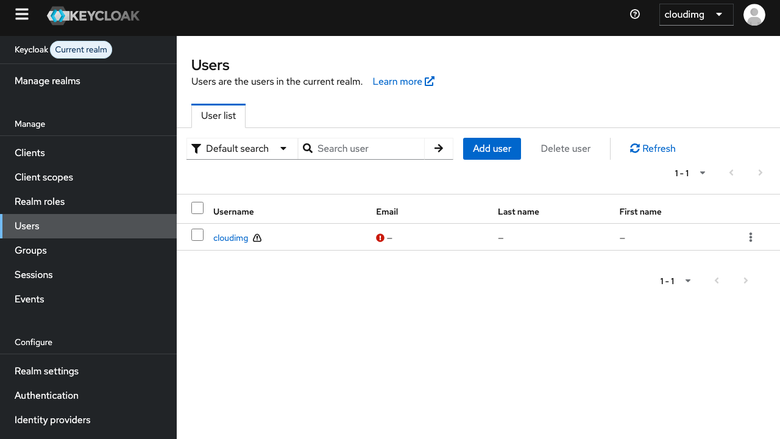
The Keycloak Users page where administrators create, browse, and manage end users and their credentials inside a realm.
Support
cloudimg provides 24/7/365 expert technical support for this image. Guaranteed response within 24 hours, one hour average for critical issues. Contact support@cloudimg.co.uk.
For general Keycloak questions, realm modelling, and identity federation, consult the official documentation at https://www.keycloak.org/documentation and the Keycloak community at https://www.keycloak.org/community.