Kimai on AWS User Guide
Overview
Kimai is an open source self-hosted time-tracking application. Teams and freelancers use it to record working hours against customers, projects and activities, then turn those timesheets into invoices and exportable reports. You punch in and out from the browser or the API, organise work into a clean customer, project and activity hierarchy, control access with roles and teams, and keep every record private on infrastructure you control. This image runs Kimai, a Symfony application, behind nginx with PHP FPM 8.3 and OPcache enabled.
Kimai stores its data in a local MariaDB database, which Kimai recommends for production deployments. The MariaDB data directory lives on its own dedicated, independently resizable EBS volume mounted at /var/lib/mysql, and the Kimai application code, configuration and var/ runtime data live on a second dedicated volume mounted at /opt/kimai, so you can grow either tier without touching the operating system disk. The database schema is migrated in the image, so Kimai is ready the moment the instance boots.
The application secret is generated on the first boot of every deployed instance, the database password is rotated, and a fresh administrator password is set at the same time. Two instances launched from the same Amazon Machine Image never share credentials. The administrator username and password are written to /root/kimai-credentials.txt with mode 0600 so that only the root user can read it.
Prerequisites
Before you deploy this image you need:
- An Amazon Web Services account where you can launch EC2 instances
- IAM permissions to launch instances, create security groups, and subscribe to AWS Marketplace products
- An EC2 key pair in the target Region for SSH access to the instance
- A VPC and subnet in the target Region, with a security group allowing inbound port 22 from your management network and inbound ports 80 and 443 from the networks your users will reach Kimai from
- The AWS CLI (version 2) installed locally if you plan to deploy from the command line
Step 1: Launch the Instance from the AWS Marketplace
Sign in to the AWS Management Console, open the EC2 service, and select Launch instance. Under Application and OS Images choose AWS Marketplace AMIs and search for Kimai. Select the cloudimg listing and choose Select, then Continue on the subscription summary.
Pick an instance type of m5.large or larger. Choose your EC2 key pair under Key pair (login). Under Network settings select your VPC and subnet, and either create or select a security group that allows inbound port 22 from your management network and inbound ports 80 and 443 from the networks your users will use. Leave the root and data volumes at their default sizes or larger.
Select Launch instance. First boot initialisation takes approximately one minute after the instance state becomes Running and the status checks pass.
Step 2: Launch the Instance from the AWS CLI
The following block launches an instance from the cloudimg Kimai Marketplace AMI into an existing subnet and security group. Replace <ami-id> with the AMI ID shown on the Marketplace listing, <key-name> with your EC2 key pair name, <subnet-id> with your subnet ID, and <security-group-id> with a security group that opens ports 22, 80, and 443 as described above.
aws ec2 run-instances \
  --image-id <ami-id> \
  --instance-type m5.large \
  --key-name <key-name> \
  --subnet-id <subnet-id> \
  --security-group-ids <security-group-id> \
  --block-device-mappings '[{"DeviceName":"/dev/sda1","Ebs":{"VolumeSize":20,"VolumeType":"gp3"}}]' \
  --tag-specifications 'ResourceType=instance,Tags=[{Key=Name,Value=kimai-01}]'
The command prints a JSON document on success. Note the instance ID, then retrieve its public address once it is running with aws ec2 describe-instances --instance-ids <instance-id> --query "Reservations[].Instances[].PublicIpAddress" --output text.
Step 3: Connect and Retrieve Initial Credentials
Connect over SSH with the key pair you selected and the public IP address from step 2. The SSH login user depends on the operating system of the AMI variant you launched:
| AMI variant | SSH login user |
|---|---|
| Ubuntu 24.04 | ubuntu |
For the Ubuntu 24.04 variant, connect with ssh -i <path-to-key.pem> ubuntu@<instance-public-ip>.
Kimai generates a unique administrator password on first boot and writes it, along with the administrator username, to a root only file. Retrieve it with:
sudo cat /root/kimai-credentials.txt
The file lists the administrator username (admin), the generated password, and the instance URL. This account is a super administrator of the Kimai installation. Keep these credentials somewhere safe and change the password after your first sign in.
You can confirm the web server, PHP FPM and database are running, that the data volumes are mounted, and that Kimai answers on port 80, with the following checks.
systemctl is-active nginx php8.3-fpm mariadb
df -h /var/lib/mysql /opt/kimai | tail -2
curl -s -o /dev/null -w 'Kimai login HTTP %{http_code}\n' http://127.0.0.1/en/login
Each command should report the services as active, show the dedicated data volumes mounted at /var/lib/mysql and /opt/kimai, and return HTTP 200 for the login page.
Step 4: Sign In to Kimai
Open a web browser and browse to the instance address:
http://<instance-public-ip>/
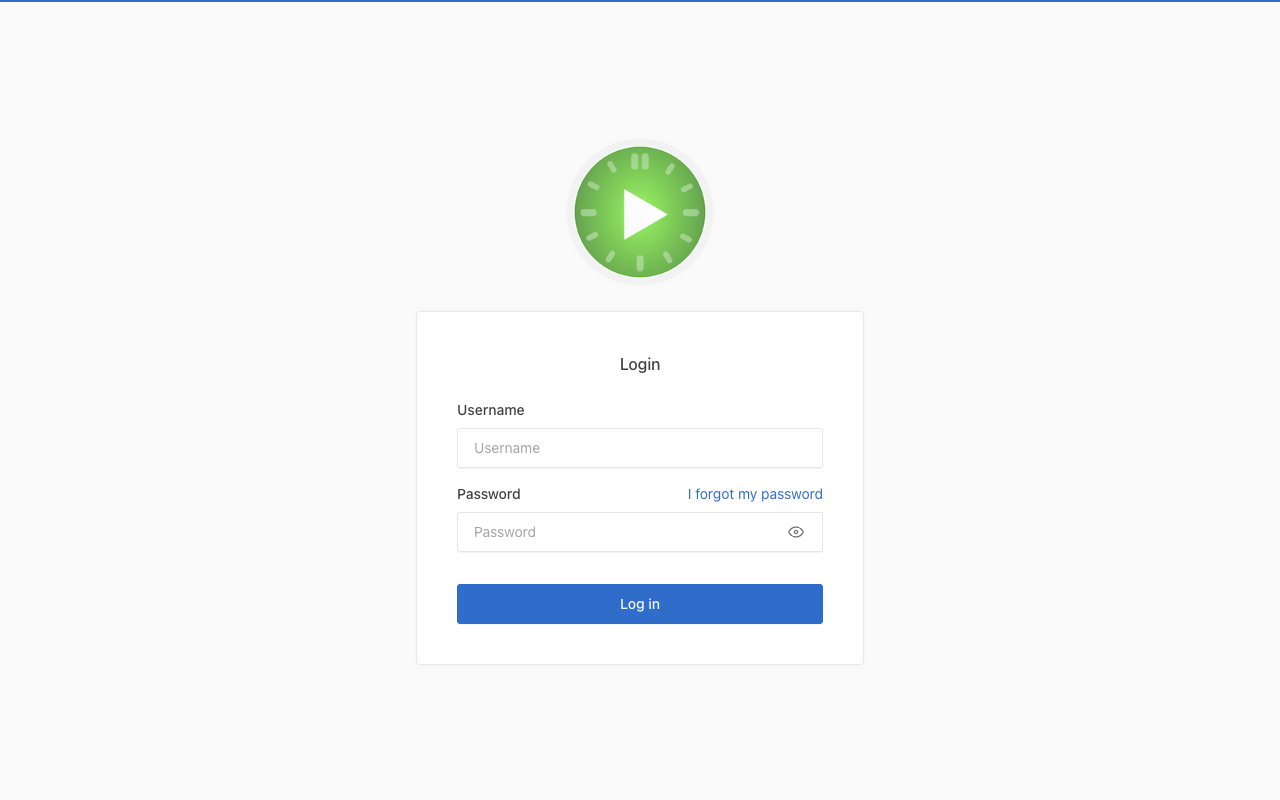
You are taken to the Kimai sign-in page. Enter the administrator username and the password from /root/kimai-credentials.txt and select Login.
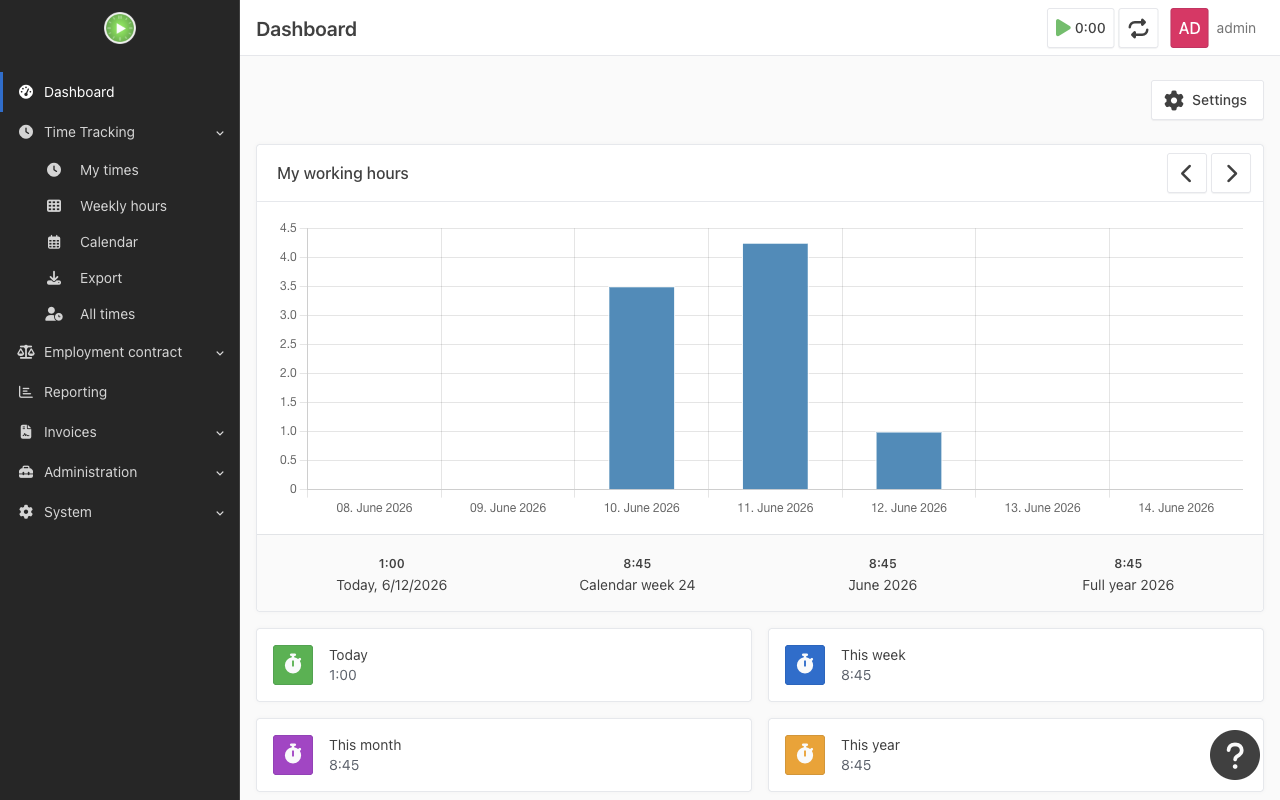
After signing in you reach the Kimai dashboard, which summarises your recorded working time, your most recent timesheets and your active work. From here you can punch in to start tracking time straight away.
Step 5: Record Timesheets, Customers, Projects and Activities
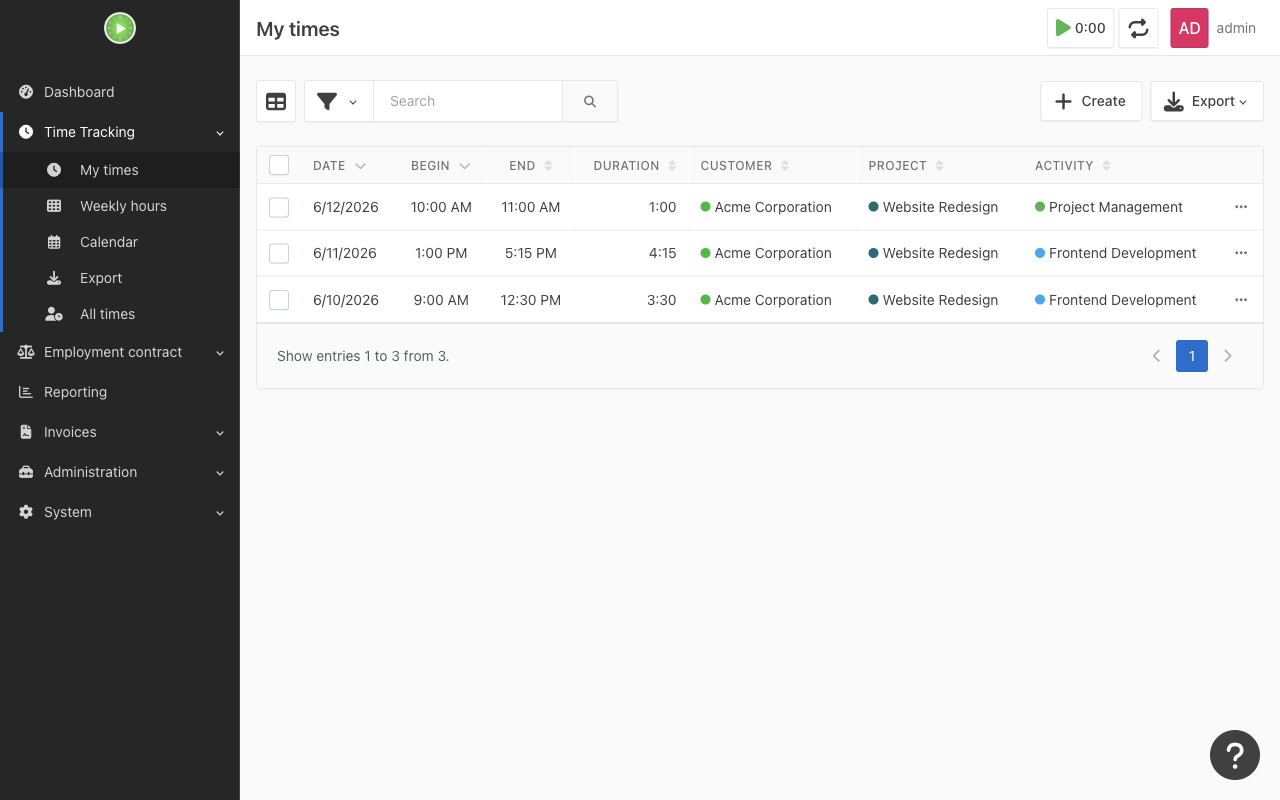
Kimai organises time into a customer, project and activity hierarchy. Before you can record billable time you create a customer, add a project under that customer, and add one or more activities to the project. From the left hand menu you can:
- Open Timesheet to start and stop time records, edit durations, and review the time you have logged. The large start button at the top punches you in against the selected project and activity; punching out writes the duration to the timesheet.
- Open Customers to manage the clients you bill, including their address, currency and budget.
- Open Projects to manage the projects under each customer, with their own budgets, dates and teams.
- Open Activities to manage the kinds of work you record time against, either globally or per project.
- Open Invoices to turn recorded time into invoices using the bundled templates, and Export to produce CSV, Excel and PDF reports.
To change the administrator password, select your user avatar at the top right of any page, choose Profile, open the Password tab, and set a new password.
Step 6: Manage Users, Roles and Teams
Kimai supports multiple users with role-based access control. As a super administrator you can invite colleagues and control what they can see and do.
- Open Users under the administration area to create user accounts and assign roles (user, teamlead, administrator, super administrator).
- Open Teams to group users and grant a team access to specific customers, projects and activities, so each person only sees the work that concerns them.
New users can also be created from the command line on the instance. For example, to create an additional administrator, run the Kimai console as the web user (the command prompts interactively for a password, so run it directly in your terminal):
sudo -u www-data php /opt/kimai/bin/console kimai:user:create alice alice@example.com ROLE_ADMIN
The command prompts for a password when one is not supplied. To change an existing user's password from the command line, use sudo -u www-data php /opt/kimai/bin/console kimai:user:password <username>.
Step 7: Enable HTTPS with Let's Encrypt
The image serves Kimai over HTTP on port 80 so that it works immediately behind the instance's public address. For production use you should put it behind HTTPS. The simplest approach is to point a DNS name at the instance and use Certbot.
Install Certbot and the nginx plugin, then request a certificate for your domain. Replace your-domain.example.com with the DNS name that resolves to the instance:
sudo apt-get update
sudo apt-get install -y certbot python3-certbot-nginx
After the packages are installed, run sudo certbot --nginx -d your-domain.example.com and follow the prompts. Certbot obtains a certificate, updates the nginx configuration to serve Kimai over HTTPS, and sets up automatic renewal.
Step 8: Back Up and Maintain Your Instance
All of Kimai's data is contained in the MariaDB database on the /var/lib/mysql volume and the application tree on the /opt/kimai volume. To back up your time-tracking data, either snapshot the EBS data volumes with the AWS Console or CLI, or take a logical database dump.
To take a logical backup of the database, use mariadb-dump on the instance:
sudo mariadb-dump kimai > /tmp/kimai-backup.sql
To snapshot a data volume, find the volume ID attached to the instance and create a snapshot:
aws ec2 create-snapshot --volume-id <data-volume-id> --description "Kimai data backup"
Apply operating system security updates regularly with sudo apt-get update && sudo apt-get upgrade. Because the data lives on its own volumes, you can resize them independently in the AWS Console if your time-tracking store grows.
Architecture Summary
| Component | Detail |
|---|---|
| Application | Kimai 2.60.0 (Symfony) |
| Web server | nginx serving the public/ document root on port 80 |
| Runtime | PHP FPM 8.3 with OPcache |
| Database | MariaDB, data directory on a dedicated EBS volume at /var/lib/mysql |
| Application volume | Dedicated EBS volume mounted at /opt/kimai (code, .env, var/) |
| Credentials | Generated on first boot, written to /root/kimai-credentials.txt (mode 0600) |
| First user | The administrator is a super administrator of the installation |
Support
This image is published and supported by cloudimg. Support covers Kimai deployment, upgrades, invoicing and exports, roles and teams, performance tuning, and database administration, 24/7 by email and chat. For help, contact cloudimg support through the channel listed on your AWS Marketplace subscription.
All product and company names are trademarks or registered trademarks of their respective holders. Use of them does not imply any affiliation with or endorsement by them.