
Krill RPKI Certificate Authority on AWS User Guide
Overview
This image runs Krill, the open source Resource Public Key Infrastructure (RPKI) Certificate Authority from NLnet Labs. Krill lets a network operator run their own CA and publish Route Origin Authorizations (ROAs) for their IP prefixes, so other networks can cryptographically verify which Autonomous System is allowed to originate each route. It is a single self-contained set of Rust binaries (the krill daemon and the krillc command-line client) with an embedded data store, so there is no external database to run.
On this image the Krill daemon binds to the loopback interface only, on 127.0.0.1:3000, with its own TLS. nginx is the sole network-facing surface: it terminates public TLS on port 443 and reverse-proxies to the daemon, so the web UI and REST API are reached over HTTPS. Port 80 redirects to HTTPS and answers an unauthenticated health probe. The RPKI state lives in the embedded store under /var/lib/krill.
On the first boot of every deployed instance, a one-shot service generates a fresh admin token, unique to that instance, regenerates the TLS certificate for that instance, and records the token in /root/krill-credentials.txt with mode 0600. No shared or default credential ships in the image; anonymous and wrong-token API calls are rejected.
Prerequisites
Before you deploy this image you need:
- An Amazon Web Services account where you can launch EC2 instances
- IAM permissions to launch instances, create security groups, and subscribe to AWS Marketplace products
- An EC2 key pair in the target Region for SSH access to the instance
- A VPC and subnet in the target Region, with a security group allowing inbound port 22 from your management network, inbound port 443 from where you will reach the web UI and API, and inbound port 80 if you want the HTTP to HTTPS redirect and the health probe
- The AWS CLI (version 2) installed locally if you plan to deploy from the command line
Connecting to your instance
Krill is served as one product across the operating system variants offered by this listing. Connect over SSH as the default login user for the variant you launched:
| OS variant | SSH login user |
|---|---|
| Ubuntu 24.04 | ubuntu |
Step 1: Launch the Instance from the AWS Marketplace
Sign in to the AWS Management Console, open the EC2 service, and select Launch instance. Under Application and OS Images choose AWS Marketplace AMIs and search for Krill. Select the cloudimg listing and choose Select, then Continue on the subscription summary.
Choose an instance type (the listing recommends m5.large; Krill itself is light, so a smaller type is fine for evaluation), select your key pair, and configure the security group as described in Step 2. Leave the default root volume and launch the instance.
To launch from the command line instead, subscribe to the product in the console first, then run (substitute your own AMI id, key pair, subnet and security group):
aws ec2 run-instances \
  --image-id <ami-id> \
  --instance-type m5.large \
  --key-name <key-pair> \
  --subnet-id <subnet-id> \
  --security-group-ids <security-group-id> \
  --tag-specifications 'ResourceType=instance,Tags=[{Key=Name,Value=krill}]'
Step 2: Security Group Ports
Krill on this image uses three ports. Configure the instance security group to allow:
- 22/tcp (SSH) from your management network
- 443/tcp (HTTPS) from where you will reach the web UI and REST API
- 80/tcp (HTTP) from the same source if you want the redirect to HTTPS and the unauthenticated health probe
The Krill daemon is never exposed directly; it listens only on 127.0.0.1:3000 and nginx proxies to it.
Step 3: Connect over SSH
Connect to the instance as the login user for your variant (for Ubuntu 24.04 that is ubuntu):
ssh -i /path/to/key.pem ubuntu@<public-ip>
Step 4: Retrieve the Admin Token
A fresh admin token is generated on first boot and stored in a file only the root user can read. Retrieve it with:
sudo cat /root/krill-credentials.txt
The file records the token and how to reach the instance, for example:
krill.host=<public-ip>
krill.url=https://<public-ip>/
krill.admin_token=REDACTED_64_HEX_TOKEN
The krill.admin_token value protects both the web UI and the full REST API. Store it somewhere safe.
Step 5: First Sign-in to the Web UI
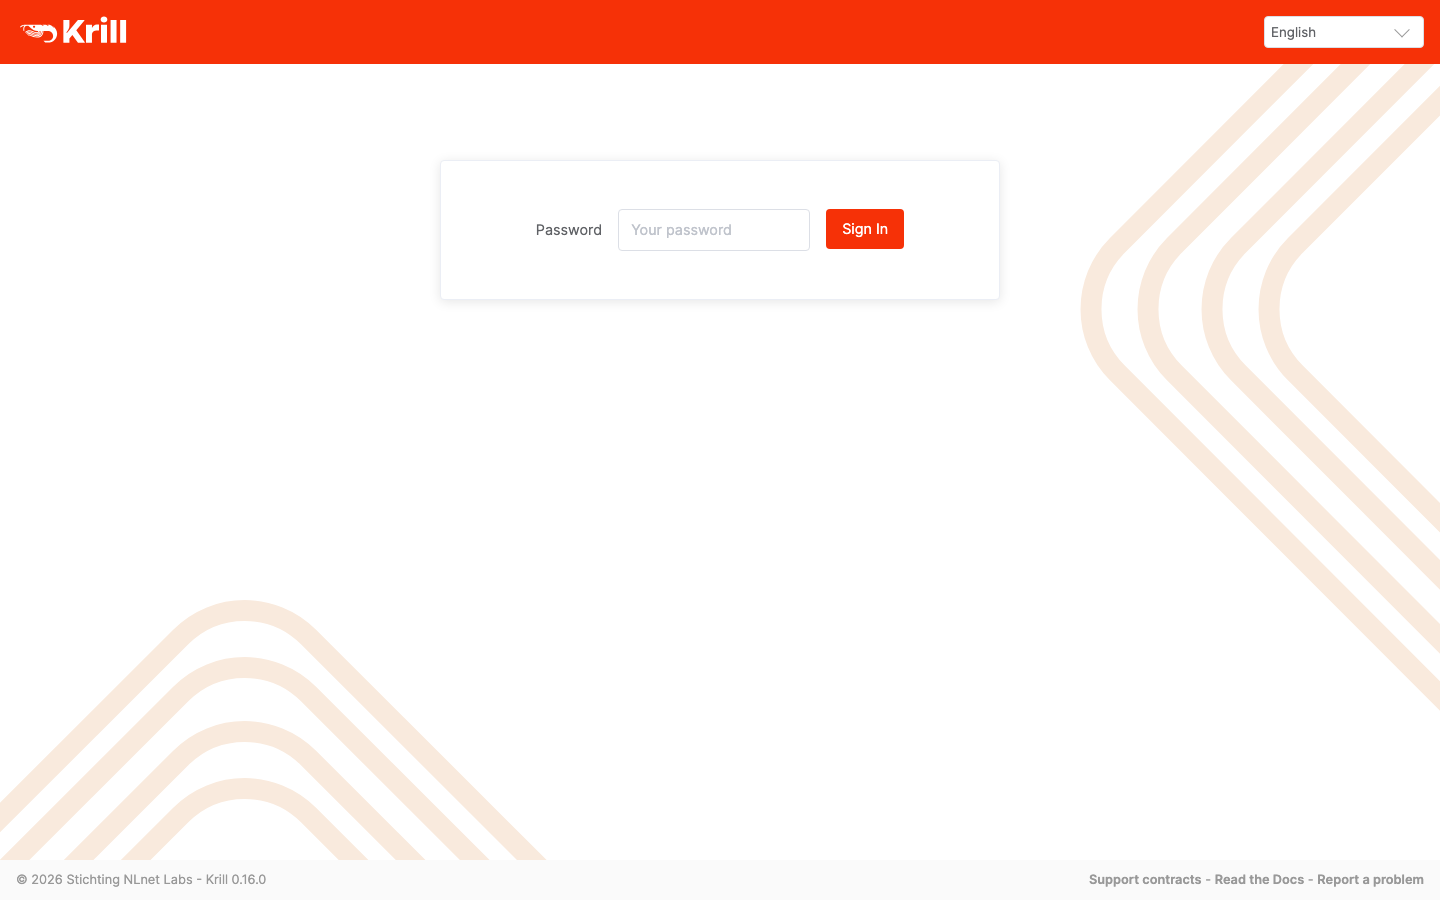
Open the Krill web UI in your browser at https://<public-ip>/. Because the TLS certificate is self-signed and unique to your instance, your browser will warn on the first visit; accept the warning to continue (or add your own CA-signed certificate as described later). Paste the admin token from the previous step into the Password field and choose Sign In.
Step 6: Create a Certificate Authority
After signing in you manage your Certificate Authorities. Create one from the web UI, or from the instance with the krillc client. The client reads its server and token from environment variables; paste the admin token you retrieved earlier in place of <your-token>:
export KRILL_CLI_TOKEN=<your-token>
export KRILL_CLI_SERVER=https://127.0.0.1:3000/
sudo -E krillc add --ca my-ca
List your Certificate Authorities at any time (this reads the token from the credentials file for you):
export KRILL_CLI_TOKEN=$(sudo grep '^krill.admin_token=' /root/krill-credentials.txt | cut -d= -f2-)
export KRILL_CLI_SERVER=https://127.0.0.1:3000/
sudo -E krillc list
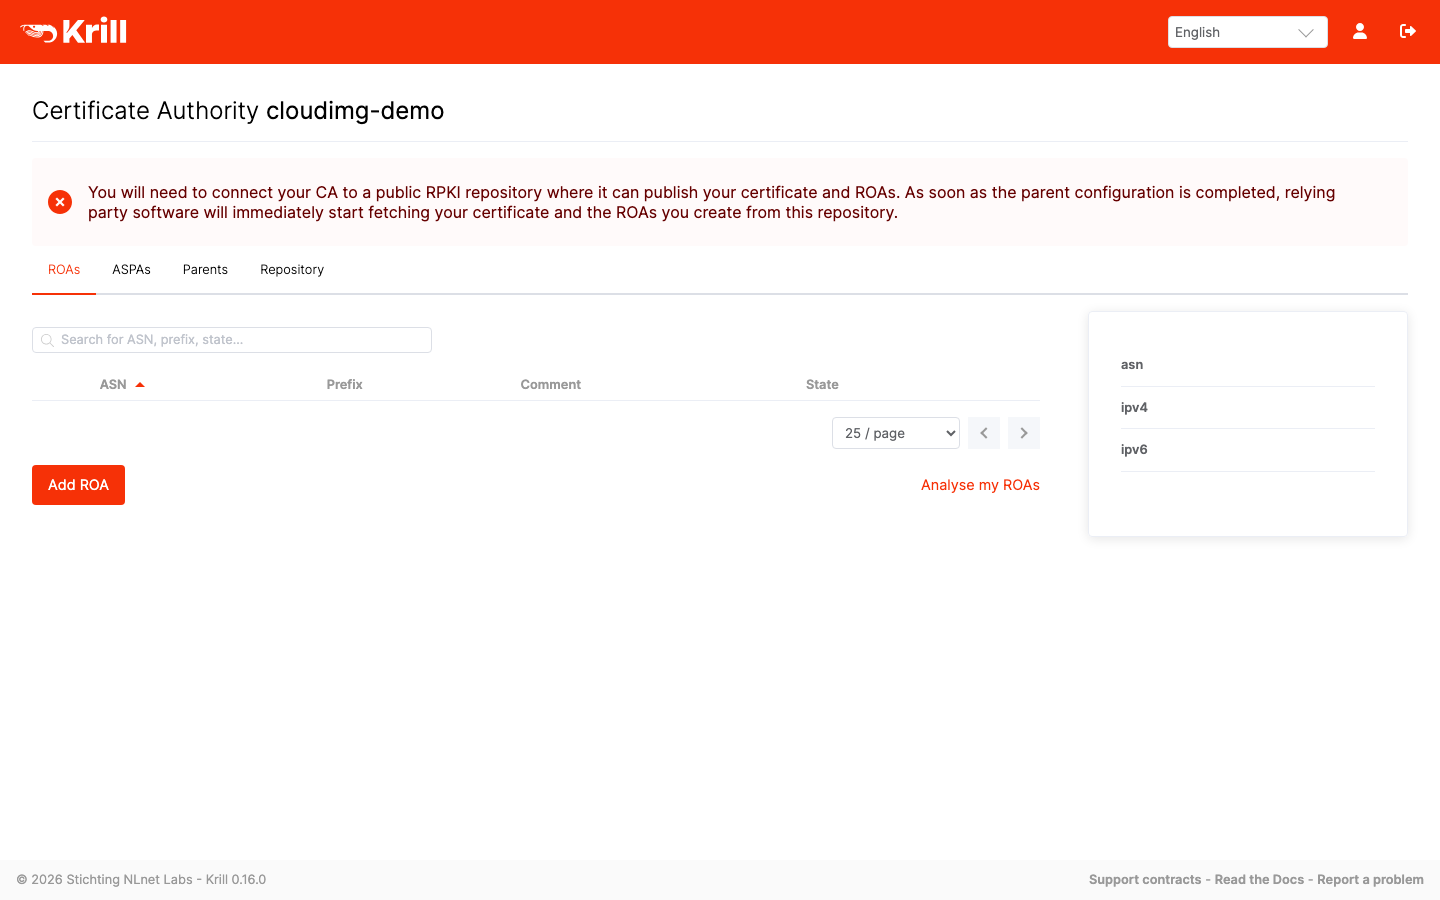
The Certificate Authority view lists your Route Origin Authorizations and lets you add new ones:
Step 7: Connect a Parent CA and Publication Repository
To issue real ROAs, connect your Certificate Authority to a parent (typically your Regional Internet Registry, which delegates your resources) on the Parents tab, and configure the RPKI publication server that relying party software will fetch your certificate and ROAs from on the Repository tab.
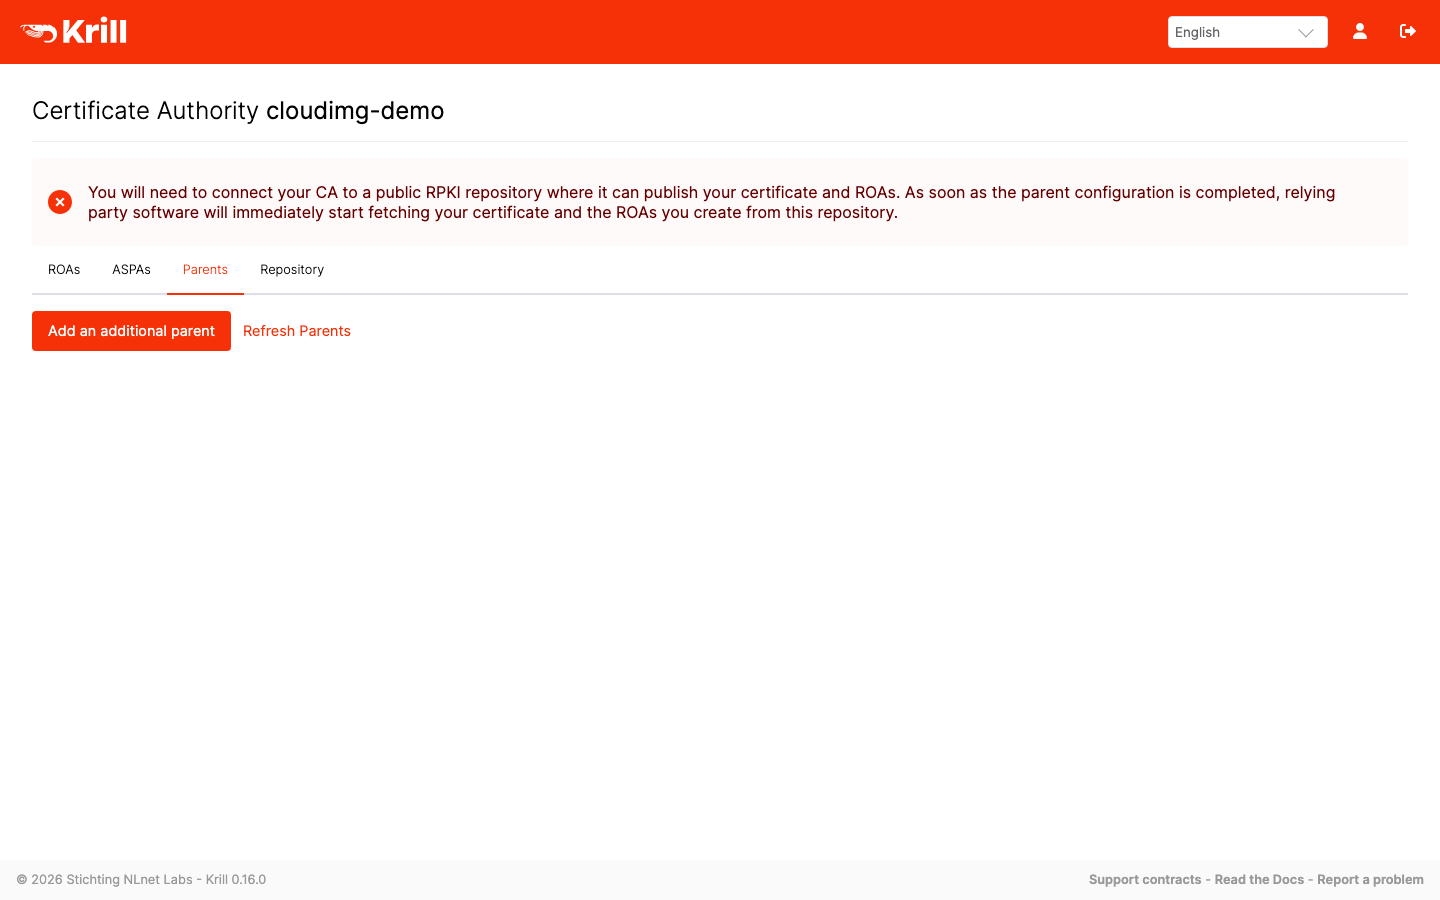
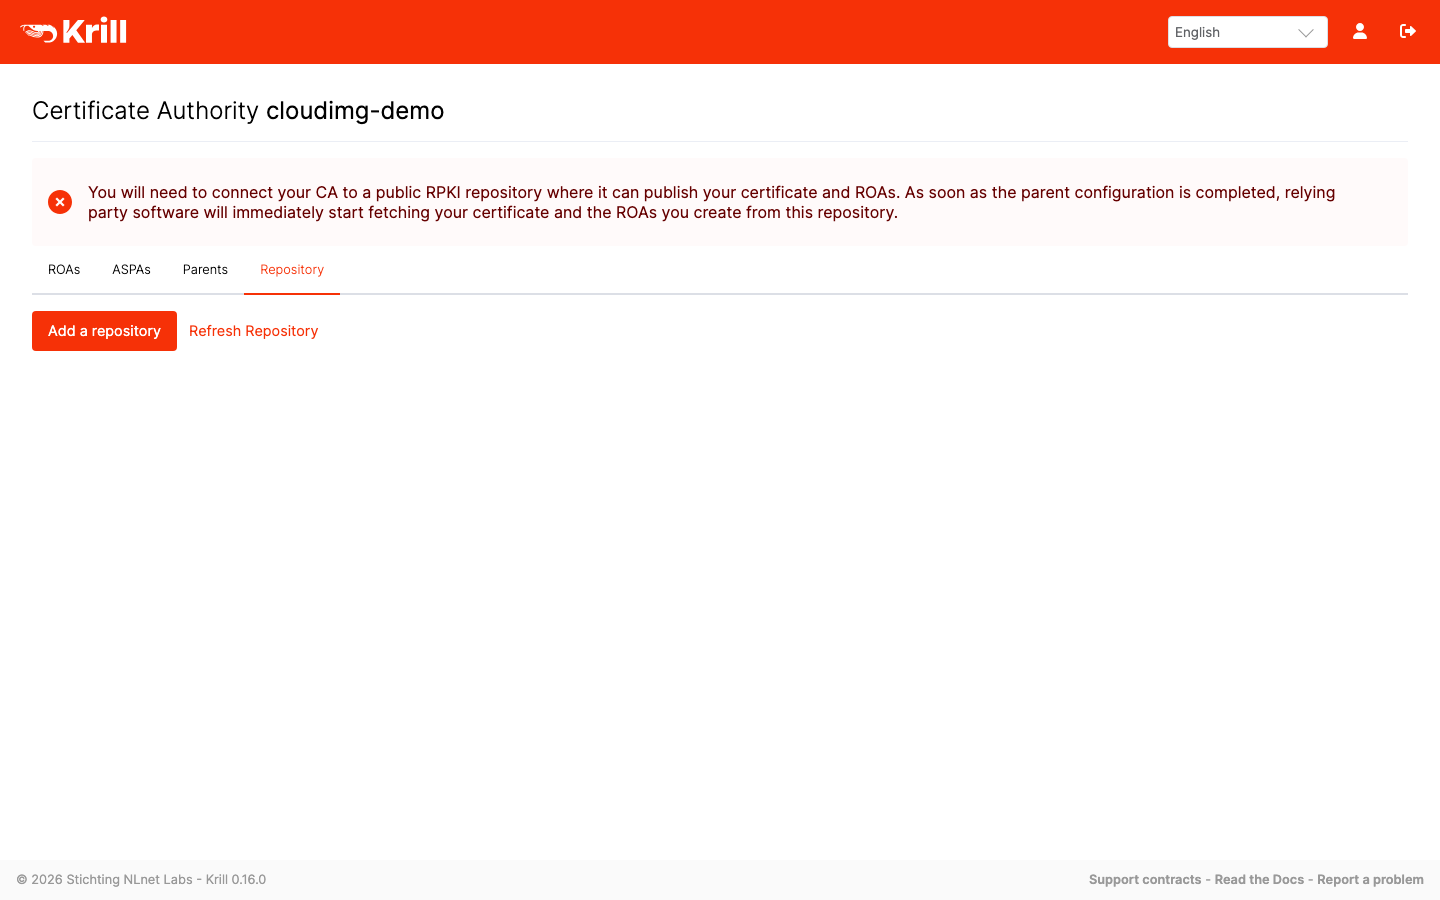
Once the parent and repository are configured, add ROAs on the ROAs tab that state which Autonomous System may originate each of your prefixes; relying party software then fetches and validates them.
Step 8: Health and Status Checks
Confirm the services are running:
systemctl is-active krill nginx
An unauthenticated health endpoint answers on the reverse proxy for load balancer and uptime checks:
curl -sk https://127.0.0.1/healthz
The baked Krill version is recorded on the image:
cat /opt/krill/VERSION
Step 9: HTTPS with a Custom Domain
The image ships a self-signed certificate regenerated for each instance. For production, point a DNS name at the instance and replace the certificate with a CA-signed one. Obtain a certificate for your domain (for example with a Let's Encrypt client), then install it into /etc/nginx/tls/krill.crt and /etc/nginx/tls/krill.key, set service_uri in /etc/krill.conf to your domain, and reload both services:
sudo cp /path/to/fullchain.pem /etc/nginx/tls/krill.crt
sudo cp /path/to/privkey.pem   /etc/nginx/tls/krill.key
sudo sed -i 's#^service_uri = .*#service_uri = "https://<your-domain>/"#' /etc/krill.conf
sudo systemctl restart nginx krill
Step 10: Backup and Maintenance
Krill's entire state lives in the embedded store under /var/lib/krill. Back it up while Krill is stopped, or snapshot the instance's EBS volume, to preserve your Certificate Authorities, keys and ROAs. To update Krill, install the newer package from the official NLnet Labs repository and restart the service:
sudo apt-get update && sudo apt-get install --only-upgrade krill
Support
This image is provided by cloudimg with 24/7 technical support by email and chat. We can help with deployment, HTTPS and custom domain setup, configuring a parent CA and a publication server, creating and managing ROAs, and storage and upgrade planning. All product and company names are trademarks or registered trademarks of their respective holders; use of them does not imply any affiliation with or endorsement by them.