
Kyoo 5.3.0 on AWS User Guide
Overview
This guide covers launching and verifying Kyoo 5.3.0 on Ubuntu 24.04 from cloudimg on Amazon EC2. It is one version of the cloudimg Hardened SRS Streaming Media Server & Media Servers AMIs listing on AWS Marketplace; you pick it as the software version when you subscribe and launch. The other media and streaming products in the listing are described on the listing's guide hub.
Kyoo is a free, self-hosted media server (GPL-3.0) for the films and series you own. It scans your library, matches each file to a film or series, fetches artwork and descriptions, and streams to any web browser. Videos the browser cannot play directly are transcoded on the fly into HLS at the quality the viewer picks.
What is on the image:
- Kyoo 5.3.0 as seven containers run by Docker Compose: the web app (
front), the Keibi sign-in service (auth), the library API (api), the library scanner (scanner), the transcoder, Traefik v3.7.17 (Kyoo's internal router) and PostgreSQL 18.6 - A CPU-only transcoder built when the image was made: Debian trixie (main archive only) plus Kyoo's own unmodified transcoder program. There is no hardware acceleration and no non-free code (see Step 7)
- Every container image pinned by digest and stored on the image, so first boot downloads nothing
- Kyoo reachable only through nginx serving HTTPS on port 443 with a certificate created on your instance; port 80 redirects to HTTPS
- A per-instance administrator created on first boot, with registration closed before the HTTPS port opens
- A separate 10 GiB data volume at
/var/lib/kyoofor your media library, the database, the transcoder cache and artwork kyoo-set-hostname(serve Kyoo under your own DNS name) andkyoo-selftest(an end-to-end check)- The complete GPL-3.0 corresponding source for Kyoo and for the transcoder's FFmpeg, on the instance
Default user: ubuntu · Architecture: x86_64 · Root volume: 30 GiB gp3 · Data volume: 10 GiB gp3
Security posture
- No open sign-up. First boot starts Kyoo with only a loopback port, registers the administrator
admin(Kyoo gives the first account every permission) with a 24-character password generated on your instance, proves it is the only account, and then restarts the sign-in service with registration disabled. Only then does nginx start. A sign-up attempt over HTTPS is refused with 403, and there is no guest access: an anonymous visitor must sign in. - Per-instance secrets. The administrator password, the PostgreSQL password, Keibi's 4096-bit RSA token-signing key and the scanner's API key are all created on your instance at first boot, together with the TLS key. The image ships without a database, so no two instances share a secret or a session.
- The database is never exposed. PostgreSQL publishes no port: it is reachable only from the Kyoo containers on their private Docker network, and it requires its password (scram-sha-256) even from inside that network. Traefik, Kyoo's internal router, is published on
127.0.0.1:8901only; nginx is the only way in. - HTTPS from first boot. nginx serves TLS 1.2 and 1.3 with a self-signed certificate created on your instance and sends
Strict-Transport-Security. Port 80 redirects to HTTPS. - The host name comes from configuration, never from a request. First boot reads the instance's public DNS name (else its public or private IPv4 address) from EC2 instance metadata (IMDSv2) and pins nginx and Kyoo's
PUBLIC_URLto it. Requests for any other host name get their connection closed. nginx drops client forwarding headers and refuses cross-site state changes. - Containers cannot read instance metadata. A
DOCKER-USERfirewall rule drops traffic from every container to 169.254.169.254, 168.63.129.16 and fd00:ec2::254. It is installed before Docker starts and checked again before Kyoo starts; Docker, nginx and Kyoo's units also carry systemdIPAddressDenyfor those addresses. - Containers cannot reach your VPC. At every boot, before Docker starts, the instance reads its VPC's IPv4 and IPv6 address ranges from instance metadata. A second
DOCKER-USERrule set then drops container connections to them and to the special-purpose ranges 198.18.0.0/15, 192.0.0.0/24, 224.0.0.0/4 and 240.0.0.0/4. DNS to the VPC resolver is the only exception. A container cannot open a connection to the instance's own VPC address, and IPv6 from the Kyoo network is denied outright. Kyoo needs only the internet, for artwork and descriptions. - No snakeoil certificate. The image has no
ssl-certsnakeoil key pair, andssl-cert.serviceis masked so that one can never be generated at boot. nginx uses the certificate created for your instance. - Pinned, offline images. All seven container images are on the image, pinned by digest, and Compose is set never to pull, so first boot downloads nothing. Before Kyoo starts, a check confirms that every image tag still points at the image recorded when the AMI was built.
- Contained services. No container is privileged, none has the Docker socket or a host device, and core dumps are off.
- No cloudimg API keys. The image contains no TMDB or TVDB key of cloudimg's. Kyoo's scanner uses its own default; you can add your own key (Step 6).
- Hardened SSH and system. SSH allows keys only, no root login and no X11 forwarding. The AMI requires IMDSv2. SSH host keys and the machine ID are generated fresh on every instance. Docker comes from Docker's own repository, whose signing key is pinned.
Prerequisites
- An AWS account and permission to launch EC2 instances
- An EC2 key pair in the Region you launch in
- Your media: films and series as video files
Recommended instance type: m5.large. Transcoding runs on the CPU and is the main load: a browser that can play the original file directly costs almost nothing, while a 1080p stream transcoded on the fly uses most of a vCPU. For several simultaneous transcoded streams, choose 4 vCPUs or more (for example m5.xlarge or a compute-optimised c5 type).
Connecting to your instance
| Version | Operating system | SSH user |
|---|---|---|
| Kyoo 5.3.0 on Ubuntu 24.04 | Ubuntu 24.04 LTS | ubuntu |
Step 1: Launch the instance
Option A: AWS Marketplace console
- Open the cloudimg Hardened SRS Streaming Media Server & Media Servers AMIs listing on AWS Marketplace and choose View purchase options, then Subscribe. One subscription covers every version in the listing.
- Once the subscription is active, choose Launch your software.
- Choose One-click launch from AWS Marketplace (or Launch from EC2 Console for the full launch wizard). In Version, choose Kyoo 5.3.0 on Ubuntu 24.04, then choose your Region.
- Pick an instance type (
m5.largerecommended) and your key pair. - Security group: the listing's default group opens SSH (22), HTTP (80) and HTTPS (443). Restrict SSH to your own IP address, and restrict 80 and 443 to the networks your viewers use.
- Choose your VPC and subnet, leave the metadata defaults (the image already requires IMDSv2), then choose Launch. Keep the data volume in the launch settings; you can make it larger there.
Option B: AWS CLI
Run this on your own workstation. Replace the AMI ID with the one shown for your Region on the Marketplace launch page, and the VPC, subnet, key pair and CIDRs with your own:
SG=$(aws ec2 create-security-group --group-name kyoo \
  --description "Kyoo media server" --vpc-id vpc-0123456789abcdef0 \
  --query GroupId --output text)
aws ec2 authorize-security-group-ingress --group-id "$SG" --protocol tcp --port 22 --cidr <your-mgmt-cidr>
aws ec2 authorize-security-group-ingress --group-id "$SG" --protocol tcp --port 443 --cidr <your-viewer-cidr>
aws ec2 authorize-security-group-ingress --group-id "$SG" --protocol tcp --port 80 --cidr <your-viewer-cidr>
aws ec2 run-instances \
  --image-id ami-0123456789abcdef0 \
  --instance-type m5.large \
  --key-name my-key-pair \
  --security-group-ids "$SG" \
  --subnet-id subnet-0123456789abcdef0 \
  --tag-specifications 'ResourceType=instance,Tags=[{Key=Name,Value=kyoo}]'
The AMI brings its 10 GiB data volume with it. To start with a bigger library volume, add --block-device-mappings for the data volume's device name with a larger VolumeSize (the device name is on the AMI's details in the EC2 console), or grow it later (Maintenance). You do not need --metadata-options: the AMI already makes IMDSv2 required. Associate an Elastic IP if you want the address to survive a stop and start.
Step 2: Connect and find your login
Connect as ubuntu with the key pair you chose:
ssh -i ~/.ssh/my-key-pair.pem ubuntu@<public-ip>
First boot takes a minute or two after the instance starts. It sets the name Kyoo is served as (the instance's public DNS name when it has one), creates the TLS certificate and this instance's secrets, starts Kyoo on loopback, registers the administrator, closes registration, starts nginx and writes /root/kyoo-credentials.txt (mode 0600, root). These are the entries in that file (the secret values are not shown here):
sudo grep -E '^kyoo\.(url|admin\.user)=' /root/kyoo-credentials.txt
sudo grep -oE '^kyoo\.[a-z.]+=' /root/kyoo-credentials.txt
sudo stat -c '%a %U:%G %n' /root/kyoo-credentials.txt
kyoo.url=https://<public-dns-name>/
kyoo.admin.user=admin
kyoo.url=
kyoo.admin.user=
kyoo.admin.pass=
kyoo.admin.email=
kyoo.db.name=
kyoo.db.user=
kyoo.db.pass=
600 root:root /root/kyoo-credentials.txt
| Value | What it is for |
|---|---|
kyoo.url |
The address of this instance's Kyoo web app |
kyoo.admin.user |
The administrator's user name (admin) |
kyoo.admin.pass |
Administrator password, generated on this instance |
kyoo.admin.email |
The administrator account's e-mail address (a local placeholder; change it in Kyoo) |
kyoo.db.name, kyoo.db.user |
The bundled PostgreSQL database and user |
kyoo.db.pass |
PostgreSQL password, generated on this instance (you will rarely need it) |
To read the password, run sudo cat /root/kyoo-credentials.txt in your own session and store it in your password manager.
Step 3: Confirm Kyoo is running
The first-boot unit has finished, Docker, the metadata block, Kyoo and nginx are active, the seven containers are up, and the only sockets listening on public addresses are sshd and nginx on 22, 80 and 443 (Traefik's 8901 is on loopback only):
systemctl is-active cloudimg-vpc-cidrs.service cloudimg-docker-imds-deny.service kyoo-firstboot.service kyoo.service nginx.service
sudo docker ps --format '{{.Names}}\t{{.Status}}\t{{.Ports}}' | sort
sudo ss -Htln | awk '{print $4}' | sort -u
active
active
active
active
active
kyoo-api    Up 15 minutes   3567/tcp
kyoo-auth   Up 15 minutes   4568/tcp
kyoo-front  Up 15 minutes   80/tcp, 8901/tcp
kyoo-postgres   Up 15 minutes (healthy) 5432/tcp
kyoo-scanner    Up 15 minutes   4389/tcp
kyoo-traefik    Up 15 minutes   80/tcp, 127.0.0.1:8901->8901/tcp
kyoo-transcoder Up 15 minutes   7666/tcp
0.0.0.0:22
0.0.0.0:443
0.0.0.0:80
127.0.0.1:8901
127.0.0.53%lo:53
127.0.0.54:53
[::]:22
[::]:443
[::]:80
Step 4: Prove the login and the web defaults
The web app loads, the library API and the transcoder refuse a signed-out request, sign-up is closed, plain HTTP redirects to HTTPS, an unknown Host header gets no answer and TLS 1.1 is not offered. The last command is the image's own round-trip check: it signs in with this instance's administrator password, proves a wrong password and anonymous requests are refused, and proves the PostgreSQL password works and a wrong one does not:
H=$(sed -n 's/^set \$app_host "\(.*\)";$/\1/p' /etc/nginx/kyoo-host.conf)
C=(--connect-to ::127.0.0.1:)
curl -sk "${C[@]}" -o /dev/null -w 'web app -> %{http_code}\n' "https://$H/"
curl -sk "${C[@]}" -o /dev/null -w 'library API, signed out -> %{http_code}\n' "https://$H/api/shows"
curl -sk "${C[@]}" -o /dev/null -w 'transcoder, signed out -> %{http_code}\n' "https://$H/video/health"
curl -sk "${C[@]}" -o /dev/null -w 'sign-up -> %{http_code}\n' -H 'Content-Type: application/json' -H "Origin: https://$H" \
  --data '{"username":"someone","password":"not-the-admin-1","email":"someone@example.invalid"}' "https://$H/auth/users"
curl -s "${C[@]}" -o /dev/null -w 'http -> %{http_code}\n' "http://$H/"
curl -sk -o /dev/null -w 'unknown Host -> %{http_code}\n' -H 'Host: evil.example' https://127.0.0.1/ || true
curl -sk "${C[@]}" -o /dev/null -w 'TLS 1.1 -> %{http_code}\n' --tlsv1.1 --tls-max 1.1 "https://$H/" || true
sudo kyoo-selftest
web app -> 200
library API, signed out -> 401
transcoder, signed out -> 401
sign-up -> 403
http -> 301
unknown Host -> 000
TLS 1.1 -> 000
round-trip OK https://<public-dns-name>/: 8 protected routes refuse anonymous visitors; sign-up closed (403); wrong admin password 403; admin signed in over 443 (201), /api/shows 200, /auth/users/me is admin; PostgreSQL password authenticates, a wrong one refused
--connect-to ::127.0.0.1: sends each request to this instance while keeping the real host name in the request, exactly as a browser would send it. 000 means the server closed the connection without an answer.
Step 5: Sign in to Kyoo
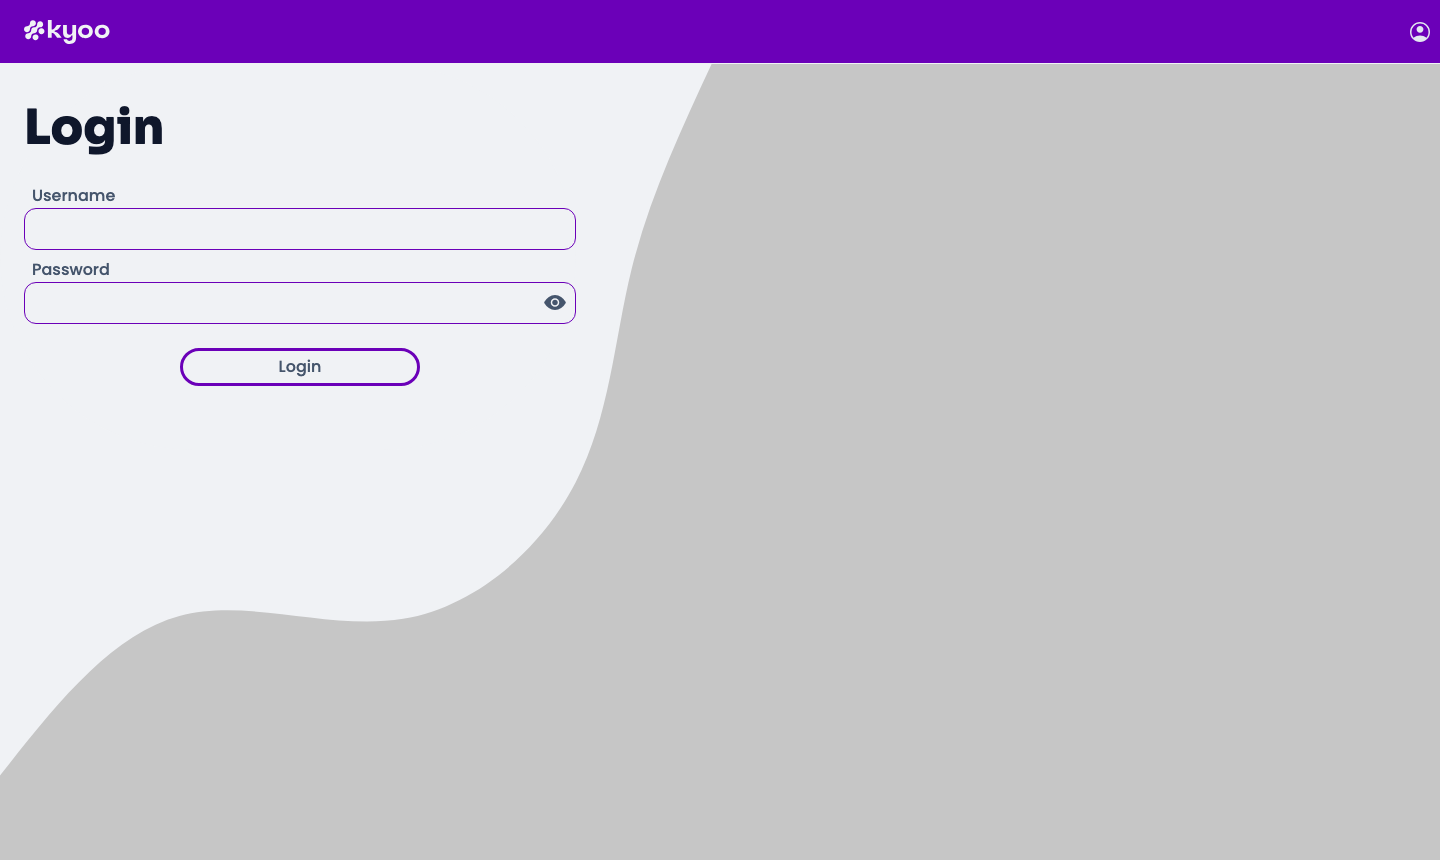
Browse to kyoo.url (https://<public-dns-name>/). The certificate is self-signed, so your browser warns once; accept it for this host, or install your own certificate (Step 9). Kyoo shows its sign-in page: enter kyoo.admin.user and kyoo.admin.pass.
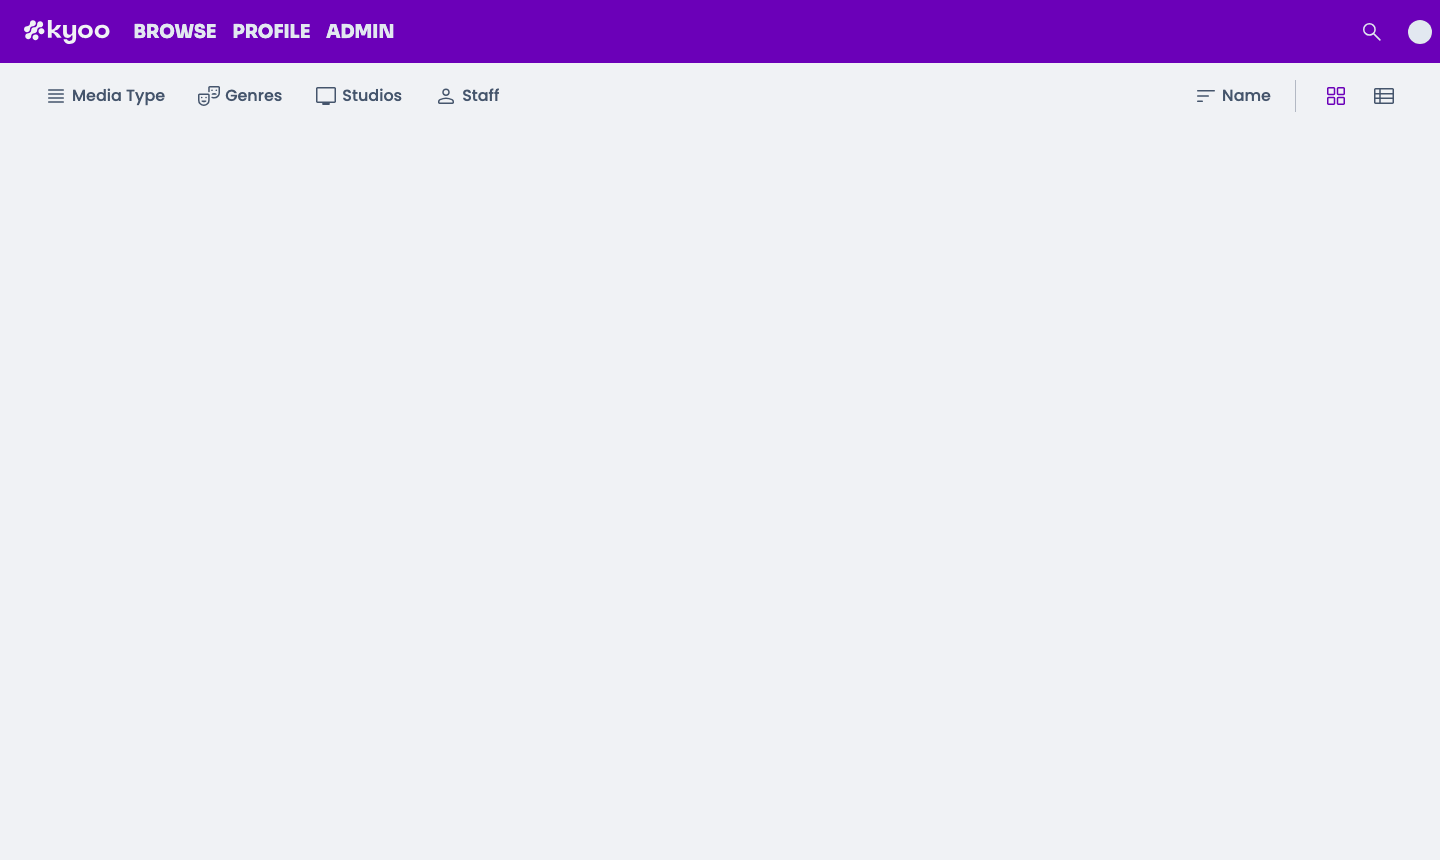
After you sign in, Browse lists your library, with filters for media type, genres, studios and staff. It stays empty until you add media (Step 6); until then the home page shows "Resource not found", because it has no show to feature.
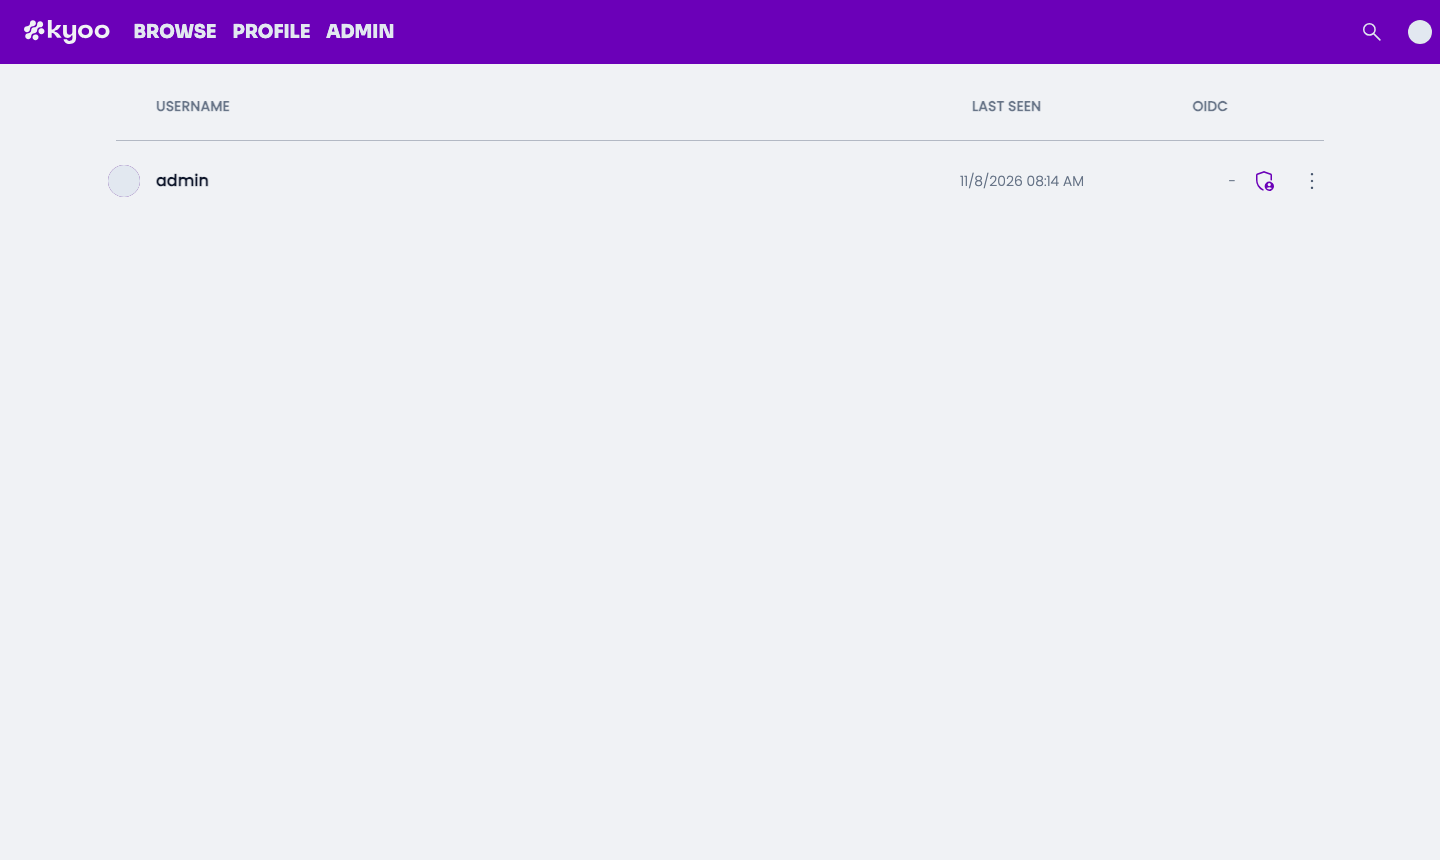
As the administrator you also see Admin: Users lists the accounts (only admin on a new instance), and is where you create accounts for your household and grant or remove permissions, since registration is closed. API keys, Streams (who is watching) and Unmatched (files the scanner could not identify) are on the same page.
Step 6: Add your media and metadata
Kyoo reads your library from /var/lib/kyoo/library on the data volume (it is mounted read-only into the containers as /video). The folder belongs to ubuntu, so you can copy files into it directly. Name films Title (Year).ext and series Series Name/Season 01/Series Name S01E01.ext, which is what Kyoo's scanner matches best:
scp -r "Big Buck Bunny (2008).mp4" ubuntu@<public-ip>:/var/lib/kyoo/library/
rsync -av "My Series/" "ubuntu@<public-ip>:/var/lib/kyoo/library/My Series/"
The scanner notices new files and adds them; Admin, then Unmatched, lists files it could not identify, and you can match them there by hand.
Artwork and descriptions come from The Movie Database (TMDB) and TheTVDB. The image contains no cloudimg key for either: Kyoo's scanner uses its own default. To use your own TMDB read-access token (from your TMDB account's API settings) or TheTVDB key, set THEMOVIEDB_API_ACCESS_TOKEN (and TVDB_APIKEY, TVDB_PIN) in /etc/kyoo/stack.env (mode 0600, root) and restart Kyoo:
sudo nano /etc/kyoo/stack.env
sudo systemctl restart kyoo
The data volume is 10 GiB to begin with, so grow it before you copy a large library (Maintenance).
Step 7: Check the CPU-only transcoder
Kyoo's upstream transcoder image is built on a base that includes non-free hardware-vendor drivers, so this image does not ship it. Instead, when the AMI was built, cloudimg built the transcoder image from Debian trixie (main archive only) and copied in Kyoo's own transcoder program and database migrations from the official Kyoo 5.3.0 transcoder image, unmodified. Transcoding is CPU-only, with no hardware acceleration.
Kyoo's transcoder needs an FFmpeg option (-hls_time_delta) that only Kyoo's own FFmpeg fork has. Debian's FFmpeg 7.1 was tried first and failed Kyoo's HLS command, so the image uses the fork's ffmpeg and ffprobe from the same official image, built from zoriya/ffmpeg@3b76815a without --enable-nonfree and without libfdk-aac. Every library they load comes from Debian's main archive. The record of that choice, the build options and the checks:
cat /usr/share/kyoo/transcoder-cpu/CHOICE
sudo docker exec kyoo-transcoder ffmpeg -hide_banner -buildconf | grep -cE -- '--enable-(nonfree|libfdk)' || true
sudo docker exec kyoo-transcoder sh -c 'ldd /app/transcoder /usr/local/bin/ffmpeg /usr/local/bin/ffprobe' | grep -ciE 'not found|libcuda|libnv' || true
sudo docker inspect -f '{{range .HostConfig.Devices}}{{.PathOnHost}} {{end}}devices={{len .HostConfig.Devices}}' kyoo-transcoder
sudo cloudimg-assert-cpu-only
CHOICE=A2
REASON=Debian main ffmpeg failed the transcoder's HLS command (rc 1: Unrecognized option 'hls_time_delta'.); the fork's ffmpeg passed (6 segments)
FFMPEG=/usr/local/bin/ffmpeg (ffmpeg version 8.0.git-kyoo-v8.0.4 Copyright (c) 2000-2026 the FFmpeg developers)
FFMPEG_SOURCE=zoriya/ffmpeg@3b76815aae6916692d31d03a05566c77d34de0cc
IMAGE_ID=sha256:99d25fcdeeda3682e6a8a53fcc2bb46a513dcdb95303853c5ddde79a296832b4
0
0
devices=0
cloudimg-assert-cpu-only PASS host-packages=686 images=7 layers=64 members=72914 allowlisted=188 {"^(?:\\./)?app/\\.venv/lib/python3\\.14/site-packages/urllib3/contrib(/|$)": 21, "^(?:\\./)?libnvme[0-9a-z.+-]*$": 1, "^(?:\\./)?usr/include/linux/cuda\\.h$": 1, "^(?:\\./)?usr/include/unicode/icudataver\\.h$": 1, "^(?:\\./)?usr/lib/x86_64-linux-gnu/libicudata\\.(a|so(\\.[0-9]+)*)$": 6, "^(?:\\./)?usr/local/lib/python3\\.14/site-packages/pip/_vendor/urllib3/contrib(/|$)": 13, "^(?:\\./)?usr/share/doc/[^/]+/(CONTRIBUT[A-Z]*|[Cc]ontribut[a-z]*)(\\.[A-Za-z]+)*$": 1, "^(?:\\./)?usr/share/doc/git/contrib(/|$)": 130, "^(?:\\./)?usr/share/doc/libxslt1-dev/html/contribs\\.html$": 1, "^(?:\\./)?usr/share/doc/util-linux/howto-contribute\\.txt\\.gz$": 3, "^(?:\\./)?usr/share/git-core/contrib(/|$)": 6, "^(?:\\./)?usr/share/perl/5\\.40\\.1/Test2/Manual/Contributing\\.pm$": 2, "^(?:\\./)?usr/share/postgresql/18/contrib(/|$)": 2}
The two counts of 0 mean no non-free or FDK AAC build option and no missing, CUDA or NVIDIA library. cloudimg-assert-cpu-only reads the host's package list and every layer of every shipped container image, and fails if it finds a non-free, contrib, NVIDIA or CUDA package or file (its allowlist names the few harmless matches, such as Python's urllib3/contrib folder).
Step 8: Watch something
Open a film or episode and choose play. If your browser can play the file as it is, Kyoo streams it directly; otherwise the transcoder produces HLS on the CPU, starting a few seconds after you press play. The quality menu in the player switches between the original and lower resolutions; lower resolutions cost less CPU.
Step 9: Serve Kyoo under your own DNS name
Point a DNS record (for example media.example.com) at the instance's public or Elastic IP address, then tell the image to serve that name. It creates a new self-signed certificate for the name, pins nginx to it, sets Kyoo's PUBLIC_URL (the issuer of its sign-in tokens) and restarts Kyoo, and keeps the name across reboots:
sudo kyoo-set-hostname media.example.com
For a trusted certificate, obtain one for that name (for example with certbot's certonly mode using its own temporary web server, or from your organisation's CA), copy the certificate chain and key over /etc/ssl/kyoo/kyoo.crt and /etc/ssl/kyoo/kyoo.key (key mode 0600, root), and run sudo systemctl reload nginx.
Step 10: Check the security controls
The metadata block is in Docker's DOCKER-USER chain, Docker, nginx and Kyoo carry IPAddressDeny for the metadata addresses, and a container cannot reach the metadata service. Containers also cannot reach your VPC: at every boot, before Docker starts, cloudimg-vpc-cidrs reads this instance's VPC address ranges from the metadata service, and the egress backstop drops container connections to them (DNS to the VPC resolver excepted) and to the special-purpose ranges, so a container cannot reach this instance's own VPC address either. Kyoo only needs the internet, for artwork and descriptions. No snakeoil certificate exists, because ssl-cert.service is masked. SSH runs with the cloudimg pins:
sudo iptables -S DOCKER-USER | grep -E '169.254.169.254|168.63.129.16|CLOUDIMG'
sudo ip6tables -S DOCKER-USER | grep -E 'fd00:ec2::254|CLOUDIMG'
cat /run/cloudimg/vpc-cidrs
sudo iptables -S CLOUDIMG-KYOO-FWD
systemctl show -p IPAddressDeny docker.service nginx.service kyoo.service
sudo docker exec kyoo-scanner python3 -I -c 'import socket; s=socket.socket(); s.settimeout(3); print("metadata from a container:", "reachable" if s.connect_ex(("169.254.169.254", 80)) == 0 else "blocked")'
OWN=$(hostname -I | awk '{print $1}')
sudo docker exec kyoo-scanner python3 -I -c 'import socket,sys; s=socket.socket(); s.settimeout(3); print("own VPC address from a container:", "reachable" if s.connect_ex((sys.argv[1], 22)) == 0 else "blocked")' "$OWN"
systemctl is-enabled ssl-cert.service
sudo sshd -T | grep -E '^(permitrootlogin|passwordauthentication|x11forwarding) '
-A DOCKER-USER -j CLOUDIMG-KYOO-FWD
-A DOCKER-USER -d 168.63.129.16/32 -j DROP
-A DOCKER-USER -d 169.254.169.254/32 -j DROP
-A DOCKER-USER -j CLOUDIMG-KYOO-FWD6
-A DOCKER-USER -d fd00:ec2::254/128 -j DROP
4 172.31.0.0/16
ns4 172.31.0.2
-N CLOUDIMG-KYOO-FWD
-A CLOUDIMG-KYOO-FWD -o br-kyoo -j RETURN
-A CLOUDIMG-KYOO-FWD -d 172.31.0.2/32 -p udp -m udp --dport 53 -j RETURN
-A CLOUDIMG-KYOO-FWD -d 172.31.0.2/32 -p tcp -m tcp --dport 53 -j RETURN
-A CLOUDIMG-KYOO-FWD -d 198.18.0.0/15 -j DROP
-A CLOUDIMG-KYOO-FWD -d 192.0.0.0/24 -j DROP
-A CLOUDIMG-KYOO-FWD -d 224.0.0.0/4 -j DROP
-A CLOUDIMG-KYOO-FWD -d 240.0.0.0/4 -j DROP
-A CLOUDIMG-KYOO-FWD -d 172.31.0.0/16 -j DROP
IPAddressDeny=fd00:ec2::254/128 169.254.169.254/32 168.63.129.16/32

IPAddressDeny=fd00:ec2::254/128 169.254.169.254/32 168.63.129.16/32

IPAddressDeny=fd00:ec2::254/128 169.254.169.254/32 168.63.129.16/32
metadata from a container: blocked
own VPC address from a container: blocked
masked
permitrootlogin no
passwordauthentication no
x11forwarding no
The VPC range (172.31.0.0/16 here) and its DNS resolver are read from the instance metadata at every boot, before Docker starts, so the block follows the instance if you move it to another VPC. A VPC with an IPv6 range adds a 6 line, and the containers get no IPv6 route out at all.
Maintenance
- Change the administrator password: in Kyoo, open Settings (your account) and change the password there.
/root/kyoo-credentials.txtis not updated; delete the old password from it once you have stored the new one. - Add accounts: registration is closed. Create accounts in Admin, then Users. If you really want open sign-up, set
KYOO_DISABLE_REGISTRATION=falsein the[Service]section of a drop-in forkyoo.service(sudo systemctl edit kyoo) and restart it; new accounts get only the permissions inEXTRA_CLAIMSin/etc/kyoo/stack.env. - Grow the data volume: enlarge the volume in the EC2 console (Volumes, Modify), then run
sudo resize2fson its device (find it withfindmnt /var/lib/kyoo). ext4 grows online, with Kyoo running. - Operating system updates: unattended security upgrades are on. Reboot when
/var/run/reboot-requiredexists; the metadata block, Kyoo and nginx start again by themselves. - Kyoo updates: the container images are pinned and never pulled. To move to a newer Kyoo, launch the newer version of this image when the listing offers it and copy
/var/lib/kyooand/etc/kyooacross with Kyoo stopped, or attach the data volume to the new instance. - Backups: the library, database, artwork and transcoder cache are on the data volume at
/var/lib/kyoo; take an EBS snapshot of it. This instance's secrets are in/etc/kyooon the root volume; back them up too, since the database password is needed to open the database. - Logs:
sudo journalctl -u kyoofor the stack,sudo docker logs kyoo-api(orkyoo-scanner,kyoo-transcoder,kyoo-auth) for one service,/var/log/nginx/for web requests,sudo journalctl -u kyoo-firstbootfor first boot.
Troubleshooting
- The web page does not load right after launch: first boot is still running; nginx starts only once the administrator exists.
sudo journalctl -u kyoo-firstboot -fshows its progress. - Browser shows "connection closed": nginx answers only the configured name. Use
kyoo.url, or runsudo kyoo-set-hostname <name>for a new name. - Sign-in fails: use
kyoo.admin.userandkyoo.admin.passexactly. Afterkyoo-set-hostname, sign in again: tokens issued under the old name are no longer valid. - Kyoo does not start:
sudo systemctl status kyooandsudo journalctl -u kyoo -n 50. Kyoo refuses to start if the metadata block is missing or an image tag no longer matches the image recorded at build time. - New media does not appear: check the files are under
/var/lib/kyoo/libraryand readable, and look in Admin, then Unmatched.sudo docker logs kyoo-scannershows what the scanner did. - Playback stutters: the CPU is the limit for transcoded streams. Pick a lower quality in the player, or move to an instance with more vCPUs.
- The end-to-end check:
sudo kyoo-selftestsigns in, calls the API and the database and printsround-trip OKwhen everything works.
Licensing
Kyoo is licensed under the GNU General Public License v3.0 (GPL-3.0); the text is on the instance in /usr/share/doc/kyoo/LICENSE. The complete corresponding source is on the instance: Kyoo v5.3.0 (github.com/zoriya/Kyoo) at /usr/share/kyoo/source/kyoo-5.3.0-source.tar.gz, and the transcoder's FFmpeg, zoriya/ffmpeg@3b76815a (GPL), at /usr/share/kyoo/source/zoriya-ffmpeg-3b76815a-source.tar.gz, with checksums in /usr/share/kyoo/source/SHA256SUMS. /usr/share/doc/kyoo/SOURCE-OFFER.txt lists every container image by digest, and /usr/share/doc/kyoo/THIRD-PARTY.txt covers Traefik (MIT) and PostgreSQL (PostgreSQL Licence). cloudimg does not modify Kyoo. cloudimg is not affiliated with, endorsed by or sponsored by the Kyoo project or its authors, or by TMDB or TheTVDB.
Support
cloudimg provides 24/7 technical support for this image by email and live chat: deployment, first login, HTTPS and DNS setup, adding media, upgrades and troubleshooting. Contact support@cloudimg.co.uk.