Mautic on AWS User Guide
Overview
This image runs Mautic, the leading open source marketing automation platform, behind nginx with PHP FPM 8.3 and OPcache enabled, with every PHP extension Mautic requires. MariaDB provides the database, on the same instance and bound to the loopback interface only. The Mautic background jobs — segment updates, campaign rebuild, campaign trigger, email send and broadcast send — run through systemd timers, so the platform processes its queues from the moment it boots.
The image ships with Mautic's database schema already migrated and the installer already run, so the first request lands directly on the sign-in page with no setup wizard to work through. A fresh administrator password, a fresh MariaDB password and a fresh application secret are generated on the first boot of every deployed instance, and the site URL is pointed at the instance's public address. Two instances launched from the same Amazon Machine Image never share secrets. The administrator credentials are written to /root/mautic-credentials.txt with mode 0600 so that only the root user can read them.
The Mautic application tree — code, configuration, runtime cache, logs and media uploads — lives under /var/www/mautic on a dedicated EBS volume separate from the operating system disk. The MariaDB data directory sits on its own EBS volume at /var/lib/mysql. Each tier can be resized independently of the others.
Prerequisites
Before you deploy this image you need:
- An Amazon Web Services account where you can launch EC2 instances
- IAM permissions to launch instances, create security groups, and subscribe to AWS Marketplace products
- An EC2 key pair in the target Region for SSH access to the instance
- A VPC and subnet in the target Region, with a security group allowing inbound port 22 from your management network and inbound ports 80 and 443 from the networks your marketing team will reach Mautic on
- The AWS CLI (version 2) installed locally if you plan to deploy from the command line
Step 1: Launch the Instance from the AWS Marketplace
Sign in to the AWS Management Console, open the EC2 service, and select Launch instance. Under Application and OS Images choose AWS Marketplace AMIs and search for Mautic. Select the cloudimg listing and choose Select, then Continue on the subscription summary.
Pick an instance type of m5.large or larger — Mautic is a Symfony application with PHP and MariaDB on the same instance, and segment rebuilds and campaign processing benefit from memory. Choose your EC2 key pair under Key pair (login). Under Network settings select your VPC and subnet, and either create or select a security group that allows inbound port 22 from your management network and inbound ports 80 and 443 from the networks your users use. Leave the root volume at the default size or larger.
Select Launch instance. First boot initialisation takes a few seconds after the instance state becomes Running and the status checks pass.
Step 2: Launch the Instance from the AWS CLI
The following block launches an instance from the cloudimg Mautic Marketplace AMI into an existing subnet and security group. Replace <ami-id> with the AMI ID shown on the Marketplace listing, <key-name> with your EC2 key pair name, <subnet-id> with your subnet ID, and <security-group-id> with a security group that opens ports 22, 80, and 443 as described above.
aws ec2 run-instances \
  --image-id <ami-id> \
  --instance-type m5.large \
  --key-name <key-name> \
  --subnet-id <subnet-id> \
  --security-group-ids <security-group-id> \
  --block-device-mappings '[{"DeviceName":"/dev/sda1","Ebs":{"VolumeSize":30,"VolumeType":"gp3"}}]' \
  --tag-specifications 'ResourceType=instance,Tags=[{Key=Name,Value=mautic-01}]'
The command prints a JSON document on success. Note the instance ID, then retrieve its public address once it is running with aws ec2 describe-instances --instance-ids <instance-id> --query "Reservations[].Instances[].PublicIpAddress" --output text.
Step 3: Connect and Retrieve Initial Credentials
Connect over SSH with the key pair you selected and the public IP address from step 2. The SSH login user depends on the operating system of the AMI variant you launched:
| AMI variant | SSH login user |
|---|---|
| Mautic 7.1.2 on Ubuntu 24.04 | ubuntu |
Connect with ssh -i <path-to-key.pem> ubuntu@<instance-public-ip>, substituting your key path and the instance's public IP address.
The per instance administrator credentials are written to a root only file on first boot. Read them with:
sudo cat /root/mautic-credentials.txt
The file lists the Mautic URL, the administrator username (admin) and the generated administrator password. Store the password in your password manager and treat this file as sensitive.
Step 4: Verify the Stack is Running
Mautic is served by three systemd units. Confirm they are active:
systemctl is-active nginx php8.3-fpm mariadb
Each line returns active. You can confirm nginx is listening on port 80 with ss -tlnp | grep ':80', and that PHP is the expected version with php -v — this image ships PHP 8.3.
Step 5: First Login
Browse to http://<instance-public-ip>/ — Mautic redirects to its sign-in page at /s/login. Sign in with the username admin and the password from /root/mautic-credentials.txt.
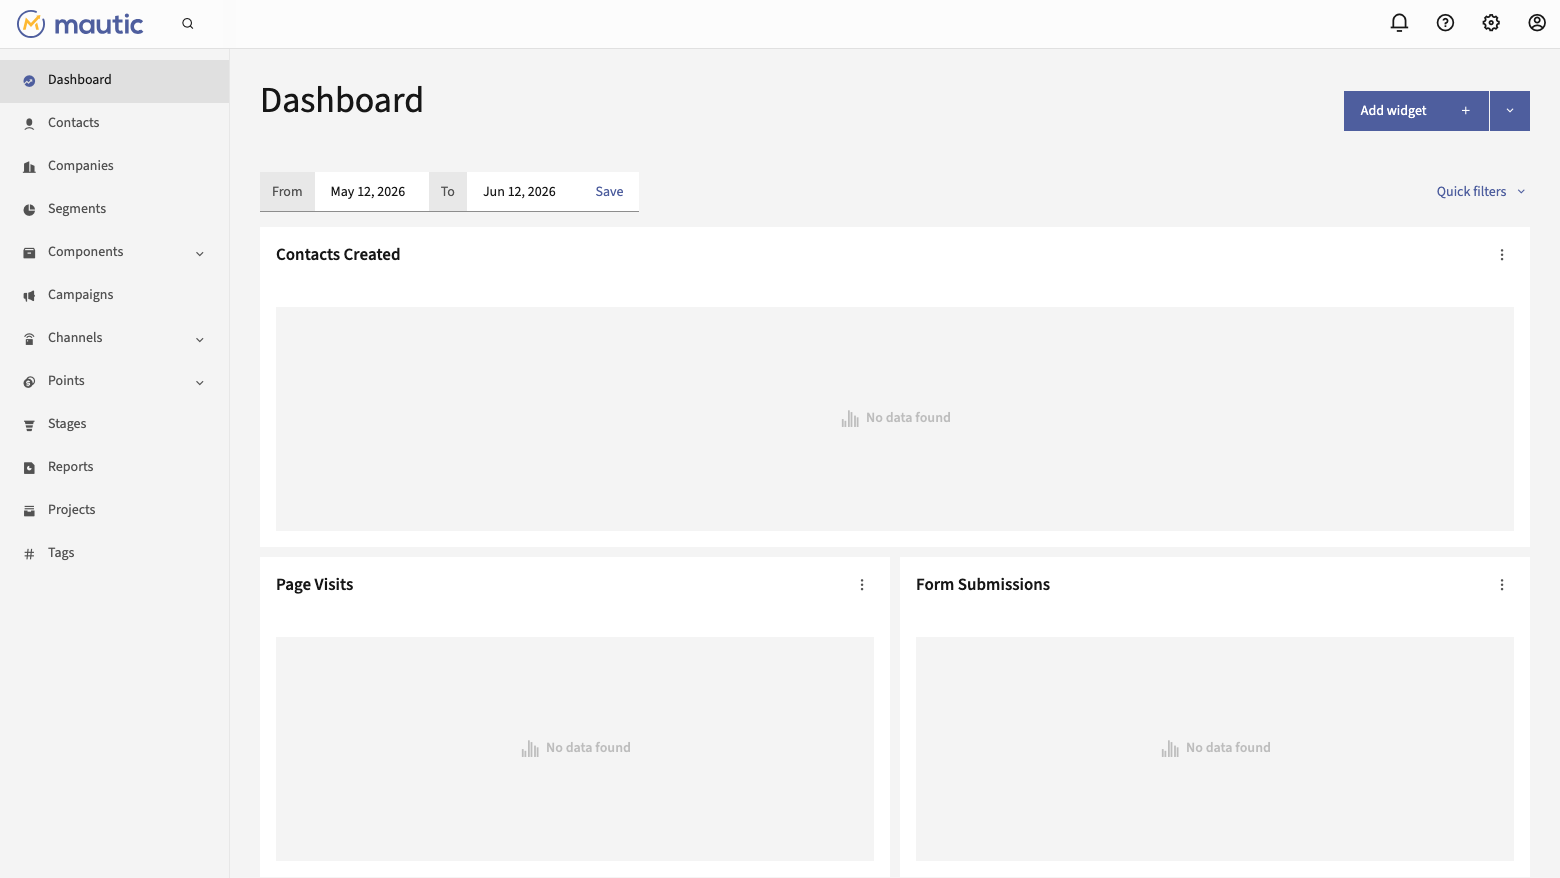
After signing in you land on the Dashboard, which charts contacts created, page visits and form submissions over time. The left navigation gives you Contacts, Companies, Segments, Components (assets, forms and landing pages), Campaigns, Channels (emails, text messages and social monitoring), Points, Stages, Reports and Projects.
Step 6: Change the Administrator Password and Set Your Details
While the first-boot password is unique to your instance, you should still set your own. Select the account icon in the top right and open Account settings. Set your name and a real email address, and change the password to one you control. Mautic stores user passwords as bcrypt hashes.
Step 7: Configure Outbound Email (SMTP)
Mautic sends campaign email through the mailer you configure. Open the settings cog in the top right, choose Configuration, and open Email Settings. Set the Data Source Name (DSN) for your SMTP provider — host, port, username and password, for example for Amazon SES, Mailgun, Postmark or your own relay — along with the default from name and address. Use the Send test email button to confirm delivery, and complete your provider's domain verification (SPF, DKIM) so your campaigns land in the inbox rather than spam.
Until a mailer is configured, queued email stays in the spool — the rest of the platform works normally.
Step 8: Create Contacts and Segments
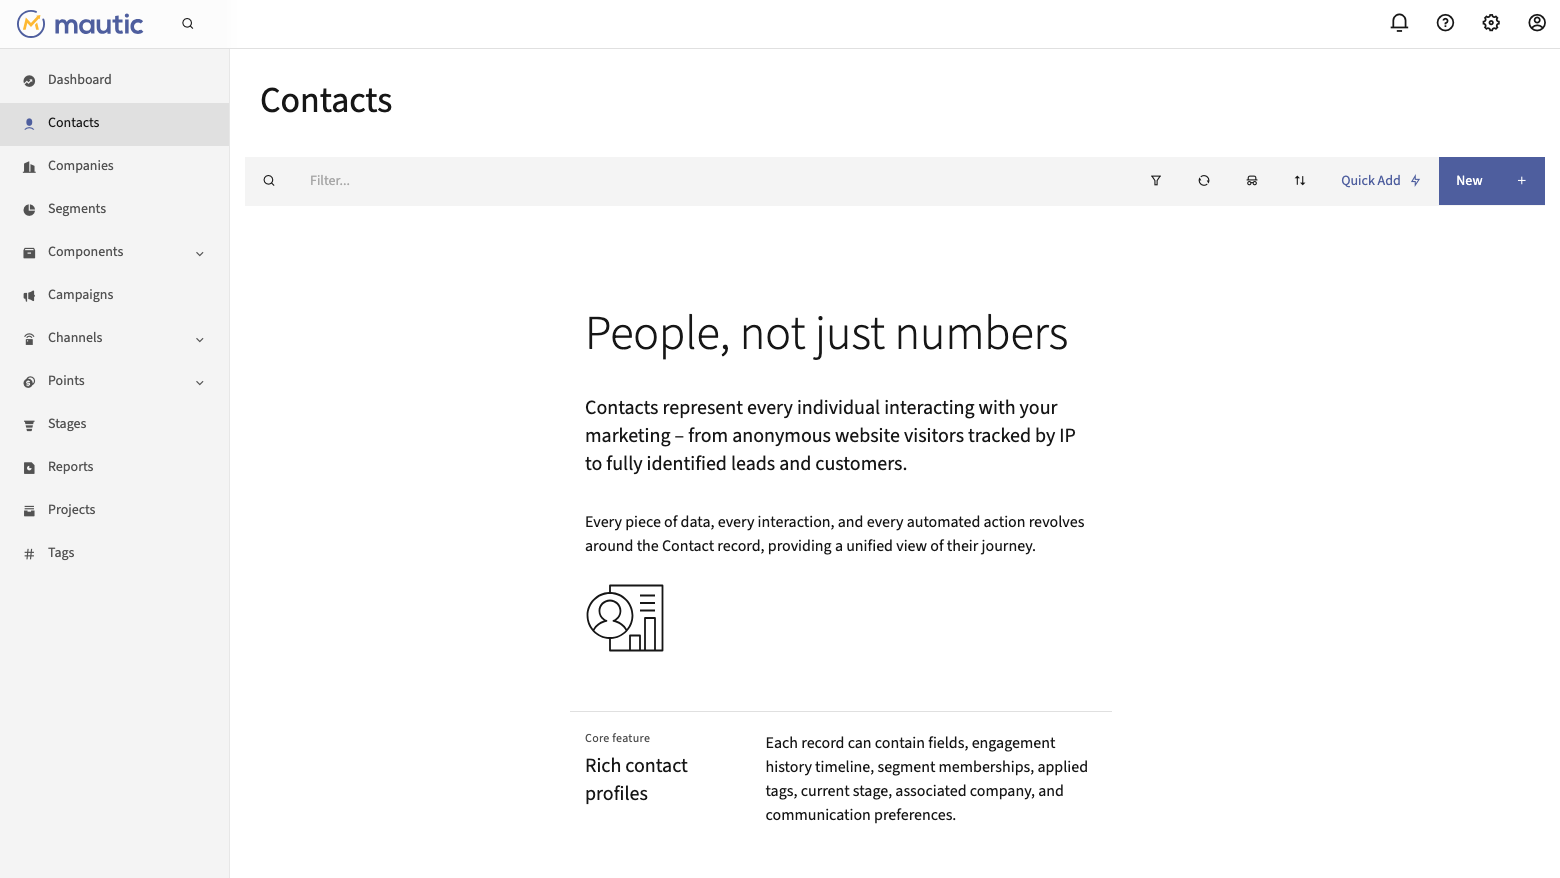
Contacts are the heart of Mautic. Open Contacts and use Quick Add to create a contact by hand, New for the full editor, or the import option behind the menu to load contacts from CSV. Every contact record carries fields, tags, points, stage, segment memberships and a full engagement timeline.
Segments (left navigation → Segments) group contacts dynamically by filters — country, score, page hits, email engagement, custom fields and more. Create a segment, define its filters, and the segment-update background job already running on this instance keeps its membership current automatically.
Step 9: Build a Campaign
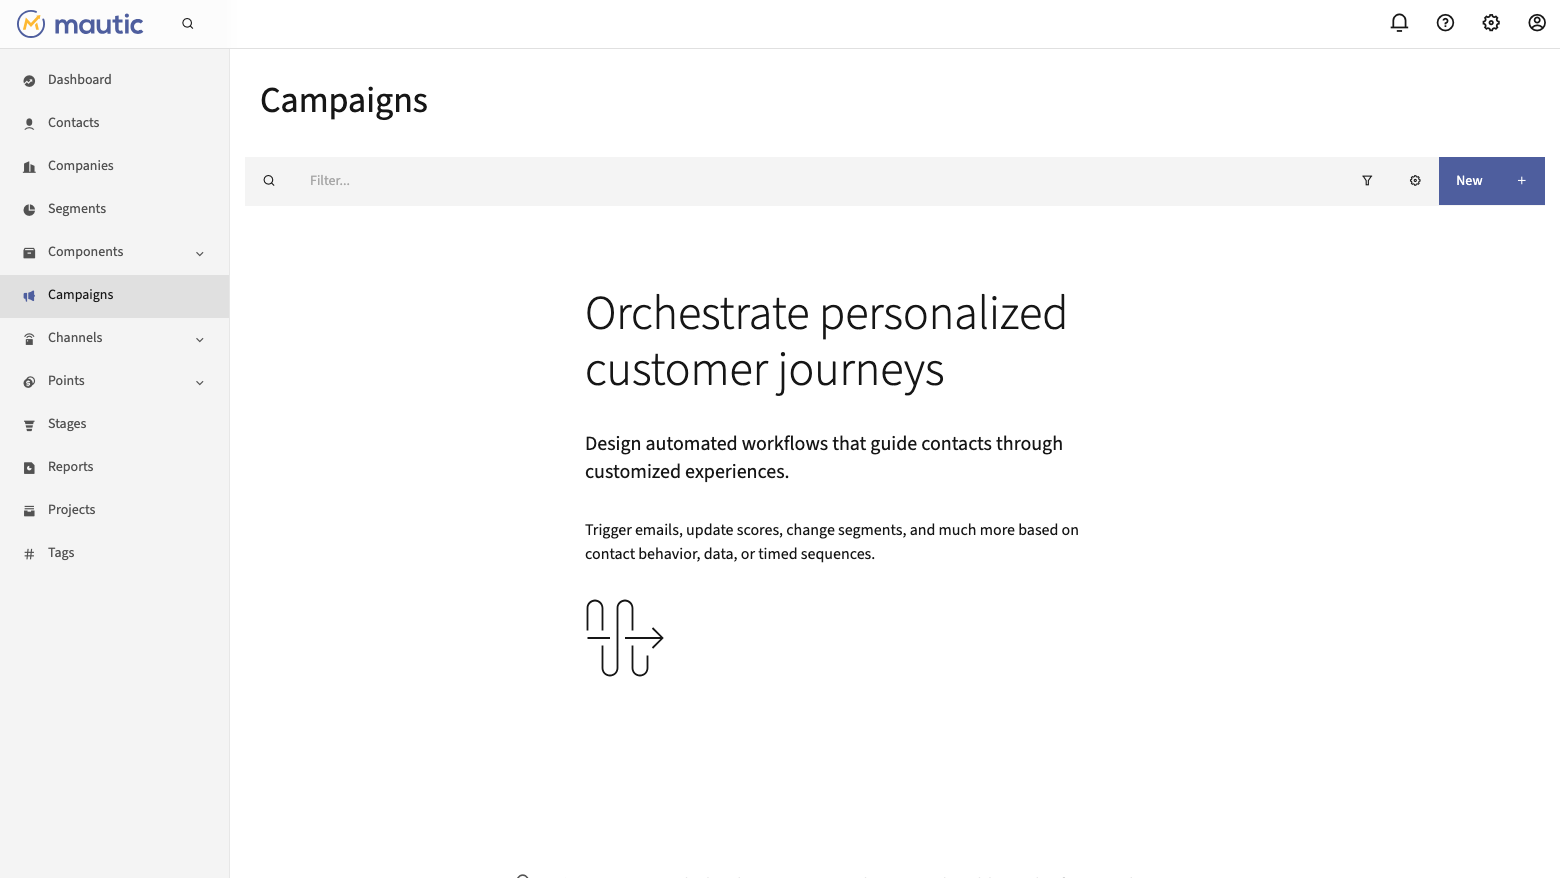
Open Campaigns and select New. Choose the contact segments the campaign feeds from, then open the visual campaign builder: add actions (send email, adjust points, change stage, push to integration), decisions (opens email, visits page, submits form) and conditions (field values, segment membership), and wire them together with timed delays into a multi-step journey. Publish the campaign when you are done.
The campaign-update and campaign-trigger background jobs on this instance rebuild campaign membership and fire due events every five minutes, and the email-send job flushes the message queue every two minutes — no cron configuration is required.
Step 10: Forms and Landing Pages
Under Components you will find Forms and Landing Pages.
- Forms capture leads: build the fields, choose what happens on submit (create contact, adjust points, send email, start a campaign), then embed the generated HTML or JavaScript on any site, or place the form on a Mautic landing page.
- Landing pages are built in Mautic's drag-and-drop builder from the bundled responsive themes, and track every visit against the contact record.
Pair a form with a landing page and a campaign and you have a complete acquisition funnel: visitor submits the form, becomes a contact, enters a segment, and the campaign takes over.
Step 11: Background Jobs
Mautic's documented cron jobs are wired as systemd timers on this image, running as the web server user and staggered to avoid contention:
| Timer | Mautic command | Schedule |
|---|---|---|
mautic-segments-update |
mautic:segments:update |
every 5 minutes |
mautic-campaigns-update |
mautic:campaigns:update |
every 5 minutes |
mautic-campaigns-trigger |
mautic:campaigns:trigger |
every 5 minutes |
mautic-emails-send |
mautic:emails:send |
every 2 minutes |
mautic-broadcasts-send |
mautic:broadcasts:send |
every 15 minutes |
List them and their next run times:
systemctl list-timers 'mautic-*' --no-pager
To inspect a job's last run, use systemctl status mautic-segments-update.service or journalctl -u mautic-emails-send.service.
Step 12: Enable HTTPS with Let's Encrypt
For production use you should serve Mautic over HTTPS. Point a DNS name at the instance's public address, then install Certbot and obtain a certificate. The commands below are illustrative — replace mautic.example.com with your domain and run them as root. Because this involves interactive prompts and a domain you own, run them yourself rather than copying blindly.
Install Certbot and the nginx plugin, then request a certificate. Certbot edits the nginx site in place and reloads nginx:
sudo apt-get update && sudo apt-get install -y certbot python3-certbot-nginx
sudo certbot --nginx -d mautic.example.com
After HTTPS is live, update Mautic's site URL to the secure address: open Configuration → System Settings and set Site URL to https://mautic.example.com, so tracking links, email images and form embeds use the secure origin.
Step 13: Backups and Maintenance
The Mautic database lives in MariaDB on the /var/lib/mysql volume and the application files, configuration and media uploads under /var/www/mautic. Back up both. A simple database dump is:
sudo mysqldump --single-transaction mautic | gzip > mautic-db-$(date +%F).sql.gz
Take EBS snapshots of the data volumes for point-in-time recovery, and snapshot before any Mautic version upgrade. Keep the operating system patched with sudo apt-get update && sudo apt-get -y upgrade.
Step 14: Storage Layout
The application and database tiers are on dedicated EBS volumes, each independently resizable:
df -h /var/lib/mysql /var/www/mautic
/var/lib/mysql holds the MariaDB data directory and /var/www/mautic holds the Mautic code, configuration, runtime cache and media uploads. To grow a tier, modify the EBS volume in the EC2 console and then extend the filesystem with sudo resize2fs <device>.
Screenshots
The Mautic sign-in page, served on first boot with a per-instance administrator password:
The dashboard, charting contacts created, page visits and form submissions:
The contacts view, where captured leads are scored, segmented and managed:
The campaigns view, home of the visual multi-step campaign builder:
Support
This image is backed by 24/7 technical support from cloudimg, covering Mautic deployment, upgrades, campaign and segment design, email deliverability and SMTP configuration, performance tuning, and database administration. Contact support through the channel listed on the AWS Marketplace listing.