MediaWiki on Ubuntu 24.04 on Azure User Guide
Overview
MediaWiki is the open-source wiki engine that powers Wikipedia and thousands of knowledge bases. It gives teams a collaborative, version-controlled documentation platform with page histories, talk pages, categories, full-text search and a large extension ecosystem. The cloudimg image installs MediaWiki 1.43 LTS on a full LAMP stack from the Ubuntu 24.04 repositories (nginx, PHP 8.3-FPM and MariaDB), runs the entire headless install at build time so there is no web wizard, stores the MariaDB database and the wiki uploads on a dedicated Azure data disk, and rotates the database password, the MediaWiki secret keys and the administrator account on the first boot of every VM. Backed by 24/7 cloudimg support.
What is included:
- MediaWiki 1.43 LTS served on port 80 by nginx via the PHP 8.3-FPM FastCGI socket, with short article URLs (
/wiki/Article_Name) - MariaDB on loopback with its data directory on a dedicated Azure data disk
- A dedicated Azure data disk at
/var/lib/mediawikifor the MariaDB database and the wiki uploads (theimages/directory) - A per-VM database password, fresh MediaWiki secret keys and a unique administrator account generated on first boot
nginx.service,php8.3-fpm.serviceandmariadb.serviceas systemd units, enabled and active- 24/7 cloudimg support
Prerequisites
An active Azure subscription, an SSH key pair, and a VNet plus subnet in the target region. Standard_B2ms (2 vCPU / 8 GiB RAM) is a good starting point. NSG inbound: allow 22/tcp from your management network and 80/tcp for the MediaWiki web interface (front with TLS for public exposure - see Enabling HTTPS).
Step 1 - Deploy from the Azure Marketplace
Sign in to the Azure Portal, choose Create a resource, search the Marketplace for MediaWiki by cloudimg, and select Create. On Basics pick your subscription, resource group, region and size; under Administrator account choose SSH public key and paste your key; under Inbound port rules allow SSH (22) and HTTP (80). Review the dedicated data disk on the Disks tab, then Review + create -> Create.
Step 2 - Deploy from the Azure CLI
az vm create \
  --resource-group <your-rg> \
  --name mediawiki \
  --image <marketplace-image-urn> \
  --size Standard_B2ms \
  --admin-username azureuser \
  --ssh-key-values ~/.ssh/id_ed25519.pub \
  --vnet-name <your-vnet> --subnet <your-subnet> \
  --public-ip-sku Standard

az vm open-port --resource-group <your-rg> --name mediawiki --port 80 --priority 1010
Step 3 - Connect to your VM
ssh azureuser@<vm-public-ip>
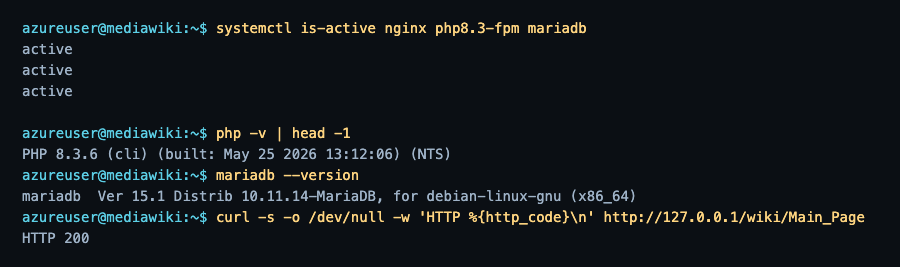
Step 4 - Confirm the LAMP stack is running
On first boot MediaWiki rotates its database password, regenerates its secret keys, resets the administrator account to a fresh per-VM password, sets the wiki URL to your VM's public IP and starts the stack.
systemctl is-active nginx php8.3-fpm mariadb
All three report active.
You can confirm the component versions and that the wiki Main Page answers on port 80:
php -v | head -1
mariadb --version
curl -s -o /dev/null -w 'HTTP %{http_code}\n' http://127.0.0.1/wiki/Main_Page
The Main Page returns HTTP 200.
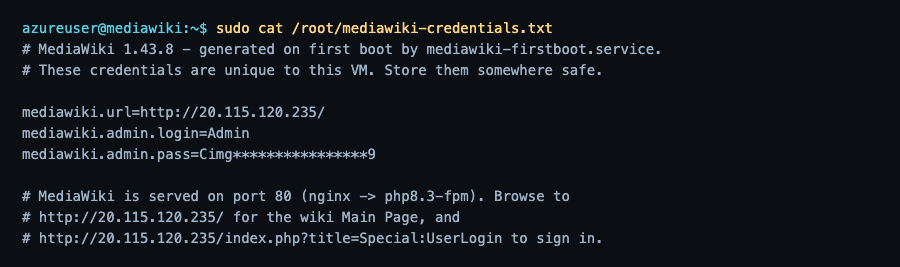
Step 5 - Retrieve the administrator password
The administrator account is unique to your VM and is generated on first boot. Read it as root:
sudo cat /root/mediawiki-credentials.txt
The file contains the login (Admin), the wiki URL and a unique password. Change the password and add an email from your preferences after your first sign-in.
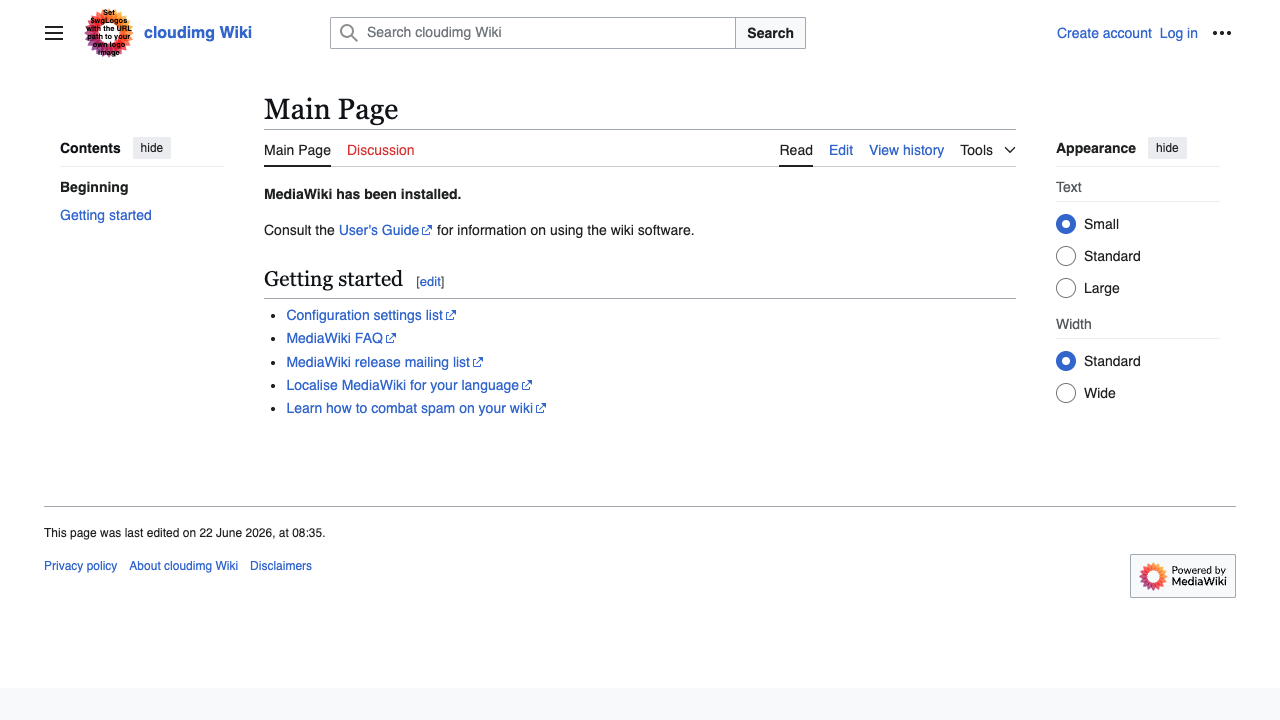
Step 6 - Browse to your wiki
Browse to http://<vm-public-ip>/. The bare root redirects to the canonical Main Page at /wiki/Main_Page. The image ships with a sample Main Page so you see a complete wiki immediately rather than facing a blank page.
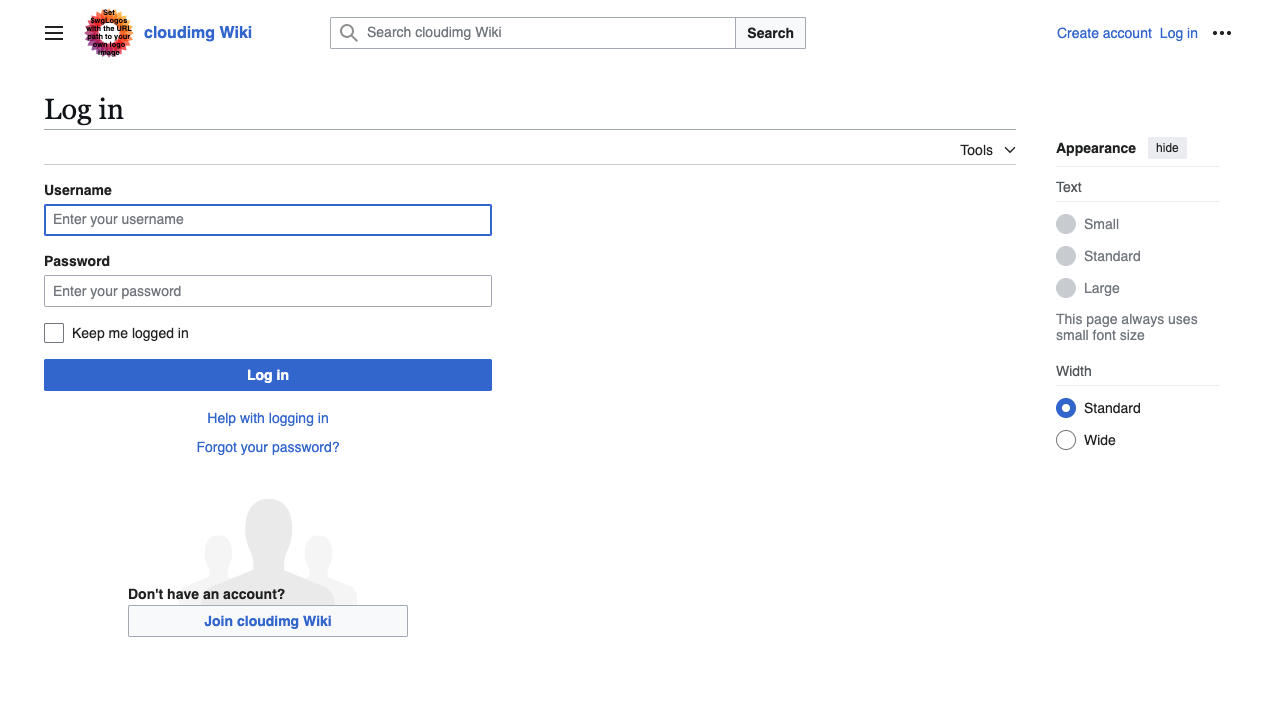
Step 7 - Sign in
Browse to http://<vm-public-ip>/index.php?title=Special:UserLogin and sign in with Admin and the password from the credentials file.
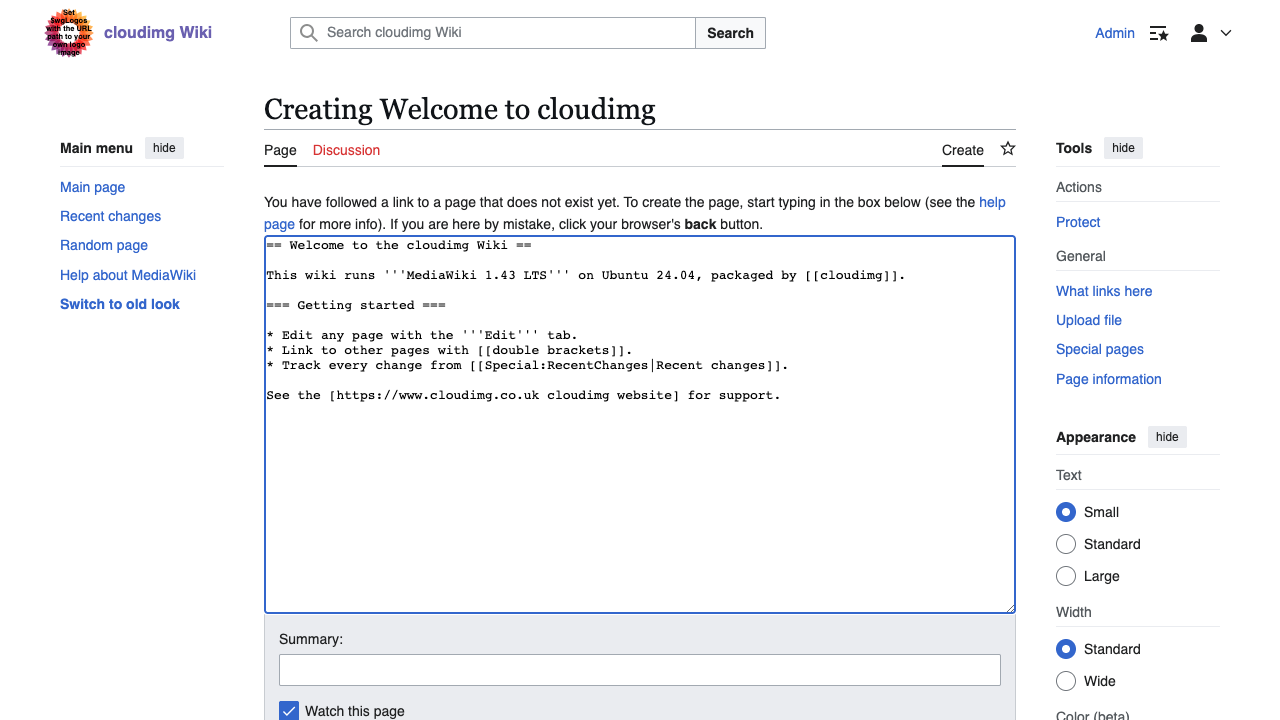
Step 8 - Create and edit pages
To create or edit a page, browse to it and choose Edit (or Create). MediaWiki uses wikitext: == Heading == for sections, '''bold''' for bold, [[Page Name]] for internal links and * item for bullet lists. Enter a summary and click Save changes when you are done.
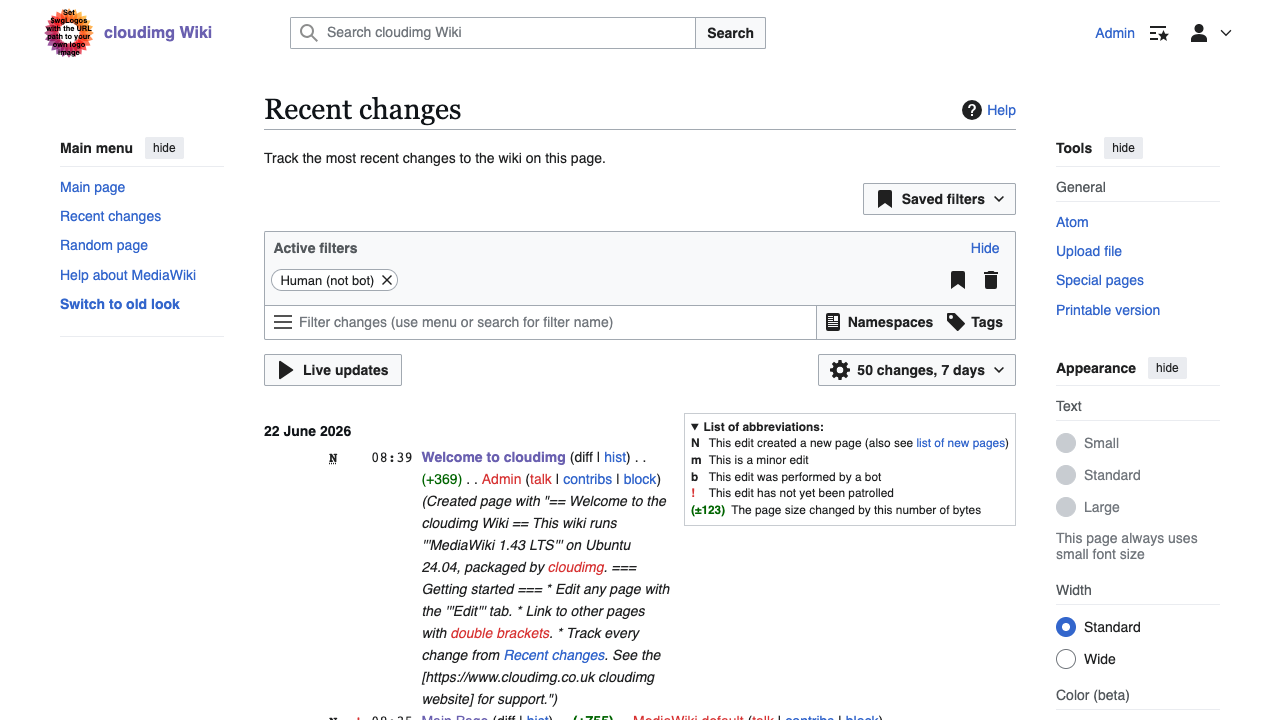
You can review every edit across the wiki from Special:RecentChanges. Each entry links to the page, the diff and the contributing user, which is the heart of MediaWiki's version control.
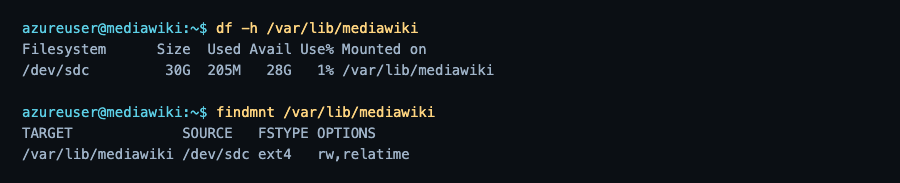
Step 9 - The dedicated data disk
The MariaDB database and the wiki uploads (the images/ directory) live on a dedicated Azure data disk mounted at /var/lib/mediawiki, separate from the OS disk. This keeps your content independent of the OS image and lets you resize the disk as your wiki grows.
df -h /var/lib/mediawiki
findmnt /var/lib/mediawiki
Step 10 - Enabling HTTPS
For any public deployment, front MediaWiki with TLS. Point a DNS A record at your VM's public IP, then install a certificate with Certbot and the nginx plugin. Run the following as prose-driven steps on your VM (replace the placeholders with your real values; do not paste them verbatim):
- Install Certbot:
sudo apt-get update && sudo apt-get install -y certbot python3-certbot-nginx - Obtain and install a certificate for your domain, supplying your contact email when prompted, by running certbot with the nginx plugin for
your-domain.example.com. - After issuance, set
$wgServer = "https://your-domain.example.com";in/var/www/mediawiki/LocalSettings.phpso generated links usehttps://.
Certbot installs a renewal timer automatically; certificates renew without further action.
Step 11 - Maintenance
- Updates: the OS continues to receive unattended security updates. MediaWiki itself is upgraded by replacing the code tree and running
php /var/www/mediawiki/maintenance/run.php update- see the MediaWiki upgrade documentation. - Backups: back up the MariaDB
wikidatabase (for example withmysqldump) and the/var/lib/mediawiki/imagesdirectory, which together hold all of your content and uploads. - Logs: web server logs are under
/var/log/nginx/; enable MediaWiki debug logging via$wgDebugLogFileinLocalSettings.phpif you need application-level logs.
Support
This image is maintained by cloudimg with 24/7 support. MediaWiki is a trademark of the Wikimedia Foundation; cloudimg is not affiliated with or endorsed by the Wikimedia Foundation or the MediaWiki project. For help with the image, contact support@cloudimg.co.uk.