
Metabase on AWS User Guide
Overview
This image runs Metabase, the open source business intelligence platform - connect a database, ask questions with a point-and-click query builder or SQL, build dashboards and charts, and share them across your team.
The Metabase server runs behind nginx as a reverse proxy. PostgreSQL is Metabase's own application database (its metadata); the embedded H2 default is not used, as it is unsuitable for production. The server listens on 127.0.0.1:3000 and is reached through nginx on port 80 (and 443 once you add TLS); the database binds to the loopback interface only.
Metabase encrypts the connection details of databases you connect, at rest, with an encryption key that is generated fresh on the first boot of every deployed instance, so no two instances share a key. On first boot the setup is completed automatically and a single administrator account is created and written to /root/metabase-credentials.txt with mode 0600. The image ships no connected data sources - you add your own after signing in.
Prerequisites
Before you deploy this image you need:
- An Amazon Web Services account where you can launch EC2 instances
- IAM permissions to launch instances, create security groups, and subscribe to AWS Marketplace products
- An EC2 key pair in the target Region for SSH access to the instance
- A VPC and subnet in the target Region, with a security group allowing inbound port 22 from your management network and inbound ports 80 and 443 from the networks your users will reach Metabase on
- The AWS CLI (version 2) installed locally if you plan to deploy from the command line
- A database to analyse (PostgreSQL, MySQL, Redshift, BigQuery, Snowflake, an Amazon RDS instance, etc.) - Metabase also ships with a built-in Sample Database to explore first
Step 1: Launch the Instance from the AWS Marketplace
Sign in to the AWS Management Console, open the EC2 service, and select Launch instance. Under Application and OS Images choose AWS Marketplace AMIs and search for Metabase. Select the cloudimg listing and choose Select, then Continue on the subscription summary.
Pick an instance type of m5.large or larger - Metabase runs on the JVM and benefits from memory. Choose your EC2 key pair under Key pair (login). Under Network settings select your VPC and subnet, and either create or select a security group that allows inbound port 22 from your management network and inbound ports 80 and 443 from the networks your users use. Leave the root volume at the default size or larger.
Select Launch instance. First boot initialisation takes approximately two to three minutes after the instance state becomes Running (Metabase runs its database migrations and completes setup on first boot).
Step 2: Launch the Instance from the AWS CLI
The following block launches an instance from the cloudimg Metabase Marketplace AMI into an existing subnet and security group. Replace <ami-id> with the AMI ID shown on the Marketplace listing, <key-name> with your EC2 key pair name, <subnet-id> with your subnet ID, and <security-group-id> with a security group that opens ports 22, 80, and 443 as described above.
aws ec2 run-instances \
  --image-id <ami-id> \
  --instance-type m5.large \
  --key-name <key-name> \
  --subnet-id <subnet-id> \
  --security-group-ids <security-group-id> \
  --block-device-mappings '[{"DeviceName":"/dev/sda1","Ebs":{"VolumeSize":30,"VolumeType":"gp3"}}]' \
  --tag-specifications 'ResourceType=instance,Tags=[{Key=Name,Value=metabase-01}]'
The command prints a JSON document on success. Note the instance ID, then retrieve its public address once it is running with aws ec2 describe-instances --instance-ids <instance-id> --query "Reservations[].Instances[].PublicIpAddress" --output text.
Step 3: Connect and Retrieve the Administrator Login
Connect over SSH with the key pair you selected and the public IP address from step 2. The SSH login user depends on the operating system of the AMI variant you launched:
| AMI variant | SSH login user |
|---|---|
| Metabase 0.62 on Ubuntu 24.04 | ubuntu |
The first boot service runs before the SSH daemon becomes ready, so the credentials file is always in place when you log in for the first time.
ssh <login-user>@<public-ip>
sudo cat /root/metabase-credentials.txt
You will see a plain text file containing the Metabase URL, the administrator email (admin@example.com) and the password. From the same SSH session you can confirm the deployment is healthy - the health endpoint is open:
curl -fsS http://127.0.0.1/api/health
{"status":"ok"}
A {"status":"ok"} response confirms the full stack - nginx, the Metabase server and PostgreSQL - is serving.
Step 4: First Sign-in
Open a web browser and navigate to http://<public-ip>/. Because first boot already completed the Metabase setup, you go straight to the sign-in page - enter the email and password from /root/metabase-credentials.txt.
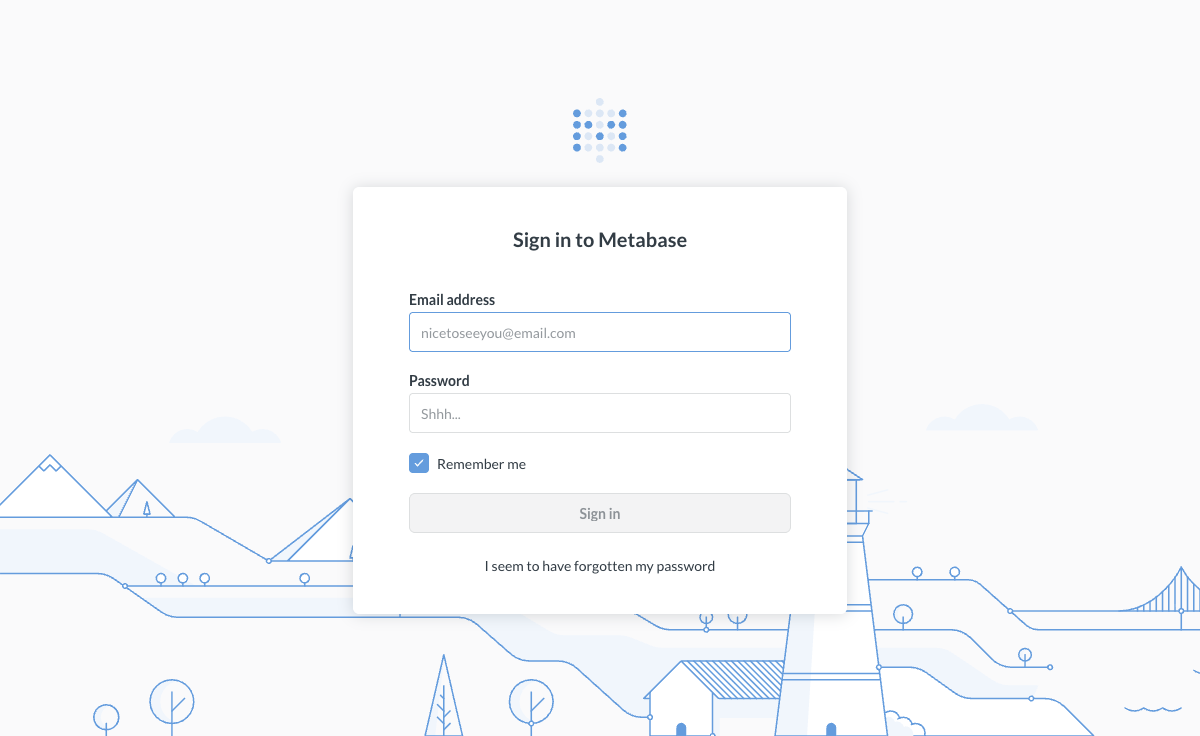
The Metabase sign-in page, served on first boot with setup already completed and a per-instance administrator.
After signing in you reach the Metabase home, with quick-start "x-rays", collections, and your data sources in the sidebar.
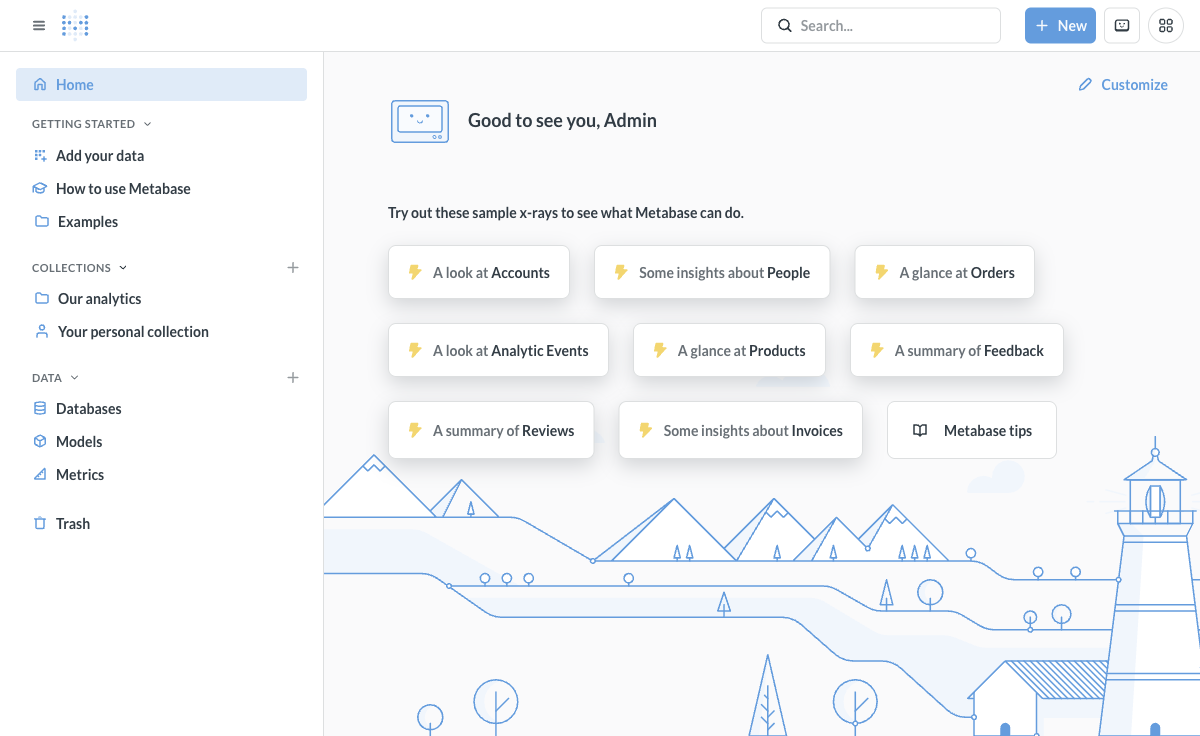
The Metabase home - x-rays, collections and data sources.
Step 5: Connect a Data Source
The image ships no connected data sources (Metabase's built-in Sample Database is available to explore first). To analyse your own data, open the gear menu, choose Admin settings, then Databases, and Add a database. Metabase supports PostgreSQL, MySQL/MariaDB, SQL Server, Redshift, BigQuery, Snowflake, ClickHouse and more. For an Amazon RDS or Redshift instance in the same VPC, supply its endpoint, database name and credentials - the credentials are encrypted at rest with this instance's unique key. Metabase then syncs the schema so you can start querying.
Step 6: Build Questions and Dashboards
Select + New to create a Question with the point-and-click query builder (or write SQL), pick a visualization (table, line, bar, map, and more), and save it to a collection. Combine saved questions onto a Dashboard with filters for an at-a-glance view. Metabase's automatic x-rays generate a full dashboard from any table in one click.
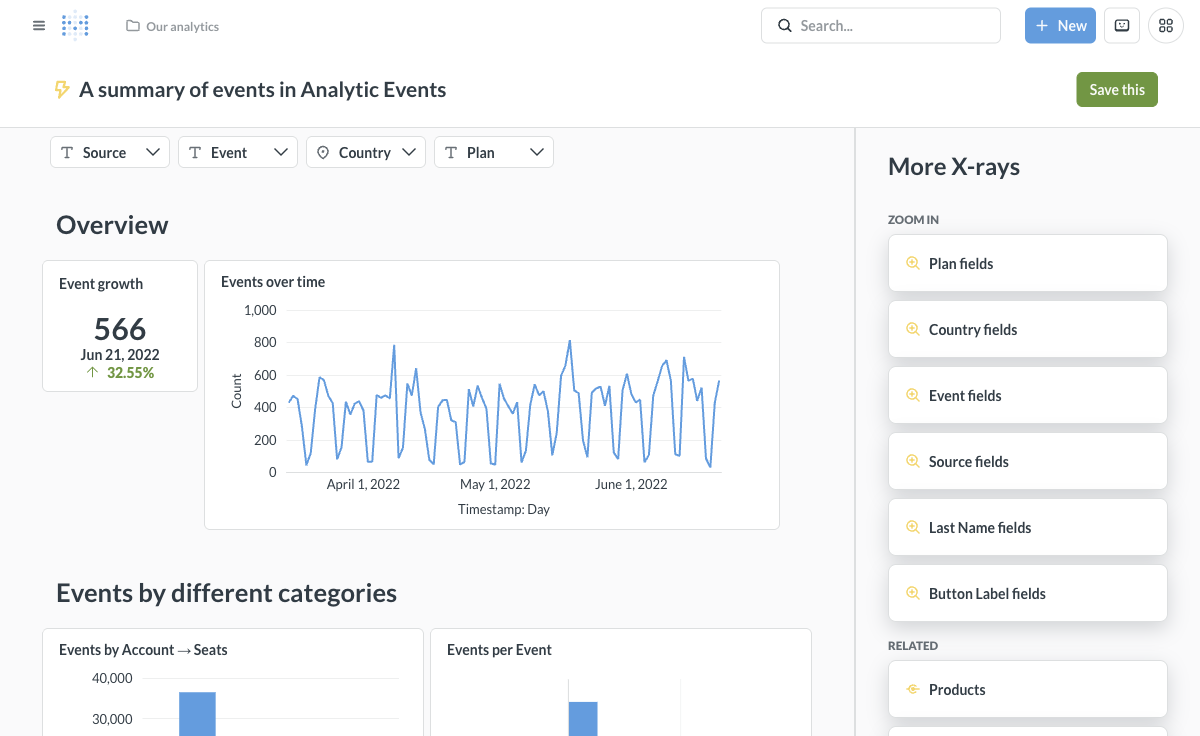
A Metabase dashboard - time-series and category charts with filters.
Step 7: Add Users
Invite your team from Admin settings, then People, then Invite someone. Configure an email server under Admin settings, then Email (for example Amazon SES) so invitations and dashboard subscriptions are delivered. You can organise users into groups and control which databases and collections each group can access.
Step 8: Enable HTTPS with Let's Encrypt
For any production deployment serve Metabase over HTTPS so session tokens and data cannot be intercepted. The image ships with nginx, which certbot can configure automatically.
The following assumes you have a DNS record pointing your fully qualified domain name at the instance's public IP address.
sudo apt-get update && sudo apt-get install -y certbot python3-certbot-nginx
sudo certbot --nginx -d metabase.your-domain.example \
  --non-interactive --agree-tos -m you@your-domain.example \
  --redirect
After certbot finishes, set the site URL so Metabase generates correct links, then restart the service with sudo systemctl restart metabase. The site URL can also be changed in Admin settings, then General.
Step 9: Backups and Maintenance
Metabase keeps all of its state - questions, dashboards, users, settings and connected-database definitions - in its PostgreSQL application database. Back that up regularly:
sudo -u postgres pg_dump metabaseapp > <backup-dir>/metabase-appdb-$(date +%F).sql
Ship the dump to an Amazon S3 bucket or another object store. Because the application database is on its own EBS volume, you can also take coordinated EBS snapshots. For kernel and package updates, Ubuntu's unattended-upgrades is enabled by default. To upgrade Metabase itself, replace /opt/metabase/metabase.jar with a newer release and restart - it migrates the application database automatically. Always back up first. See https://www.metabase.com/docs/latest/.
Step 10: Scaling Beyond a Single Instance
For larger deployments decouple Metabase from the single instance pattern:
- Move the application database to Amazon RDS for PostgreSQL and update
MB_DB_*in/etc/metabase.env - Put the web tier behind an Application Load Balancer and run multiple Metabase instances against the shared application database
- Serve static assets through Amazon CloudFront
Each of these is documented in the official Metabase documentation at https://www.metabase.com/docs/latest/.
Support
cloudimg provides 24/7/365 expert technical support for this image. Guaranteed response within 24 hours, one hour average for critical issues. Contact support@cloudimg.co.uk.
For general Metabase questions consult the documentation at https://www.metabase.com/docs/latest/. Metabase is a trademark of Metabase, Inc.; use here is nominative and does not imply affiliation or endorsement.