
Miniflux on Ubuntu 24.04 on Azure User Guide
Overview
Miniflux is the popular open source, minimalist and fast self-hosted RSS/Atom/JSON feed reader - a privacy-respecting alternative to hosted readers, with a clean reader interface, keyboard shortcuts, full-text fetching, integrations and a REST API (plus the Google Reader and Fever APIs for mobile apps). The cloudimg image runs the Miniflux server behind nginx as a reverse proxy on TCP 80, with PostgreSQL as the datastore on a dedicated Azure data disk, and generates a unique administrator login on the first boot of every VM. Backed by 24/7 cloudimg support.
What is included:
- Miniflux 2.3 as a single self-contained Go binary at
/usr/local/bin/miniflux - nginx reverse proxy on
:80in front of the Miniflux server (bound to loopback127.0.0.1:8080) - PostgreSQL with its datadir on a dedicated Azure data disk at
/var/lib/postgresql- separate from the OS disk and re-provisioned with every VM - Per-VM administrator and PostgreSQL passwords generated at first boot, in a root-only file
miniflux.service,postgresql.serviceandnginx.serviceas systemd units, enabled and active- 24/7 cloudimg support
Prerequisites
An active Azure subscription, an SSH key pair, and a VNet + subnet in the target region. Standard_B2s (2 vCPU / 4 GiB RAM) is a good starting point - Miniflux is lightweight. NSG inbound: allow 22/tcp from your management network and 80/tcp (plus 443/tcp once you enable HTTPS) from the networks your readers use.
Step 1 - Deploy from the Azure Marketplace
Sign in to the Azure Portal, choose Create a resource, search the Marketplace for Miniflux by cloudimg, and select Create. On Basics pick your subscription, resource group, region and size; under Administrator account choose SSH public key and paste your key; under Inbound port rules allow SSH (22) and HTTP (80). Review the dedicated PostgreSQL data disk on the Disks tab, then Review + create -> Create. First boot initialisation completes within about a minute of the VM starting.
Step 2 - Deploy from the Azure CLI
# Accept the Marketplace terms once per subscription (required before the first CLI deploy)
az vm image terms accept --urn cloudimg1647283583153:miniflux-ubuntu-24-04:default:latest

az vm create \
  --resource-group <your-rg> \
  --name miniflux \
  --image cloudimg1647283583153:miniflux-ubuntu-24-04:default:latest \
  --size Standard_B2s \
  --admin-username azureuser \
  --ssh-key-values ~/.ssh/id_ed25519.pub \
  --vnet-name <your-vnet> --subnet <your-subnet> \
  --public-ip-sku Standard

az vm open-port --resource-group <your-rg> --name miniflux --port 80 --priority 1010
Step 3 - Connect to your VM
ssh azureuser@<vm-public-ip>
Step 4 - Confirm the services are running
systemctl is-active miniflux.service postgresql.service nginx.service
curl -s http://127.0.0.1/healthcheck
All three services report active and the health endpoint returns OK - that confirms the full stack (nginx, the Miniflux server and PostgreSQL) is serving.
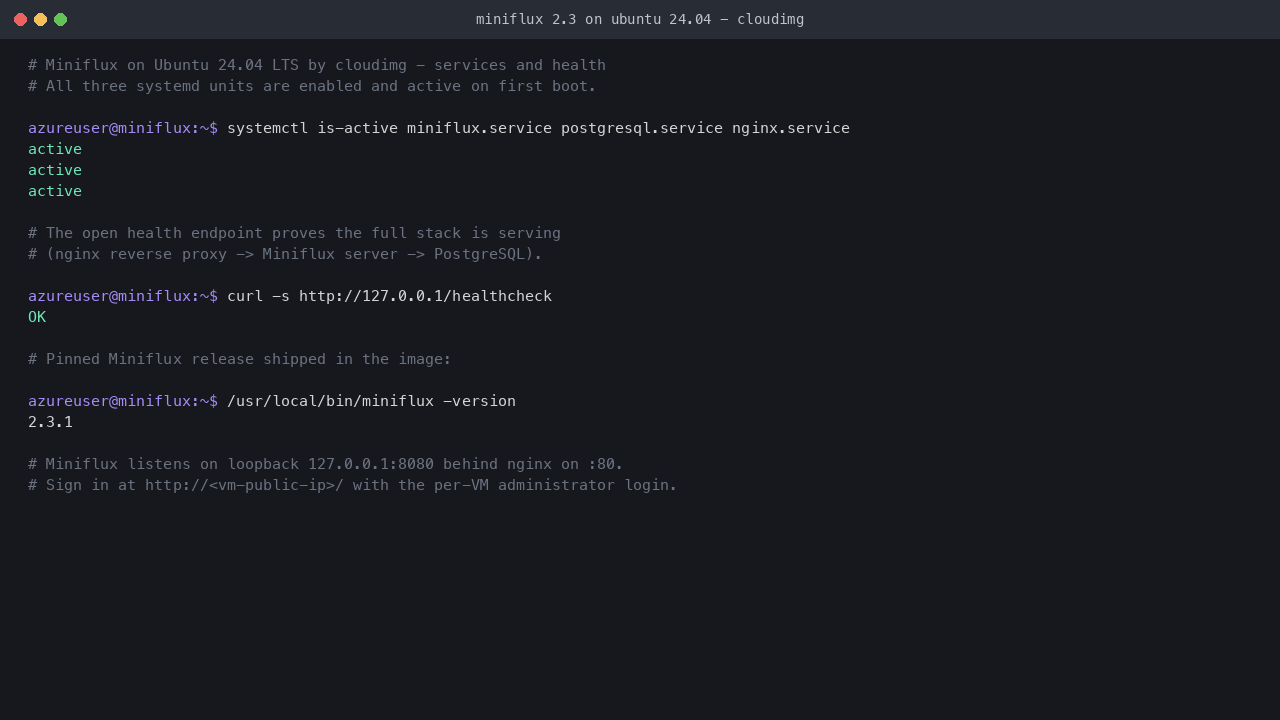
The systemd units and the open health endpoint on a freshly booted VM.
Step 5 - Retrieve your administrator login
The administrator account and the PostgreSQL password are generated uniquely on the first boot of your VM and written to a root-only file:
sudo cat /root/miniflux-credentials.txt
The miniflux.admin.user and miniflux.admin.pass values are your sign-in; the PostgreSQL password is rotated at the same time and never shared between VMs.
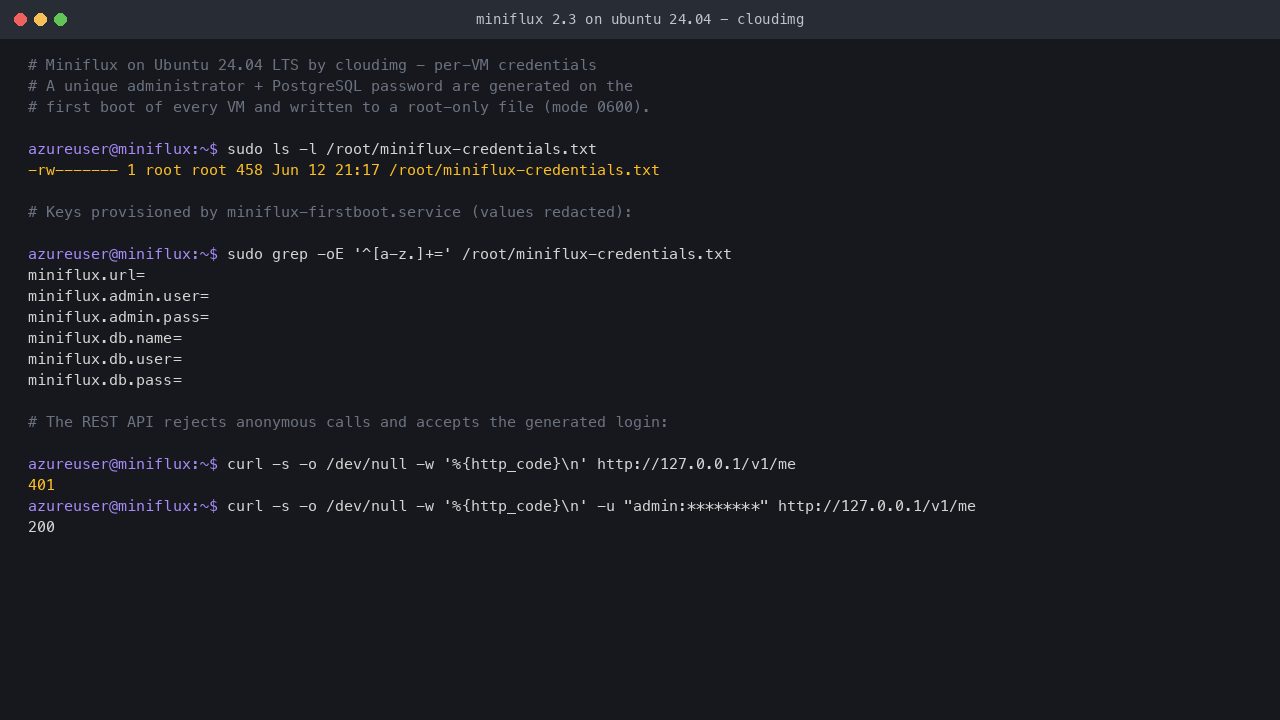
The root-only credentials file with the per-VM administrator login.
Step 6 - First sign-in
Open a web browser and navigate to http://<vm-public-ip>/. Miniflux presents its sign-in page. Enter the username admin and the password from /root/miniflux-credentials.txt, then select Login.
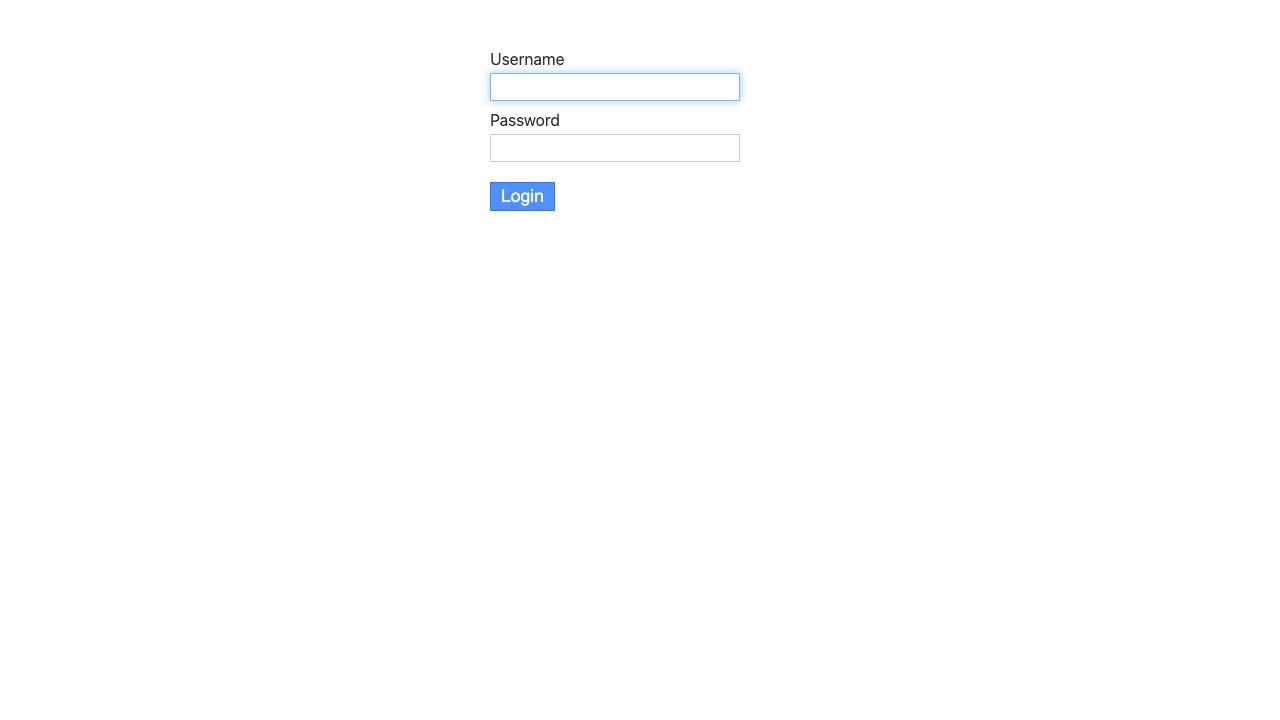
The Miniflux sign-in, served on first boot with a per-VM administrator login.
Step 7 - Add feeds and read
Select Feeds, then Add feed, paste a site or feed URL, and Miniflux discovers and subscribes to it. Your unread entries appear in a clean, fast list with keyboard shortcuts; star items, fetch the original article inline, and open the source. To migrate from another reader, use Import to upload an OPML file of your existing subscriptions.
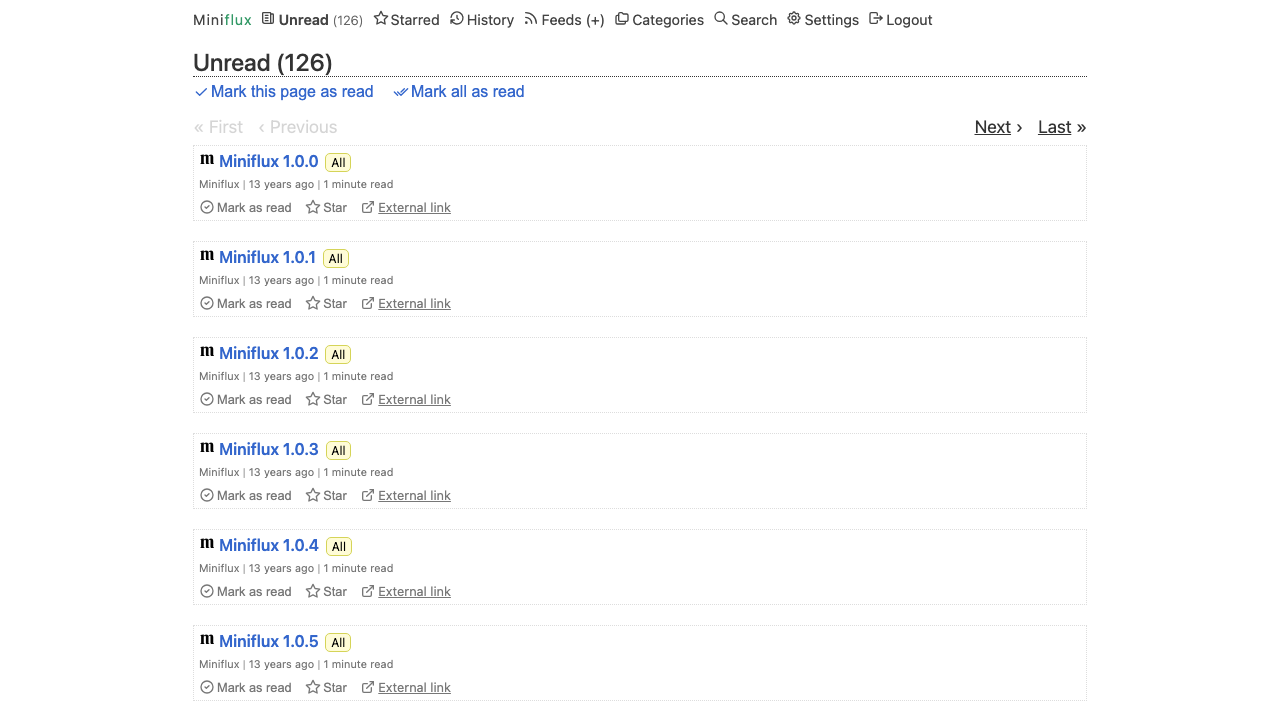
The Miniflux reader - a clean, fast unread list with mark-as-read, star and full-text actions.
Step 8 - Settings, integrations and mobile apps
Open Settings to set reader preferences, manage Integrations, generate API Keys for the REST API, manage Sessions, and add Users. Miniflux also exposes the Google Reader and Fever APIs, so you can connect popular mobile and desktop RSS clients to your VM.
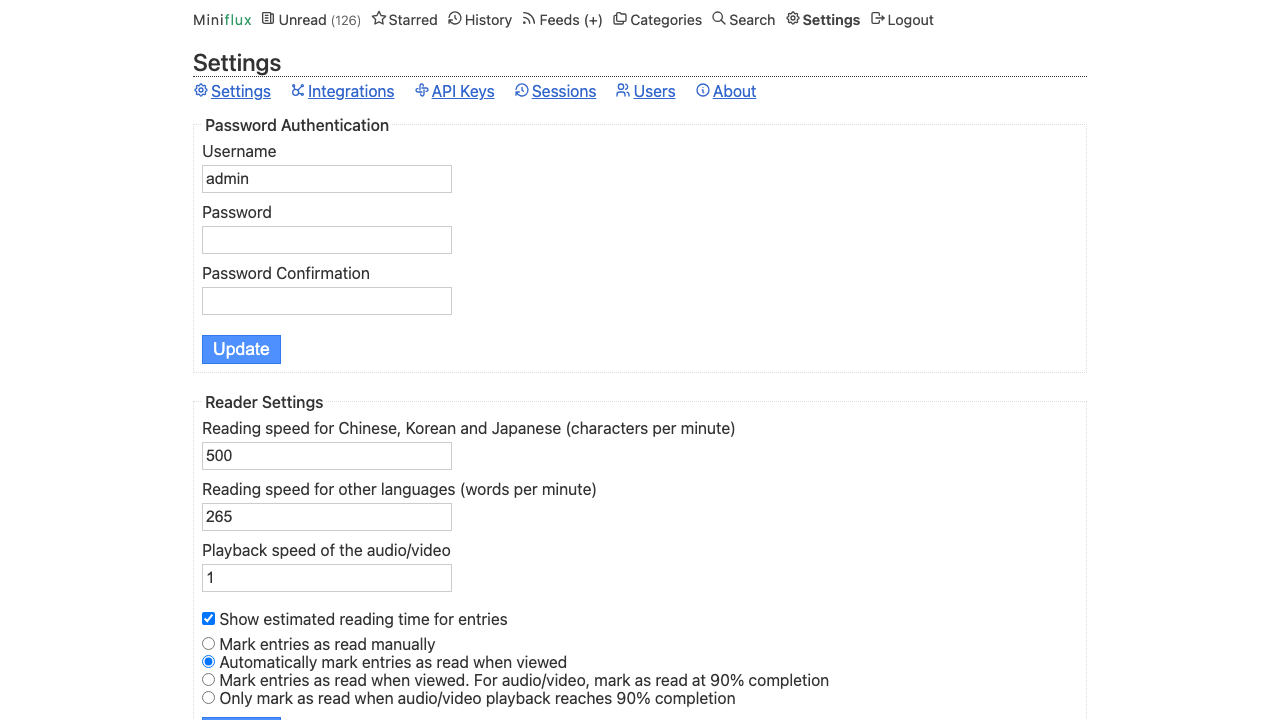
Miniflux settings - reader preferences, integrations, API keys, sessions and multi-user.
Step 9 - Use the REST API
The REST API is served on the same port and authenticates with your administrator login (or an API key generated under Settings -> API Keys). From an SSH session on the VM you can prove the round trip with the per-VM password:
PASS=$(sudo awk -F= '/^miniflux.admin.pass=/{print $2}' /root/miniflux-credentials.txt)
curl -s -o /dev/null -w 'authenticated: HTTP %{http_code}\n' -u "admin:${PASS}" http://127.0.0.1/v1/me
An authenticated: HTTP 200 response confirms the API accepts the generated credentials. From your workstation the same call is curl -u 'admin:<password>' http://<vm-public-ip>/v1/me.
Step 10 - Confirm the runtime and the data disk
The Miniflux binary reports its version, and the PostgreSQL datadir lives on the dedicated data disk:
/usr/local/bin/miniflux -version
findmnt /var/lib/postgresql
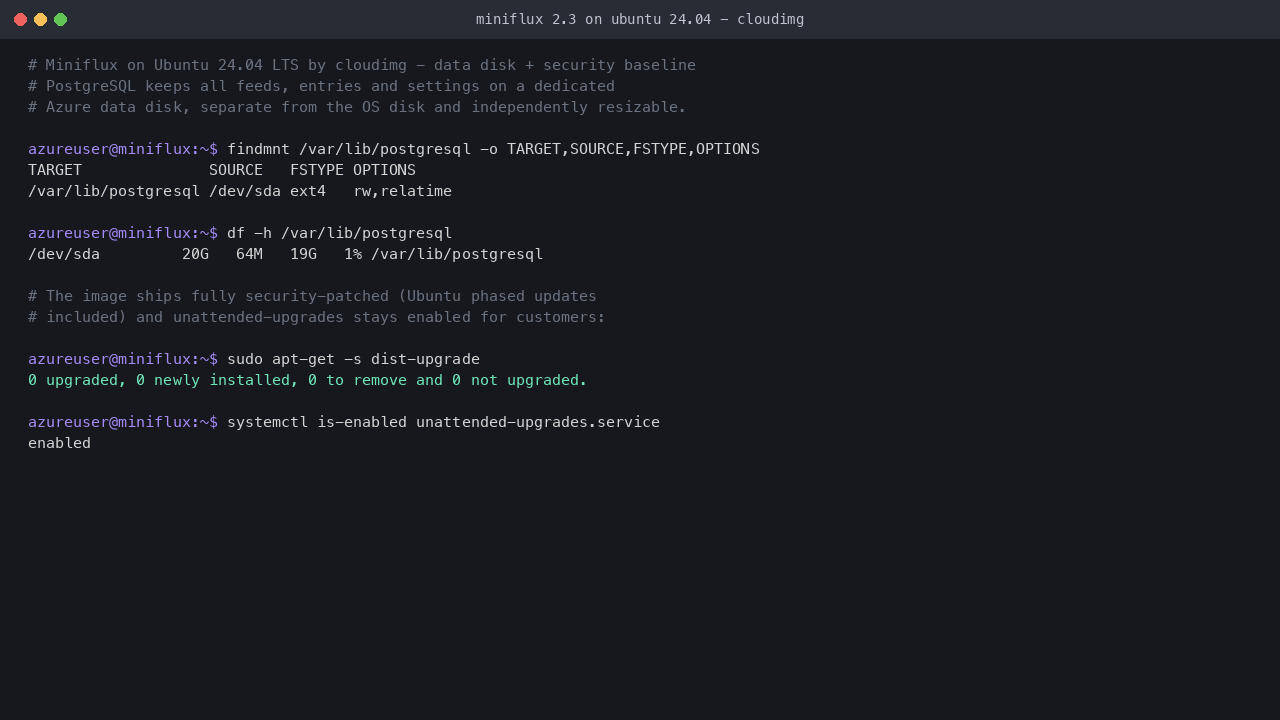
The pinned Miniflux release, the dedicated PostgreSQL data disk, and the fully patched security baseline.
Enabling HTTPS
For any production deployment serve Miniflux over HTTPS so logins cannot be intercepted. The image ships with nginx, which certbot can configure automatically. The following assumes a DNS record pointing your fully qualified domain name at the VM's public IP, and port 443 open in the NSG:
sudo apt-get update && sudo apt-get install -y certbot python3-certbot-nginx
sudo certbot --nginx -d reader.your-domain.example \
  --non-interactive --agree-tos -m you@your-domain.example \
  --redirect
After certbot finishes, set the base URL so generated links are correct, then restart: sudo sed -i 's|^BASE_URL=.*|BASE_URL=https://<your-domain>/|' /etc/miniflux.conf && sudo systemctl restart miniflux.
Backup and maintenance
Miniflux keeps all of its state - feeds, entries, users and settings - in PostgreSQL on the dedicated data disk. Back it up regularly:
sudo -u postgres pg_dump miniflux > <backup-dir>/miniflux-db-$(date +%F).sql
Ship the dump to Azure Blob Storage or another object store; because the database is on its own data disk you can also take coordinated disk snapshots in Azure. Feeds are refreshed on a schedule by the Miniflux scheduler; you can trigger a refresh from the UI at any time. For kernel and package updates, Ubuntu's unattended-upgrades is enabled by default; keep the OS patched with sudo apt update && sudo apt upgrade. To upgrade Miniflux, replace /usr/local/bin/miniflux with a newer release and restart - migrations run automatically. See https://miniflux.app/docs/.
Support
This image is backed by 24/7 cloudimg support. Contact us by email and chat for help with deployment, integrations, upgrades, TLS termination and database administration. Guaranteed response within 24 hours, one hour average for critical issues. Contact support@cloudimg.co.uk.
For general Miniflux questions consult the documentation at https://miniflux.app/docs/. Miniflux is a trademark of its respective owner. All product and company names are trademarks or registered trademarks of their respective holders. Use of them does not imply any affiliation with or endorsement by them.