Monica Personal CRM on AWS User Guide
Overview
This image runs Monica, a Laravel application, behind nginx with PHP FPM 8.3 and OPcache enabled. MariaDB provides the database, on the same instance and bound to the loopback interface only. The Laravel task scheduler runs every minute through a systemd timer, the configuration Monica recommends for production, so reminders and scheduled jobs run automatically.
Monica is a personal relationship manager: a self-hosted CRM for your personal life. You record the people who matter to you, log how and when you interacted with them, set reminders for birthdays and important dates, and keep notes, gifts, debts, tasks, activities, journal entries and the relationships between contacts. It is distinct from a business sales CRM.
The image ships with the database schema and reference data ready and signups disabled, so the per instance administrator account created on first boot is the only account. A Monica administrator password, a MariaDB password, and a fresh Laravel application key are generated on the first boot of every deployed instance. Two instances launched from the same Amazon Machine Image never share secrets, and the database is created empty at image build, so no personal data ships in the image. The administrator login is written to /root/monica-credentials.txt with mode 0600 so that only the root user can read it.
The Monica application code, the nginx document root (public/) and user uploads live under /var/www/monica, on a dedicated EBS volume separate from the operating system disk. The MariaDB data directory sits on its own EBS volume at /var/lib/mysql. Each tier can be resized independently of the others.
Prerequisites
Before you deploy this image you need:
- An Amazon Web Services account where you can launch EC2 instances
- IAM permissions to launch instances, create security groups, and subscribe to AWS Marketplace products
- An EC2 key pair in the target Region for SSH access to the instance
- A VPC and subnet in the target Region, with a security group allowing inbound port 22 from your management network and inbound ports 80 and 443 from the networks your users will reach Monica on
- The AWS CLI (version 2) installed locally if you plan to deploy from the command line
Step 1: Launch the Instance from the AWS Marketplace
Sign in to the AWS Management Console, open the EC2 service, and select Launch instance. Under Application and OS Images choose AWS Marketplace AMIs and search for Monica. Select the cloudimg listing and choose Select, then Continue on the subscription summary.
Pick an instance type of m5.large or larger — the Monica workload is PHP and MariaDB heavy. Choose your EC2 key pair under Key pair (login). Under Network settings select your VPC and subnet, and either create or select a security group that allows inbound port 22 from your management network and inbound ports 80 and 443 from the networks your users use. Leave the root volume at the default size or larger.
Select Launch instance. First boot initialisation takes a few seconds after the instance state becomes Running and the status checks pass.
Step 2: Launch the Instance from the AWS CLI
The following block launches an instance from the cloudimg Monica Marketplace AMI into an existing subnet and security group. Replace <ami-id> with the AMI ID shown on the Marketplace listing, <key-name> with your EC2 key pair name, <subnet-id> with your subnet ID, and <security-group-id> with a security group that opens ports 22, 80, and 443 as described above.
aws ec2 run-instances \
  --image-id <ami-id> \
  --instance-type m5.large \
  --key-name <key-name> \
  --subnet-id <subnet-id> \
  --security-group-ids <security-group-id> \
  --block-device-mappings '[{"DeviceName":"/dev/sda1","Ebs":{"VolumeSize":30,"VolumeType":"gp3"}}]' \
  --tag-specifications 'ResourceType=instance,Tags=[{Key=Name,Value=monica-01}]'
The command prints a JSON document on success. Note the instance ID, then retrieve its public address once it is running with aws ec2 describe-instances --instance-ids <instance-id> --query "Reservations[].Instances[].PublicIpAddress" --output text.
Step 3: Connect and Retrieve Initial Credentials
Connect over SSH with the key pair you selected and the public IP address from step 2. The SSH login user depends on the operating system of the AMI variant you launched:
| AMI variant | SSH login user |
|---|---|
| Monica 4.1 on Ubuntu 24.04 | ubuntu |
Once connected, read the per instance administrator login and database credentials that first boot generated. They are stored in a root only file:
sudo cat /root/monica-credentials.txt
The file lists the application URL, the administrator email (admin@localhost) and password, and the MariaDB database name, user and password. These values are unique to this instance.
Step 4: Verify the Service is Running
Monica is served on port 80. Confirm the web server, PHP FPM and the database are all active:
systemctl is-active nginx php8.3-fpm mariadb
Confirm the sign-in page is being served locally:
curl -s -o /dev/null -w 'HTTP %{http_code}\n' http://127.0.0.1/login
Confirm the installed Monica version:
cat /var/www/monica/config/.version
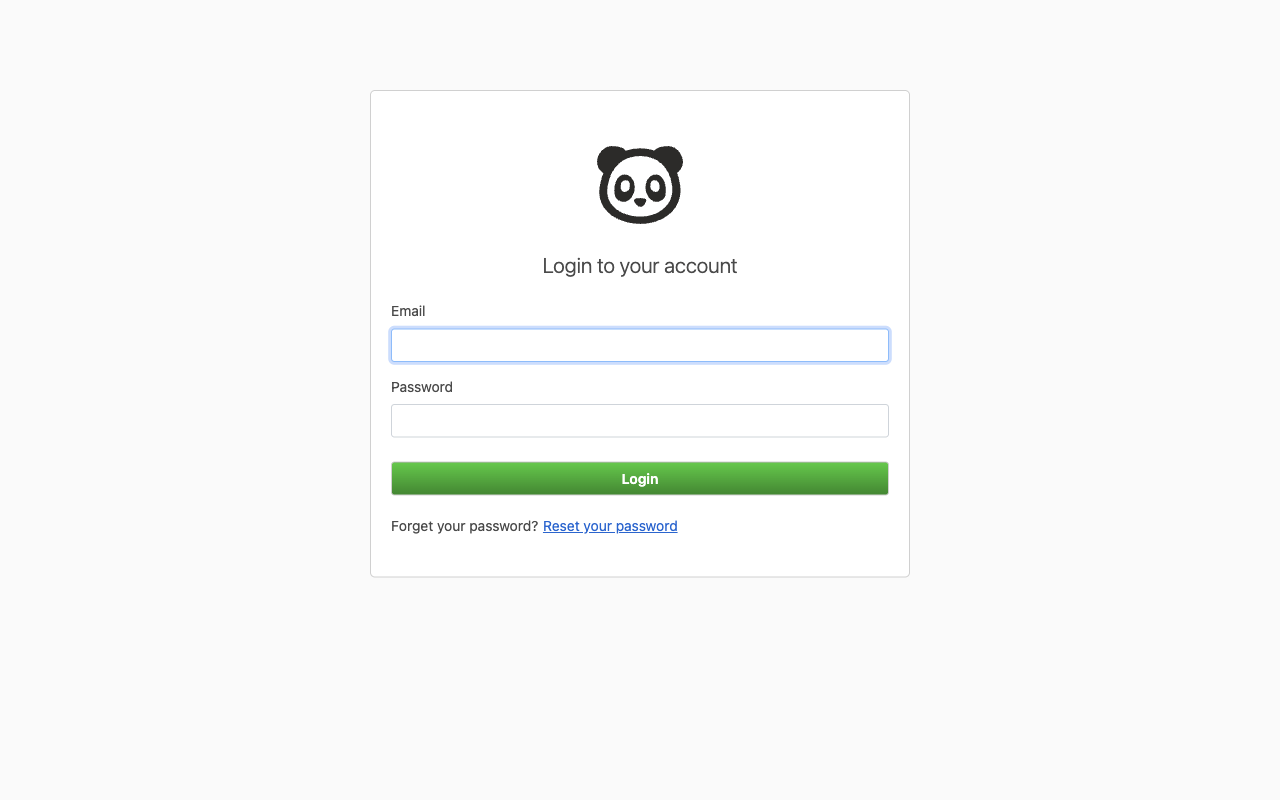
Step 5: First Login to the Monica Web Interface
Open http://<public-ip>/ in your browser. You are presented with the Monica sign-in page. Sign in with the administrator email admin@localhost and the password from /root/monica-credentials.txt. Because the instance's own public address is set as the application URL on first boot, every link and asset resolves correctly.
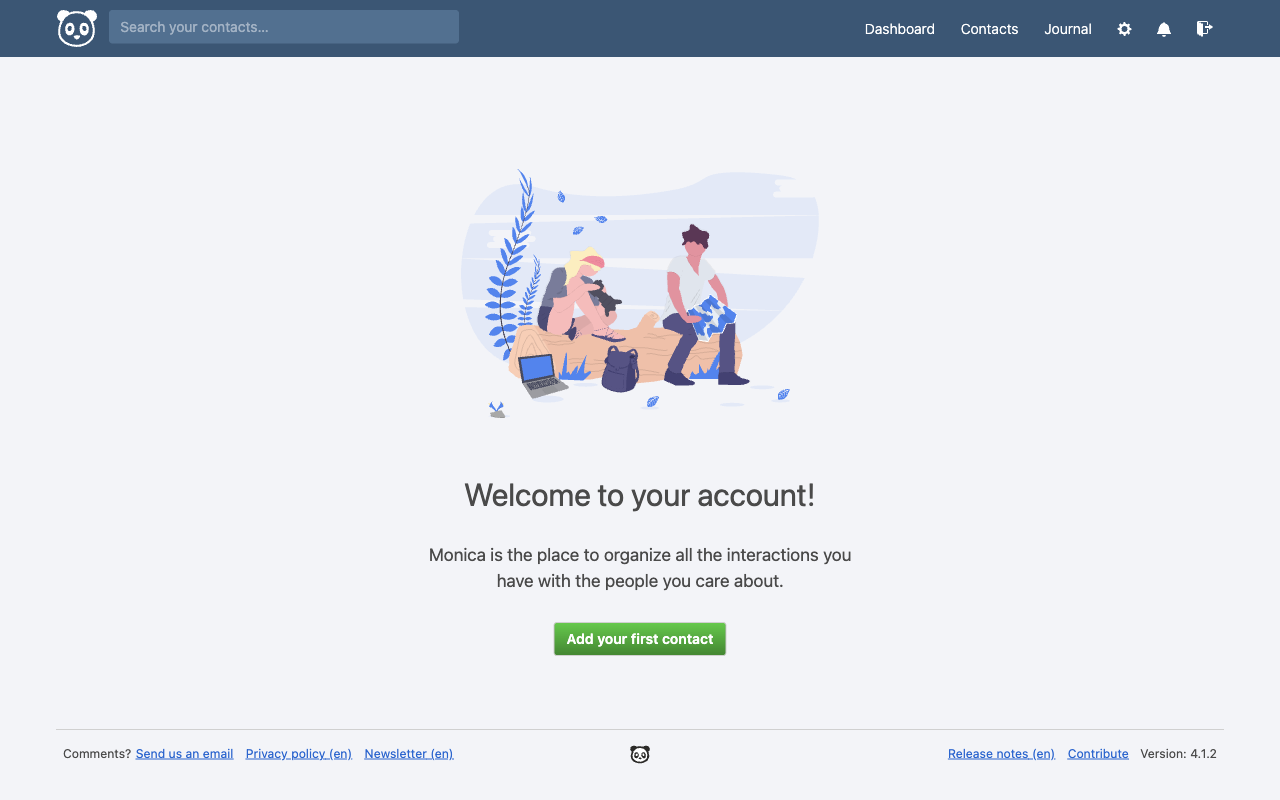
After signing in you land on your account dashboard, the home of your personal relationship manager.
Step 6: Change the Administrator Email and Password
The shipped administrator account uses the email admin@localhost. Open the settings menu (the gear icon, top right), choose Settings, then your profile, and set a real email address and a password of your own. From the same settings area you can set your name, timezone, locale, and currency.
Step 7: Add Your First Contacts
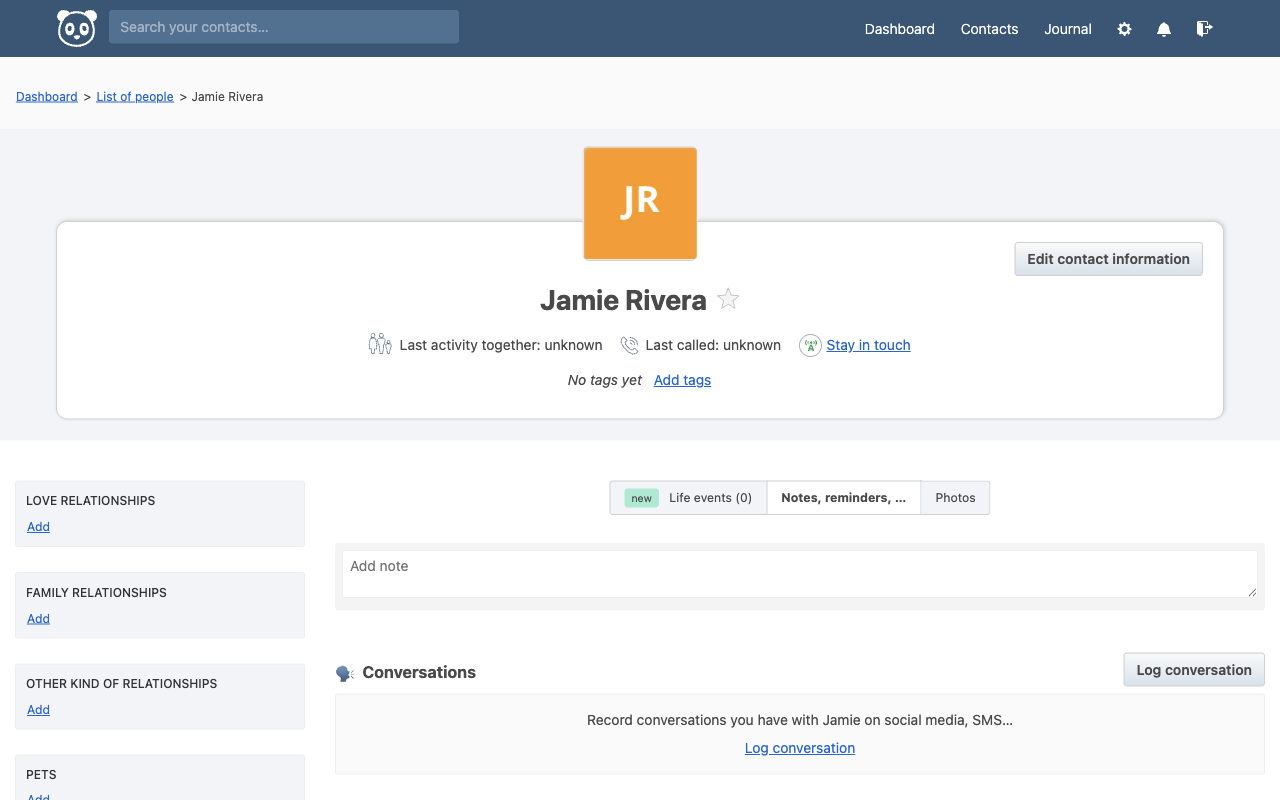
From the dashboard or the Contacts menu, select Add a new person. Enter a first name (the only required field) and optionally a last name, nickname, email and gender, then choose Add. You land on the contact's profile, where you can record:
- Relationships — partners, family members, and other connections between your contacts
- Important dates — birthdays and anniversaries, which can generate reminders
- Notes — free form notes about the person
- Activities — things you did together
- Reminders — one off or recurring nudges
- Gifts, tasks, debts and how you stay in touch
Step 8: Use the Journal
The Journal records entries about your day and links them to the contacts involved. It is a private diary that ties into your relationships, so you can look back on what happened and with whom.
Step 9: Configure Outbound Email
To let Monica send reminder emails, edit /var/www/monica/.env and set the MAIL_MAILER, MAIL_HOST, MAIL_PORT, MAIL_USERNAME, MAIL_PASSWORD, MAIL_ENCRYPTION and MAIL_FROM_ADDRESS values for your SMTP provider. After editing the file, rebuild the configuration cache:
cd /var/www/monica && sudo -u www-data php artisan config:clear && sudo -u www-data php artisan config:cache
Step 10: CardDAV and CalDAV Sync
Monica ships with CardDAV (contacts) and CalDAV (calendar) support enabled. Point your phone or desktop client at http://<public-ip>/dav/ and authenticate with your Monica login to sync contacts and important dates with your address book and calendar. Enabling HTTPS (next step) is strongly recommended before syncing real data.
Step 11: Two Factor Authentication
Two factor authentication is enabled on this instance. From Settings, Security, you can enable a TOTP authenticator app and register WebAuthn security keys to protect your account.
Step 12: Enable HTTPS
For production use you should put Monica behind TLS. Install a certificate with Let's Encrypt and the nginx plugin, replacing the domain with your own:
sudo apt-get update
sudo apt-get install -y certbot python3-certbot-nginx
sudo certbot --nginx -d your-domain.example.com
Once Monica is reachable over HTTPS, set APP_URL to your https:// address and turn on forced HTTPS so every generated link and asset uses the secure scheme. Edit /var/www/monica/.env, set APP_FORCE_HTTPS=true and update APP_URL, then rebuild the configuration cache with the artisan config:clear and artisan config:cache commands shown in Step 9.
Step 13: Backups and Maintenance
Back up the MariaDB monica database and the /var/www/monica/storage directory regularly. A database dump can be taken with mysqldump:
sudo mysqldump monica | gzip > /var/tmp/monica-db-backup.sql.gz
Keep the operating system patched with sudo apt-get update && sudo apt-get upgrade. The Laravel scheduler that drives reminders runs automatically every minute through the monica-scheduler.timer systemd timer; you can inspect it with systemctl list-timers monica-scheduler.timer.
Step 14: Scaling and Operations
For a larger deployment, move the MariaDB tier to Amazon RDS for MySQL and point the DB_* values in /var/www/monica/.env at the managed endpoint, leaving the application instance stateless apart from /var/www/monica/storage. Place the application behind an Application Load Balancer with an ACM certificate for TLS termination, and set APP_FORCE_HTTPS=true so Monica generates secure URLs behind the load balancer.
Screenshots
Support
This Amazon Machine Image is published by cloudimg with 24/7 technical support by email and chat, covering Monica deployment, upgrades, performance tuning, email configuration, CardDAV and CalDAV sync, two factor authentication, and database administration. Monica itself is open source software licensed under the AGPL-3.0; cloudimg charges for the support service, not for the software. All product and company names are trademarks or registered trademarks of their respective holders. Use of them does not imply any affiliation with or endorsement by them.