
Netshot on AWS User Guide
Overview
This image runs Netshot, the open source platform for automated network device configuration backup, inventory and compliance management. Netshot connects to your routers, switches, firewalls and load balancers, periodically archives their running and startup configurations, keeps a full change history with diffs, maintains a live inventory of hardware and software versions, and continuously checks the estate against configuration and software-compliance rules you define. It ships with drivers for Cisco IOS, NX-OS, IOS-XR and ASA, Juniper, Arista, Fortinet and more than one hundred other device families.
Netshot serves its own web UI and REST API from an embedded web server, running over HTTPS directly on port 443 with a self-signed certificate. It runs as a dedicated, non-root service on a GraalVM runtime, which Netshot 0.24 requires to execute its polyglot device drivers. A local PostgreSQL server is its backing store, holding the device inventory, configuration snapshots, compliance results and users; the schema is created and migrated automatically on first start.
On the first boot of every deployed instance, a one-shot service rotates the built-in administrator password, the database password, the credential-encryption key and the TLS keystore to fresh, unique per-instance values before the service accepts any traffic, and records the administrator password in /root/netshot-credentials.txt with mode 0600. No shared or default credentials ship in the image.
Prerequisites
Before you deploy this image you need:
- An Amazon Web Services account where you can launch EC2 instances
- IAM permissions to launch instances, create security groups, and subscribe to AWS Marketplace products
- An EC2 key pair in the target Region for SSH access to the instance
- A VPC and subnet in the target Region, with a security group allowing inbound port 22 from your management network and inbound port 443 from where you will reach the web UI
- Network reachability from the instance to the management interfaces of the devices you want Netshot to back up
- The AWS CLI (version 2) installed locally if you plan to deploy from the command line
Step 1: Launch the Instance from the AWS Marketplace
Sign in to the AWS Management Console, open the EC2 service, and select Launch instance. Under Application and OS Images choose AWS Marketplace AMIs and search for Netshot. Select the cloudimg listing and choose Select, then Continue on the subscription summary.
Pick an instance type of m5.large or larger; Netshot runs a GraalVM JVM alongside a local PostgreSQL server, so it benefits from memory headroom. Choose your EC2 key pair under Key pair (login). Under Network settings select your VPC and subnet, and either create or select a security group that allows inbound port 22 from your management network and inbound port 443 from where you will reach the web UI.
Select Launch instance. First boot initialisation rotates the per-instance secrets and starts the service; allow a couple of minutes after the instance state becomes Running and the status checks pass before you sign in.
Step 2: Launch the Instance from the AWS CLI
The following block launches an instance from the cloudimg Netshot Marketplace AMI into an existing subnet and security group. Replace <ami-id> with the AMI ID shown on the Marketplace listing, <key-name> with your EC2 key pair name, <subnet-id> with your subnet ID, and <security-group-id> with a security group that opens port 22 and port 443 as described above.
aws ec2 run-instances \
  --image-id <ami-id> \
  --instance-type m5.large \
  --key-name <key-name> \
  --subnet-id <subnet-id> \
  --security-group-ids <security-group-id> \
  --block-device-mappings '[{"DeviceName":"/dev/sda1","Ebs":{"VolumeSize":30,"VolumeType":"gp3"}}]' \
  --tag-specifications 'ResourceType=instance,Tags=[{Key=Name,Value=netshot-01}]'
The command prints a JSON document on success. Note the instance ID, then retrieve its public address once it is running with aws ec2 describe-instances --instance-ids <instance-id> --query "Reservations[].Instances[].PublicIpAddress" --output text.
Step 3: Connect and Retrieve the Administrator Password
Connect over SSH with the key pair you selected and the public IP address from step 2. The SSH login user depends on the operating system of the AMI variant you launched:
| AMI variant | SSH login user |
|---|---|
| Netshot 0.24.0 on Ubuntu 24.04 | ubuntu |
Retrieve the generated administrator credentials:
ssh <login-user>@<public-ip>
sudo cat /root/netshot-credentials.txt
You will see a plain text file containing the sign-in URL, the username admin, and the per-instance administrator password:
# Netshot - generated on first boot by netshot-firstboot.service
# These credentials are unique to this instance. Store them somewhere safe.

NETSHOT_USERNAME=admin
NETSHOT_ADMIN_PASSWORD=<generated-password>
NETSHOT_URL=https://<public-ip>/
From the same SSH session you can confirm the two services that make up the stack are running:
systemctl is-active netshot postgresql
active
active
Confirm the web UI answers over HTTPS on the loopback interface (the -k flag accepts the self-signed certificate):
curl -sk -o /dev/null -w 'HTTP %{http_code}\n' https://127.0.0.1/
HTTP 200
Netshot 0.24 requires the GraalVM runtime; you can confirm it is the active Java:
java -version 2>&1
java version "21.0.9" 2025-10-21 LTS
Java(TM) SE Runtime Environment Oracle GraalVM 21.0.9+7.1 (build 21.0.9+7-LTS-jvmci-23.1-b79)
Java HotSpot(TM) 64-Bit Server VM Oracle GraalVM 21.0.9+7.1 (build 21.0.9+7-LTS-jvmci-23.1-b79, mixed mode, sharing)
Step 4: First Sign-in to the Web UI
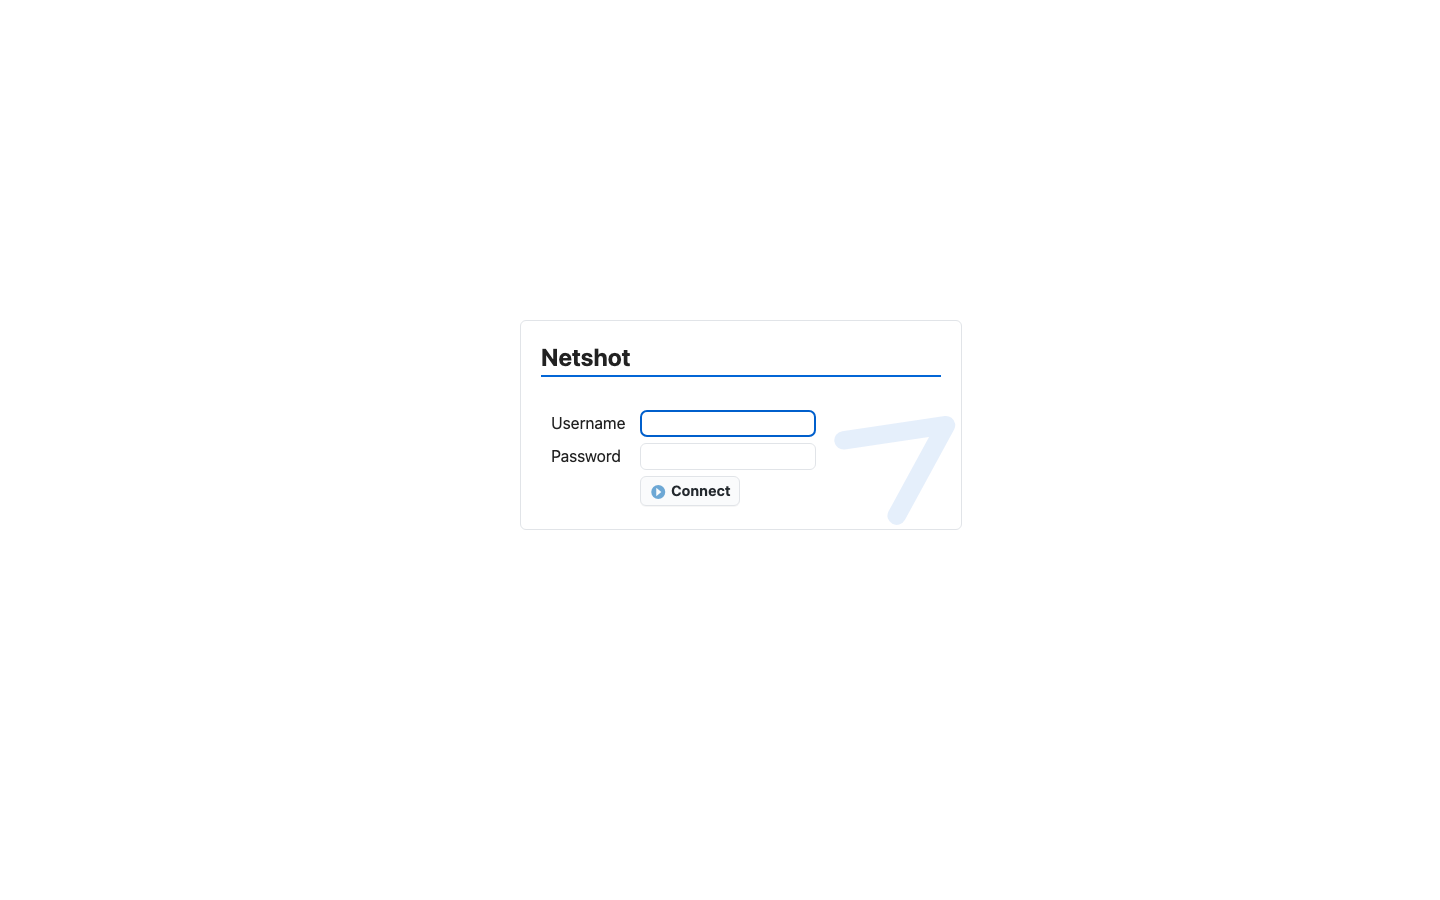
Open a browser and go to https://<public-ip>/. Because the image ships a self-signed certificate, your browser warns on the first visit; accept the warning to proceed (Step 8 covers replacing the certificate with your own). Sign in with the username admin and the administrator password from the credentials file.
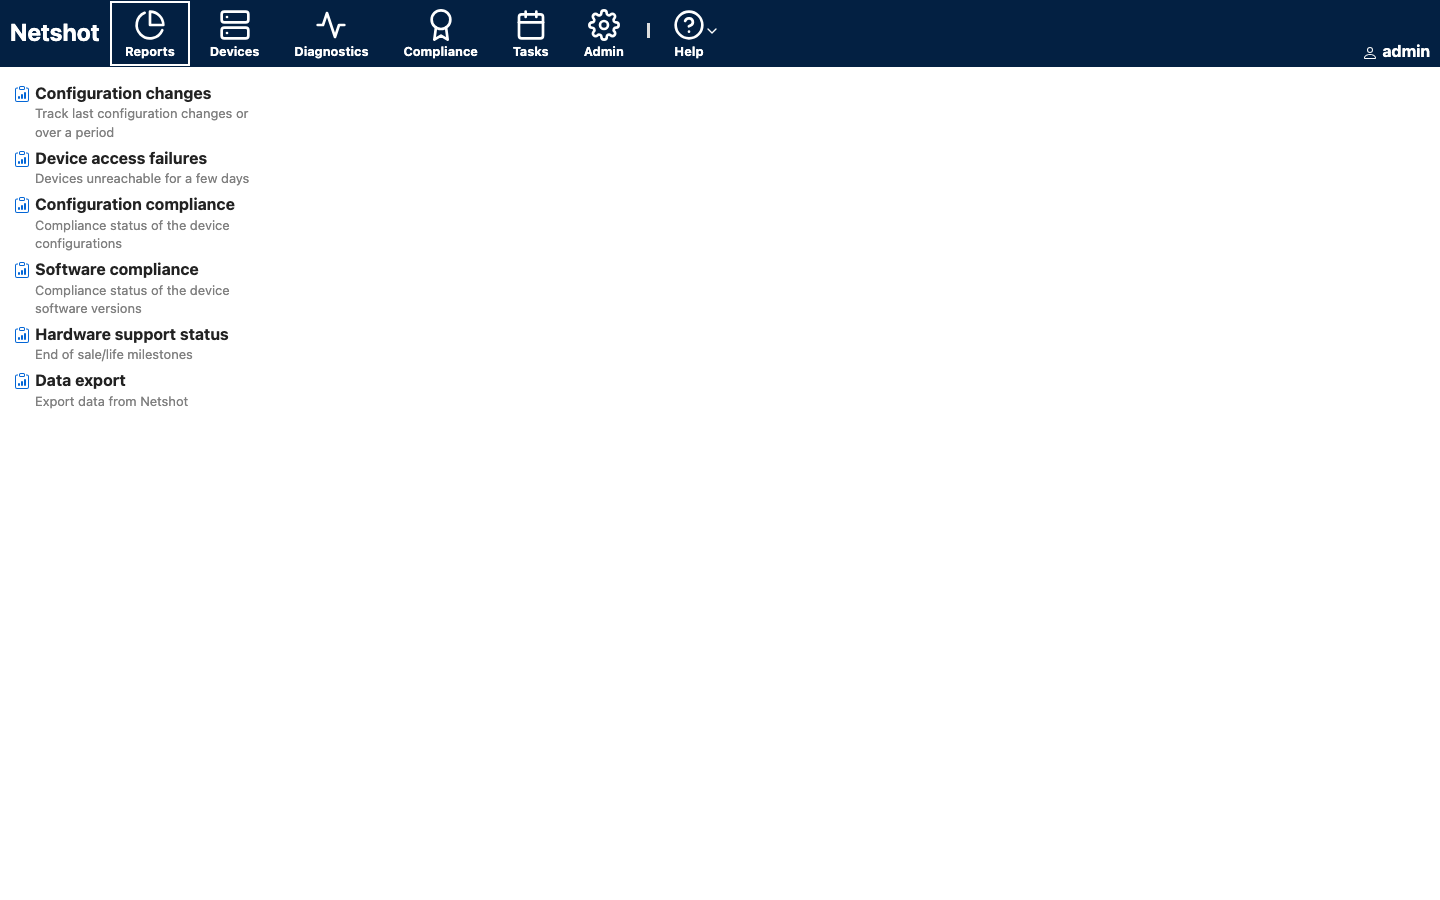
After signing in you land on the Reports view, which gathers the platform's cross-network reports: recent configuration changes, devices Netshot could not reach, configuration and software compliance status, and hardware end-of-sale and end-of-life milestones.
You can verify from your SSH session that the per-instance administrator password authenticates against the REST API (the default password that ships in Netshot's schema is rotated away on first boot and no longer works):
curl -sk -o /dev/null -w 'auth HTTP %{http_code}\n' \
  -X POST -H 'Content-Type: application/json' -H 'Accept: application/json' \
  --data '{"username":"admin","password":"<NETSHOT_ADMIN_PASSWORD>"}' \
  https://127.0.0.1/api/user
auth HTTP 200
Step 5: Add Your First Devices
Open the Devices view from the top navigation and use Add device... to onboard a network device. Netshot needs the device's management address and a set of credentials (SSH or Telnet for the CLI drivers, plus SNMP where the driver uses it); create these once under Admin and reuse them across devices. Netshot auto-detects the device type against its driver library, takes an initial configuration snapshot, and adds the device to the live inventory. Group devices into dynamic domains so tasks and compliance rules can target logical sets of the estate.
Step 6: Configuration and Software Compliance
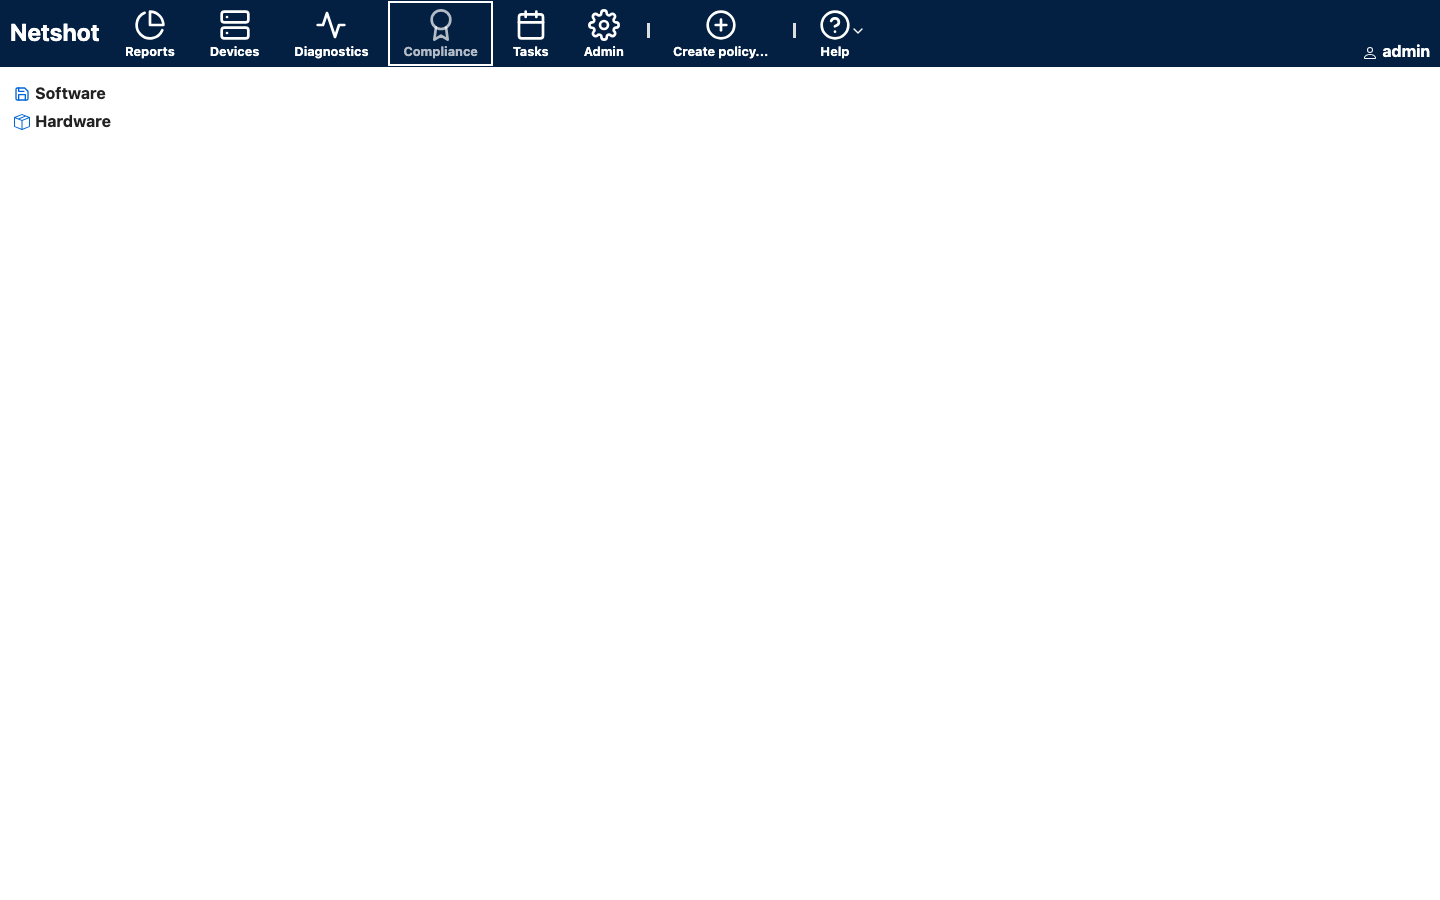
Open the Compliance view to manage compliance policies. Under Software you define which software versions are approved for each device family so Netshot can flag devices running an out-of-date or disallowed image, and under Hardware you track end-of-sale and end-of-life milestones. Use Create policy... to author configuration-compliance rules that flag any device whose configuration drifts from your standard.
Step 7: Tasks and Scheduling
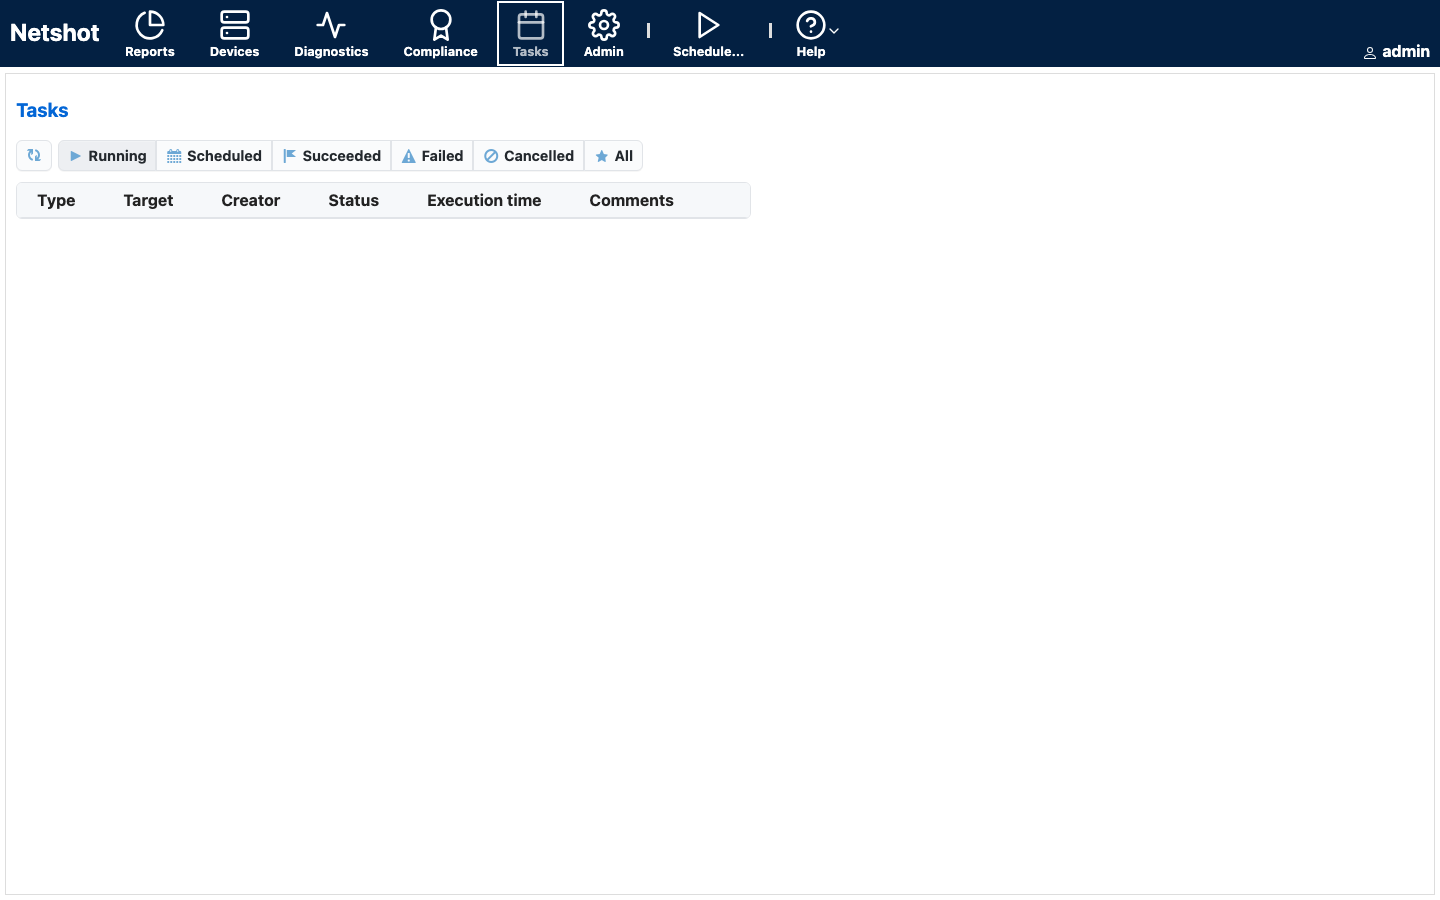
Open the Tasks view to see running, scheduled and completed jobs, with filters for running, scheduled, succeeded, failed and cancelled tasks. Use Schedule task... from the Devices view to run configuration snapshots, compliance checks, software upgrades or scripts on a schedule against a device or a whole domain. Change-detection listeners for syslog and SNMP traps are enabled so Netshot can snapshot a device the moment its configuration is altered.
Step 8: Replace the Self-Signed Certificate
The image ships with a per-instance self-signed certificate so the UI is encrypted from first boot. For production, replace it with a certificate trusted by your organisation. Netshot reads its TLS material from the PKCS#12 keystore referenced by netshot.http.ssl.keystore.file in /etc/netshot.conf; import your certificate and key into a keystore, point those settings at it, and restart the service. For a public DNS name you can obtain a certificate with a tool such as certbot and convert it to the keystore format Netshot expects. Because this changes the running service, run it during a maintenance window on your own host:
# On a host that owns your-domain.example.com, obtain and install a trusted certificate,
# convert it into the Netshot keystore, then restart the service. Adapt to your own PKI:
certbot certonly --standalone -d your-domain.example.com
Backup and Maintenance
Netshot stores everything it manages in its local PostgreSQL database netshot01 (device inventory, configuration snapshots, compliance results and users). Back up that database regularly with your standard PostgreSQL tooling, and snapshot the EBS root volume for a full point-in-time copy of the instance. Keep the operating system patched with sudo apt-get update && sudo apt-get upgrade, and restart the service after configuration changes with sudo systemctl restart netshot. The service logs are under /var/log/netshot/.
Support
This image is provided by cloudimg with 24/7 technical support by email and chat. We can help with deployment, replacing the self-signed certificate, device onboarding and driver selection, compliance-rule authoring, storage and upgrade planning. Netshot itself is open source software licensed under the GNU General Public License v3.0; this image repackages it unmodified and adds cloudimg's first-boot hardening and support.