OneDev on Ubuntu 24.04 on Azure User Guide
Overview
OneDev is a self-hosted Git server that bundles a complete software-delivery toolchain in a single application: Git hosting, built-in CI/CD pipelines, kanban issue boards, pull requests with code review, and a package registry. It is a lightweight, easy-to-run alternative to heavier self-hosted forges. The cloudimg image installs OneDev 15.1.8 under /opt/onedev, runs it as a dedicated onedev system user on an Eclipse Temurin 17 JRE, binds the web UI to loopback behind an nginx reverse proxy on TCP 80, persists all repository data on a dedicated Azure data disk, and creates a unique administrator account on the first boot of every VM with no setup wizard to click through. Git-over-SSH is served on TCP 6611. Backed by 24/7 cloudimg support.
What is included:
- OneDev 15.1.8 under
/opt/onedev, launched via its service wrapper as theonedevuser - An Eclipse Temurin 17 JRE (the runtime OneDev targets)
- The OneDev web UI (repositories, CI/CD, issue boards, packages, REST API), fronted by nginx on
:80 - A per-VM administrator account created automatically on first boot and written to a root-only file — no browser setup wizard
- A dedicated Azure data disk at
/var/lib/onedevholding the embedded database, git repositories, build artifacts and attachments — separate from the OS disk and re-provisioned with every VM - Git-over-SSH on
6611/tcpand the REST API at/~api onedev.service+nginx.serviceas systemd units, enabled and active- 24/7 cloudimg support
Prerequisites
An active Azure subscription, an SSH key pair, and a VNet + subnet in the target region. Standard_B2ms (2 vCPU / 8 GiB RAM) is a good starting point; scale up for more concurrent builds and larger repositories. NSG inbound: allow 22/tcp from your management network, 80/tcp for the web UI (front with TLS for public exposure — see Enabling HTTPS), and 6611/tcp if you want to clone over SSH.
Step 1 — Deploy from the Azure Marketplace
Sign in to the Azure Portal, choose Create a resource, search the Marketplace for OneDev by cloudimg, and select Create. On Basics pick your subscription, resource group, region and size; under Administrator account choose SSH public key and paste your key; under Inbound port rules allow SSH (22) and HTTP (80). Review the dedicated data disk on the Disks tab, then Review + create then Create.
Step 2 — Deploy from the Azure CLI
az vm create \
  --resource-group <your-rg> \
  --name onedev \
  --image <marketplace-image-urn> \
  --size Standard_B2ms \
  --admin-username azureuser \
  --ssh-key-values ~/.ssh/id_ed25519.pub \
  --vnet-name <your-vnet> --subnet <your-subnet> \
  --public-ip-sku Standard

az vm open-port --resource-group <your-rg> --name onedev --port 80 --priority 1010
Step 3 — Connect to your VM
ssh azureuser@<vm-public-ip>
Step 4 — Confirm the services are running
systemctl is-active onedev.service nginx.service
Both services report active. OneDev runs its database migrations on the very first boot, so allow a minute or two after deployment before the web UI answers.
Step 5 — Retrieve your admin password
The administrator account is created uniquely on the first boot of your VM and its password is written to a root-only file:
sudo cat /root/onedev-credentials.txt
This file contains ONEDEV_ADMIN_USER (admin) and ONEDEV_ADMIN_PASSWORD, plus the URL for the web UI. Store the password somewhere safe.
Step 6 — Check the health endpoint
nginx serves an unauthenticated health endpoint for load balancers and probes:
curl -s http://localhost/health
It returns ok.
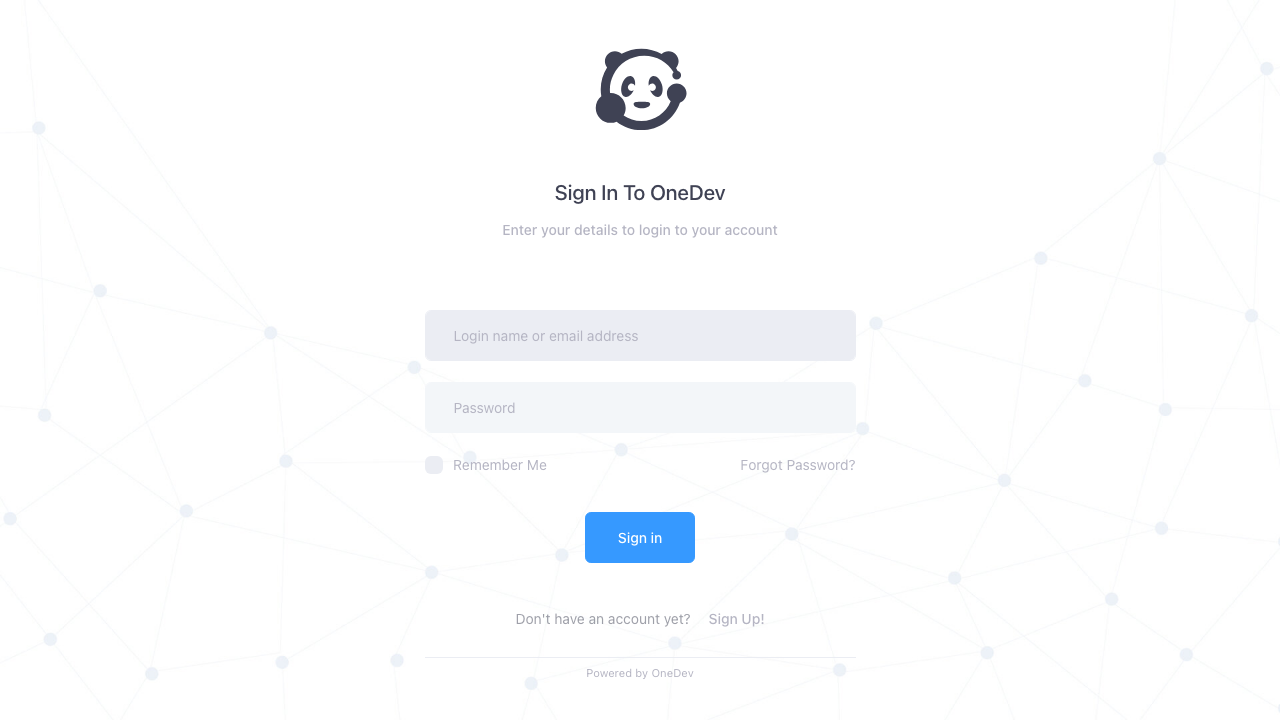
Step 7 — Sign in to the web UI
Browse to http://<vm-public-ip>/ and sign in as admin with the password from Step 5. There is no setup wizard — the administrator account and system settings were seeded on first boot. The login page is the entry point to repositories, CI/CD, issue boards and the package registry.
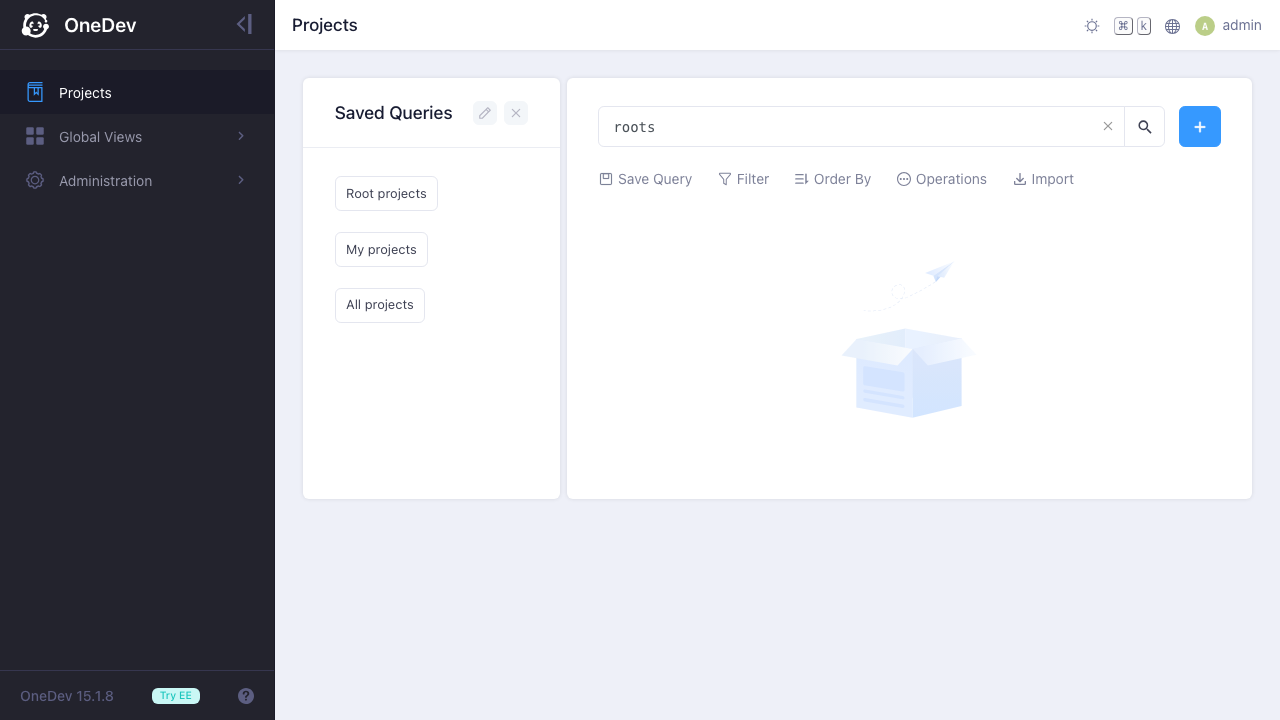
After signing in you land on the projects dashboard, where you create your first repository and browse existing ones:
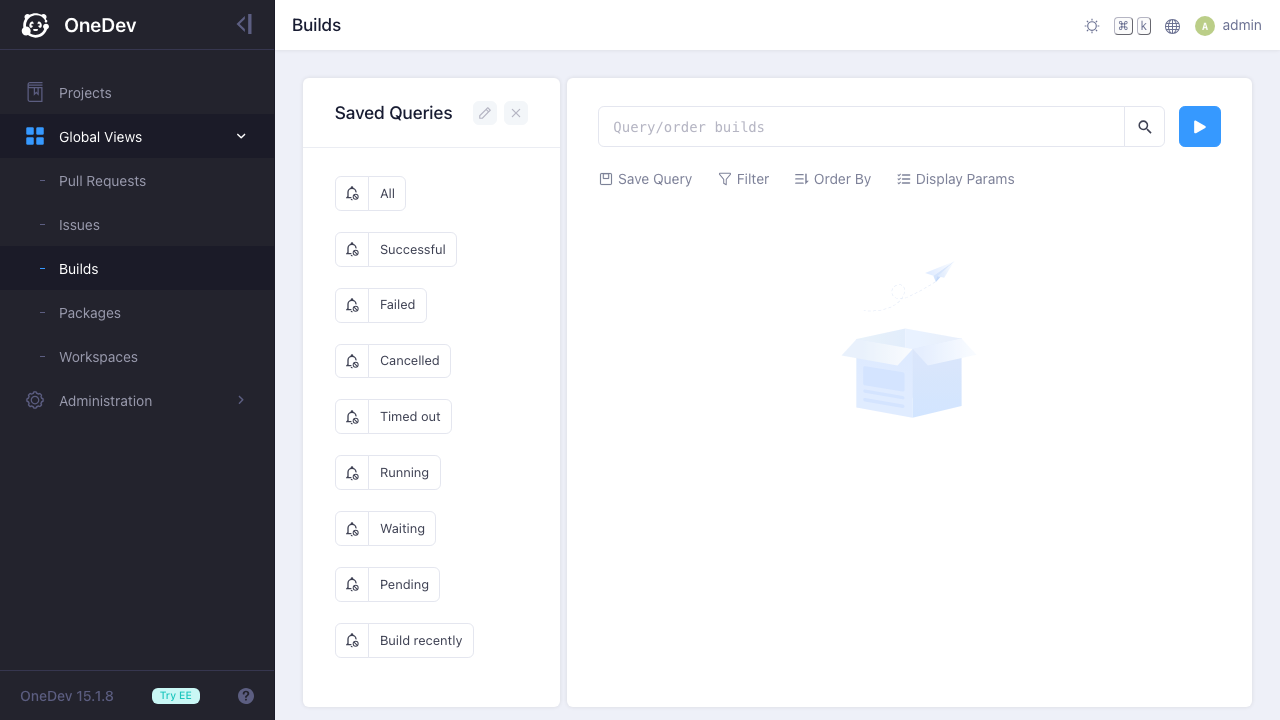
OneDev's built-in CI/CD gives you a Builds view across all your projects, with saved queries for successful, failed, running and pending builds:
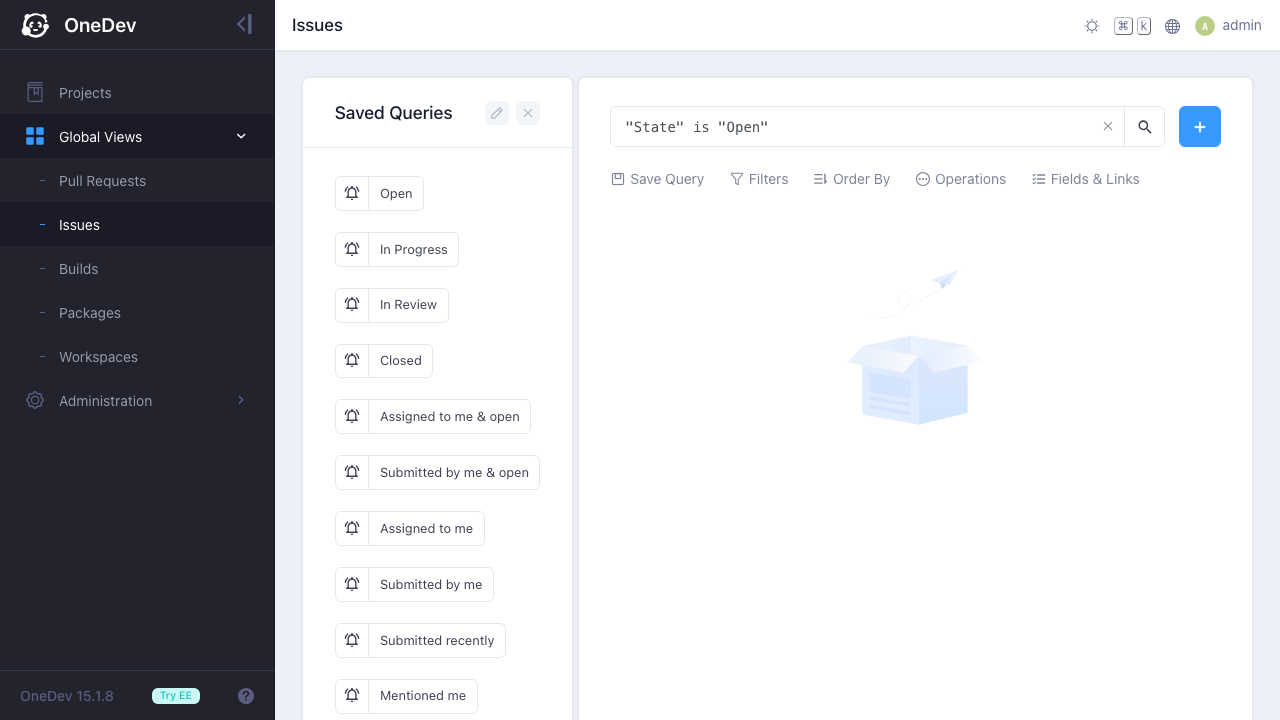
The Issues view tracks work items with rich saved queries (open, in progress, in review, assigned to me) alongside the code and CI/CD that act on them:
Step 8 — Use the REST API
OneDev exposes a REST API under /~api that accepts HTTP Basic authentication. Confirm the admin account authenticates and returns its own profile:
curl -s -u admin:<ONEDEV_ADMIN_PASSWORD> http://localhost/~api/users/me; echo
You get a JSON object describing the admin user. A wrong password returns HTTP 401. The interactive API reference is served in-product at http://<vm-public-ip>/~help/api.
Step 9 — Create a project and clone it over HTTPS
Create a repository from the web UI (New Project), then clone it over HTTPS using the admin credentials. From your workstation:
git clone http://admin@<vm-public-ip>/<your-project>.git
OneDev prompts for the admin password (or an access token you create under My Profile then Access Tokens). The nginx proxy is configured with a 2 GB body size so large pushes and LFS objects go through cleanly.
Step 10 — Clone over SSH (optional)
OneDev runs a git-over-SSH listener on port 6611. Add your SSH public key under My Profile then SSH Keys in the web UI, open 6611/tcp on the NSG, then clone:
git clone ssh://git@<vm-public-ip>:6611/<your-project>.git
Step 11 — Confirm data lives on the dedicated disk
All repository data — the embedded database, git repositories, build artifacts and attachments — is stored on the dedicated Azure data disk so it survives OS changes and can be resized independently:
findmnt /var/lib/onedev
The mount is backed by a separate Azure data disk captured into the image and re-provisioned on every VM.
Enabling HTTPS
The nginx reverse proxy terminates plain HTTP on port 80. For public exposure, put a certificate in front of it. The simplest path is to add a DNS name for the VM and use the companion cloudimg nginx-ssl-certbot image as a TLS reverse proxy, or install certbot and extend the existing nginx site with a listen 443 ssl; server block and your certificate paths. Keep OneDev itself bound to loopback so the only public web surface is the authenticated, TLS-terminated proxy. After enabling TLS, update the server URL under Administration then System Setting so OneDev emits correct clone URLs.
Maintenance
- Configuration: OneDev's HTTP and SSH ports live in
/opt/onedev/conf/server.properties; the database connection is in/opt/onedev/conf/hibernate.properties(the image uses the embedded HSQLDB on the data disk). Edit andsudo systemctl restart onedevto apply changes. - Backups: snapshot the
/var/lib/onedevdata disk, or use OneDev's built-in database backup under Administration then Database Backup. - Upgrades: OneDev's web UI offers in-product upgrade guidance; for a clean upgrade replace the
/opt/onedevruntime with a newer release, preserving/var/lib/onedev, and restart the service. - Security patches: unattended-upgrades remains enabled so the OS continues to receive security updates automatically.
Support
cloudimg provides 24/7 expert support for this image. Contact support@cloudimg.co.uk.
OneDev is a trademark of its respective owner. This image is produced by cloudimg and is not affiliated with or endorsed by the OneDev project. OneDev is distributed under the MIT License.