OpenBao on Ubuntu 24.04 on Azure User Guide
Overview
OpenBao is the open-source, community-driven fork of HashiCorp Vault for secrets management. It securely stores and tightly controls access to tokens, passwords, certificates and encryption keys, with dynamic secrets, leasing and renewal, encryption as a service, and a complete audit trail. The cloudimg image installs OpenBao 2.5.5, runs it as a dedicated systemd service with file storage bound to loopback behind an nginx reverse proxy on port 80, persists the encrypted store on a dedicated Azure data disk, and initialises and unseals the vault with unique keys on the first boot of every VM. Backed by 24/7 cloudimg support.
What is included:
- OpenBao 2.5.5 (binary
/usr/bin/bao) with file storage and the web UI enabled - nginx on
:80fronting the loopback OpenBao listener (OpenBao uses token auth, not basic auth) - Per-VM initialisation: five unseal keys + a root token generated on first boot, in a root-only file
- Auto-unseal on every boot from the stored keys
- A dedicated Azure data disk at
/var/lib/openbaoholding the encrypted store - separate from the OS disk and re-provisioned with every VM openbao.service+nginx.serviceas systemd units, enabled and active- 24/7 cloudimg support
Prerequisites
An active Azure subscription, an SSH key pair, and a VNet + subnet in the target region. Standard_B2ms (2 vCPU / 8 GiB RAM) is a good starting point. NSG inbound: allow 22/tcp from your management network and 80/tcp for the UI and API (front with TLS for public exposure - see Enabling HTTPS).
Step 1 - Deploy from the Azure Marketplace
Sign in to the Azure Portal, choose Create a resource, search the Marketplace for OpenBao by cloudimg, and select Create. On Basics pick your subscription, resource group, region and size; under Administrator account choose SSH public key and paste your key; under Inbound port rules allow SSH (22) and HTTP (80). Review the dedicated data disk on the Disks tab, then Review + create -> Create.
Step 2 - Deploy from the Azure CLI
az vm create \
  --resource-group <your-rg> \
  --name openbao \
  --image <marketplace-image-urn> \
  --size Standard_B2ms \
  --admin-username azureuser \
  --ssh-key-values ~/.ssh/id_ed25519.pub \
  --vnet-name <your-vnet> --subnet <your-subnet> \
  --public-ip-sku Standard

az vm open-port --resource-group <your-rg> --name openbao --port 80 --priority 1010
Step 3 - Connect to your VM
ssh azureuser@<vm-public-ip>
Step 4 - Confirm the services are running
systemctl is-active openbao.service nginx.service
Both services report active. On first boot the vault is initialised and unsealed automatically.
Step 5 - Retrieve your unseal keys and root token
On the first boot of your VM, OpenBao is initialised with five unseal keys and a root token, written to a root-only file:
sudo cat /root/openbao-credentials.txt
OPENBAO_ROOT_TOKEN logs you into the UI and authenticates API calls; OPENBAO_UNSEAL_KEY_1..5 unseal the vault. Copy these somewhere safe and then remove the file for production use - anyone with the keys and root token has full control of your secrets. The vault auto-unseals on reboot from the stored keys; for higher security, move to an external auto-unseal (KMS) and delete the stored keys.
Step 6 - Check the health endpoint
nginx serves an unauthenticated health endpoint for load balancers and probes:
curl -s http://localhost/health
It returns ok.
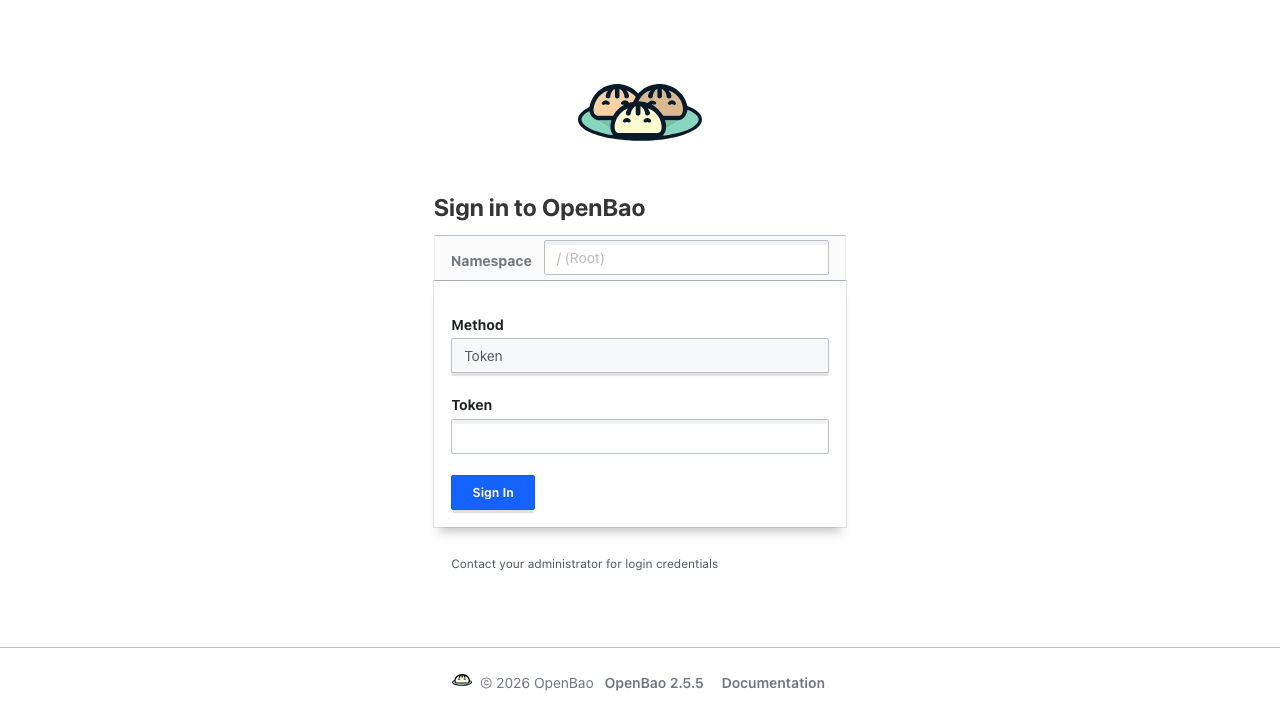
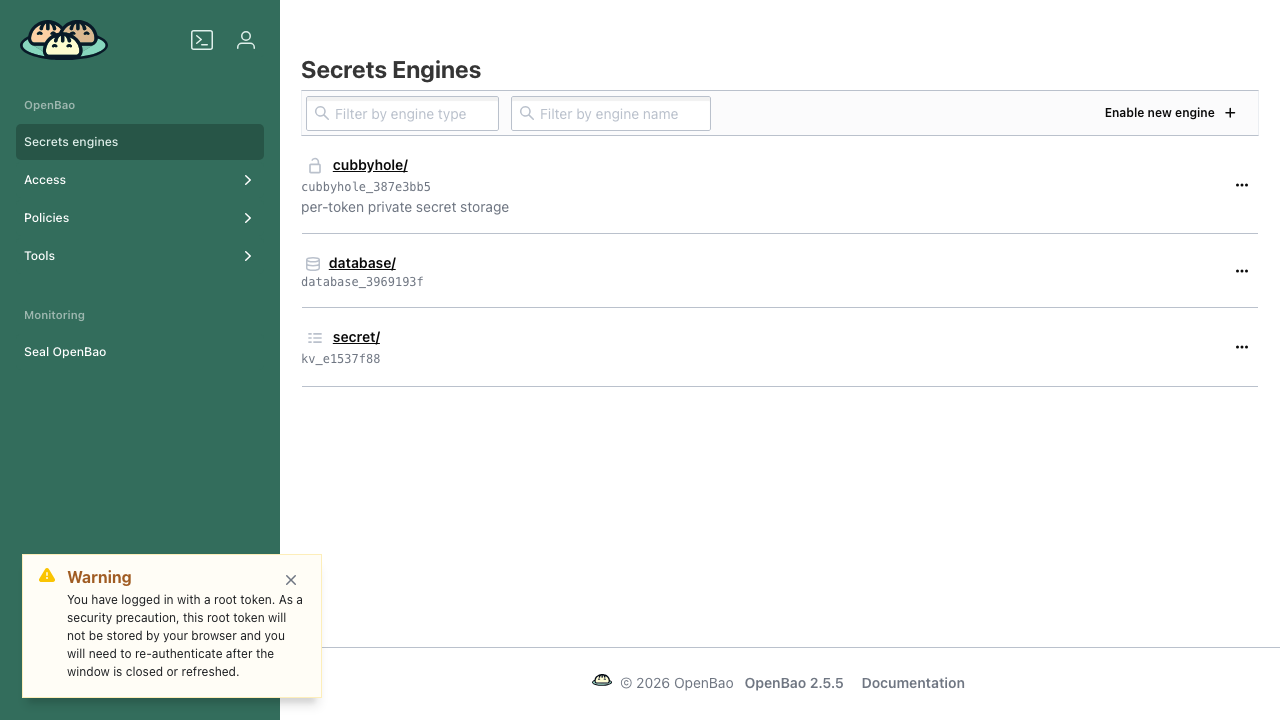
Step 7 - Open the web UI
Browse to http://<vm-public-ip>/ui/ and sign in with the token method using OPENBAO_ROOT_TOKEN from Step 5. The UI lists your secrets engines and lets you create, read and manage secrets, policies and authentication methods.
Step 8 - Confirm the vault from the command line
The API requires the root token in an X-Vault-Token header. Confirm the vault is initialised and unsealed:
curl -s -H "X-Vault-Token: <OPENBAO_ROOT_TOKEN>" http://localhost/v1/sys/health | jq '{initialized, sealed, version}'
You get "initialized": true, "sealed": false and the running version.
Step 9 - Store and read a secret
Enable the key/value (version 2) secrets engine, write a secret, and read it back - all over the API with your root token:
curl -s -H "X-Vault-Token: <OPENBAO_ROOT_TOKEN>" -X POST -d '{"type":"kv","options":{"version":"2"}}' http://localhost/v1/sys/mounts/secret
curl -s -H "X-Vault-Token: <OPENBAO_ROOT_TOKEN>" -X POST -d '{"data":{"db_password":"S3cr3t-Pa55"}}' http://localhost/v1/secret/data/myapp/config
curl -s -H "X-Vault-Token: <OPENBAO_ROOT_TOKEN>" http://localhost/v1/secret/data/myapp/config | jq '.data.data'
The final read returns { "db_password": "S3cr3t-Pa55" }. The same secret is now visible in the web UI under the secret/ engine.

Step 10 - Confirm storage lives on the dedicated disk
The encrypted store is on the dedicated Azure data disk so it survives OS changes and can be resized independently:
findmnt /var/lib/openbao
The mount is backed by a separate Azure data disk captured into the image and re-provisioned on every VM.
Enabling HTTPS
The nginx reverse proxy terminates plain HTTP on port 80. Because OpenBao handles sensitive secrets, you should terminate TLS before exposing it. Add a DNS name for the VM and use the companion cloudimg nginx-ssl-certbot image as a TLS reverse proxy, or install certbot and extend the existing nginx site with a listen 443 ssl; server block. Keep OpenBao bound to loopback so the only public surface is the authenticated, TLS-terminated proxy.
Maintenance
- Auto-unseal: the vault auto-unseals on reboot from the keys in
/root/openbao-credentials.txt. For production, configure an external auto-unseal (cloud KMS) and remove the stored keys. - Backups: snapshot the
/var/lib/openbaodata disk to back up the encrypted store. - Policies and auth: create ACL policies and enable auth methods (AppRole, userpass, JWT, etc.) in the UI under Policies and Access, and stop using the root token for day-to-day work.
- Upgrades: install a newer OpenBao package and
sudo systemctl restart openbao(it re-seals; the unseal service unseals it again). - Security patches: unattended-upgrades remains enabled so the OS continues to receive security updates automatically.
Support
cloudimg provides 24/7 expert support for this image. Contact support@cloudimg.co.uk.