osTicket on AWS User Guide
Overview
This image runs osTicket behind nginx with PHP FPM 8.3 and OPcache enabled, with the imap, mysqli, gd, intl and mbstring extensions that osTicket needs. MariaDB provides the database, on the same instance and bound to the loopback interface only. The osTicket cron runs every minute through a systemd timer to process queued tasks, run scheduled events and fetch email.
The image ships with osTicket's web installer already run and removed, so the first request lands directly on the agent sign-in page with no setup wizard to work through. A fresh administrator password, a fresh MariaDB password and a fresh configuration secret (SECRET_SALT) are generated on the first boot of every deployed instance. Two instances launched from the same Amazon Machine Image never share secrets. The administrator and database passwords are written to /root/osticket-credentials.txt with mode 0600 so that only the root user can read them.
The osTicket application code and the nginx document root, including ticket attachments, live under /var/www/osticket on a dedicated EBS volume separate from the operating system disk. The MariaDB data directory sits on its own EBS volume at /var/lib/mysql. Each tier can be resized independently of the others. osTicket requires its configuration file to be read-only and the setup/ directory to be absent; this image satisfies both — include/ost-config.php is mode 440 and setup/ has been removed.
Prerequisites
Before you deploy this image you need:
- An Amazon Web Services account where you can launch EC2 instances
- IAM permissions to launch instances, create security groups, and subscribe to AWS Marketplace products
- An EC2 key pair in the target Region for SSH access to the instance
- A VPC and subnet in the target Region, with a security group allowing inbound port 22 from your management network and inbound ports 80 and 443 from the networks your agents and customers will reach osTicket on
- The AWS CLI (version 2) installed locally if you plan to deploy from the command line
Step 1: Launch the Instance from the AWS Marketplace
Sign in to the AWS Management Console, open the EC2 service, and select Launch instance. Under Application and OS Images choose AWS Marketplace AMIs and search for osTicket. Select the cloudimg listing and choose Select, then Continue on the subscription summary.
Pick an instance type of m5.large or larger — the osTicket workload is PHP and MariaDB heavy, and email piping and report generation benefit from memory. Choose your EC2 key pair under Key pair (login). Under Network settings select your VPC and subnet, and either create or select a security group that allows inbound port 22 from your management network and inbound ports 80 and 443 from the networks your users use. Leave the root volume at the default size or larger.
Select Launch instance. First boot initialisation takes a few seconds after the instance state becomes Running and the status checks pass.
Step 2: Launch the Instance from the AWS CLI
The following block launches an instance from the cloudimg osTicket Marketplace AMI into an existing subnet and security group. Replace <ami-id> with the AMI ID shown on the Marketplace listing, <key-name> with your EC2 key pair name, <subnet-id> with your subnet ID, and <security-group-id> with a security group that opens ports 22, 80, and 443 as described above.
aws ec2 run-instances \
  --image-id <ami-id> \
  --instance-type m5.large \
  --key-name <key-name> \
  --subnet-id <subnet-id> \
  --security-group-ids <security-group-id> \
  --block-device-mappings '[{"DeviceName":"/dev/sda1","Ebs":{"VolumeSize":30,"VolumeType":"gp3"}}]' \
  --tag-specifications 'ResourceType=instance,Tags=[{Key=Name,Value=osticket-01}]'
The command prints a JSON document on success. Note the instance ID, then retrieve its public address once it is running with aws ec2 describe-instances --instance-ids <instance-id> --query "Reservations[].Instances[].PublicIpAddress" --output text.
Step 3: Connect and Retrieve Initial Credentials
Connect over SSH with the key pair you selected and the public IP address from step 2. The SSH login user depends on the operating system of the AMI variant you launched:
| AMI variant | SSH login user |
|---|---|
| osTicket 1.18.3 on Ubuntu 24.04 | ubuntu |
Connect with ssh -i <path-to-key.pem> ubuntu@<instance-public-ip>, substituting your key path and the instance's public IP address.
The per instance administrator password is written to a root only file on first boot. Read it with:
sudo cat /root/osticket-credentials.txt
The file lists the agent control panel URL, the customer portal URL, the administrator username (ostadmin) and password, and the MariaDB database name, user and password. Store the administrator password in your password manager and treat this file as sensitive.
Step 4: Verify the Stack is Running
osTicket is served by three systemd units. Confirm they are active:
systemctl is-active nginx php8.3-fpm mariadb
Each line returns active. You can confirm osTicket is listening on port 80 with ss -tlnp | grep ':80', and that PHP is the expected version with php -v.
The osTicket cron, which processes queued tasks and fetches email, runs every minute through a systemd timer:
systemctl status osticket-cron.timer
Step 5: First Login to the Agent Control Panel
Browse to http://<instance-public-ip>/scp/ to reach the agent control panel (the staff sign-in page). Sign in with the username ostadmin and the password from /root/osticket-credentials.txt.
After signing in you land on the Tickets view, which lists open tickets with their number, subject, requester, priority and assignee. The top navigation gives you Dashboard, Users, Tasks, Tickets and Knowledgebase, and the Admin Panel link in the top right opens the configuration area.
The customer-facing support portal is at http://<instance-public-ip>/ — this is where your customers open and track tickets and browse the knowledge base.
Step 6: Change the Administrator Password and Set Your Details
While the first-boot password is unique to your instance, you should still set your own. In the agent control panel, open the Profile link in the top right, set your name and a personal email address, and change the password to one you control. osTicket stores agent passwords as bcrypt hashes.
Step 7: Set the Helpdesk URL, Name and System Email
Open Admin Panel → Settings → System. Set the Helpdesk URL to the address your users will use (for example https://support.example.com/) and the Helpdesk Name/Title to your organisation's name. Under Admin Panel → Settings → Emails, set the default system email address that outbound notifications are sent from. These are the first settings to configure on a new helpdesk.
Step 8: Create Departments, Help Topics and Agents
osTicket routes tickets using departments and help topics.
- Departments (Admin Panel → Agents → Departments) group your agents and own ticket queues — for example Support, Billing, or IT.
- Help topics (Admin Panel → Manage → Help Topics) are what a customer chooses when opening a ticket; each maps to a department, SLA and ticket form.
- Agents (Admin Panel → Agents → Agents) are your staff. Add an agent, assign them to a department and a role, and they receive their own sign-in.
Create the departments your team is organised around, a help topic per request type, and an agent record for each member of staff.
Step 9: Work a Ticket
From the Tickets tab, open any ticket to see the full thread, the requester, the status, priority, department, SLA plan and due date. Use Post Reply to respond to the customer, Post Internal Note for a note only agents see, and the toolbar to assign, transfer, change status or set priority. Canned responses, configured under Admin Panel → Manage → Canned Responses, speed up common replies.
Step 10: Configure Inbound Email (Email Piping / Fetching)
To turn inbound email into tickets, add a system email under Admin Panel → Settings → Emails → Emails. osTicket can fetch mail from an IMAP or POP mailbox (the php-imap extension this image ships is what makes that work) on the schedule run by the cron timer, or receive mail piped in from your MTA. Enter the mailbox host, login and folder, choose the department and help topic new mail maps to, and enable fetching. The cron timer already running on this instance polls the mailbox each minute.
Step 11: The Customer Support Portal and Knowledge Base
Your customers use the portal at http://<instance-public-ip>/. There they can open a new ticket, check the status of an existing ticket, and browse the knowledge base. Build out the knowledge base under Knowledgebase in the agent control panel — published FAQ articles appear on the portal and deflect repetitive tickets.
Step 12: Enable HTTPS with Let's Encrypt
For production use you should serve osTicket over HTTPS. Point a DNS name at the instance's public address, then install Certbot and obtain a certificate. The commands below are illustrative — replace support.example.com with your domain and run them as root. Because this involves interactive prompts and a domain you own, run them yourself rather than copying blindly.
Install Certbot and the nginx plugin, then request a certificate. Certbot edits the nginx site in place and reloads nginx:
sudo apt-get update && sudo apt-get install -y certbot python3-certbot-nginx
sudo certbot --nginx -d support.example.com
After HTTPS is live, set Force HTTPS under Admin Panel → Settings → System so all traffic is redirected to the secure URL, and update the Helpdesk URL to the https:// address.
Step 13: Backups and Maintenance
The osTicket database lives in MariaDB on the /var/lib/mysql volume and the application files and attachments under /var/www/osticket. Back up both. A simple database dump is:
sudo mysqldump --single-transaction osticket | gzip > osticket-db-$(date +%F).sql.gz
Take EBS snapshots of the data volumes for point-in-time recovery, and snapshot before any osTicket version upgrade. Keep the operating system patched with sudo apt-get update && sudo apt-get -y upgrade.
Step 14: Storage Layout
The application and database tiers are on dedicated EBS volumes, each independently resizable:
df -h /var/lib/mysql /var/www
/var/lib/mysql holds the MariaDB data directory and /var/www holds the osTicket code, document root and attachments. To grow a tier, modify the EBS volume in the EC2 console and then extend the filesystem with sudo resize2fs <device>.
Screenshots
The osTicket agent control panel sign-in page, served on first boot with a per-instance administrator password:
The agent control panel ticket queue, with tickets colour-coded by priority:

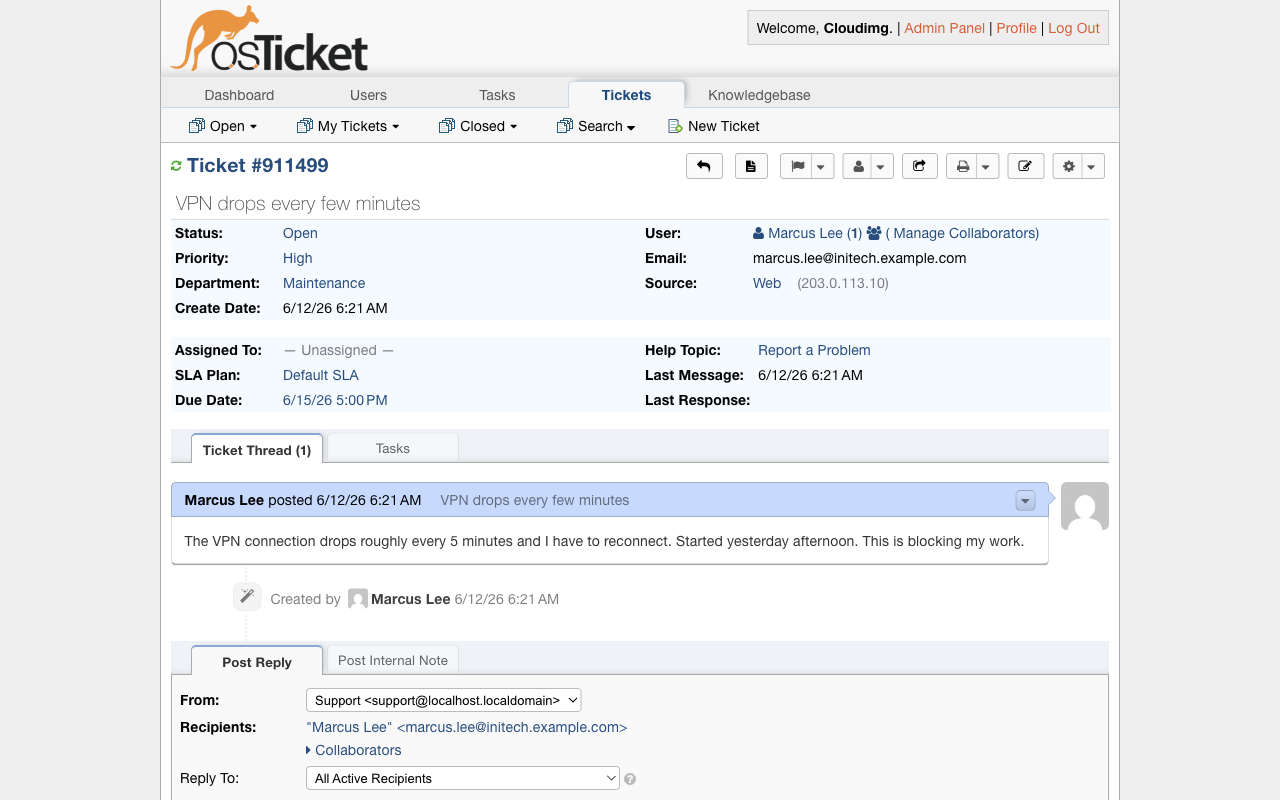
A ticket detail view, showing status, priority, department, SLA, the thread and the reply form:
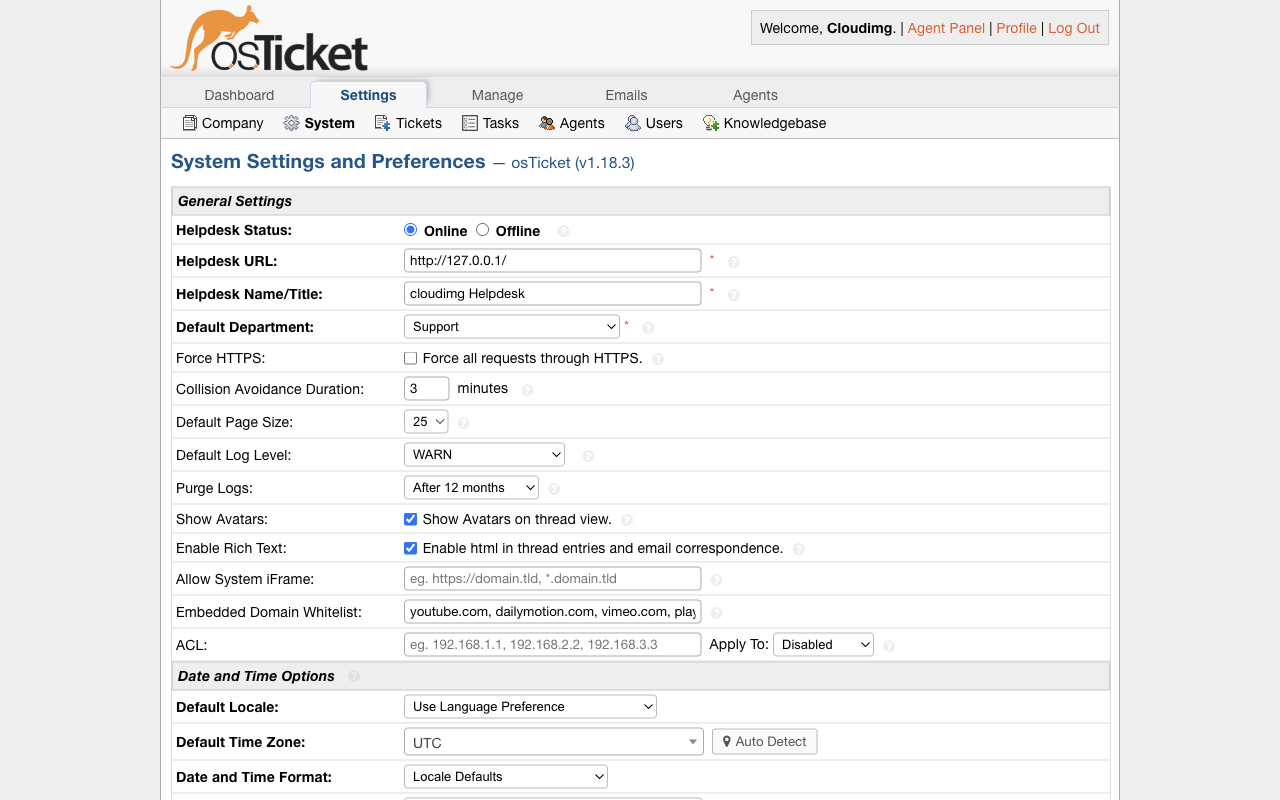
The admin panel — configure departments, help topics, SLAs, email and agents:
Support
This image is backed by 24/7 technical support from cloudimg, covering osTicket deployment, upgrades, inbound and outbound email and IMAP piping, SLA and queue configuration, custom fields and forms, plugins, and database administration. Contact support through the channel listed on the AWS Marketplace listing.