
ownCloud Infinite Scale on AWS User Guide
Overview
This image runs ownCloud Infinite Scale (oCIS), the Go based, cloud native rewrite of the classic ownCloud PHP server. oCIS is a modern, self-hosted file sync and share platform: a single Go binary runs the full microservice suite in one process, serving a fast web interface for files, Spaces and sharing, a built-in OpenID Connect identity provider, and the OCS and WebDAV APIs that the official ownCloud desktop and mobile clients use.
The oCIS proxy binds to the loopback interface on 127.0.0.1:9200 and is reached through nginx, which terminates TLS on port 443 with a per instance self-signed certificate. Port 80 redirects to 443. The storage backend is the local filesystem on a dedicated EBS volume mounted at /var/lib/ocis.
On the first boot of every deployed instance, a one-shot service rotates all secrets: it re-runs oCIS initialization to generate fresh random service secrets and creates the built-in identity provider administrator with a unique password. The login is written to /root/owncloud-infinite-scale-credentials.txt with mode 0600. No shared or default credential ships in the image.
Prerequisites
Before you deploy this image you need:
- An Amazon Web Services account where you can launch EC2 instances
- IAM permissions to launch instances, create security groups, and subscribe to AWS Marketplace products
- An EC2 key pair in the target Region for SSH access to the instance
- A VPC and subnet in the target Region, with a security group allowing inbound port 22 from your management network and inbound ports 80 and 443 from the networks your users will reach oCIS on
- The AWS CLI (version 2) installed locally if you plan to deploy from the command line
Connecting to your instance
Connect over SSH as the default login user for your operating system variant:
| OS variant | SSH login user |
|---|---|
| Ubuntu 24.04 | ubuntu |
The private key is the EC2 key pair you selected at launch.
Step 1: Launch the Instance from the AWS Marketplace
Sign in to the AWS Management Console, open the EC2 service, and select Launch instance. Under Application and OS Images choose AWS Marketplace AMIs and search for ownCloud Infinite Scale. Select the cloudimg listing and choose Select, then Continue on the subscription summary.
Pick an instance type of m5.large or larger — oCIS runs its full microservice suite in one process, so give it adequate memory. Choose your EC2 key pair under Key pair (login). Under Network settings select your VPC and subnet, and either create or select a security group that allows inbound port 22 from your management network and inbound ports 80 and 443 from the networks your users use. Leave the root volume at the default size or larger; the product data lives on the dedicated data volume.
Select Launch instance. First boot initialisation, which rotates the secrets and creates the administrator, takes a minute or two after the instance state becomes Running and the status checks pass.
Step 2: Launch the Instance from the AWS CLI
The following block launches an instance from the cloudimg ownCloud Infinite Scale Marketplace AMI into an existing subnet and security group. Replace <ami-id> with the AMI ID shown on the Marketplace listing, <key-name> with your EC2 key pair name, <subnet-id> with your subnet ID, and <security-group-id> with a security group that opens ports 22, 80, and 443 as described above.
aws ec2 run-instances \
  --image-id <ami-id> \
  --instance-type m5.large \
  --key-name <key-name> \
  --subnet-id <subnet-id> \
  --security-group-ids <security-group-id> \
  --metadata-options "HttpTokens=required,HttpEndpoint=enabled" \
  --tag-specifications 'ResourceType=instance,Tags=[{Key=Name,Value=owncloud-infinite-scale}]'
Step 3: Connect and Retrieve the Administrator Login
SSH to the instance as the login user for your variant (see the table above), replacing <vm-ip> with the instance public IP and <key.pem> with your private key:
ssh -i <key.pem> ubuntu@<vm-ip>
The administrator login is generated on first boot and written to a root only file. Retrieve it:
sudo cat /root/owncloud-infinite-scale-credentials.txt
The file contains the site URL, the administrator username (admin), and the per instance password. These values are unique to your instance.
Step 4: First Sign-in
Browse to https://<vm-ip>/ — oCIS is served over HTTPS on port 443. Because the image ships with a per instance self-signed certificate, your browser will warn on the first visit; accept the certificate to continue (replace it with a trusted certificate for production, see Step 8). Sign in with the username admin and the password from the credentials file.
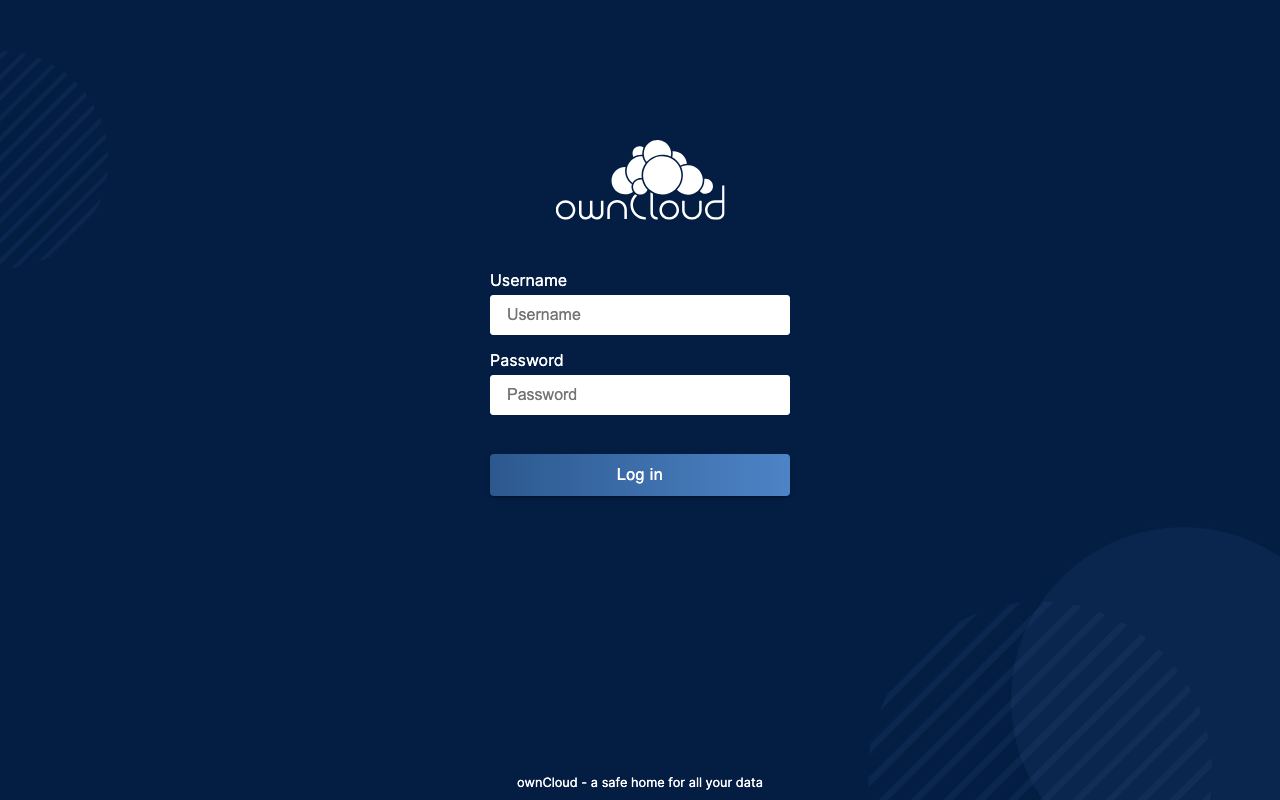
You can confirm the service is healthy from the instance at any time. The status endpoint is public and reports the running product and version:
curl -k -s https://localhost/status.php
Step 5: Files and Spaces
After signing in you land in your Personal space. Browse, upload, download and organise files through the modern web UI. oCIS replaces the legacy folder-share model with Spaces — dedicated, permissioned areas for projects and teams that you manage from the Spaces entry in the left navigation.
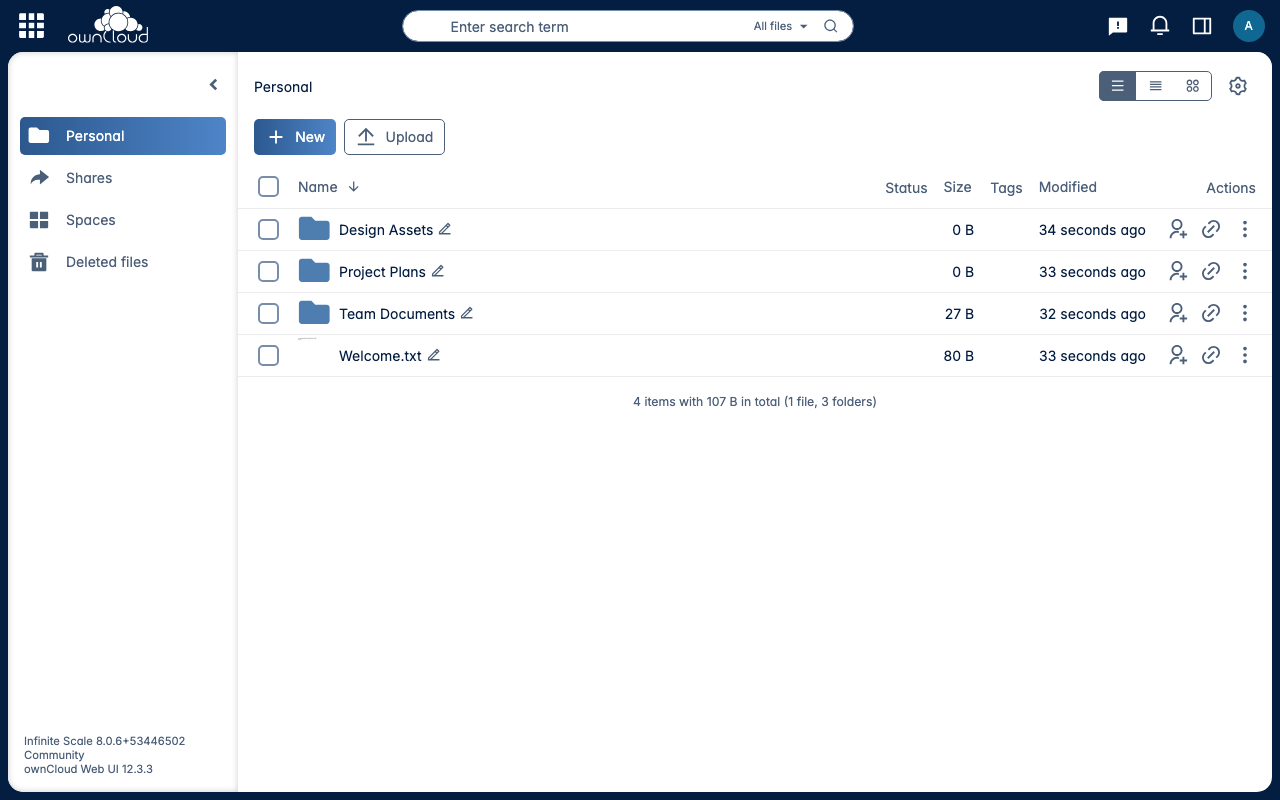
Step 6: Sharing
Select a file or folder and open the Shares panel to share it. You can share with other users, set a role such as Can view or Can edit, and create public links for people who do not have an account. The details panel also shows activity and metadata for the selected item.
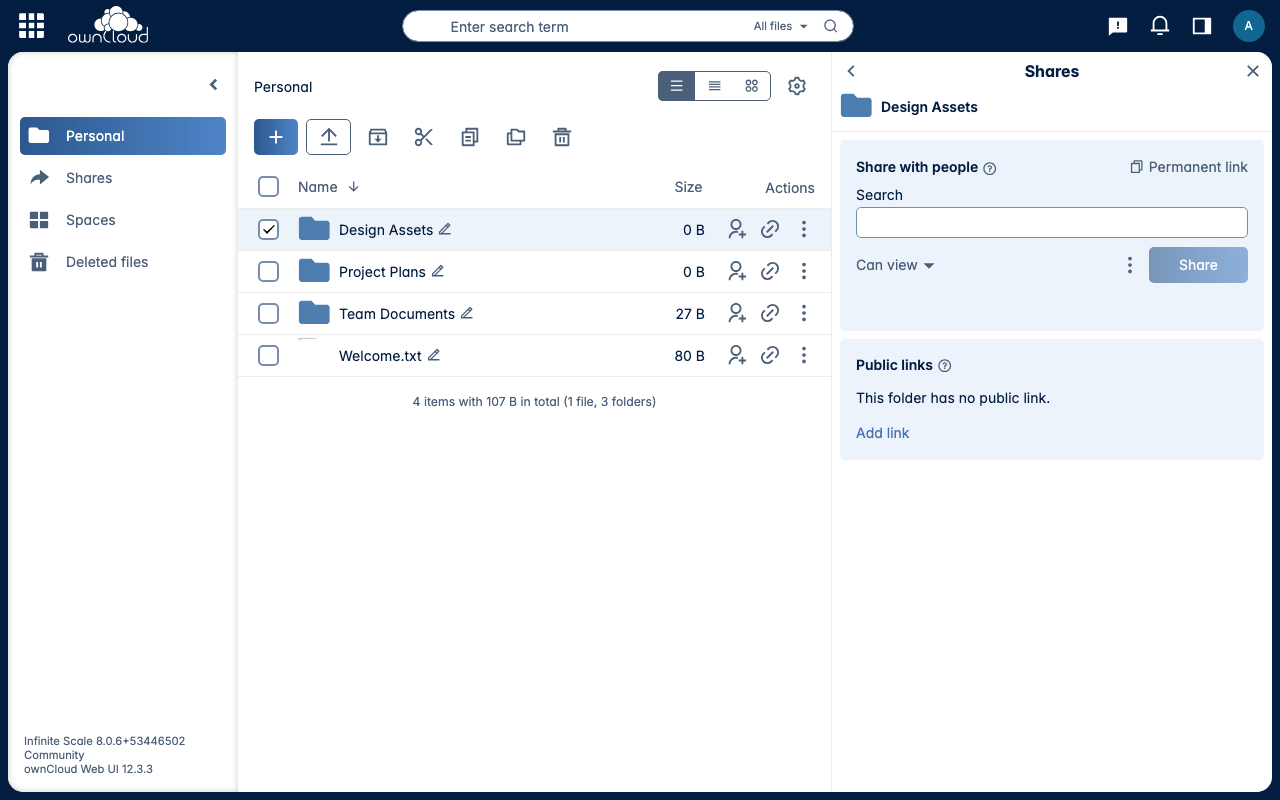
Step 7: The WebDAV and OCS APIs
oCIS exposes the ownCloud-compatible OCS and WebDAV APIs over TLS. Basic authentication is enabled on the proxy so the official desktop and mobile sync clients — and your own scripts — can authenticate with the per instance administrator password. The OCS user endpoint returns the signed-in user; without credentials it returns HTTP 401.
curl -k -s -u "admin:<OCIS_ADMIN_PASSWORD>" -H 'OCS-APIRequest: true' https://localhost/ocs/v1.php/cloud/user
To connect the official ownCloud desktop or mobile client, point it at https://<vm-ip>/ and sign in as admin. For production, install a trusted certificate (Step 8) so the clients validate the connection without a manual exception.
Step 8: Replace the Self-Signed Certificate
For production use a trusted certificate and your own DNS name rather than the per instance self-signed certificate. Point a DNS record at the instance, then obtain a certificate for your-domain.example.com — for example with certbot and the nginx plugin — and update the oCIS environment so its public URL matches your domain:
sudo certbot --nginx -d your-domain.example.com
After issuing the certificate, edit /etc/ocis/ocis.env and set OCIS_URL=https://your-domain.example.com, then sudo systemctl restart ocis nginx. oCIS derives its OpenID Connect issuer and web base URL from OCIS_URL, so it must match the address your users visit.
Step 9: Backups and Maintenance
All identity and user data lives under /var/lib/ocis on the dedicated EBS volume. The simplest durable backup is an EBS snapshot of that volume; take snapshots on a schedule that matches your recovery objectives. To capture a consistent copy, stop oCIS for the duration of the snapshot and start it again afterwards:
sudo systemctl stop ocis
# take an EBS snapshot of the /var/lib/ocis volume here (aws ec2 create-snapshot)
sudo systemctl start ocis
The oCIS binary itself is at /usr/local/bin/ocis; upgrade it by replacing the binary with a newer release and restarting the service, after taking a snapshot.
Step 10: Services and Operations
Two systemd units keep the platform running:
sudo systemctl status ocis nginx --no-pager
ocis.service runs the oCIS server, and nginx.service terminates TLS and reverse-proxies to it. Logs for oCIS are in the journal (sudo journalctl -u ocis). To resize storage, grow the /var/lib/ocis EBS volume and extend the filesystem — the mount is independent of the OS disk. To integrate single sign-on, point oCIS at an external OpenID Connect provider such as Keycloak by setting the relevant OCIS_OIDC_* variables in /etc/ocis/ocis.env.
Support
cloudimg provides 24/7 technical support for this image by email at support@cloudimg.co.uk and via live chat. We help with deployment, upgrades, TLS, identity provider integration, Spaces and user management, storage configuration, and troubleshooting. Critical issues receive a one-hour average response time.