Penpot on Ubuntu 24.04 on Azure User Guide
Overview
Penpot is the open-source design and prototyping platform — a self-hostable alternative to Figma that gives design and product teams a complete workspace for UI design, vector illustration, interactive prototyping and developer hand-off, all in the browser and all under your own control. The cloudimg image installs Penpot 2.5.4 as the official self-host Docker Compose stack and runs it as a systemd service, so a complete design platform is online within minutes of launch.
What is included:
- Penpot 2.5.4 (Mozilla Public License 2.0) deployed from the official self-host Docker Compose stack, pinned so the image never silently upgrades at build time
- Docker Engine (Docker CE) + the Docker Compose plugin, installed from the official Docker package repository
- The Penpot Compose stack:
penpot-frontend(the nginx-based SPA and reverse proxy),penpot-backend(the application server),penpot-exporter(the headless-browser export and render service),penpot-postgres(PostgreSQL 15, the primary database) andpenpot-redis(the cache, queue and realtime pub/sub) - The bundled nginx frontend publishing the Penpot UI, the REST/RPC API (
/api) and a static unauthenticated health endpoint (/health) on port 80 - All stateful data — the PostgreSQL database, the Redis data and every uploaded design asset — on a dedicated 40 GiB data disk mounted at
/var/lib/penpot(Docker's data-root is relocated there), independently resizable and re-provisioned on every VM - Open self-registration disabled and a per-VM admin account (email + a generated password) created at first boot
- Two systemd units:
penpot.service(a oneshot wrapper arounddocker compose up -d) andpenpot-firstboot.service - 24/7 cloudimg support
Prerequisites
An active Azure subscription, an SSH key, and a VNet + subnet. Standard_B4ms (4 vCPU / 16 GB RAM) is the recommended size — comfortable for the five-container Penpot stack. NSG inbound rules: allow 22/tcp from your management CIDR for SSH and 80/tcp from the CIDR that needs the Penpot UI (add 443/tcp if you enable HTTPS).
Step 1: Connect over SSH
Replace <vm-ip> with the public IP of your VM. The default login user is azureuser.
ssh azureuser@<vm-ip>
Step 2: Confirm the services are active
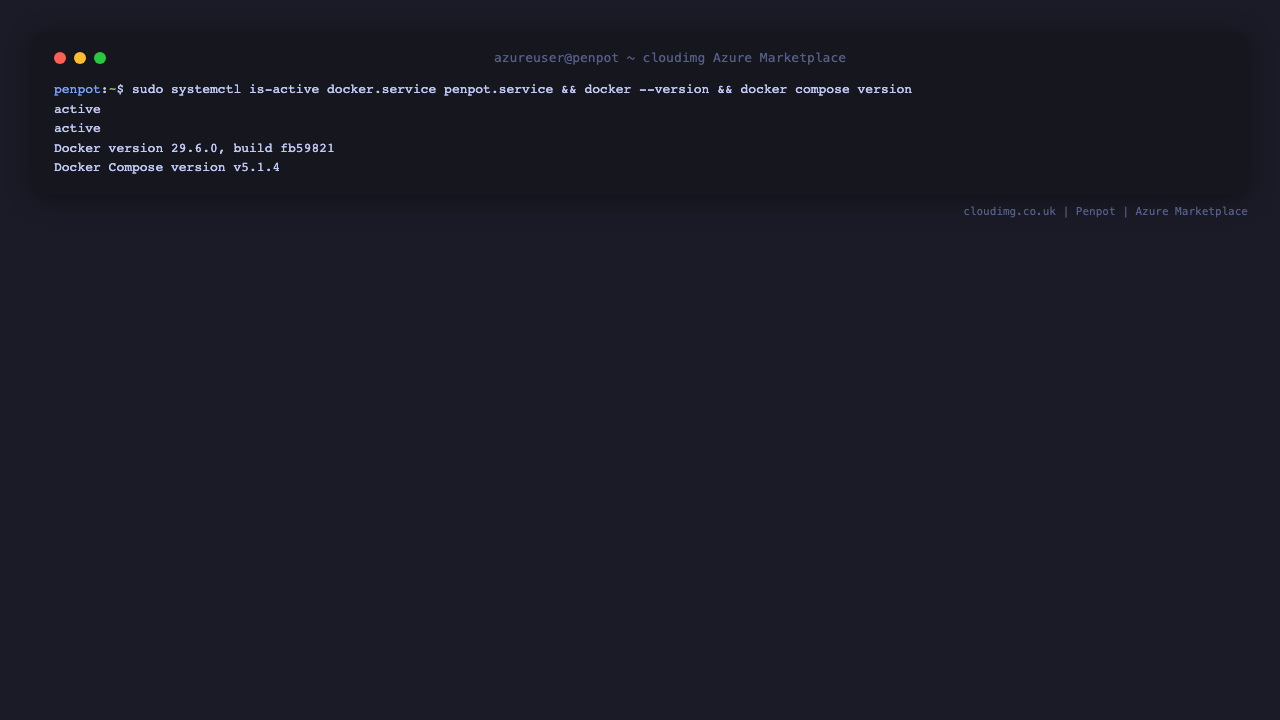
sudo systemctl is-active docker.service penpot.service
docker --version
docker compose version
You should see active printed twice, the Docker Engine version, and the Docker Compose v2 plugin version.
Step 3: Confirm the Penpot containers are running
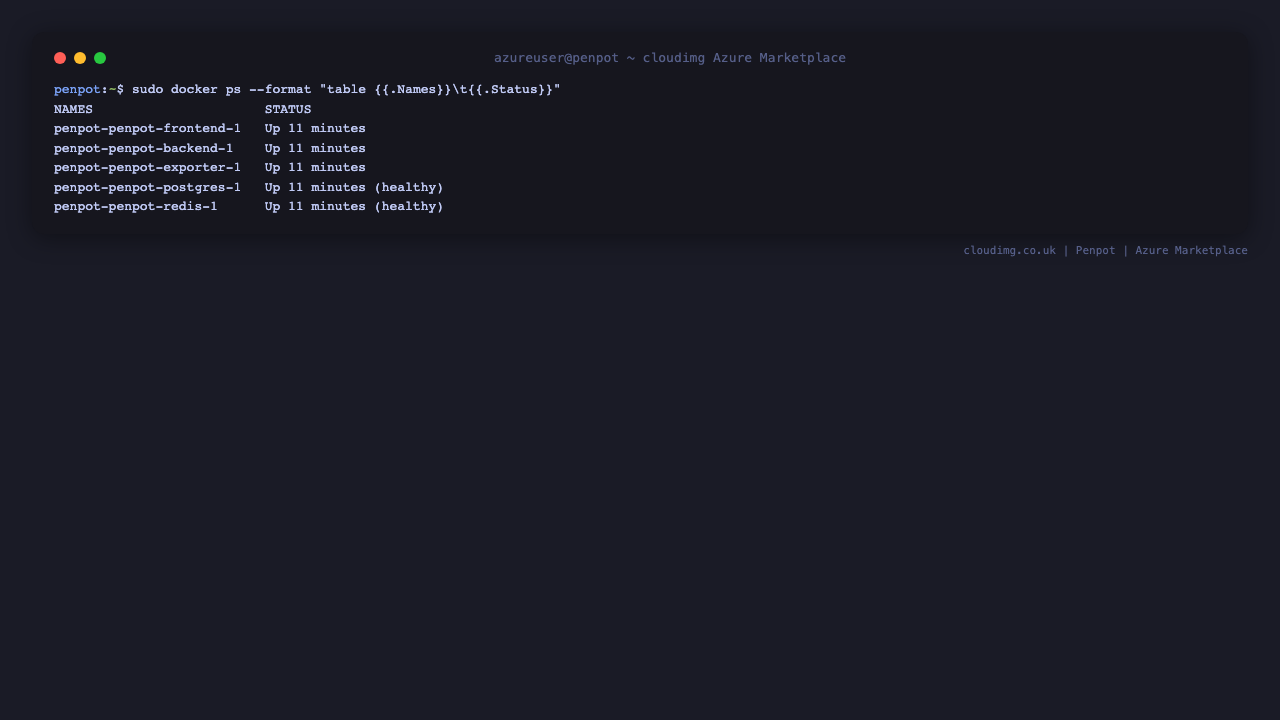
sudo docker ps --format "table {{.Names}}\t{{.Status}}"
You should see the five Penpot containers — penpot-frontend, penpot-backend, penpot-exporter, penpot-postgres and penpot-redis — in the Up / healthy state.
Step 4: Confirm the data disk is mounted
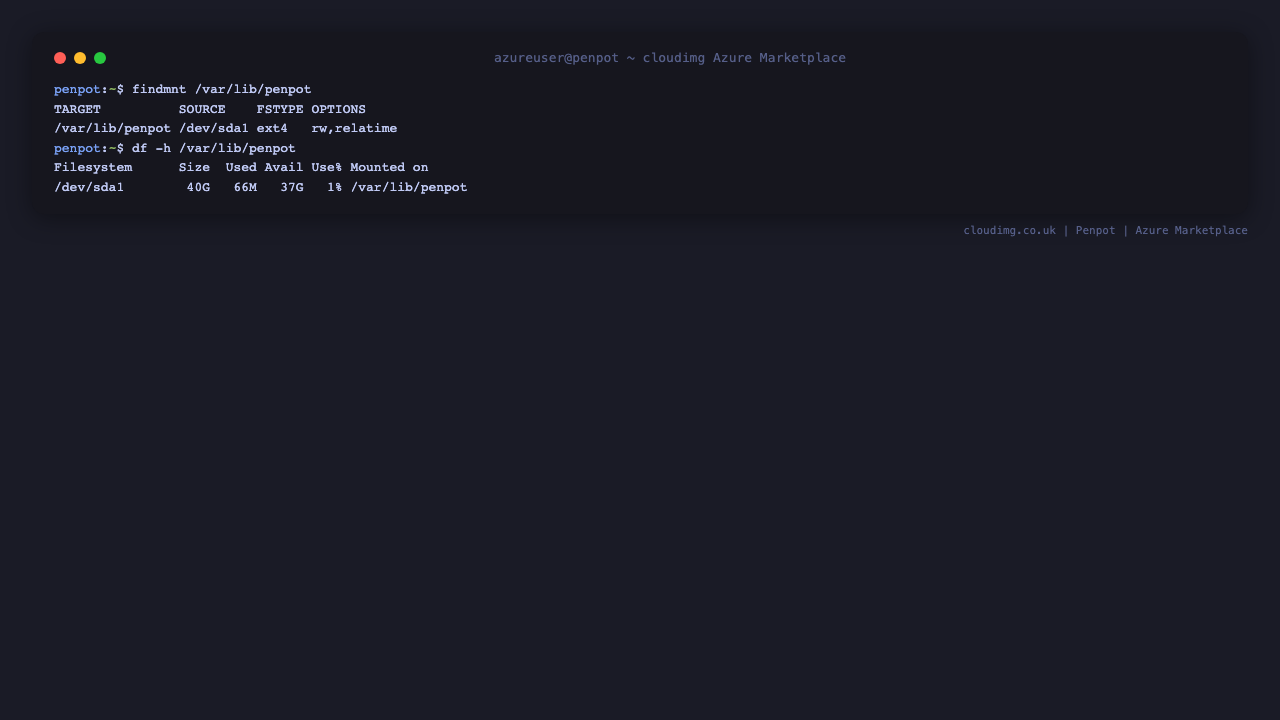
All stateful Penpot data lives on a dedicated data disk mounted at /var/lib/penpot.
findmnt /var/lib/penpot
df -h /var/lib/penpot
findmnt shows the device backing /var/lib/penpot and df confirms the 40 GiB volume.
Step 5: Check the Penpot health endpoint
The health endpoint is served unauthenticated through the bundled nginx frontend on port 80.
curl -s -o /dev/null -w "%{http_code}\n" http://localhost/health
A 200 confirms the frontend is up and serving.
Step 6: Read the per-VM admin credentials
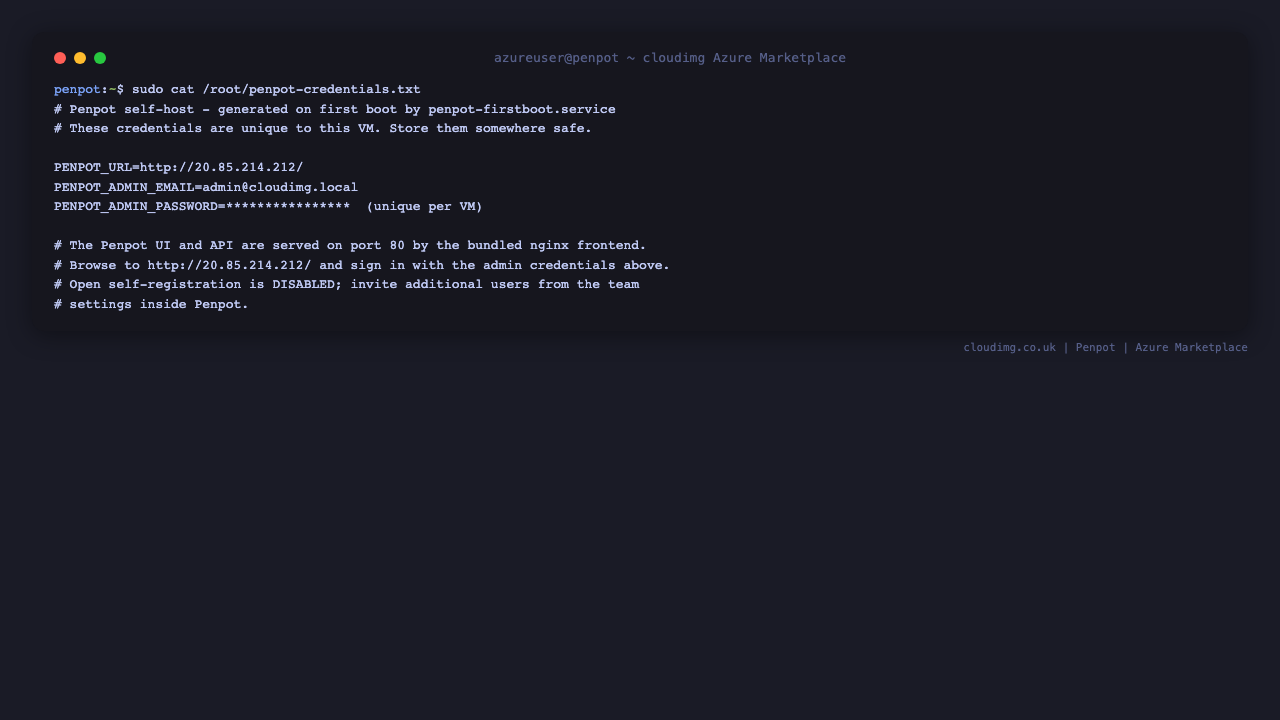
A unique admin email and password are generated for your instance on its first boot and written to a root-only file. Open self-registration is disabled — this admin is the only login until you invite more users from inside Penpot.
sudo cat /root/penpot-credentials.txt
This file lists PENPOT_URL (where to sign in), PENPOT_ADMIN_EMAIL and PENPOT_ADMIN_PASSWORD. Store the password somewhere safe.
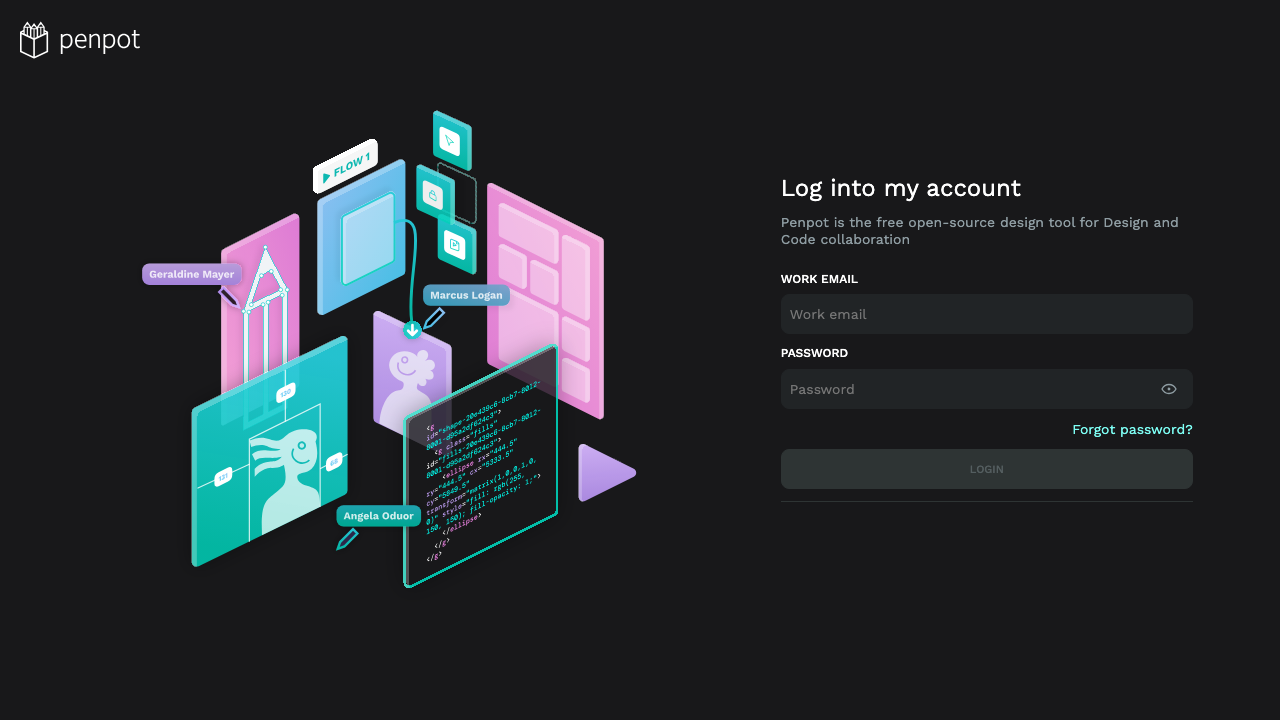
Step 7: Sign in to Penpot
Browse to http://<vm-ip>/ and sign in with the PENPOT_ADMIN_EMAIL and PENPOT_ADMIN_PASSWORD from Step 6. The Penpot UI and API are served on port 80 by the bundled nginx frontend.
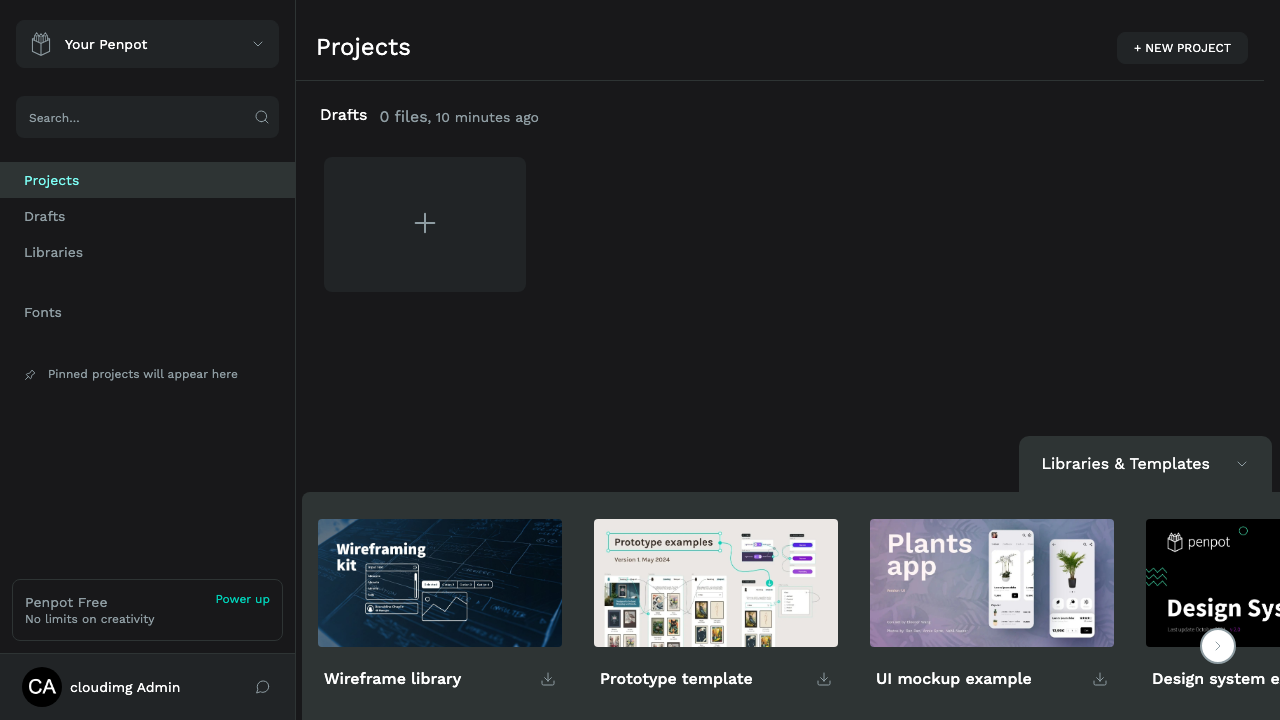
After signing in you land on the projects dashboard, scoped to your default team. Create a project and your first file to start designing.
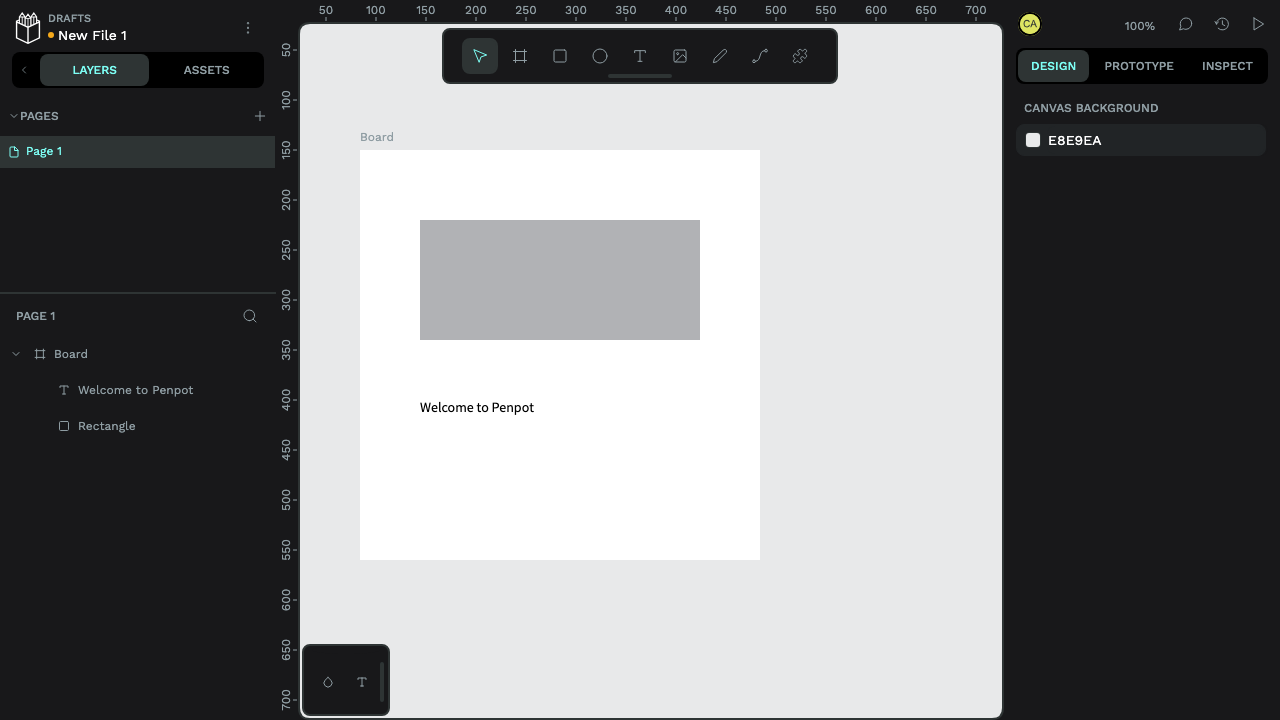
Step 8: Design and prototype
Open a file to enter the Penpot design workspace — a full vector design and layout canvas with layers, components, shared libraries, flex and grid layout, and real-time multiplayer editing.
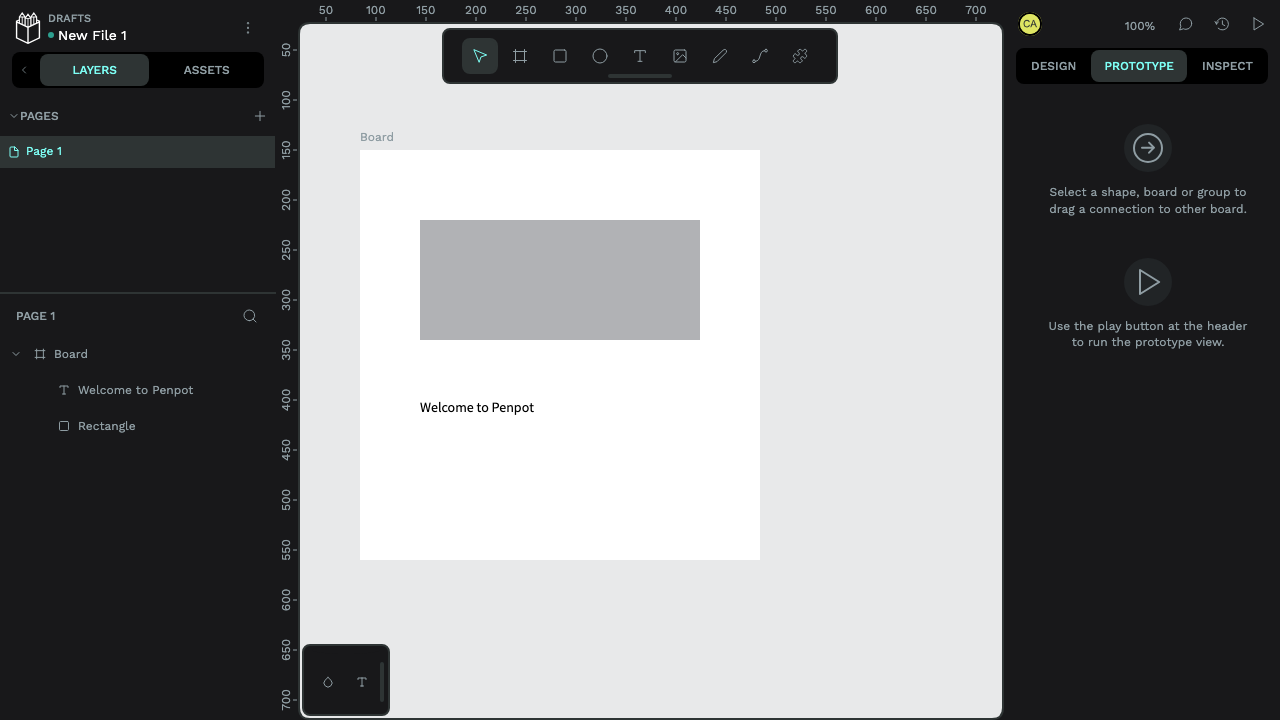
Switch to the prototype view to wire boards together into interactive flows you can play back and share for review.
Step 9: Invite your team
Open registration is disabled on this appliance, so new users join by invitation rather than self-signup. From your team's Members settings inside Penpot, send invitations by email to add designers and stakeholders. Penpot supports per-team roles so you control who can edit and who can only view.
Step 10: Manage the stack
The whole stack is managed by the penpot.service systemd unit, which wraps docker compose under /opt/penpot.
sudo systemctl restart penpot.service
sudo docker compose -f /opt/penpot/docker-compose.yaml ps
systemctl restart cleanly recreates the Compose stack, and docker compose ps lists the containers and their health.
Step 11: Enable HTTPS for production (recommended)
The image serves plain HTTP on port 80 so it works out of the box on the VM's public IP. For production, put Penpot behind TLS with your own domain. Point a DNS record at the VM, open 443/tcp in the NSG, and terminate TLS with a reverse proxy such as Caddy or nginx (or obtain a certificate with certbot), then set PENPOT_PUBLIC_URI to your https:// URL in /opt/penpot/.env and restart penpot.service. Until you do, treat the plain-HTTP endpoint as suitable for evaluation and internal use only.
Support
cloudimg provides 24/7 support for this image. Penpot is a trademark of its respective owners; cloudimg packages and supports the open-source distribution and is not affiliated with or endorsed by the Penpot project. The software is licensed under the Mozilla Public License 2.0.