
phpMyAdmin on AWS User Guide
Overview
This image runs phpMyAdmin, the most widely used web interface for administering MySQL and MariaDB databases from a browser. From phpMyAdmin you can browse and edit tables, run SQL, import and export data, and manage user accounts and privileges without a desktop client.
The image ships phpMyAdmin as a self-contained appliance with its own bundled MariaDB server, so it is immediately useful on its own - not just a client waiting for an external database. phpMyAdmin runs as a PHP application: nginx answers on port 80 (and 443 once you add TLS) and passes requests to php-fpm over a local socket; phpMyAdmin talks to the bundled MariaDB server over the loopback interface. The database listens on 127.0.0.1:3306 only and is never exposed to the network by the image - the instance security group opens SSH, HTTP and HTTPS but not the database port. The MariaDB data directory lives on a dedicated EBS data volume mounted at /var/lib/mysql, independently resizable and separate from the operating system disk. phpMyAdmin's own program code lives on the OS disk at /usr/share/phpmyadmin.
On the first boot of every deployed instance, a one-shot service generates a fresh MariaDB root password unique to that instance, hardens the database, generates a unique cookie-authentication secret, sets up the phpMyAdmin configuration storage, and writes the credentials to /root/phpmyadmin-credentials.txt with mode 0600. No shared or default database password ships in the image.
Prerequisites
Before you deploy this image you need:
- An AWS account with permission to launch EC2 instances and subscribe to AWS Marketplace products.
- An EC2 key pair in your target region for SSH access.
- A security group that allows inbound TCP 22 (SSH), 80 (HTTP) and, if you add TLS, 443 (HTTPS) from your address. The bundled MariaDB port 3306 does not need to be opened - it is loopback only.
- An SSH client, and a web browser to reach the console.
Launch the instance
You can launch from the AWS Marketplace console or the AWS CLI.
From the AWS Marketplace: open the product page, choose Continue to Subscribe, accept the terms, then Continue to Configuration and Continue to Launch. Pick your region, instance type, key pair and the security group described above, and launch.
From the AWS CLI, launch the AMI directly (replace the placeholders with your values):
aws ec2 run-instances \
  --image-id <ami-id> \
  --instance-type t3.small \
  --key-name <your-key-pair> \
  --security-group-ids <security-group-id> \
  --subnet-id <subnet-id> \
  --tag-specifications 'ResourceType=instance,Tags=[{Key=Name,Value=phpmyadmin}]'
t3.small is a comfortable starting size for the console plus a bundled database; move to a larger instance type for heavier workloads. The data directory is on its own EBS volume, so you can resize storage independently of the instance.
Connect to your instance
Connect over SSH as the default login user for your operating system variant. The user differs per variant:
| OS variant | SSH login user |
|---|---|
| Ubuntu 24.04 | ubuntu |
ssh -i <your-key.pem> ubuntu@<public-ip>
Retrieve the sign-in password
On first boot the image generates a MariaDB root password unique to this instance and records it, along with the phpMyAdmin control-user password, in a root-only file. Read it over SSH:
sudo cat /root/phpmyadmin-credentials.txt
You will see output like this (the passwords are unique to your instance):
PHPMYADMIN_URL=http://<public-ip>/
PHPMYADMIN_LOGIN_USER=root
ROOT_USER=root
ROOT_PASSWORD=<ROOT_PASSWORD>
CONTROL_USER=pma
CONTROL_PASSWORD=<CONTROL_PASSWORD>
PORT=3306
You sign in to phpMyAdmin as root with the ROOT_PASSWORD value. The pma control user backs phpMyAdmin's configuration storage - you do not sign in with it.
First sign-in
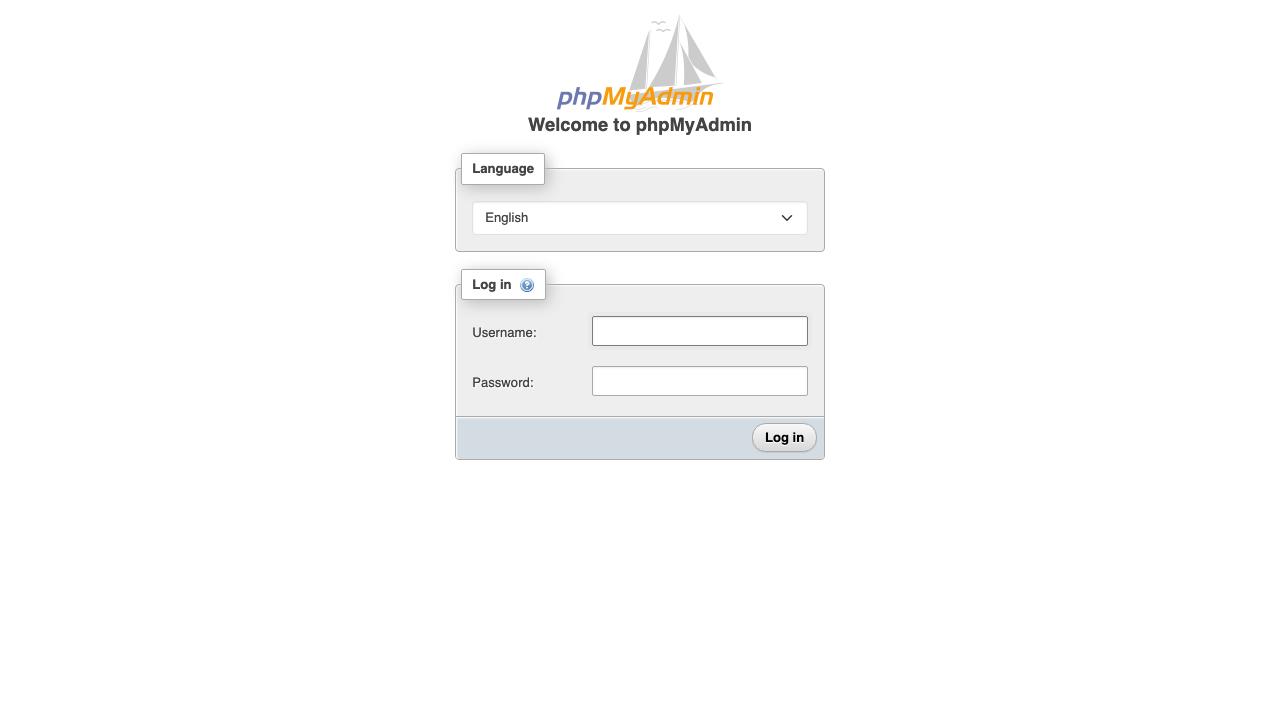
Open phpMyAdmin in your browser at http://<public-ip>/ and sign in with the username root and the ROOT_PASSWORD from the credentials file.
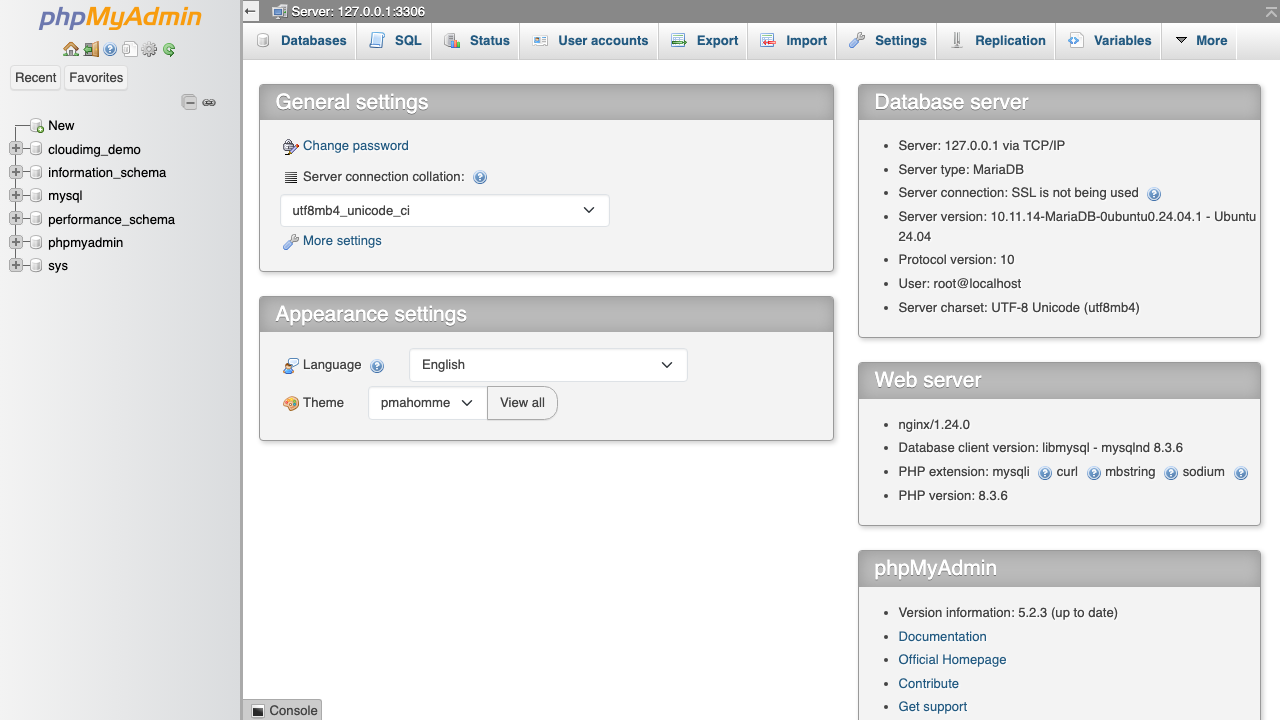
The databases overview
After signing in you land on the phpMyAdmin home. The left navigation lists the databases on the bundled MariaDB server, and the main panel shows server and web-server information and general settings. The phpMyAdmin configuration storage is already set up, so relational features, bookmarks and query history work without a setup warning.
To create a new database, click Databases in the top tab bar, enter a name and collation (for example utf8mb4_unicode_ci), and click Create.
Browse and edit tables
Click a database in the navigation tree, then a table, to browse its rows in a spreadsheet-style grid. From here you can edit and delete rows inline, copy rows, sort by column, filter, and page through large tables. The Structure tab lets you add, change and drop columns, indexes and foreign keys.
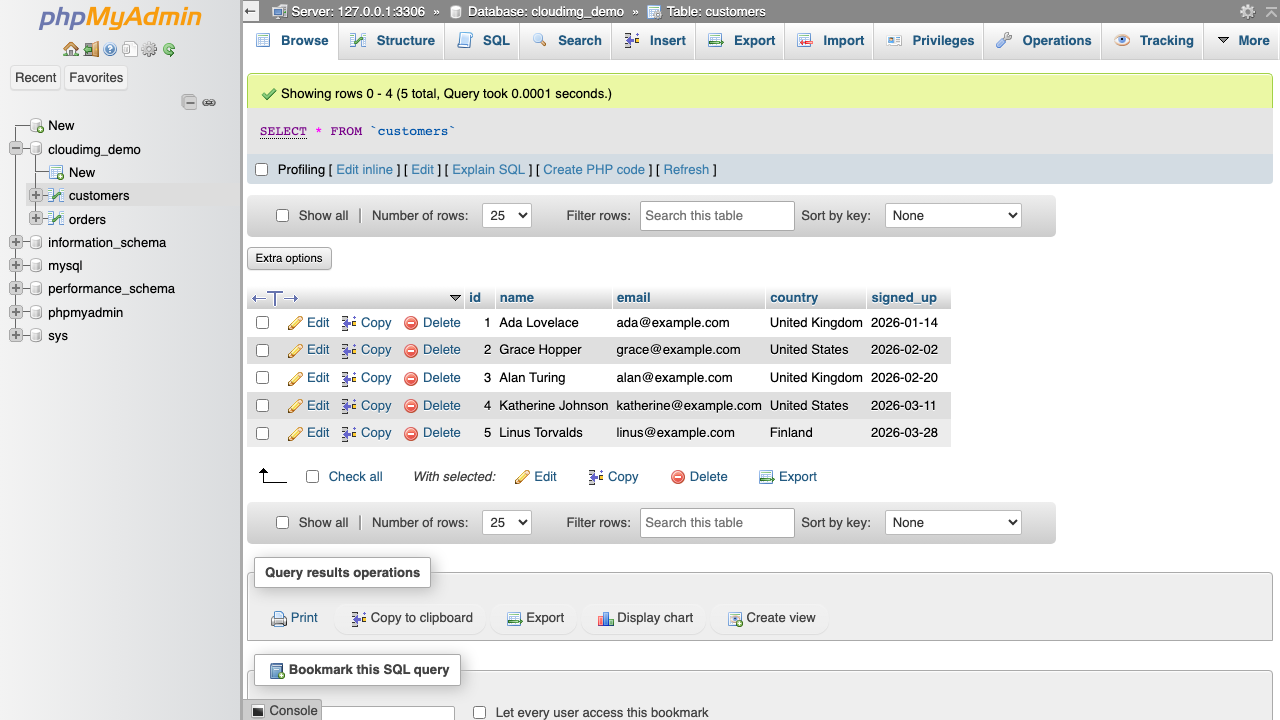
Use Insert to add rows through a form, and Import / Export to load and dump data in SQL, CSV, JSON and other formats.
Run SQL
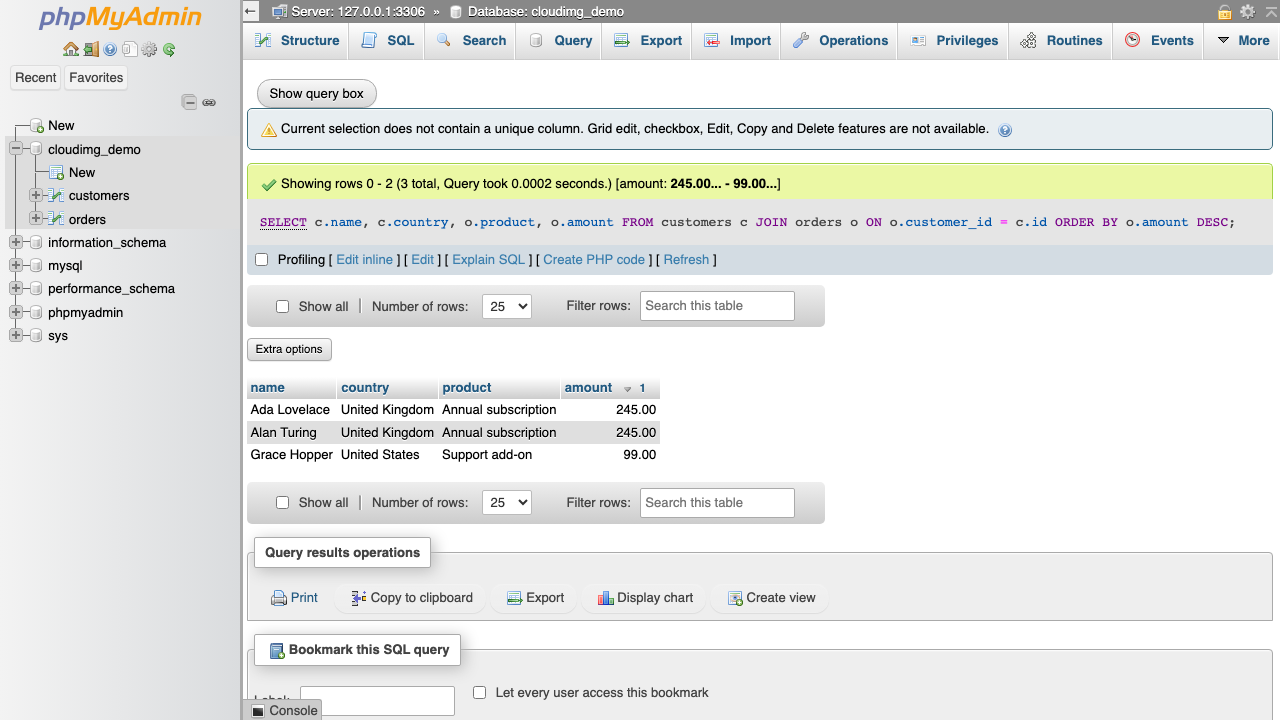
Click the SQL tab to write and run arbitrary SQL with syntax highlighting. Type a query and click Go (or press Ctrl+Enter). Results appear below the editor with query history, and you can export the result set, create a view, or draw a quick chart.
Manage users and privileges
Click User accounts in the top tab bar to create database users, set their passwords and host scope, and grant or revoke privileges globally or per database. This is where you add an application user for your own database rather than connecting your application as root.
Point phpMyAdmin at additional servers
While the image ships a bundled MariaDB server for immediate use, phpMyAdmin can administer any reachable MySQL or MariaDB server. To add another server, edit /usr/share/phpmyadmin/config.inc.php and append a second server block, for example:
$i++;
$cfg['Servers'][$i]['auth_type'] = 'cookie';
$cfg['Servers'][$i]['host'] = 'db2.internal.example';
$cfg['Servers'][$i]['AllowNoPassword'] = false;
After saving, a server chooser appears on the sign-in page so you can pick which server to administer.
The bundled MariaDB server
The bundled database is configured for local use by the console:
- It listens on
127.0.0.1:3306only. The instance security group does not expose 3306; the database is reachable from phpMyAdmin and from an SSH session on the instance, not from the network. - Its data directory is on a dedicated EBS volume mounted at
/var/lib/mysql, so you can snapshot, back up and grow storage independently of the OS disk.
You can also work with the database directly over SSH using the mariadb client (it will prompt for the root password from the credentials file):
sudo mariadb -u root -p
Check that the services are running and the database is listening only on loopback:
systemctl is-active mariadb php8.3-fpm nginx
ss -tln | grep 3306
The health endpoint answers without authentication for load-balancer and uptime checks:
curl -s -o /dev/null -w '%{http_code}\n' http://127.0.0.1/healthz
Add HTTPS (optional)
The image serves plain HTTP on port 80 so it works immediately. For production, put phpMyAdmin behind TLS. The simplest route is a certificate from Let's Encrypt once you have a DNS name pointing at the instance and port 443 open in the security group:
sudo apt-get update && sudo apt-get install -y certbot python3-certbot-nginx
sudo certbot --nginx -d your-domain.example.com
certbot installs the certificate into the nginx site and sets up automatic renewal.
Back up and maintain
- Database backups: dump databases with
sudo mariadb-dump --all-databases > backup.sql, or snapshot the/var/lib/mysqlEBS volume from the EC2 console for a full point-in-time copy. - Credentials: the per-instance passwords are in
/root/phpmyadmin-credentials.txt. Store them in your secrets manager and, for shared environments, rotate the root password and create scoped application users. - Updates: keep the operating system current with
sudo apt-get update && sudo apt-get upgrade.
Support
This image is published by cloudimg with 24/7 technical support by email and chat. We can help with deployment, database and user administration, import and export, connecting phpMyAdmin to additional database servers, storage tuning, and backup and upgrade planning. Contact support@cloudimg.co.uk.
All product and company names are trademarks or registered trademarks of their respective holders. Use of them does not imply any affiliation with or endorsement by them.