Pi-hole on Ubuntu 24.04 on Azure User Guide
Overview
Pi-hole is an open-source, network-wide DNS sinkhole that blocks ads, trackers and malware domains for every device on your network - no per-device software required. You point your devices, router or DHCP server at Pi-hole as their DNS server, and Pi-hole answers from its bundled blocklists, sinking known ad and tracker domains while resolving everything else through an upstream resolver. The cloudimg image installs Pi-hole 6, which ships pihole-FTL - a single service that is both a fast caching DNS resolver on port 53 and an embedded web server on port 80 hosting the admin dashboard and a REST API. There is no separate lighttpd, PHP or nginx in v6. A unique admin password is generated on the first boot of every VM. Backed by 24/7 cloudimg support.
What is included:
- Pi-hole 6 (
pihole-FTL) - a caching DNS resolver on:53(UDP and TCP) and an embedded web server on:80 - The admin dashboard at
/adminand the REST API at/api, served bypihole-FTLitself - Default blocklists (adlists) loaded into Pi-hole's gravity database, ready to block tens of thousands of ad and tracker domains
- A per-VM admin password generated on first boot and recorded in a root-only file
pihole-FTL.serviceas a systemd unit, enabled and active- 24/7 cloudimg support
Prerequisites
An active Azure subscription, an SSH key pair, and a VNet + subnet in the target region. Standard_B2s (2 vCPU / 4 GiB RAM) is a good starting point - Pi-hole is lightweight. NSG inbound: allow 22/tcp from your management network, 80/tcp for the dashboard, and 53/udp and 53/tcp for DNS from the clients you want to protect. Pi-hole serves the dashboard over plain HTTP on port 80; for production, terminate TLS in front of it with your own domain.
Step 1 - Deploy from the Azure Marketplace
Sign in to the Azure Portal, choose Create a resource, search the Marketplace for Pi-hole by cloudimg, and select Create. On Basics pick your subscription, resource group, region and size; under Administrator account choose SSH public key and paste your key; under Inbound port rules allow SSH (22) and HTTP (80). After creation, add inbound NSG rules for DNS (port 53, both UDP and TCP) so your clients can use the VM as their resolver. Then Review + create -> Create.
Step 2 - Deploy from the Azure CLI
az vm create \
  --resource-group <your-rg> \
  --name pi-hole \
  --image <marketplace-image-urn> \
  --size Standard_B2s \
  --admin-username azureuser \
  --ssh-key-values ~/.ssh/id_ed25519.pub \
  --vnet-name <your-vnet> --subnet <your-subnet> \
  --public-ip-sku Standard

az vm open-port --resource-group <your-rg> --name pi-hole --port 80 --priority 1010
az network nsg rule create --resource-group <your-rg> --nsg-name <your-nsg> \
  --name allow-dns-udp --priority 1020 --protocol Udp \
  --destination-port-ranges 53 --access Allow --direction Inbound
az network nsg rule create --resource-group <your-rg> --nsg-name <your-nsg> \
  --name allow-dns-tcp --priority 1021 --protocol Tcp \
  --destination-port-ranges 53 --access Allow --direction Inbound
Step 3 - Connect to your VM
ssh azureuser@<vm-public-ip>
Step 4 - Confirm the service is running
systemctl is-active pihole-FTL.service
It reports active. pihole-FTL is the single Pi-hole service - it provides both the DNS resolver and the web dashboard.
Step 5 - Retrieve your admin password
The admin password is generated uniquely on the first boot of your VM and written to a root-only file:
sudo cat /root/pi-hole-credentials.txt
This file contains PIHOLE_URL, PIHOLE_API_URL and pihole.admin.pass. Store the password somewhere safe.
Step 6 - Confirm the DNS resolver and web server are listening
ss -tlnH | grep ':80 ' && ss -lnuH | grep ':53 '
You see a listener on :80 (the dashboard) and on :53/udp (DNS). Confirm Pi-hole resolves names:
dig +short @127.0.0.1 github.com A
It returns one or more IP addresses, proving the resolver is working.
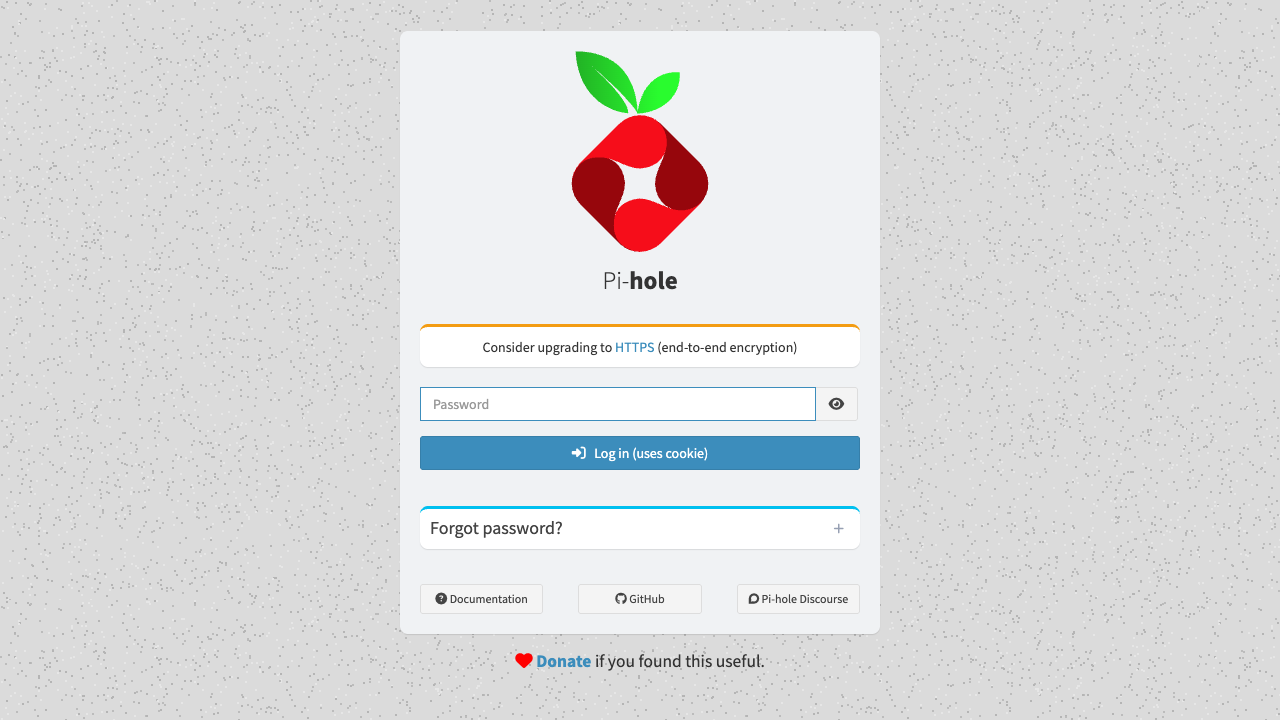
Step 7 - Open the admin dashboard
Browse to http://<vm-public-ip>/admin and sign in with the password from Step 5. The login page is served by pihole-FTL itself.
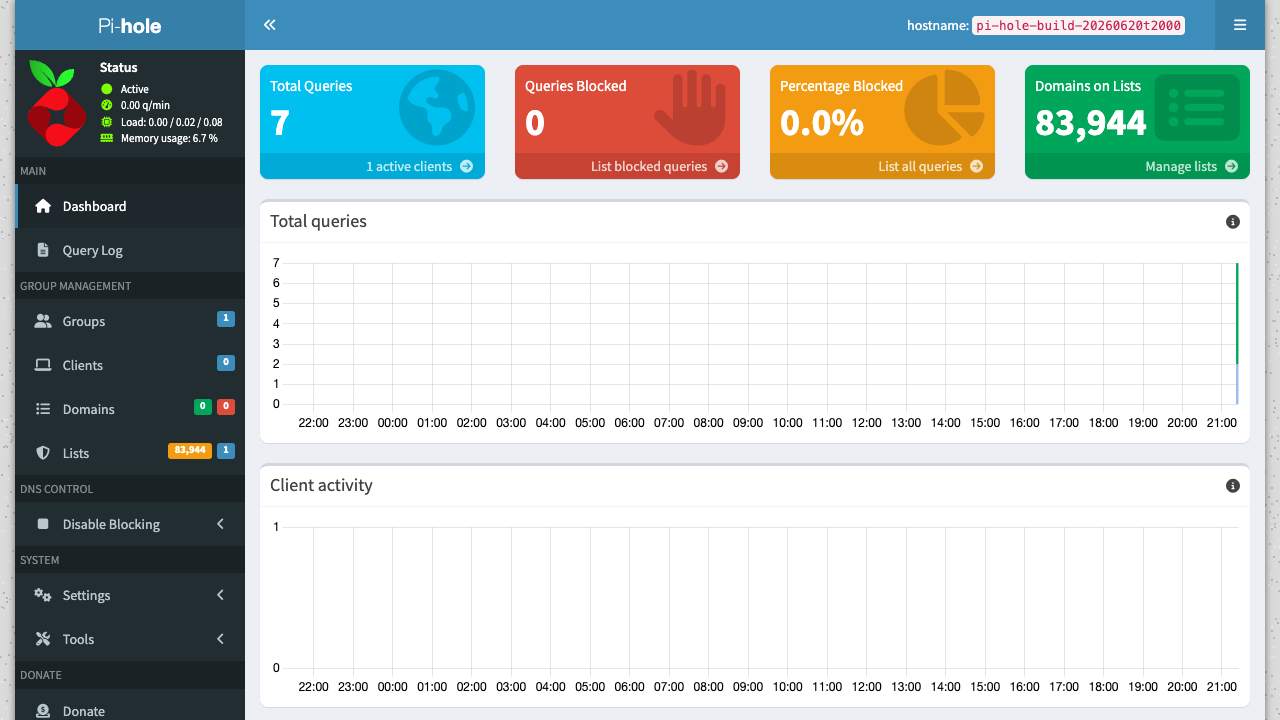
After signing in you land on the dashboard, which shows total queries, queries blocked, the percent blocked, the number of domains on your blocklists, and live query and client activity graphs.
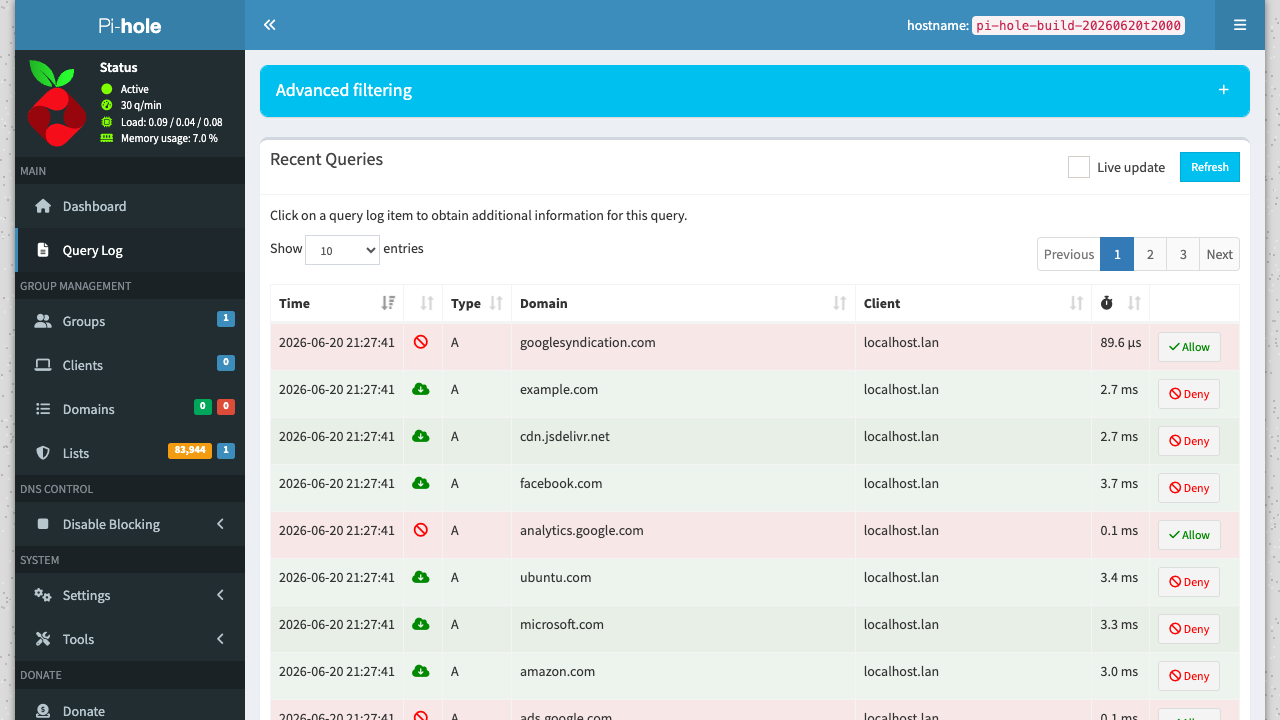
The Query Log lists recent DNS queries with their client, type, response time and whether each was blocked (red) or allowed (green).
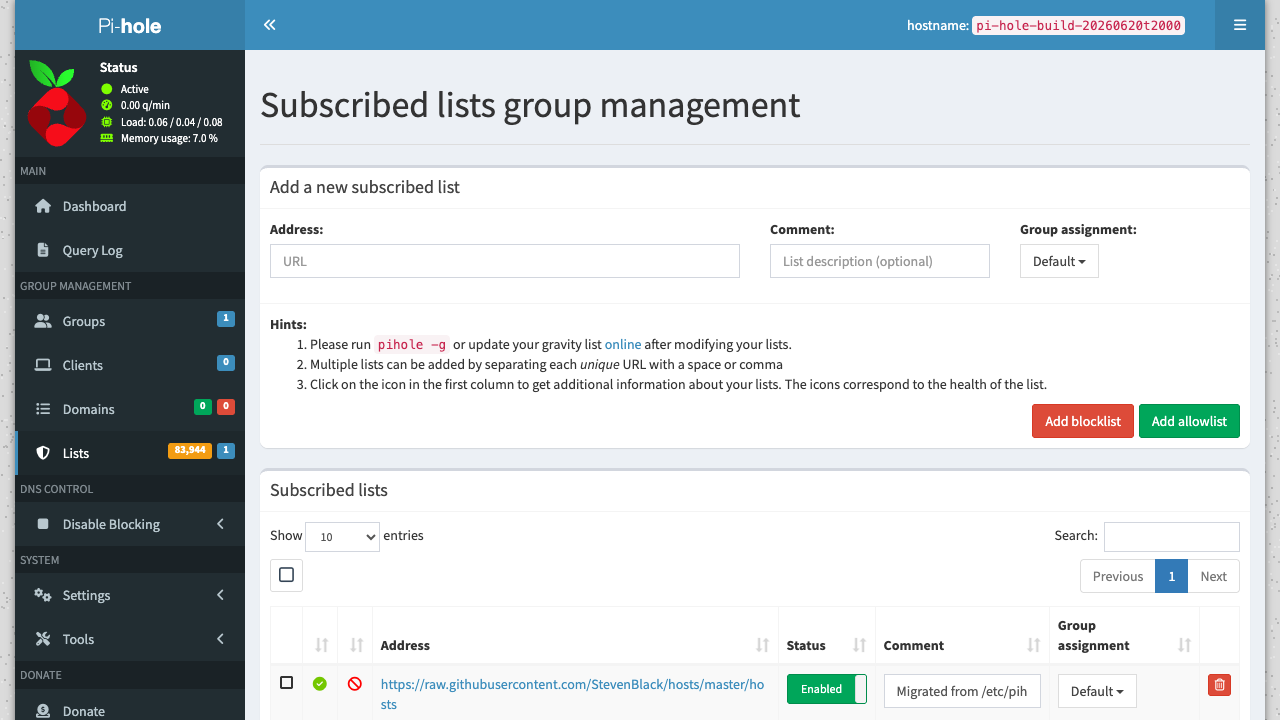
Under Lists you manage the subscribed blocklists (adlists) Pi-hole uses to sink ad and tracker domains. The image ships with a default blocklist already enabled.
Step 8 - Verify the admin API from the command line
Pi-hole v6's authentication API rejects a wrong password (HTTP 401) and accepts the per-VM admin password (HTTP 200 with a session). First read the password into a variable, then authenticate:
PW=$(sudo grep '^pihole.admin.pass=' /root/pi-hole-credentials.txt | cut -d= -f2-)
curl -s -X POST -H 'Content-Type: application/json' -d "{\"password\":\"<PIHOLE_ADMIN_PASSWORD>\"}" http://localhost/api/auth | head -c 200; echo
The response contains a "session" object with "valid":true and a session ID (sid) - that authenticates subsequent API calls.
Step 9 - Point your clients at Pi-hole
To protect your devices, set this VM's public (or private) IP as their DNS server:
- A single device: set its DNS server to the VM's IP in the OS network settings.
- Your whole network: set the VM's IP as the DNS server in your router's DHCP settings, so every device on the network uses Pi-hole automatically.
Make sure ports 53/udp and 53/tcp are open in the VM's NSG from the clients you want to serve. You can confirm blocking from any client with nslookup doubleclick.net <vm-ip> - a blocked domain resolves to 0.0.0.0.
Step 10 - Update blocklists and Pi-hole
Refresh the blocklists (the "gravity" database) at any time:
sudo pihole -g
Pi-hole and its blocklists are maintained in the cloudimg image; you can update the Pi-hole software yourself with sudo pihole -up.
Security notes
The admin dashboard is served over plain HTTP on port 80. Before exposing it beyond a trusted network, restrict port 80 to your management CIDR in the NSG and front the dashboard with TLS and your own domain. Keep port 53 reachable only from the clients you intend to serve - an open public resolver can be abused for DNS amplification. The admin password is unique per VM and stored only in the root-only credentials file.
All product and company names are trademarks or registered trademarks of their respective holders. Use of them does not imply any affiliation with or endorsement by them.