PocketBase on Ubuntu 24.04 on Azure User Guide
Overview
PocketBase is an open-source backend in a single Go binary. It bundles an embedded SQLite database, a realtime REST and Server-Sent-Events API, built-in authentication, file storage, and a polished admin dashboard - everything you need to back a web or mobile app without standing up a separate database, API layer and auth service. The cloudimg image installs PocketBase 0.39.4, runs it as a systemd service bound to loopback behind an nginx reverse proxy on port 80, persists its database and file storage on a dedicated Azure data disk, and generates a unique superuser on the first boot of every VM. Backed by 24/7 cloudimg support.
What is included:
- PocketBase 0.39.4 (binary
/usr/local/bin/pocketbase) with an embedded SQLite database - nginx on
:80as a reverse proxy to the loopback PocketBase backend, with WebSocket and SSE upgrade headers for realtime subscriptions - A per-VM admin (superuser) account generated on first boot and recorded in a root-only file
- A dedicated Azure data disk at
/var/lib/pocketbasefor the database (pb_data) and file storage pocketbase.service+nginx.serviceas systemd units, enabled and active- 24/7 cloudimg support
Prerequisites
An active Azure subscription, an SSH key pair, and a VNet + subnet in the target region. Standard_B2s (2 vCPU / 4 GiB RAM) is a good starting point - PocketBase is lightweight. NSG inbound: allow 22/tcp from your management network and 80/tcp. PocketBase serves plain HTTP on port 80; for production, terminate TLS in front of it with your own domain.
Step 1 - Deploy from the Azure Marketplace
Sign in to the Azure Portal, choose Create a resource, search the Marketplace for PocketBase by cloudimg, and select Create. On Basics pick your subscription, resource group, region and size; under Administrator account choose SSH public key and paste your key; under Inbound port rules allow SSH (22) and HTTP (80). Review the dedicated data disk on the Disks tab, then Review + create -> Create.
Step 2 - Deploy from the Azure CLI
az vm create \
  --resource-group <your-rg> \
  --name pocketbase \
  --image <marketplace-image-urn> \
  --size Standard_B2s \
  --admin-username azureuser \
  --ssh-key-values ~/.ssh/id_ed25519.pub \
  --vnet-name <your-vnet> --subnet <your-subnet> \
  --public-ip-sku Standard

az vm open-port --resource-group <your-rg> --name pocketbase --port 80 --priority 1010
Step 3 - Connect to your VM
ssh azureuser@<vm-public-ip>
Step 4 - Confirm the services are running
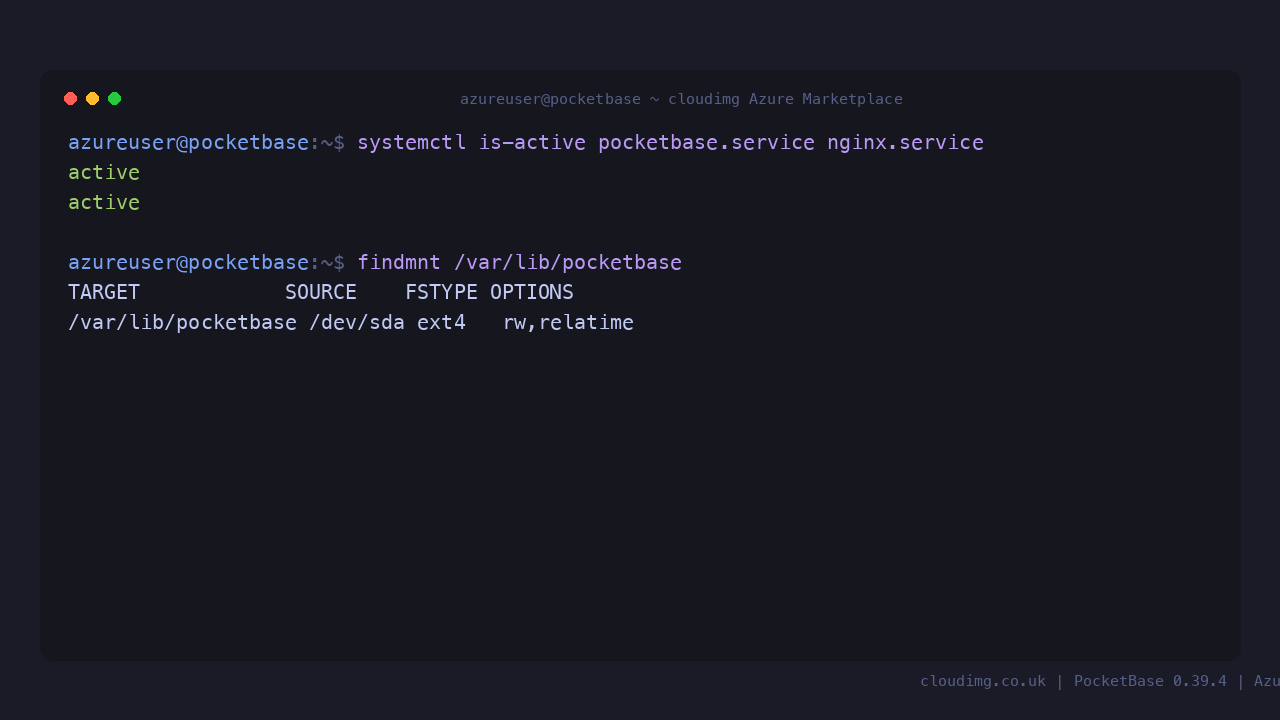
systemctl is-active pocketbase.service nginx.service
Both report active. On first boot PocketBase creates a per-VM superuser.
Step 5 - Retrieve your admin password
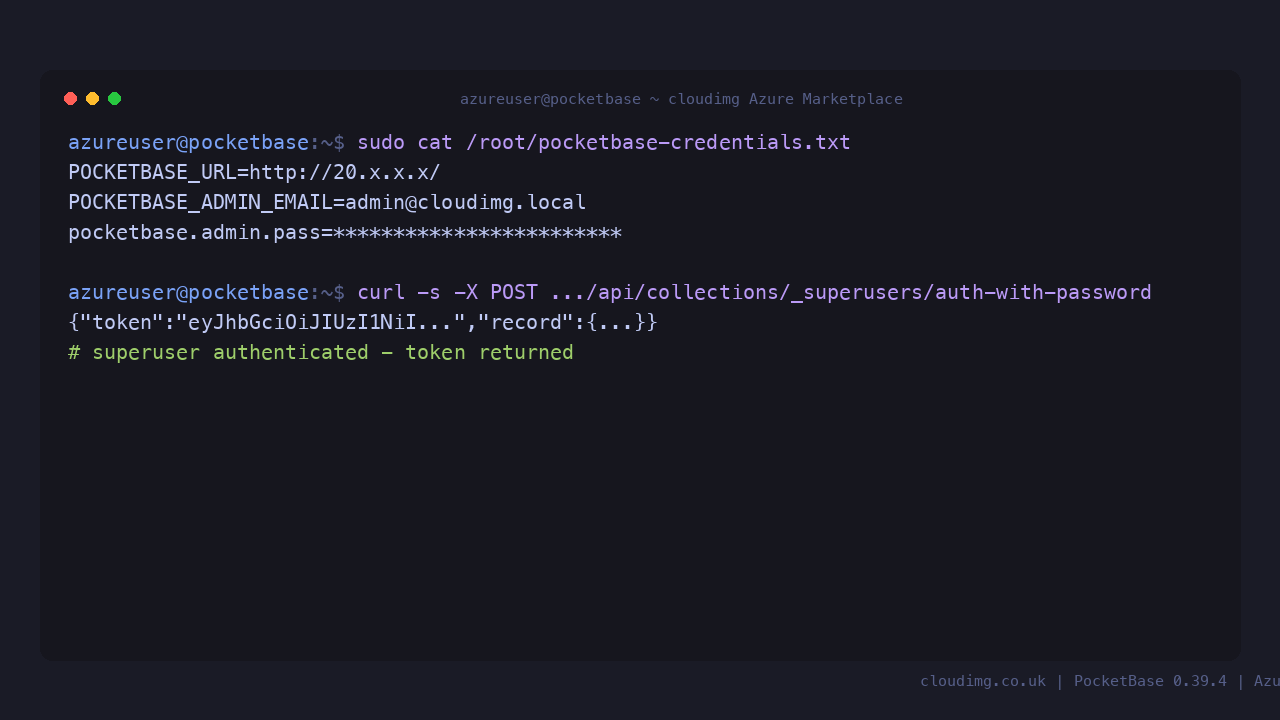
The admin (superuser) password is generated uniquely on the first boot of your VM and written to a root-only file:
sudo cat /root/pocketbase-credentials.txt
This file contains POCKETBASE_ADMIN_EMAIL (admin@cloudimg.local) and pocketbase.admin.pass. Store the password somewhere safe.
Step 6 - Confirm the health endpoint
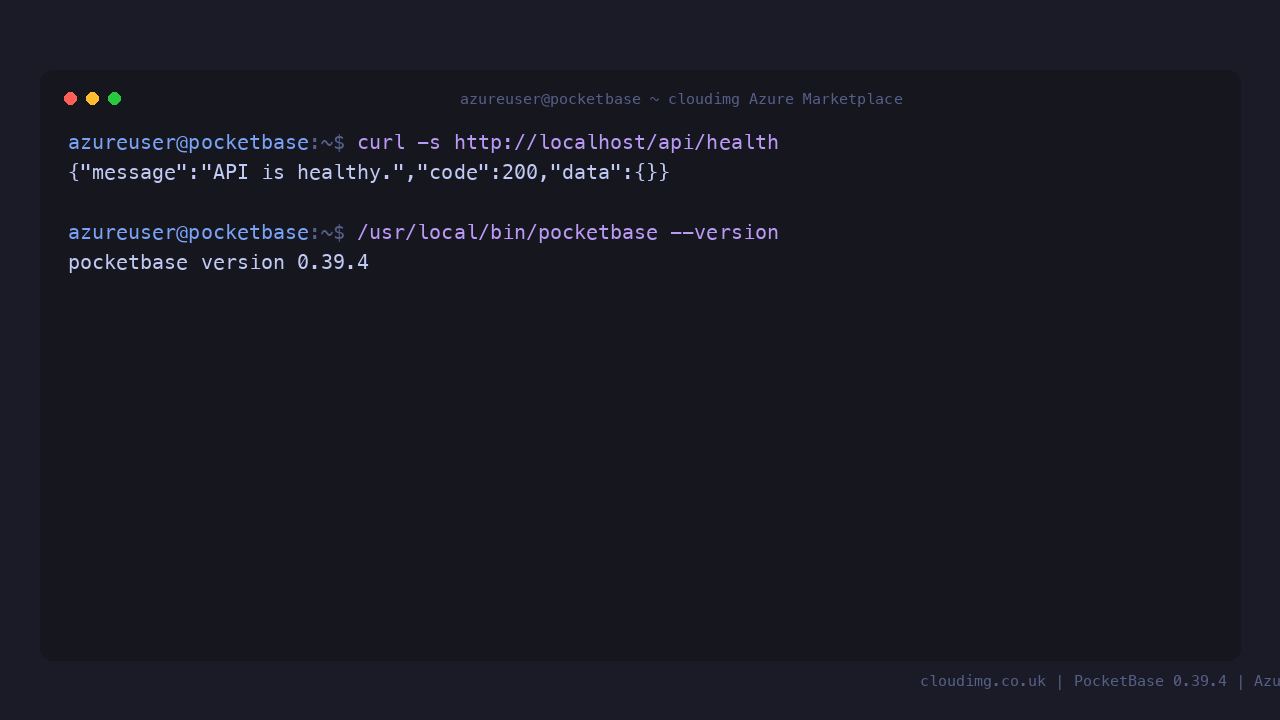
PocketBase exposes an unauthenticated health endpoint for load balancers and probes:
curl -s http://localhost/api/health
It returns a JSON object with "code":200 and "message":"API is healthy.".
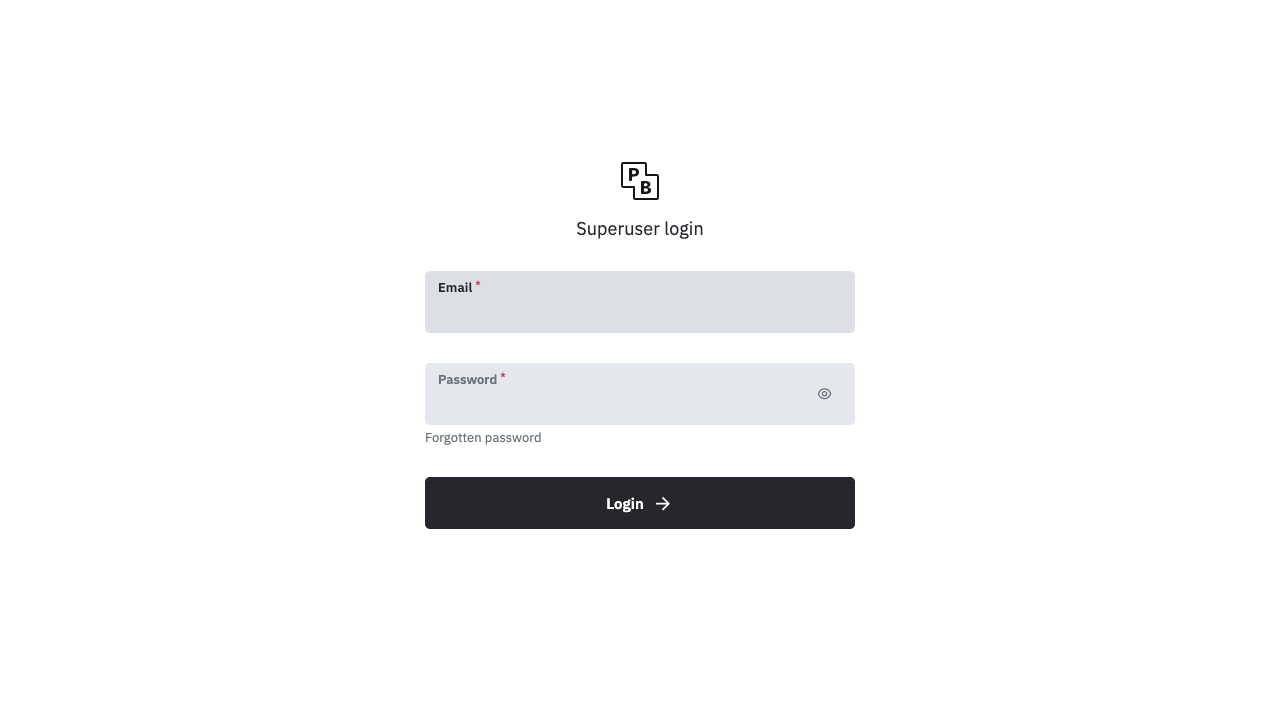
Step 7 - Open the admin dashboard
Browse to http://<vm-public-ip>/_/ and sign in as admin@cloudimg.local with the password from Step 5. The dashboard is where you manage collections, records, users, files and settings.
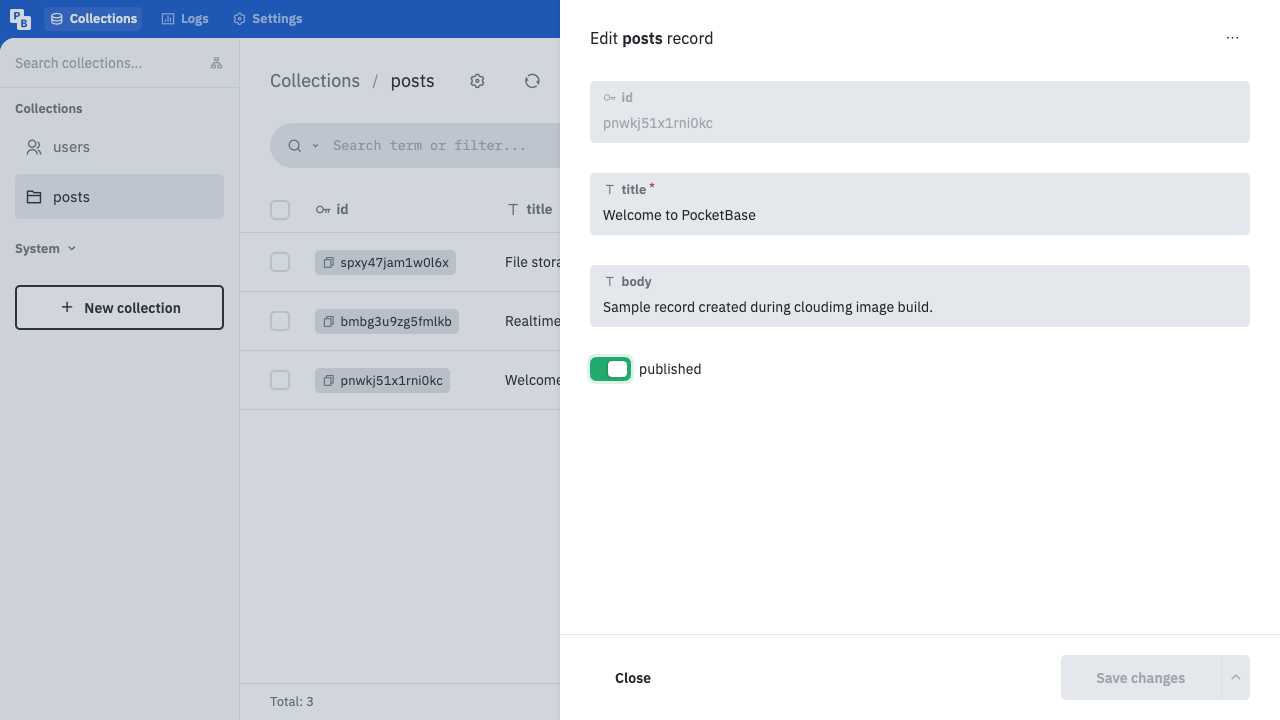
After signing in you land on the Collections view. Each collection is a table with its own schema, API rules and realtime channel.
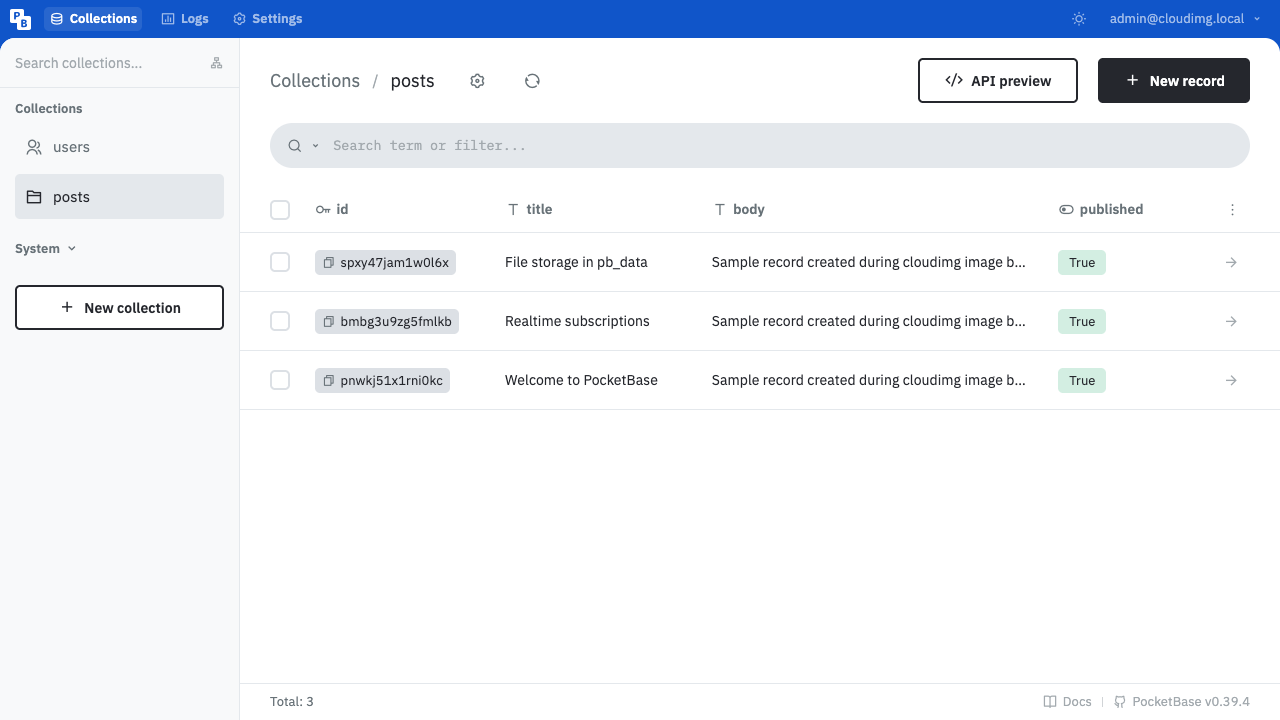
Click any record to open the record editor, where you can view and edit field values inline.
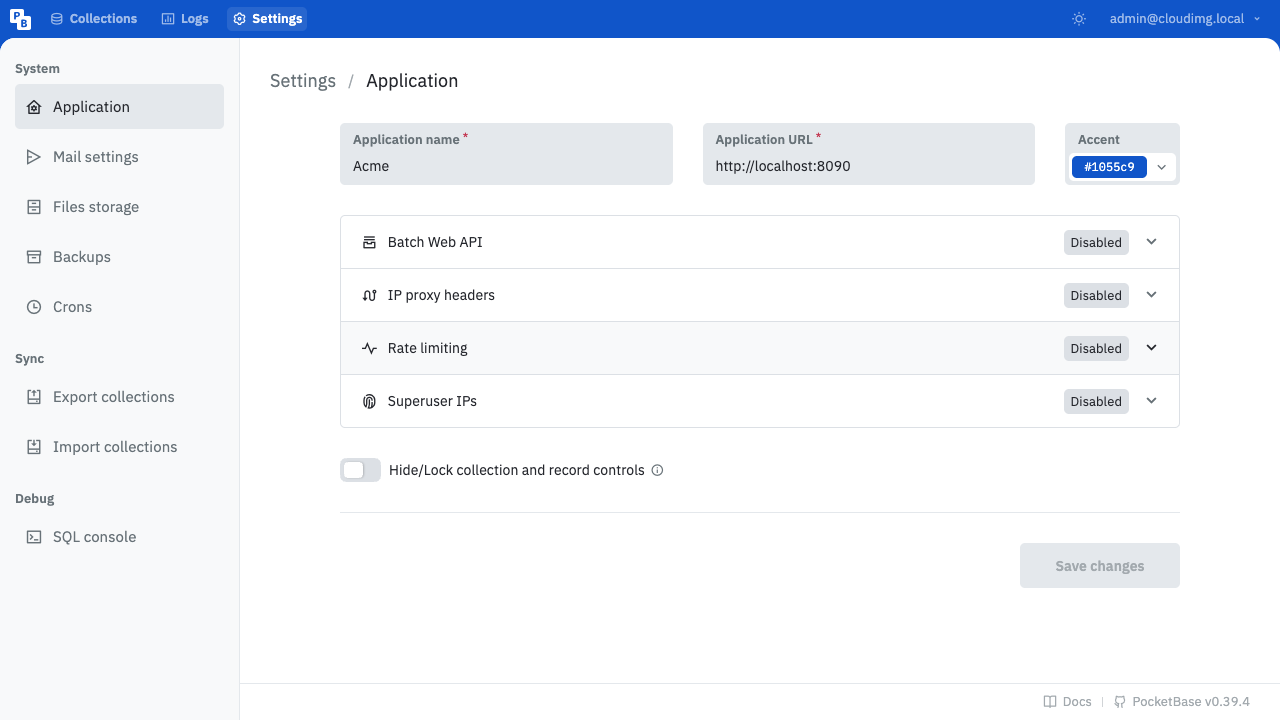
The Settings area covers the application name and URL, mail, file storage, backups, scheduled jobs and more.
Step 8 - Verify authentication from the command line
PocketBase's superuser auth endpoint rejects a wrong password and accepts the per-VM admin password. First read the password into a variable, then authenticate:
PB_PASS=$(sudo grep '^pocketbase.admin.pass=' /root/pocketbase-credentials.txt | cut -d= -f2-)
curl -s -X POST -H 'Content-Type: application/json' -d "{\"identity\":\"admin@cloudimg.local\",\"password\":\"<POCKETBASE_ADMIN_PASSWORD>\"}" http://localhost:8090/api/collections/_superusers/auth-with-password | head -c 120; echo
The response contains a "token" field - that JWT authenticates subsequent admin API calls.
Step 9 - Create your first collection from the API
You can manage everything from the dashboard, or script it against the REST API. Authenticate and create a notes collection:
PB_TOKEN=$(curl -s -X POST -H 'Content-Type: application/json' -d "{\"identity\":\"admin@cloudimg.local\",\"password\":\"<POCKETBASE_ADMIN_PASSWORD>\"}" http://localhost:8090/api/collections/_superusers/auth-with-password | python3 -c "import sys,json;print(json.load(sys.stdin)['token'])")
curl -s -X POST -H "Authorization: $PB_TOKEN" -H 'Content-Type: application/json' -d '{"name":"notes","type":"base","fields":[{"name":"text","type":"text","required":true}]}' http://localhost:8090/api/collections | python3 -c "import sys,json;d=json.load(sys.stdin);print('created collection:', d.get('name','?'))"
It prints created collection: notes. The collection is immediately available at /api/collections/notes/records with a realtime channel.
Step 10 - Confirm data lives on the dedicated disk
The PocketBase database and file storage are stored on the dedicated Azure data disk so they survive OS changes and can be resized independently:
findmnt /var/lib/pocketbase
The mount is backed by a separate Azure data disk captured into the image and re-provisioned on every VM. The pb_data directory (SQLite database plus uploaded files) lives under it.
Building your app
PocketBase is designed to be your app's entire backend. Point the official JavaScript/Dart SDKs (or any HTTP client) at http://<your-domain>/ and use collections for data, the auth collections for user sign-up and login, realtime subscriptions for live updates, and the files API for uploads. You can extend PocketBase with JavaScript hooks (pb_hooks) or use it as a Go framework. See the PocketBase documentation for SDKs, API rules and hooks.
Maintenance
- Admin users: add or manage superusers from the dashboard, or with
pocketbase superuseron the VM. - Backups: use the built-in Backups settings, or snapshot the
/var/lib/pocketbasedata disk. - Data: the SQLite database and uploaded files live under
/var/lib/pocketbase/pb_data. - TLS: PocketBase serves plain HTTP on port 80; front it with TLS (e.g. certbot) and your own domain before production use.
- Upgrades: replace
/usr/local/bin/pocketbasewith a newer release binary andsudo systemctl restart pocketbase. - Security patches: unattended-upgrades remains enabled so the OS continues to receive security updates automatically.
Support
cloudimg provides 24/7 expert support for this image. Contact support@cloudimg.co.uk.