Redmine 6 on Ubuntu 24.04 on Azure User Guide
Overview
Redmine is the long-running open-source project management and issue tracking platform — bug tracking, time tracking, Gantt charts, wiki, forums, repository browser, and per-project access control, all in a single Ruby on Rails application. The cloudimg image installs Redmine 6.0 from redmine.org alongside Apache 2.4, Phusion Passenger 6, MySQL 8.0, and Ruby 3.2 — all from Ubuntu 24.04 noble universe (no third-party APT repositories). The schema is migrated and the default admin account is created at first boot with a per-VM password.
What is included:
- Redmine 6.0.7 from official redmine.org tarball at
/opt/redmine - Apache 2.4.58 with Phusion Passenger 6.0.17 mounted at
/ - MySQL 8.0.45 with
redmineDB andredmineMySQL user (per-VM password) - Ruby 3.2.3 from Ubuntu noble + Bundler 2.5 + 90 production gems vendored under
/opt/redmine/vendor/bundle - ImageMagick 6.9 + libmagickwand for attachment thumbnails
redmine-firstboot.servicerotating MySQL root + DB + admin passwords + running schema migrations- Default English language; project / issue / user / role / permission framework loaded
- 24/7 cloudimg support
Prerequisites
Active Azure subscription, SSH key, VNet + subnet. Standard_B2s (2 vCPU, 4 GB RAM) is sufficient for teams of up to ~50 active users; bump to D2s_v5 or larger for bigger teams or heavy attachment workloads.
Step 1: Deploy from Marketplace
Search for "Redmine 6 on Ubuntu 24.04 LTS" in the Azure Marketplace, click Get It Now, then Create. Choose your resource group, region, VM size (Standard_B2s recommended), and SSH public key. Allow inbound port 80 (HTTP) and 22 (SSH) in the NSG.
Step 2: SSH into the VM
ssh azureuser@<vm-ip>
The first boot takes 60-90 seconds (MySQL root rotation, DB creation, schema migration, asset compilation). Wait for /var/lib/cloudimg/redmine-firstboot.done to appear before browsing.
while [ ! -f /var/lib/cloudimg/redmine-firstboot.done ]; do echo "waiting..."; sleep 5; done; echo "READY"
Step 3: Verify Services
sudo systemctl is-active apache2 mysql
sudo ss -tlnp | grep -E ':(80|3306) '
Both should report active and you should see Apache on :80 and MySQL on :3306.
Step 4: Read Per-VM Credentials
sudo cat /stage/scripts/redmine-credentials.log
Pick up REDMINE_ADMIN_PASSWORD and REDMINE_LOGIN_URL from the file. Treat these as secrets — the file is mode 0600 root:root.
Step 5: Versions
ruby --version
apache2 -v | head -1
mysql --version
grep -E 'MAJOR|MINOR|TINY' /opt/redmine/lib/redmine/version.rb | head -3
Step 6: Front-End
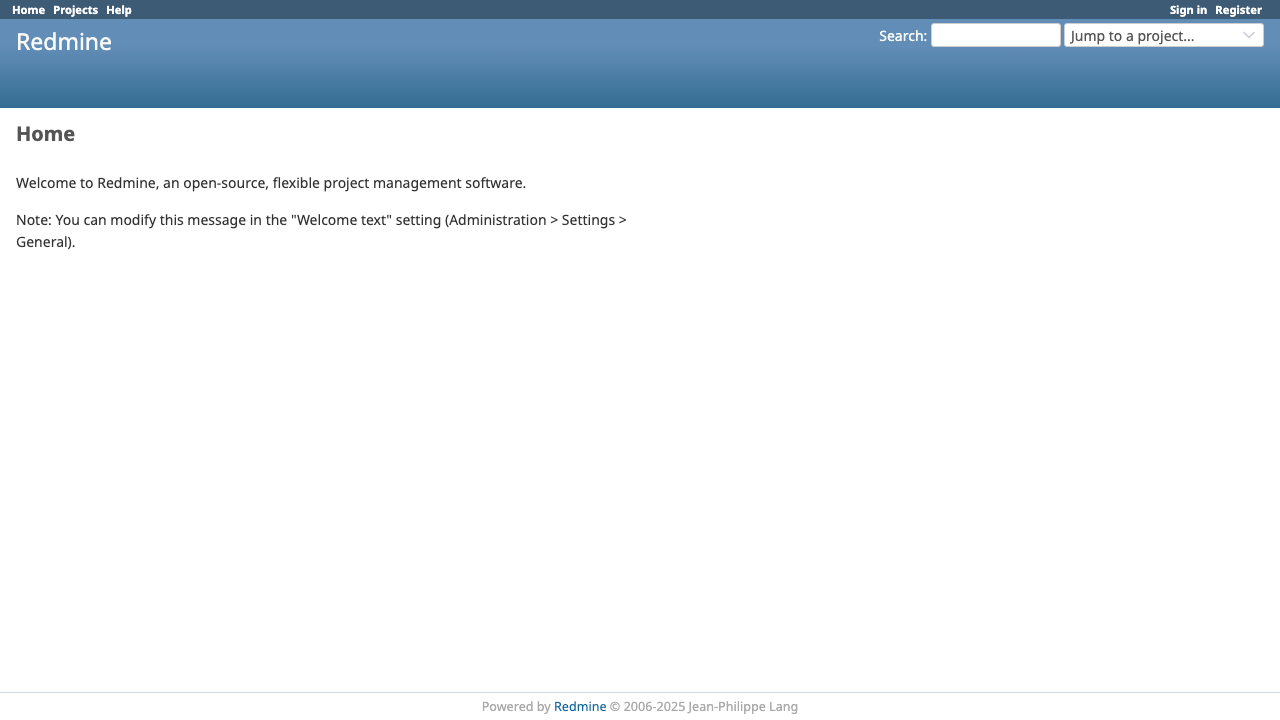
Browse to http://<vm-ip>/ to see the Redmine home page (no projects yet — login as admin to create your first one).
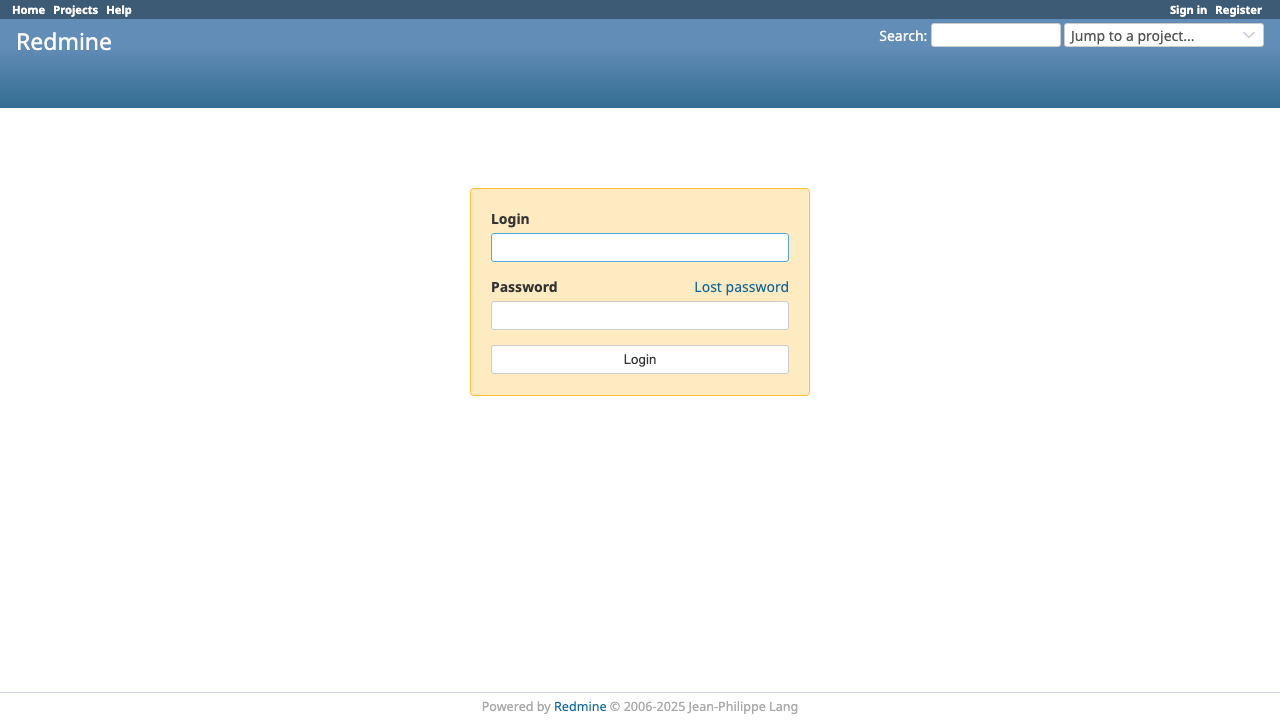
Step 7: Login at /login
Browse to http://<vm-ip>/login and authenticate as admin with the password from Step 4.
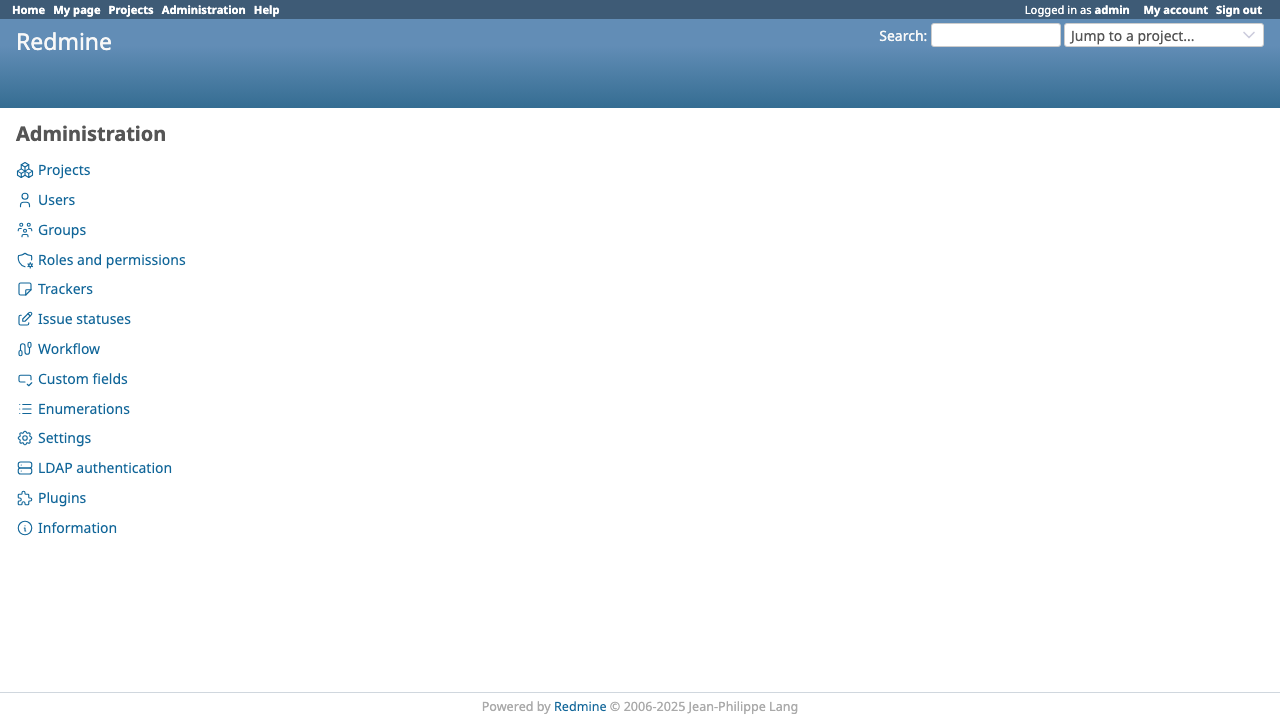
Step 8: Administration Dashboard
After login, visit /admin for the administration index — projects, users, groups, roles & permissions, trackers, issue statuses, workflow, custom fields, enumerations, settings, LDAP authentication, plugins, info.
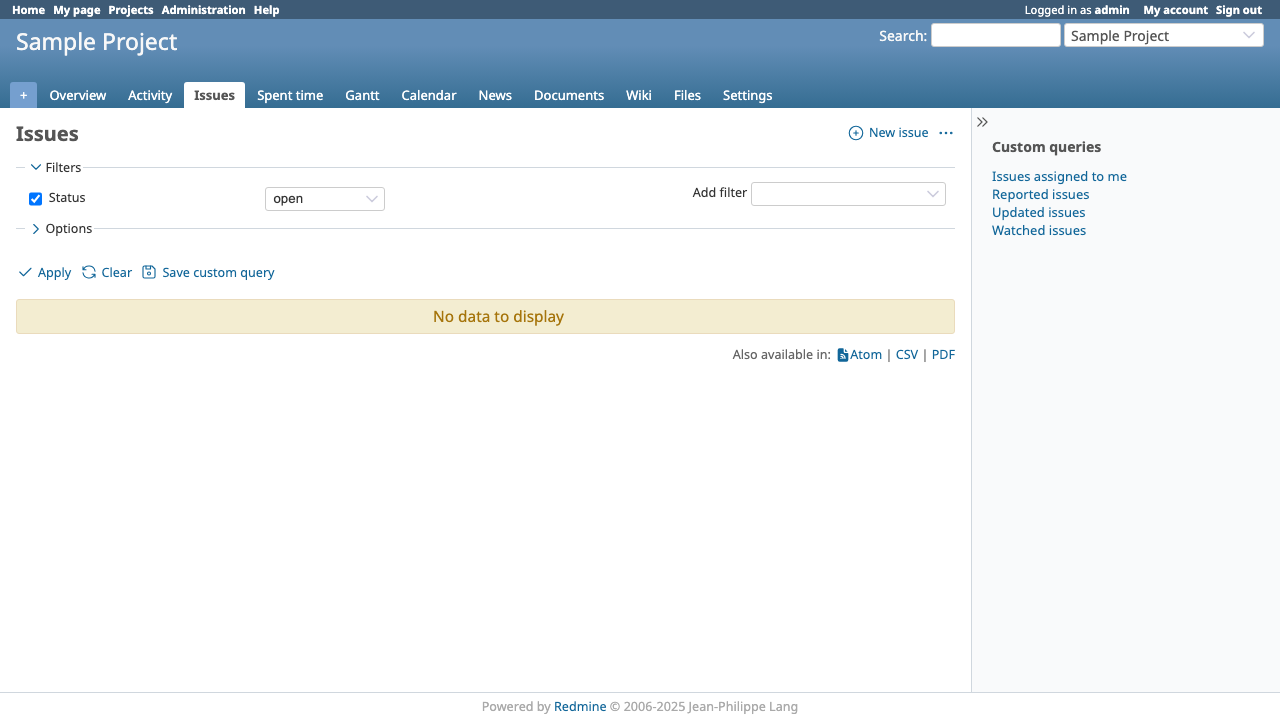
Step 9: Create a Project
Click Projects → New project, give it an identifier and name, pick which modules to enable (issue tracking, time tracking, news, documents, files, wiki, repository, forums, calendar, gantt). Once created, the Issues tab is where most teams spend their time.
Step 10: Components
| Component | Path |
|---|---|
| Redmine install | /opt/redmine/ |
| database.yml | /opt/redmine/config/database.yml |
| Apache vhost | /etc/apache2/sites-available/redmine.conf |
| Apache logs | /var/log/apache2/redmine-{access,error}.log |
| Redmine logs | /opt/redmine/log/production.log |
| Attachment storage | /opt/redmine/files/ |
| Plugins | /opt/redmine/plugins/ |
| Themes | /opt/redmine/public/themes/ |
| MySQL data | /var/lib/mysql/ |
| Vendored gems | /opt/redmine/vendor/bundle/ |
| Firstboot script | /usr/local/sbin/redmine-firstboot.sh |
| Credentials | /stage/scripts/redmine-credentials.log (mode 0600 root:root) |
Step 11: Backup
The two things to back up are the MySQL redmine database and the /opt/redmine/files attachment directory.
# Database dump
sudo mysqldump --single-transaction redmine | gzip > redmine-$(date +%Y%m%d).sql.gz
# Attachments
sudo tar czf redmine-files-$(date +%Y%m%d).tar.gz -C /opt/redmine files
Restore by loading the dump back with mysql redmine < dump.sql (after recreating the DB) and untarring the files directory.
Step 12: Security
- HTTPS: install certbot and obtain a Let's Encrypt cert:
sudo apt-get install -y certbot python3-certbot-apache && sudo certbot --apache - Restrict NSG so port 80 is only open to your CDN / load balancer; keep 22 to your management CIDR only
- Change the admin email under
/my/accountand add a real address so password resets work - Enable 2FA for admin and trusted users under
/my/account/twofa - Patch monthly:
sudo apt-get update && sudo apt-get upgrade && sudo reboot - Update Redmine by downloading the new tarball, copying
config/database.ymlandfiles/across, then runningbundle installandbundle exec rake db:migrate RAILS_ENV=production
Licensing
Redmine is GPL-2.0+ — free to use commercially. cloudimg provides commercial support separately. support@cloudimg.co.uk.