Saleor on Ubuntu 24.04 on Azure User Guide
Overview
Saleor is a high performance, GraphQL-first open source e-commerce platform built on Python and Django, with a modern React admin Dashboard. It powers headless storefronts for brands that need a flexible, API-driven commerce backend. The cloudimg image delivers Saleor 3.23 fully installed and wired together as a Docker Compose stack, so a production-grade commerce API and admin Dashboard are running within minutes of launch. An nginx reverse proxy publishes the Dashboard and the GraphQL API on port 80 same-origin, the data tier lives on a dedicated Azure data disk, and a unique administrator account is generated on the first boot of every VM. Backed by 24/7 cloudimg support.
What is included:
- Saleor 3.23 (BSD-3-Clause) as a Docker Compose stack: the GraphQL API, the React admin Dashboard, PostgreSQL 15, a Valkey (Redis-compatible) cache and Celery broker, a Celery worker and a local mail capture service
- Docker Engine and the Docker Compose plugin from the official Docker repository
- nginx on port 80 reverse-proxying
/graphql/(and/media/,/thumbnail/,/digital-download/,/.well-known/) to the API and serving the Dashboard SPA same-origin - A dedicated Azure data disk at
/var/lib/saleorfor the PostgreSQL database, the Valkey state and your media uploads - A per-VM Django secret key, JWT signing key and unique administrator account generated on first boot
saleor.service,nginx.serviceanddocker.serviceas systemd units, enabled and active- 24/7 cloudimg support
Prerequisites
An active Azure subscription, an SSH key pair, and a VNet plus subnet in the target region. Standard_B4ms (4 vCPU / 16 GiB RAM) is a good starting point; use Standard_D8s_v5 or larger for production catalogues. NSG inbound: allow 22/tcp from your management network and 80/tcp for the Saleor Dashboard and GraphQL API (front with TLS for public exposure - see Enabling HTTPS).
Step 1 - Deploy from the Azure Marketplace
Sign in to the Azure Portal, choose Create a resource, search the Marketplace for Saleor by cloudimg, and select Create. On Basics pick your subscription, resource group, region and size; under Administrator account choose SSH public key and paste your key; under Inbound port rules allow SSH (22) and HTTP (80). Review the dedicated data disk on the Disks tab, then Review + create -> Create.
Step 2 - Deploy from the Azure CLI
az vm create \
  --resource-group <your-rg> \
  --name saleor \
  --image <marketplace-image-urn> \
  --size Standard_B4ms \
  --admin-username azureuser \
  --ssh-key-values ~/.ssh/id_ed25519.pub \
  --vnet-name <your-vnet> --subnet <your-subnet> \
  --public-ip-sku Standard

az vm open-port --resource-group <your-rg> --name saleor --port 80 --priority 1010
Step 3 - Connect to your VM
ssh azureuser@<vm-public-ip>
Step 4 - Confirm the Saleor stack is running
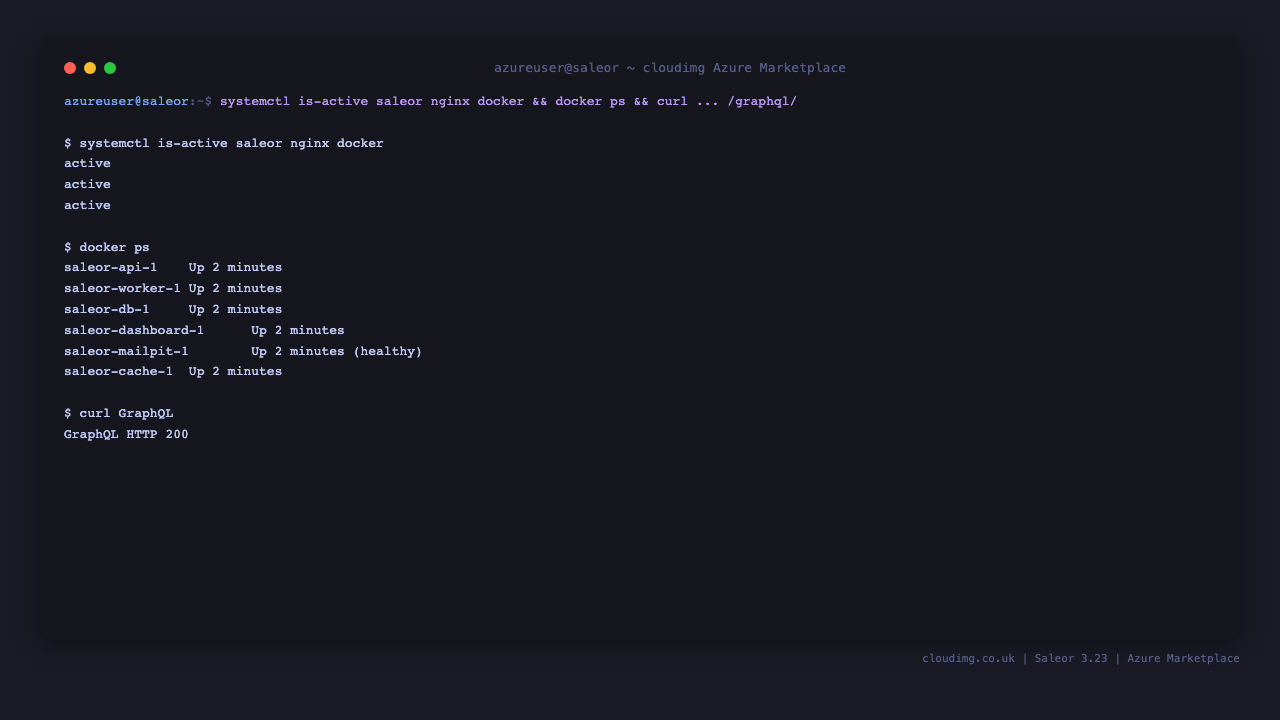
On first boot Saleor generates a fresh Django secret key and JWT signing key, runs the database migrations against a clean database, creates a unique per-VM administrator account, and brings the Docker Compose stack up. Confirm the systemd units are active:
systemctl is-active saleor nginx docker
All three report active.
The Saleor stack runs as a set of Docker Compose containers. List them and confirm the GraphQL API answers on port 80:
sudo docker ps --format '{{.Names}}\t{{.Status}}'
curl -s -o /dev/null -w 'GraphQL HTTP %{http_code}\n' \
  -H 'Content-Type: application/json' \
  --data '{"query":"{ shop { name } }"}' http://127.0.0.1/graphql/
The api, dashboard, db, cache, worker and mailpit containers are Up, and the GraphQL query returns HTTP 200.
Step 5 - Retrieve the administrator password
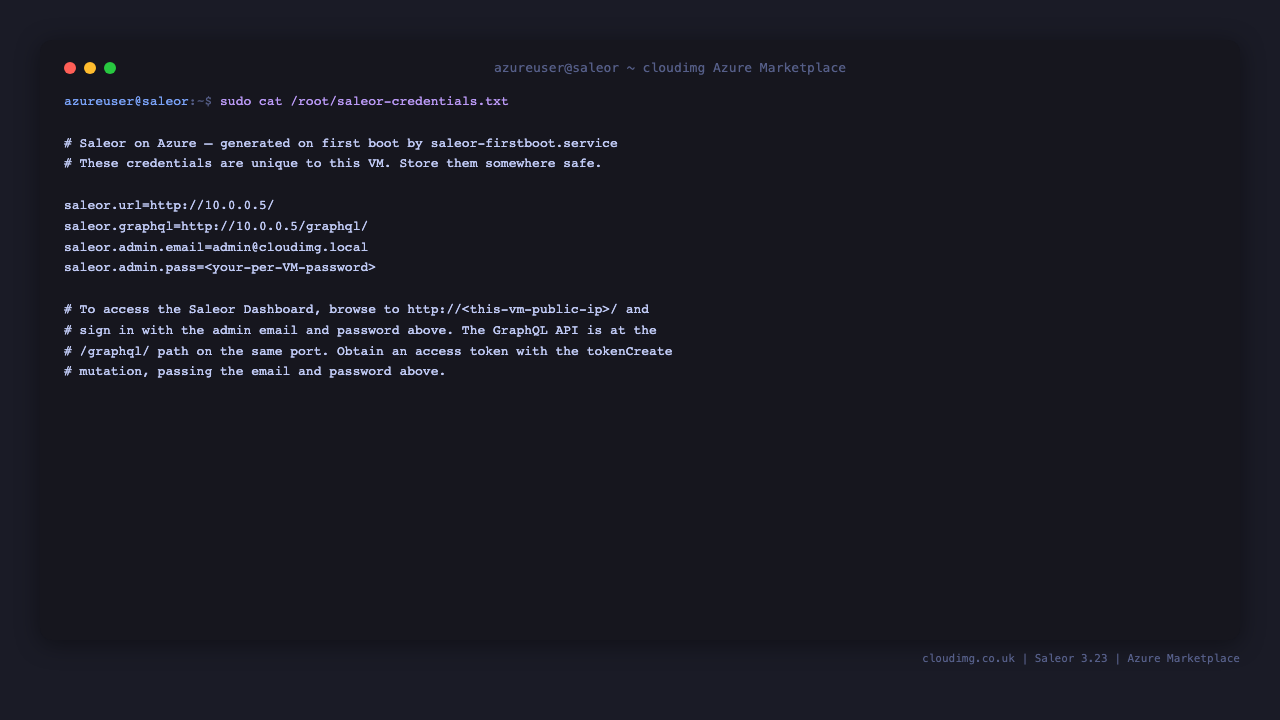
The administrator account is unique to your VM and is generated on first boot. Read it as root:
sudo cat /root/saleor-credentials.txt
The file contains the admin email (admin@cloudimg.local) and a unique password, plus the Dashboard and GraphQL URLs for this VM. Change the email and password from the Dashboard after your first sign-in.
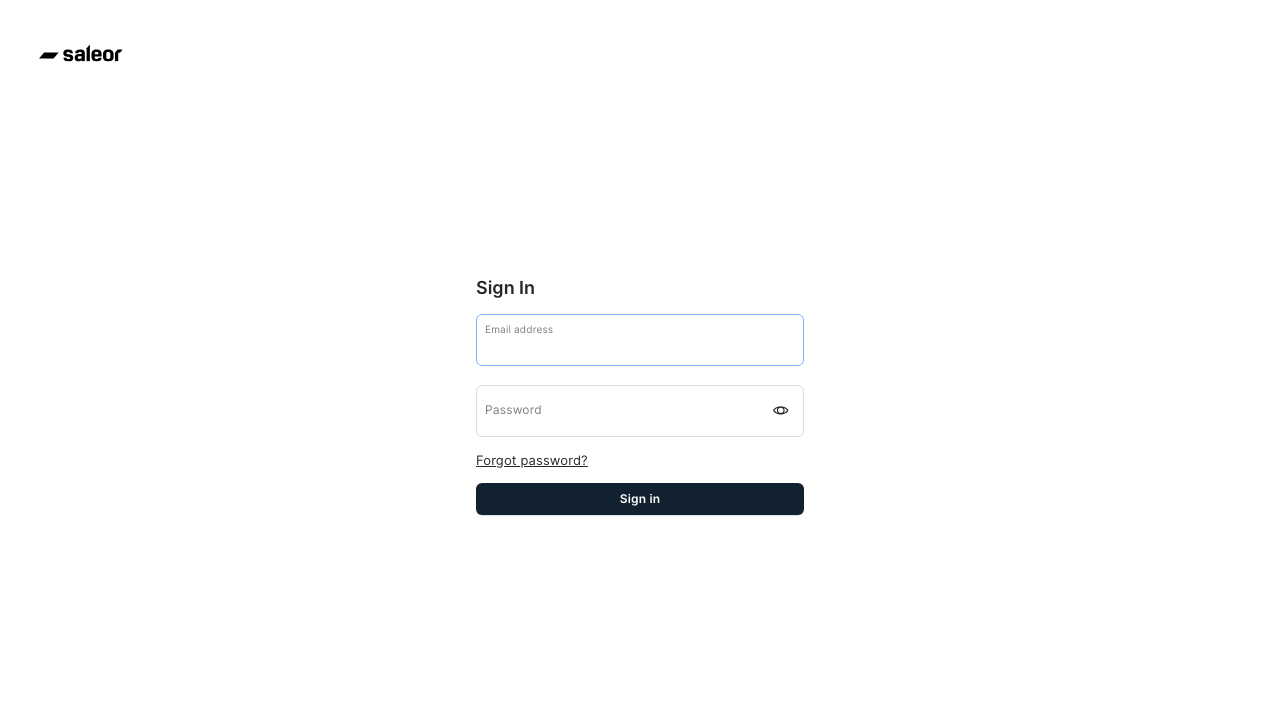
Step 6 - Sign in to the Dashboard
Browse to http://<vm-public-ip>/. The Saleor Dashboard sign-in screen appears. Sign in with admin@cloudimg.local and the password from the credentials file.
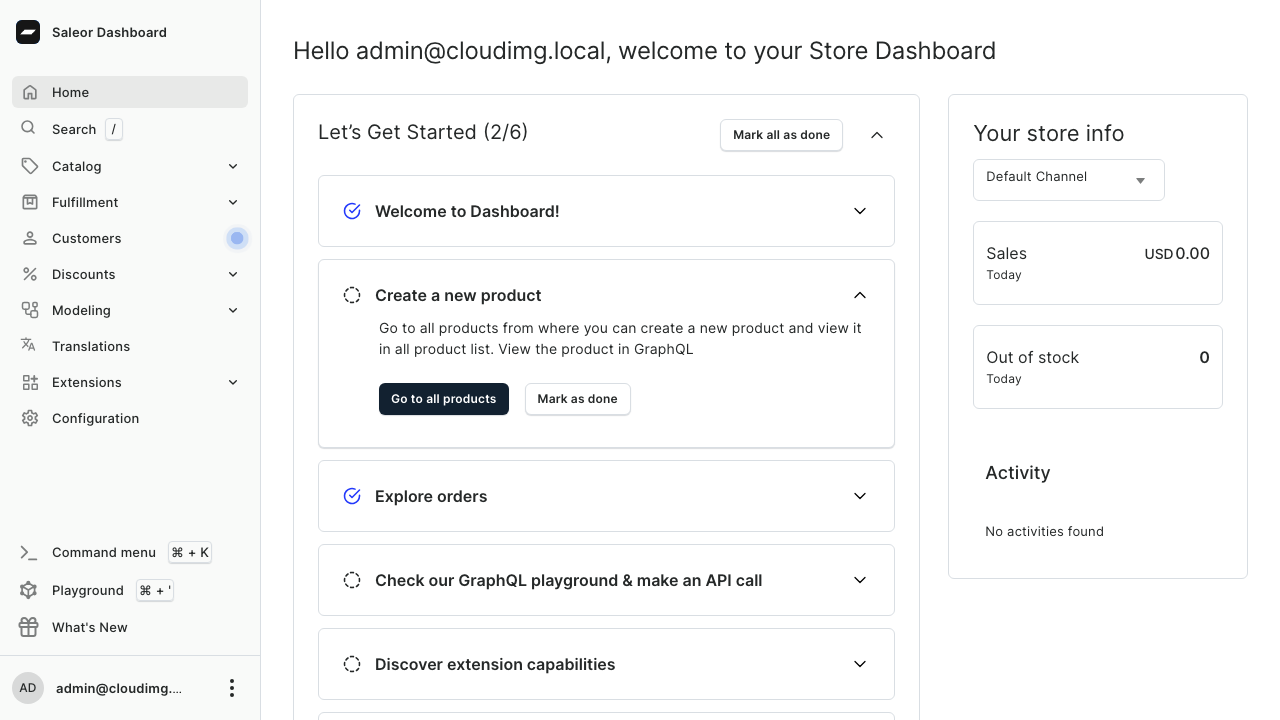
After signing in you land on the Dashboard home, which shows the sales and orders overview and the navigation for your catalogue, orders, customers, discounts, configuration and more.
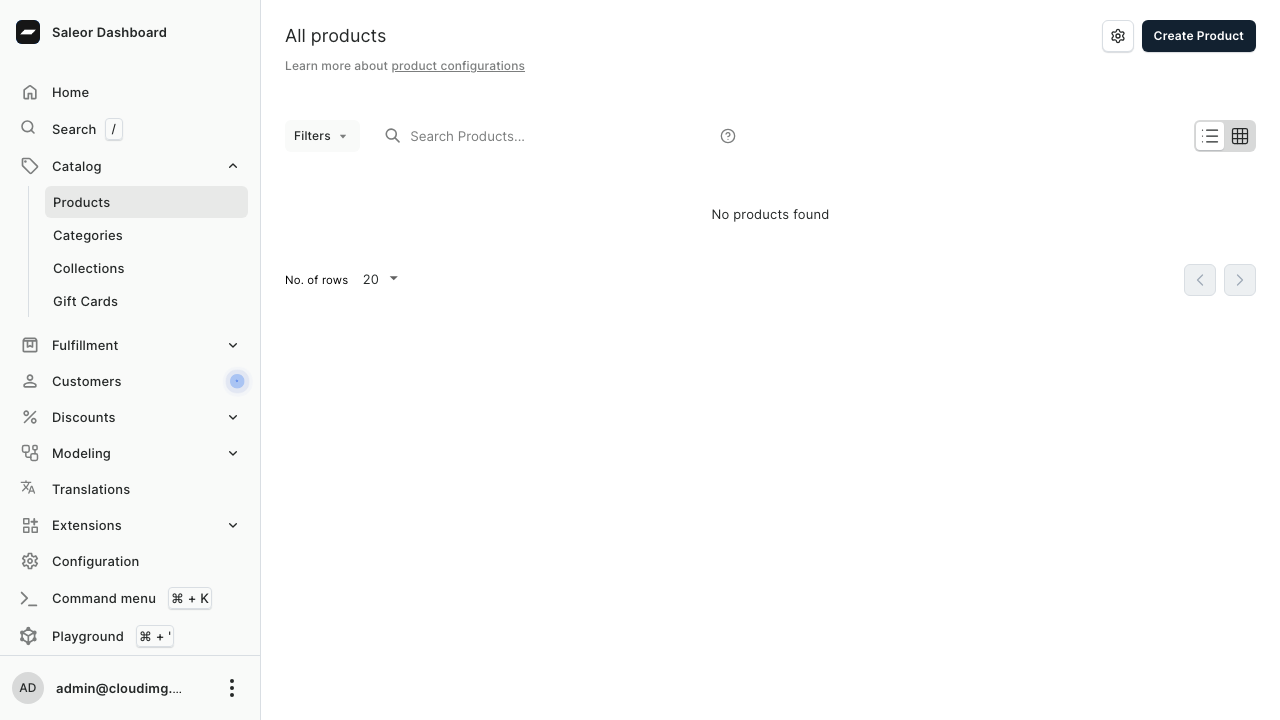
Step 7 - Manage your catalogue
Open Catalog -> Products to manage products, variants, collections and channels. From here you can create products, set pricing per channel, manage stock and organise your catalogue.
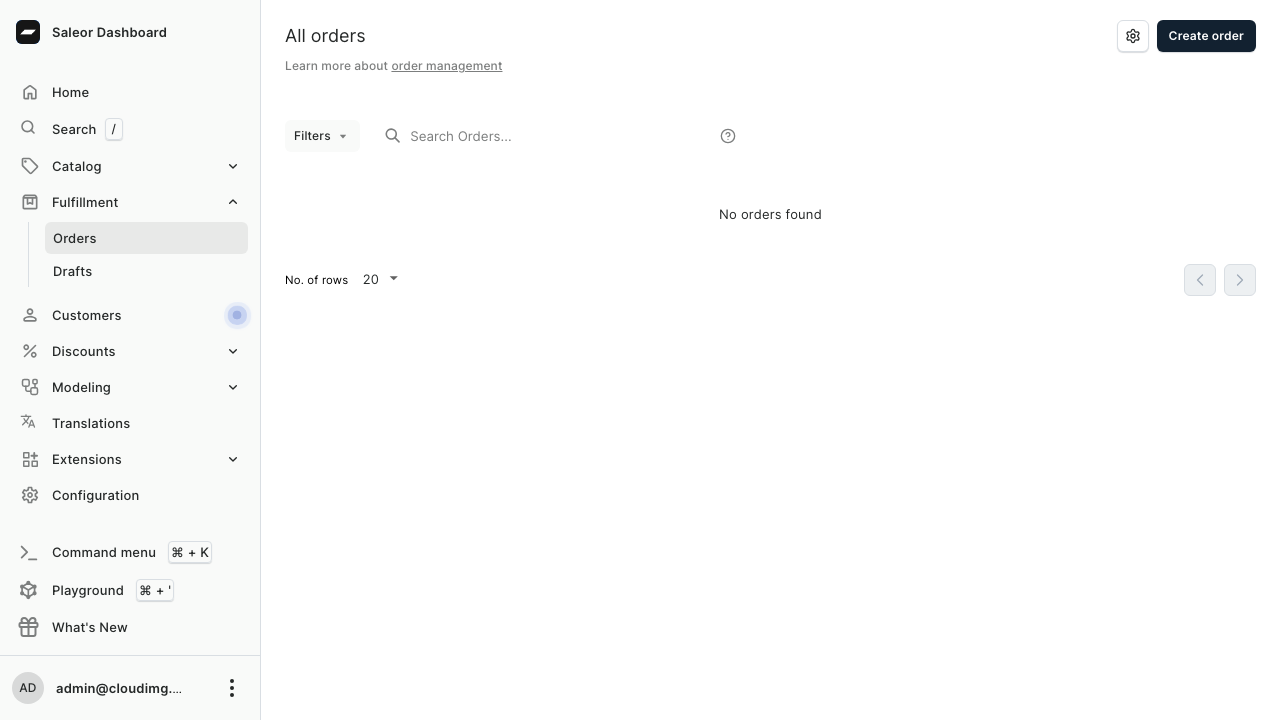
Step 8 - Manage orders
Open Orders to see customer orders with their payment and fulfilment status, totals and channel. From here you can fulfil orders, capture payments, issue refunds and manage drafts.
Step 9 - Use the GraphQL API
Every Saleor capability is exposed through a single GraphQL API at the /graphql/ path on port 80. Obtain an access token by POSTing a tokenCreate mutation with your admin email and password. Run the following on your VM (substitute the password from the credentials file):
EMAIL=admin@cloudimg.local
PASS=$(sudo grep '^saleor.admin.pass=' /root/saleor-credentials.txt | cut -d= -f2-)
curl -s -H 'Content-Type: application/json' \
  --data "{\"query\":\"mutation{tokenCreate(email:\\\"$EMAIL\\\",password:\\\"$PASS\\\"){token errors{message}}}\"}" \
  http://127.0.0.1/graphql/
The response contains a JWT token you can use as a Bearer token in the Authorization header for authenticated API requests. The GraphiQL playground is also available at http://<vm-public-ip>/graphql/ in a browser.
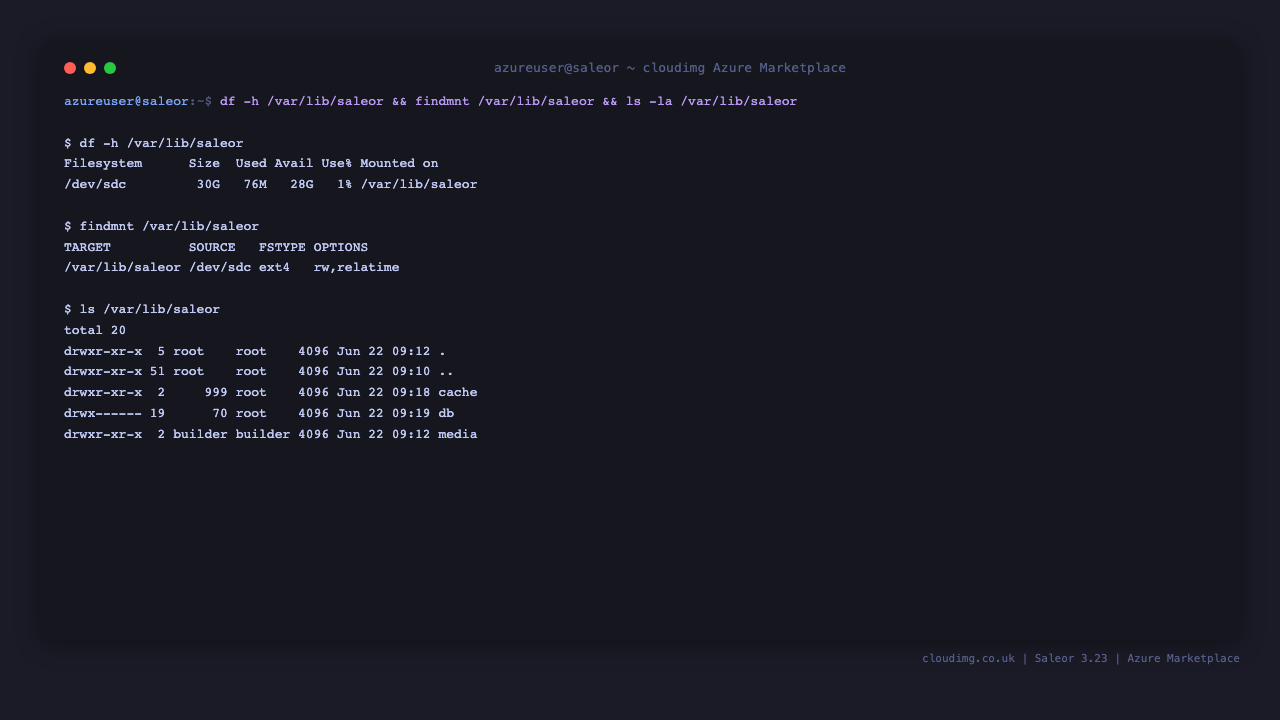
Step 10 - The dedicated data disk
The PostgreSQL database, the Valkey state and your Saleor media uploads live on a dedicated Azure data disk mounted at /var/lib/saleor, separate from the OS disk. This keeps your catalogue, orders, customers and media independent of the OS image and lets you resize the disk as your store grows.
df -h /var/lib/saleor
findmnt /var/lib/saleor
Step 11 - Enabling HTTPS
For any public deployment, front Saleor with TLS. Point a DNS A record at your VM's public IP, then install a certificate with Certbot and the nginx plugin. Run the following as prose-driven steps on your VM (replace the placeholders with your real values; do not paste them verbatim):
- Install Certbot:
sudo apt-get update && sudo apt-get install -y certbot python3-certbot-nginx - Obtain and install a certificate for your domain, supplying your contact email when prompted, by running certbot with the nginx plugin for
your-domain.example.com. - After issuance, your Dashboard and GraphQL API are served over
https://. Saleor accepts any host (ALLOWED_HOSTS=*), so no rebuild is needed.
Certbot installs a renewal timer automatically; certificates renew without further action.
Step 12 - Maintenance
- Updates: the OS continues to receive unattended security updates. The Saleor stack is pinned to the 3.23 image tags in
/opt/saleor/docker-compose.yml; to move to a newer Saleor release, update the image tags and runsudo /opt/saleor/saleor-compose.sh pull && sudo systemctl restart saleor. - Backups: back up the PostgreSQL database under
/var/lib/saleor/dband the media under/var/lib/saleor/media, which together hold all of your catalogue, orders and uploads. - Logs: view container logs with
sudo /opt/saleor/saleor-compose.sh logs <service>(for exampleapi,worker,dashboard), and nginx logs under/var/log/nginx/.
Support
This image is maintained by cloudimg with 24/7 support. Saleor is a trademark of its respective owners; cloudimg is not affiliated with or endorsed by the Saleor project. For help with the image, contact support@cloudimg.co.uk.