
Sharry Secure File Sharing on AWS User Guide
Overview
This image runs Sharry, the open source self-hosted file-sharing appliance. Sign in, upload files, and share them through public links that can be password-protected and given an expiry, or invite others to send files to you through upload aliases - all from your own instance, with your data staying inside your VPC.
The Sharry server runs behind nginx as a reverse proxy. It listens on 127.0.0.1:9090 (loopback only) and is reached through nginx on port 80 (and 443 once you add TLS). Uploaded file blobs and the application metadata are held in a bundled PostgreSQL database and a filesystem blob store, both on a dedicated data volume mounted at /var/lib/sharry, so your accounts, shares and files survive restarts. Sharry documents an embedded database default, but this image uses PostgreSQL because the embedded engine rejects Sharry's share-listing query - so listing your shares works out of the box.
The image ships no known credential and no data. On the first boot of every deployed instance, a single administrator account (admin) with a unique random password is created, the token-signing server secret and the signup invite password are generated per instance, and the database role password is rotated. All of these are written to /root/sharry-credentials.txt with mode 0600. No two instances share a secret.
Prerequisites
Before you deploy this image you need:
- An Amazon Web Services account where you can launch EC2 instances
- IAM permissions to launch instances, create security groups, and subscribe to AWS Marketplace products
- An EC2 key pair in the target Region for SSH access to the instance
- A VPC and subnet in the target Region, with a security group allowing inbound port 22 from your management network and inbound ports 80 and 443 from the networks your users will reach Sharry on
- The AWS CLI (version 2) installed locally if you plan to deploy from the command line
Step 1: Launch the Instance from the AWS Marketplace
Sign in to the AWS Management Console, open the EC2 service, and select Launch instance. Under Application and OS Images choose AWS Marketplace AMIs and search for Sharry. Select the cloudimg listing and choose Select, then Continue on the subscription summary.
Pick an instance type of m5.large or larger - Sharry runs on the JVM and benefits from memory. Choose your EC2 key pair under Key pair (login). Under Network settings select your VPC and subnet, and either create or select a security group that allows inbound port 22 from your management network and inbound ports 80 and 443 from the networks your users use. Leave the root volume at the default size or larger.
Select Launch instance. First boot initialisation takes approximately one to two minutes after the instance state becomes Running (Sharry generates its per-instance secrets, starts the server, and proves an authenticated login round-trip before it finishes).
Step 2: Launch the Instance from the AWS CLI
The following block launches an instance from the cloudimg Sharry Marketplace AMI into an existing subnet and security group. Replace <ami-id> with the AMI ID shown on the Marketplace listing, <key-name> with your EC2 key pair name, <subnet-id> with your subnet ID, and <security-group-id> with a security group that opens ports 22, 80, and 443 as described above.
aws ec2 run-instances \
  --image-id <ami-id> \
  --instance-type m5.large \
  --key-name <key-name> \
  --subnet-id <subnet-id> \
  --security-group-ids <security-group-id> \
  --tag-specifications 'ResourceType=instance,Tags=[{Key=Name,Value=sharry}]'
Step 3: Connect and Retrieve the Administrator Login
Connect over SSH with the key pair you selected and the public IP address of the instance. The SSH login user depends on the operating system of the AMI variant you launched:
| AMI variant | SSH login user |
|---|---|
| Sharry 1.16 on Ubuntu 24.04 | ubuntu |
The first boot service completes before the SSH daemon becomes ready, so the credentials file is always in place when you log in for the first time.
ssh <login-user>@<public-ip>
sudo cat /root/sharry-credentials.txt
You will see a plain text file containing the Sharry URL, the administrator user (admin), the per-instance administrator password, and the signup invite password. From the same SSH session you can confirm the deployment is healthy - the health endpoint is open and needs no authentication:
curl -fsS http://127.0.0.1/healthz
ok
You can also read the running Sharry version through the open info endpoint:
curl -fsS http://127.0.0.1/api/v2/open/info/version
{"version":"1.16.0","builtAtMillis":1780603368255,"builtAtString":"2026-06-04 20:02:48.255+0000","gitCommit":"bcea4784dd4e760a3a6c6791cf6855c0cb614b06","gitVersion":"1.16.0"}
An ok health response confirms the full stack - nginx, the Sharry server and PostgreSQL - is serving.
Step 4: First Sign-in
Open a web browser and navigate to http://<public-ip>/. You are taken to the Sharry sign-in page. Enter the user admin and the password from /root/sharry-credentials.txt.
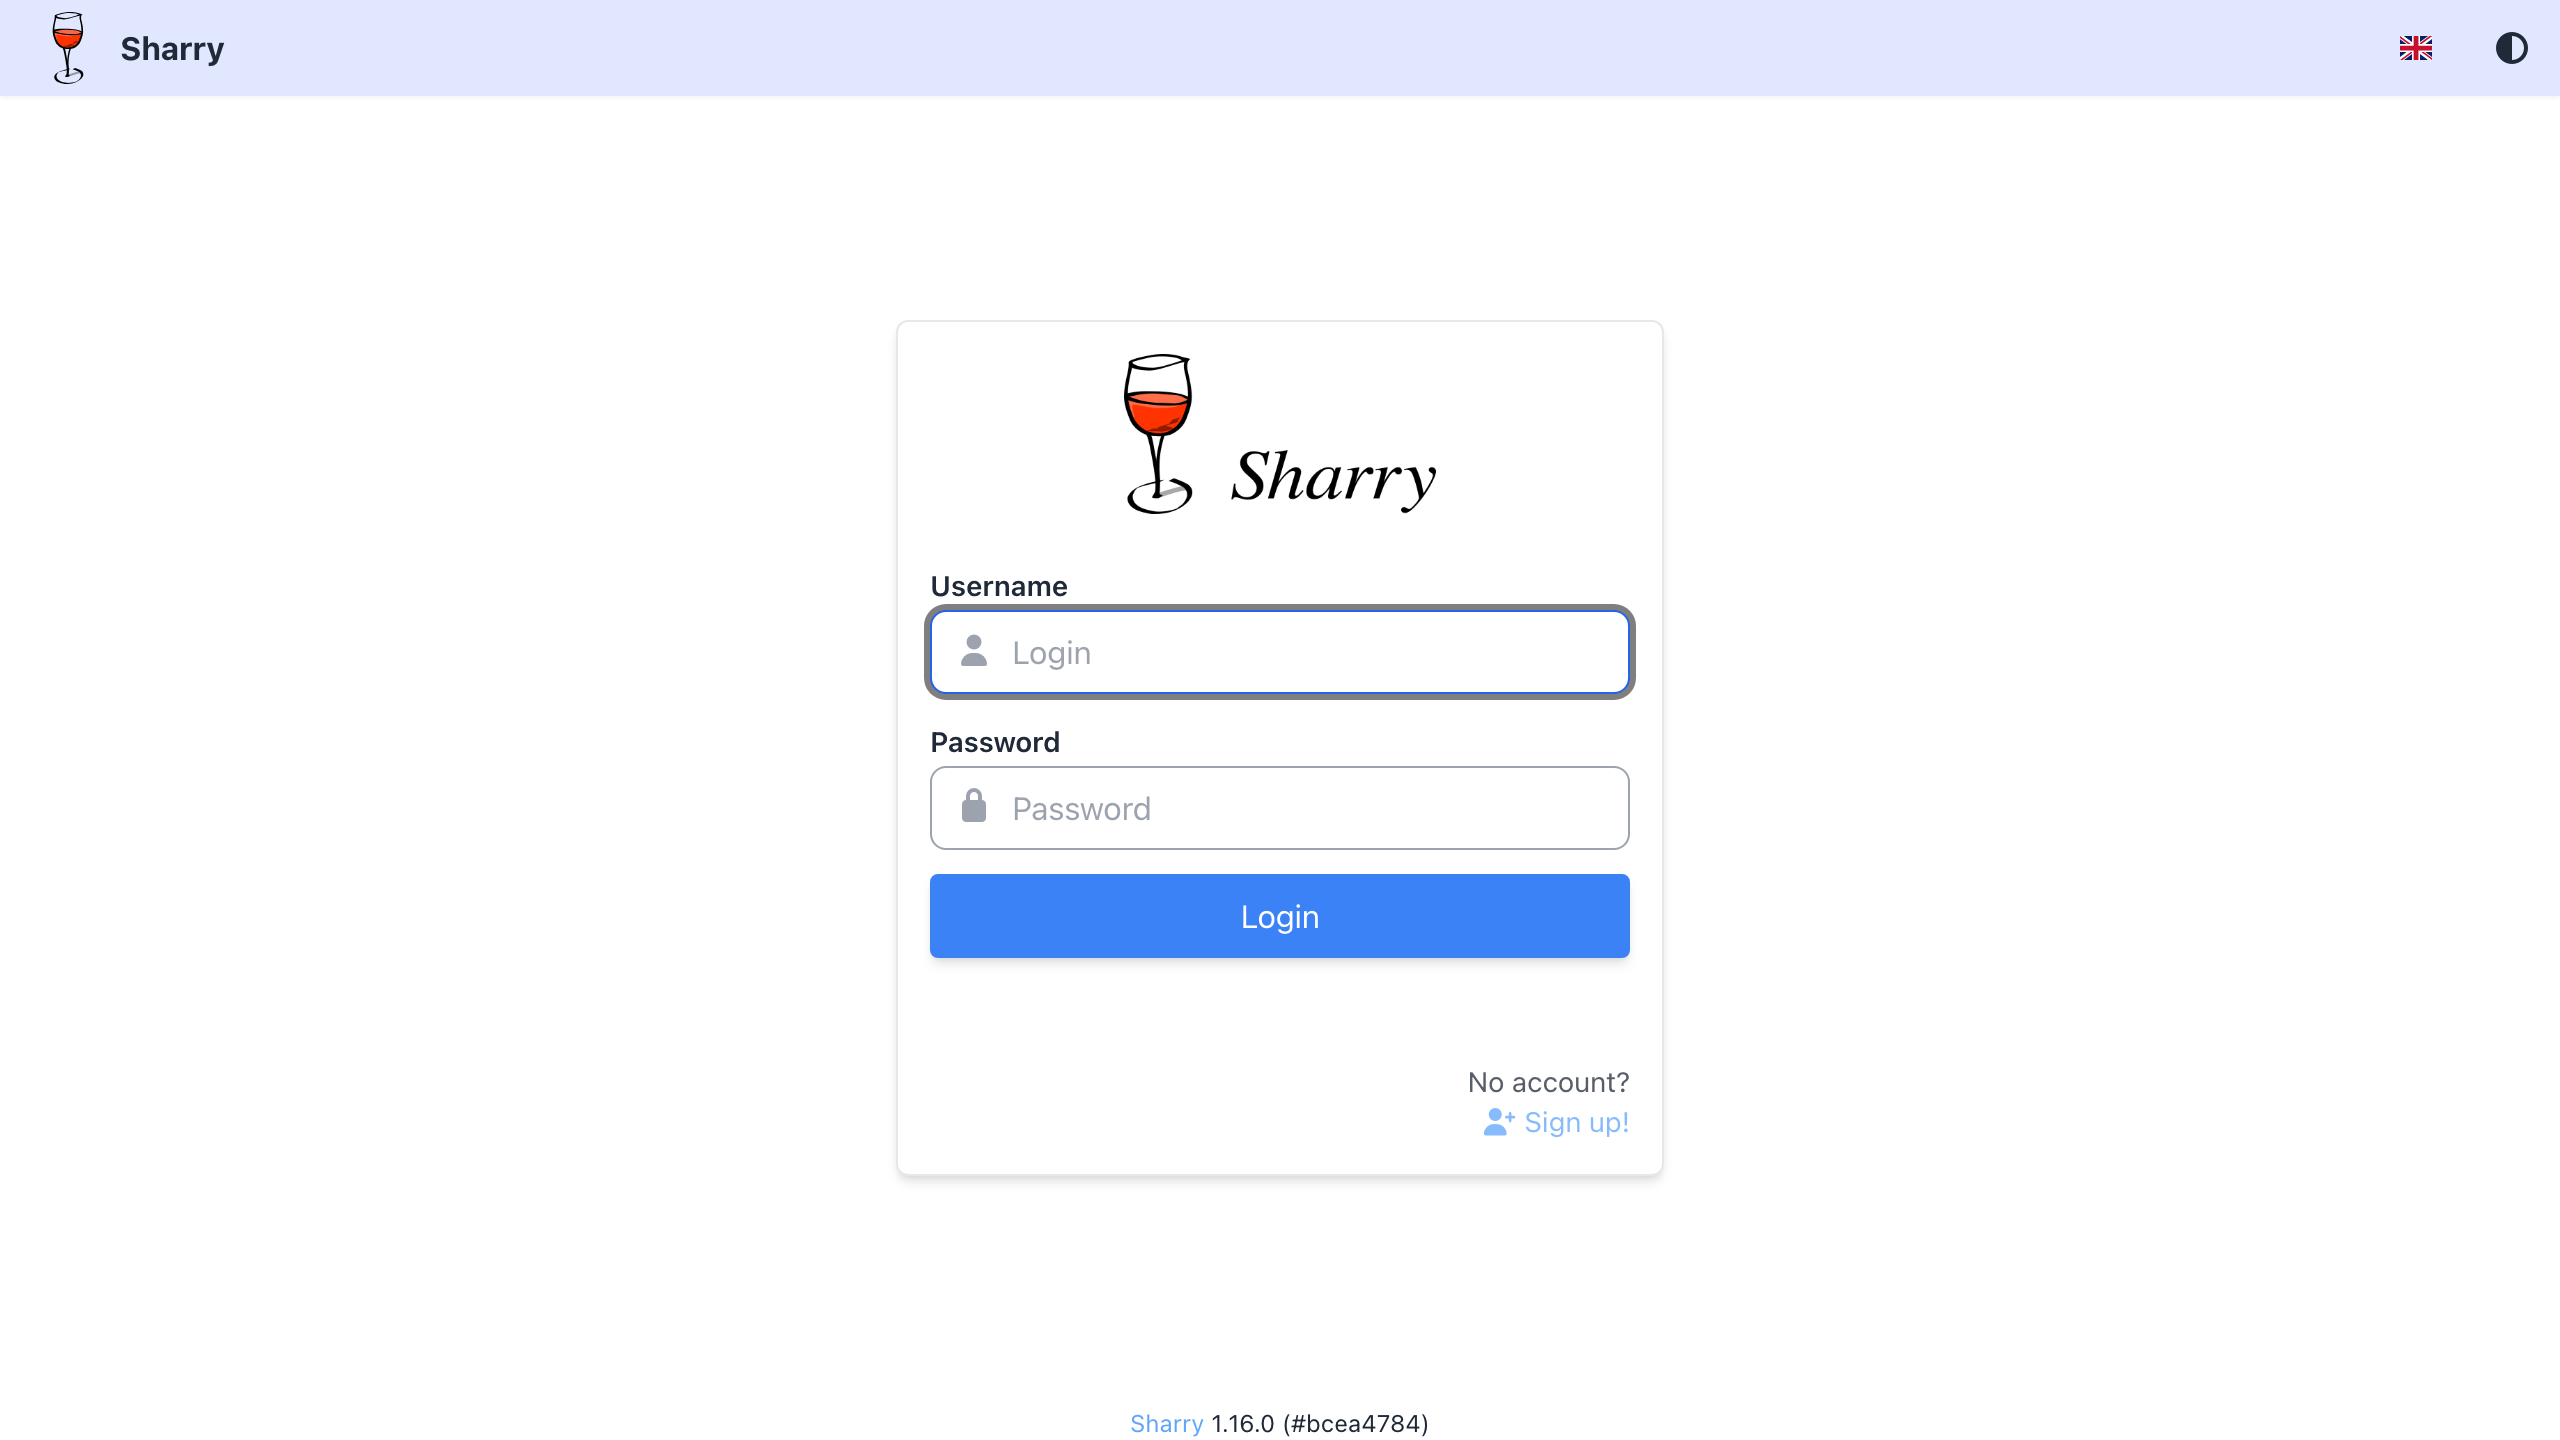
The Sharry sign-in page, served on first boot with a per-instance administrator account.
You can verify the same login from the command line - this posts the administrator credentials to the open login endpoint and returns a session token on success:
curl -s -H 'Content-Type: application/json' -X POST http://127.0.0.1/api/v2/open/auth/login -d '{"account":"admin","password":"<SHARRY_ADMIN_PASSWORD>"}'
After signing in you reach the Sharry home, where you can create a share, create an upload alias, or view your existing shares and aliases.
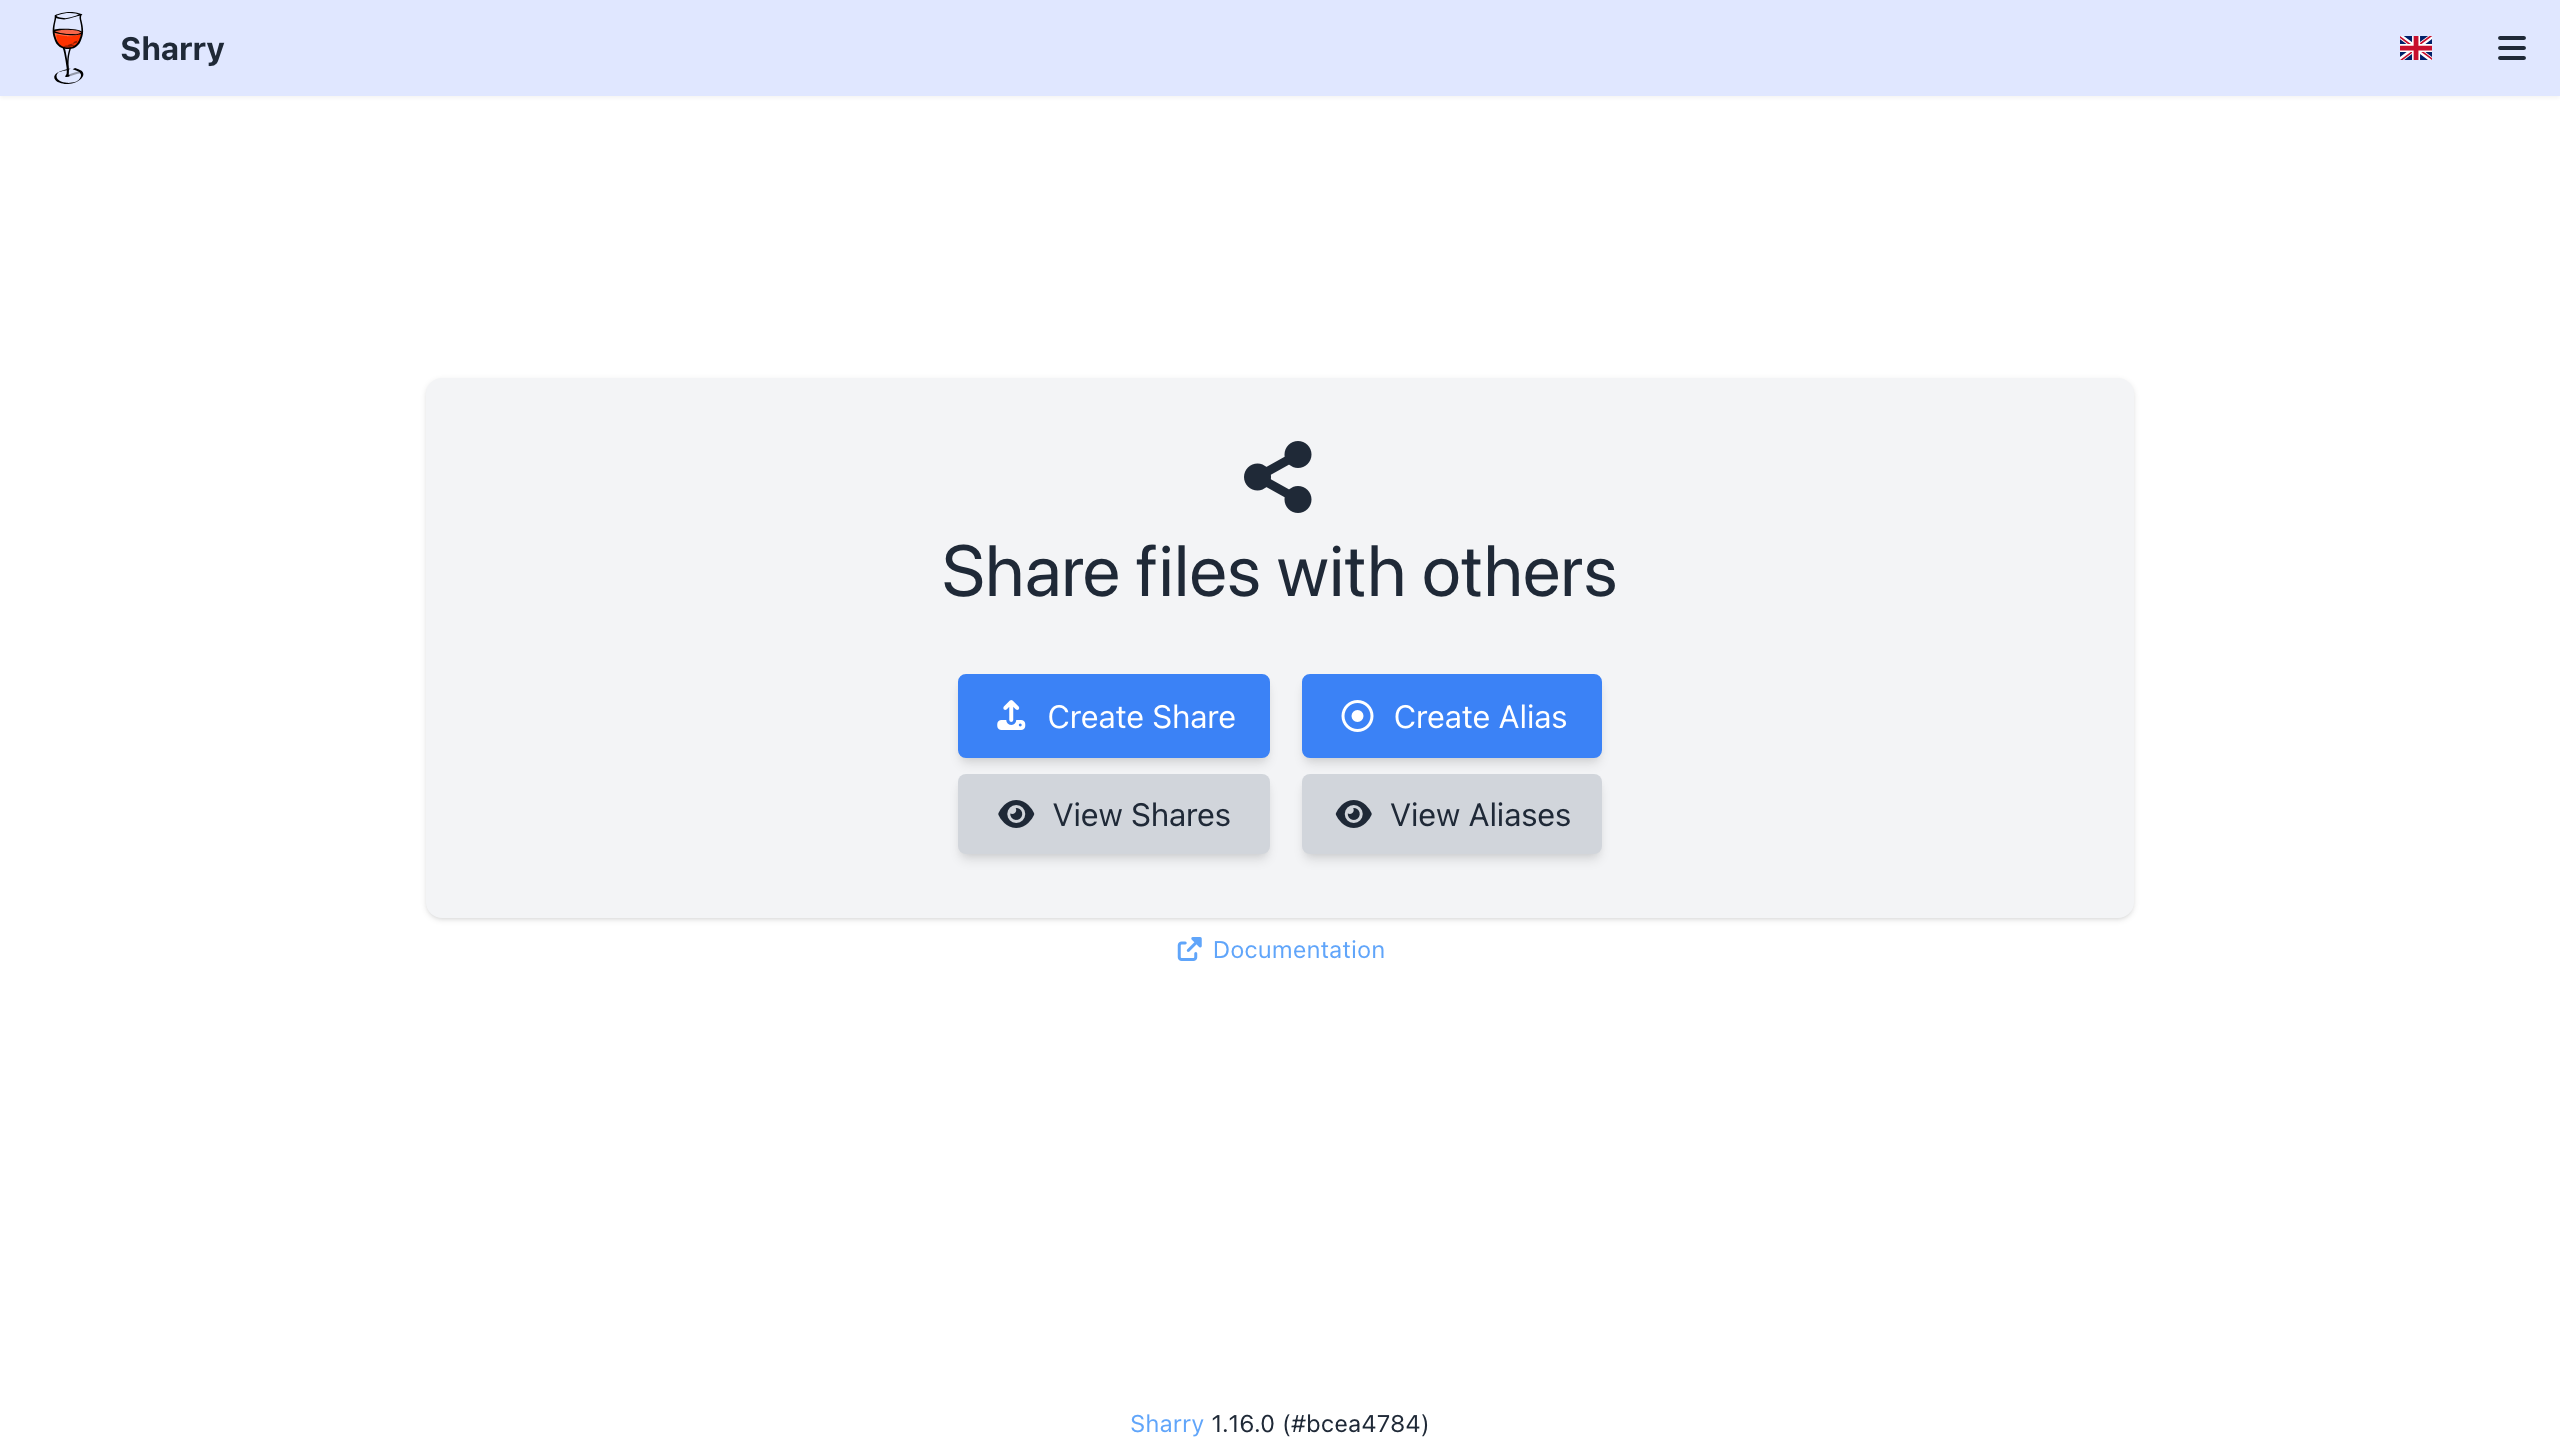
The Sharry home - create a share, create an alias, or view existing shares and aliases.
Step 5: Create a Share and Upload Files
From the home page choose Create Share. Drag files onto the drop zone or use Select Files, add an optional description (Markdown is supported), set a validity period and a maximum number of views, and optionally set a password. Then choose Submit to upload.
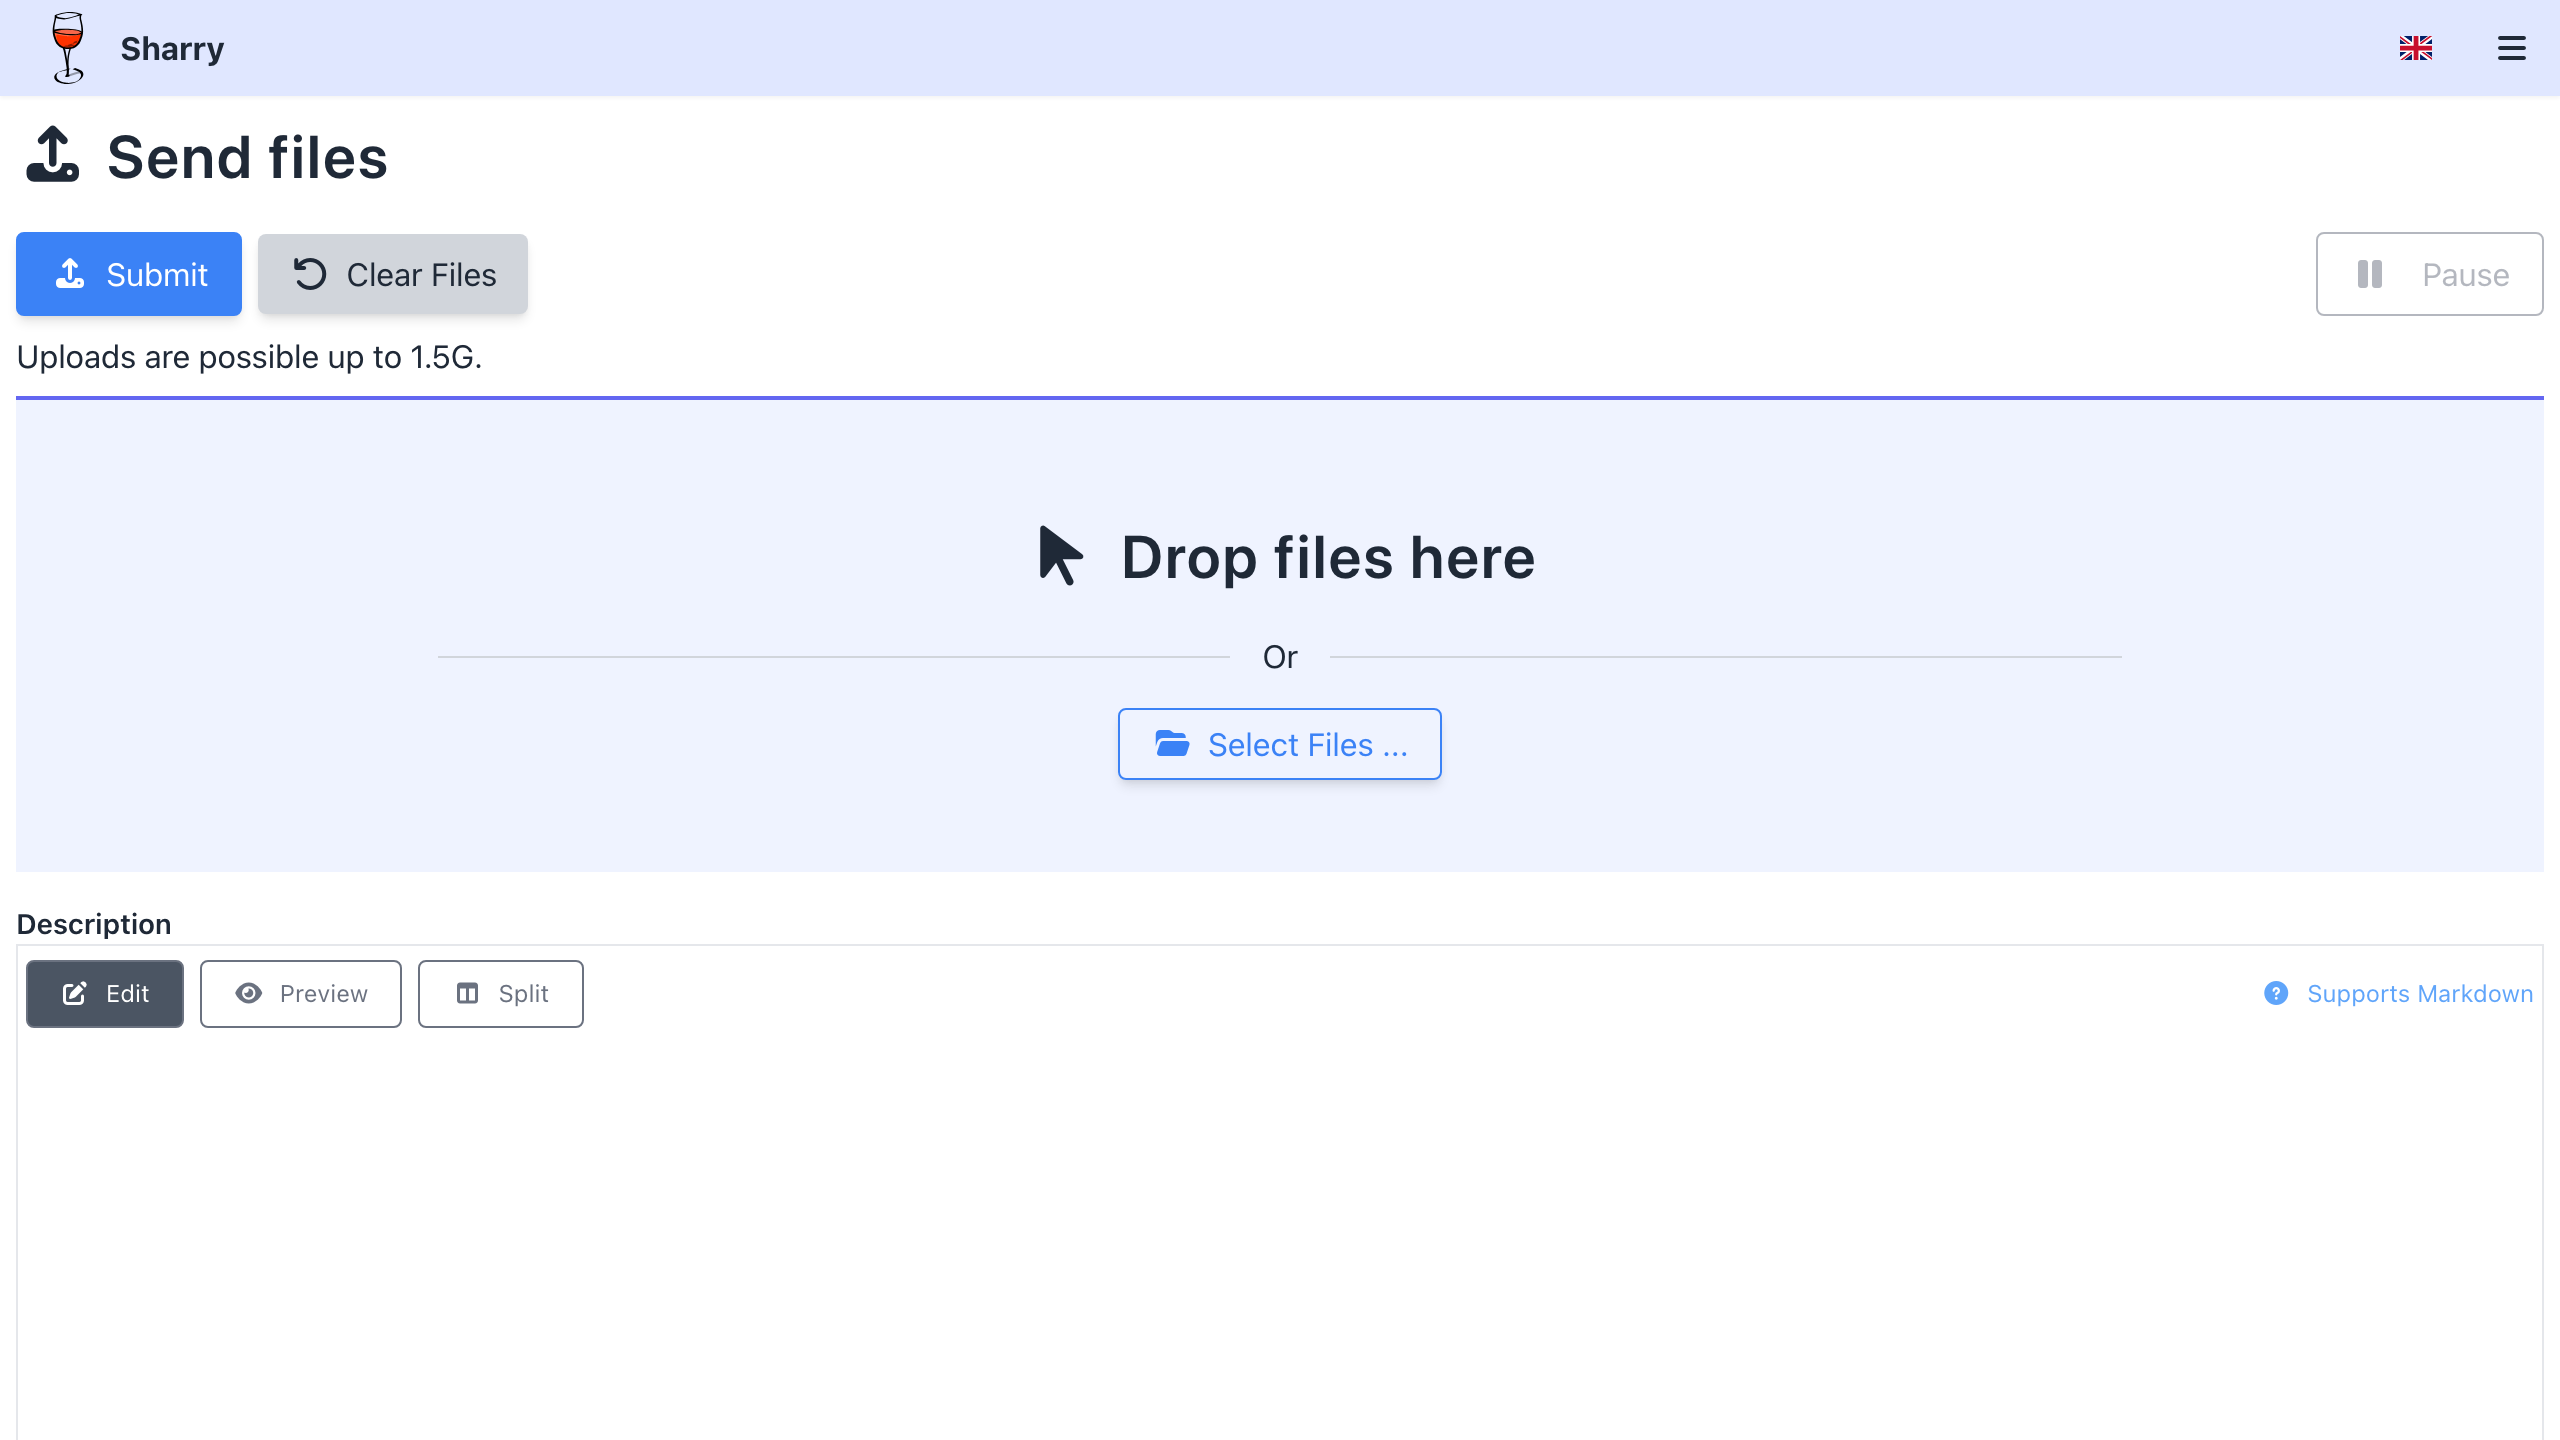
The send-files page. The upload size shown reflects the server's configured maximum; uploads are chunked and resumable.
Your shares are listed under View Shares, showing each share's name, maximum views, published state, file count, size and creation time.
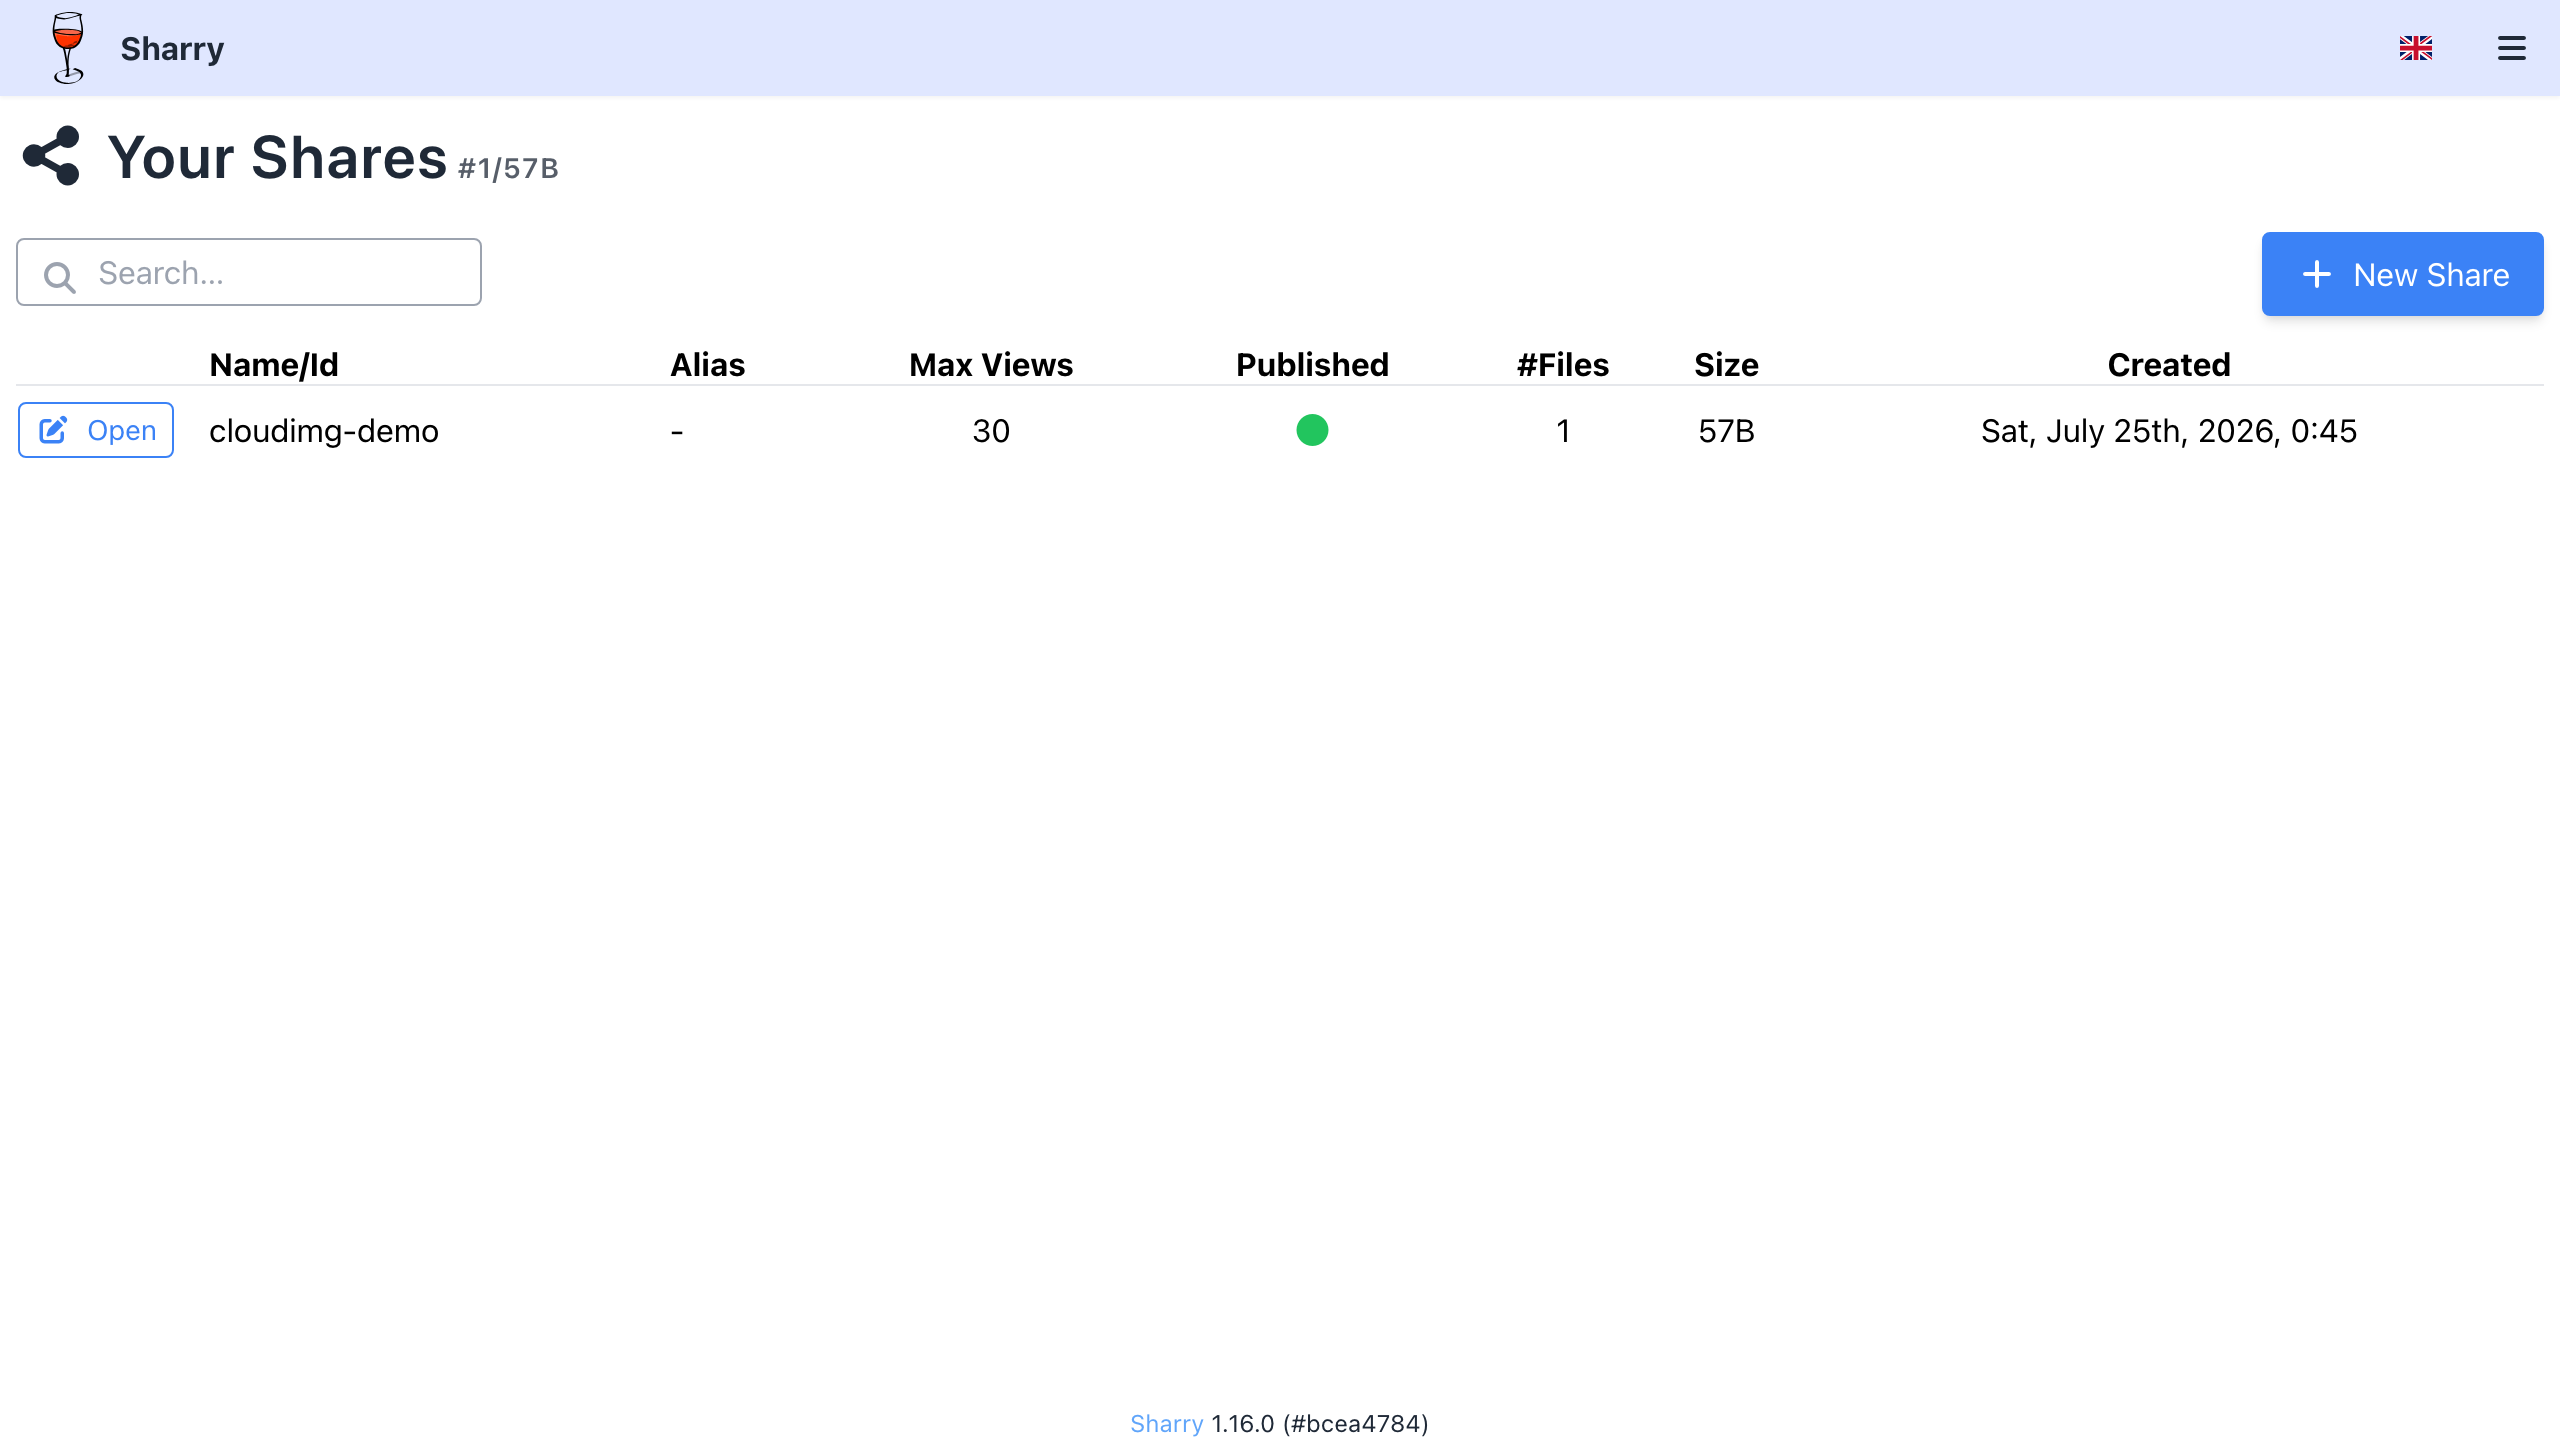
The Your Shares list - a published share with one uploaded file.
Step 6: Publish a Public Link
Open a share and choose Share Link (or Publish). Sharry generates a distinct public URL that anyone can open without a Sharry account, subject to the validity period, maximum views and optional password you set. Copy the link and send it to your recipient. You can Unpublish at any time to revoke access immediately.
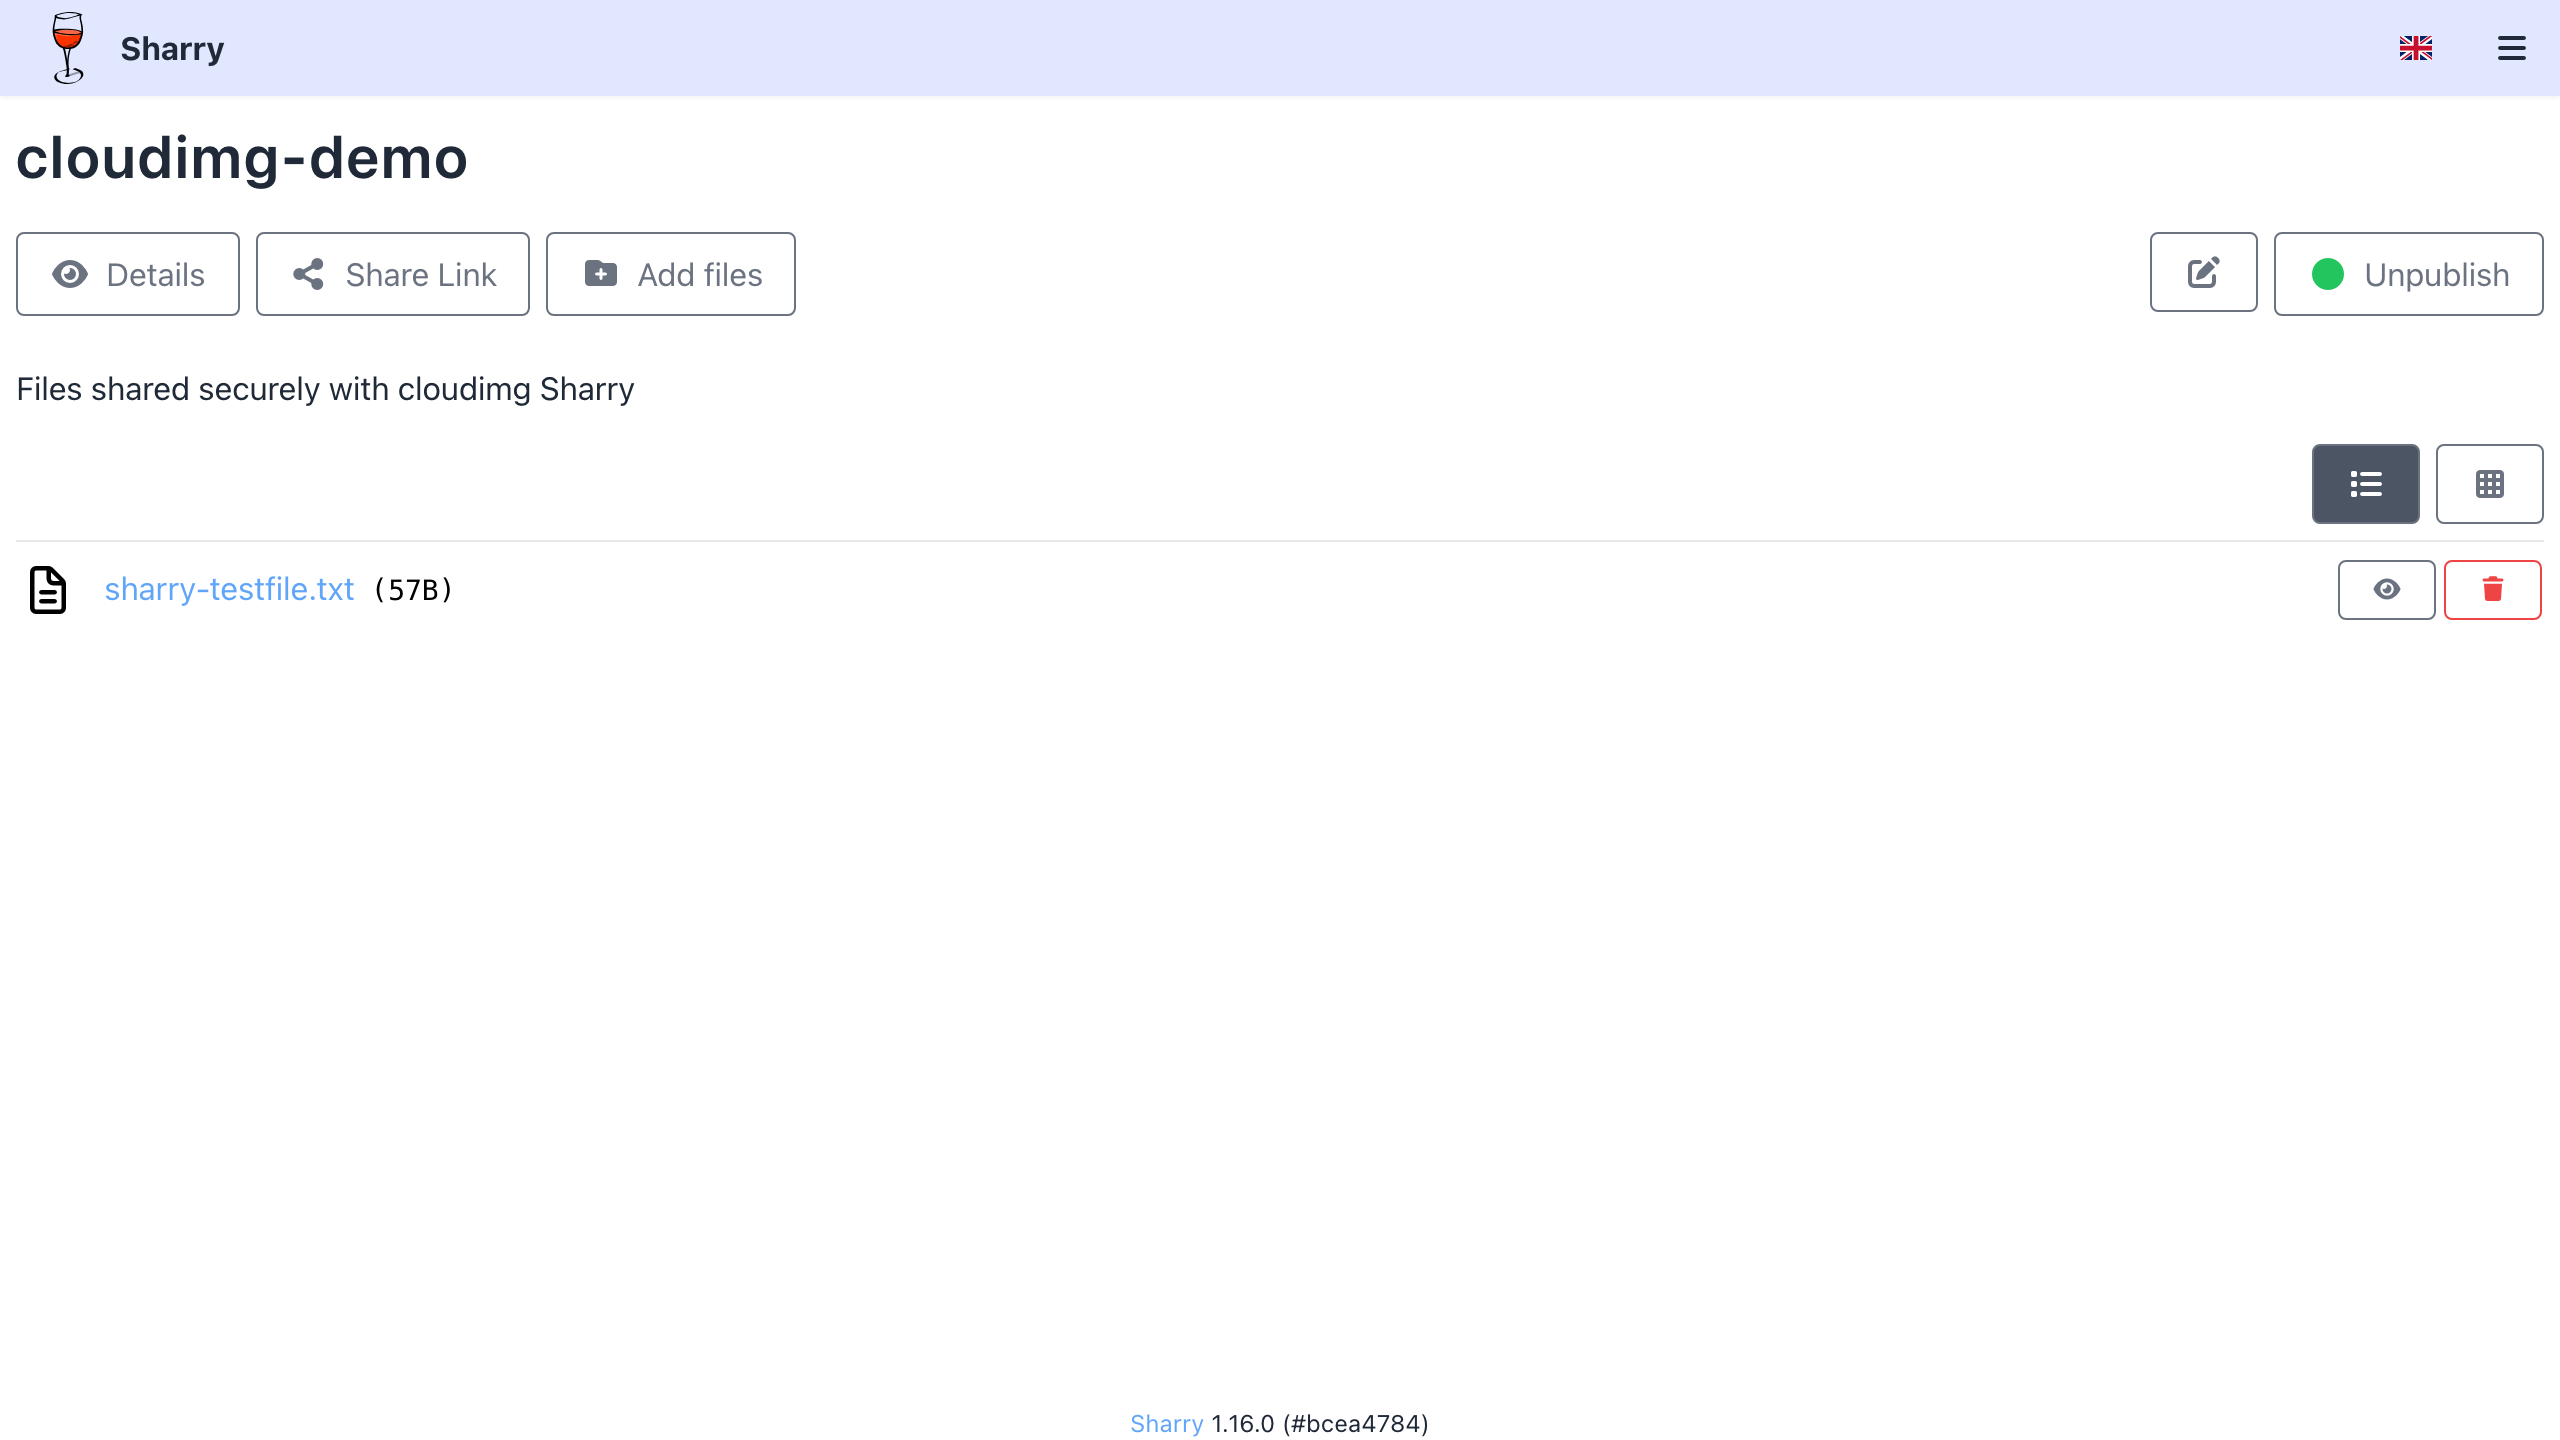
A published share showing its description, uploaded file and the Share Link and Add files actions.
Recipients open the public link, see the description and file list, and download individual files or the whole share as a zip. Because the server binds only to loopback and nginx fronts it on port 80, the public link uses the instance's address that first boot recorded in the credentials file.
Step 7: Request Files from Others with an Upload Alias
To collect files from someone who has no Sharry account, choose Create Alias from the home page. An alias is a stable URL you can hand out; anyone with the link (and the alias password, if you set one) can upload files to you, and each upload becomes a share you own. This is the reverse of publishing - use it for intake from suppliers, applicants or clients.
Step 8: Add Users
Sharry uses invitation-based signup. As the administrator you generate a signup invitation key (the required invite password is the SHARRY_SIGNUP_INVITE_PASSWORD value in /root/sharry-credentials.txt), and share the key plus the signup URL with the new user. They complete signup to create their own account, with their own shares and aliases.
Step 9: Tune the Maximum Upload Size
The upload limit is controlled by Sharry's configuration. Edit /etc/sharry/sharry.conf with your preferred editor (for example sudo nano /etc/sharry/sharry.conf) and set a max-size under backend.upload. Add or adjust, inside sharry.restserver { backend { upload { ... } } }:
backend {
  upload {
    max-size = "5G"
  }
}
Then restart Sharry:
sudo systemctl restart sharry.service
nginx is already configured with client_max_body_size 0, so the proxy does not cap uploads - Sharry enforces its own limit.
Step 10: Enable HTTPS with Let's Encrypt
Point a DNS A record at the instance's public IP, then install certbot and obtain a certificate. nginx already fronts Sharry on port 80; certbot configures TLS on 443 and the HTTP-to-HTTPS redirect:
sudo apt-get update
sudo apt-get install -y certbot python3-certbot-nginx
sudo certbot --nginx -d sharry.example.com
After TLS is in place, update Sharry's base-url in /etc/default/sharry (the -Dsharry.restserver.base-url= option) to your https://sharry.example.com address and restart sharry.service, so public share links and the auth cookie use the correct HTTPS URL.
Step 11: Backups and Maintenance
All Sharry state lives on the dedicated data volume mounted at /var/lib/sharry - the PostgreSQL cluster under /var/lib/sharry/pgdata and the uploaded file blobs under /var/lib/sharry/files. Back up the database with pg_dump and snapshot the file store, or take an EBS snapshot of the data volume:
sudo -u postgres pg_dump sharry | gzip > /var/tmp/sharry-db-$(date +%F).sql.gz
Apply operating system updates with sudo apt-get update && sudo apt-get upgrade and reboot during a maintenance window. The services are managed with systemctl (sharry.service, nginx.service, postgresql).
Open Source Licence
Sharry is distributed under the GNU General Public License version 3 (GPL-3.0). The complete corresponding source code for the version shipped in this image is publicly available from the upstream project at https://github.com/eikek/sharry (release tag v1.16.0). The upstream software is shipped unmodified; cloudimg's charges are for the packaged AMI and ongoing support, not for the software licence. This product is not affiliated with or endorsed by the Sharry project.
Support
cloudimg provides 24/7 technical support for this product by email and live chat, with a one-hour average response for critical issues. We help with deployment, TLS termination, database backups, user management, upload-size and retention tuning, external database configuration and scaling. Contact us at support@cloudimg.co.uk.