Snipe-IT on AWS User Guide
Overview
This image runs Snipe-IT, a Laravel application, behind nginx with PHP FPM 8.3 and OPcache enabled. MariaDB provides the database, on the same instance and bound to the loopback interface only. The Laravel task scheduler runs every minute through a systemd timer, the configuration Snipe-IT recommends for production, so scheduled notifications, audits and report generation run automatically.
The image ships with the database migrated and the Snipe-IT pre-flight setup already complete, so the first request lands directly on the sign-in page with no setup wizard to work through. A Snipe-IT administrator password, a MariaDB password, and a fresh Laravel application key are generated on the first boot of every deployed instance. Two instances launched from the same Amazon Machine Image never share secrets. The administrator and database passwords are written to /root/snipe-it-credentials.txt with mode 0600 so that only the root user can read them.
The Snipe-IT application code, the nginx document root (public/) and user uploads live under /var/www/snipe-it, on a dedicated EBS volume separate from the operating system disk. The MariaDB data directory sits on its own EBS volume at /var/lib/mysql. Each tier can be resized independently of the others.
Prerequisites
Before you deploy this image you need:
- An Amazon Web Services account where you can launch EC2 instances
- IAM permissions to launch instances, create security groups, and subscribe to AWS Marketplace products
- An EC2 key pair in the target Region for SSH access to the instance
- A VPC and subnet in the target Region, with a security group allowing inbound port 22 from your management network and inbound ports 80 and 443 from the networks your users will reach Snipe-IT on
- The AWS CLI (version 2) installed locally if you plan to deploy from the command line
Step 1: Launch the Instance from the AWS Marketplace
Sign in to the AWS Management Console, open the EC2 service, and select Launch instance. Under Application and OS Images choose AWS Marketplace AMIs and search for Snipe-IT. Select the cloudimg listing and choose Select, then Continue on the subscription summary.
Pick an instance type of m5.large or larger — the Snipe-IT workload is PHP and MariaDB heavy, and asset imports and report generation benefit from memory. Choose your EC2 key pair under Key pair (login). Under Network settings select your VPC and subnet, and either create or select a security group that allows inbound port 22 from your management network and inbound ports 80 and 443 from the networks your users use. Leave the root volume at the default size or larger.
Select Launch instance. First boot initialisation takes a few seconds after the instance state becomes Running and the status checks pass.
Step 2: Launch the Instance from the AWS CLI
The following block launches an instance from the cloudimg Snipe-IT Marketplace AMI into an existing subnet and security group. Replace <ami-id> with the AMI ID shown on the Marketplace listing, <key-name> with your EC2 key pair name, <subnet-id> with your subnet ID, and <security-group-id> with a security group that opens ports 22, 80, and 443 as described above.
aws ec2 run-instances \
  --image-id <ami-id> \
  --instance-type m5.large \
  --key-name <key-name> \
  --subnet-id <subnet-id> \
  --security-group-ids <security-group-id> \
  --block-device-mappings '[{"DeviceName":"/dev/sda1","Ebs":{"VolumeSize":30,"VolumeType":"gp3"}}]' \
  --tag-specifications 'ResourceType=instance,Tags=[{Key=Name,Value=snipe-it-01}]'
The command prints a JSON document on success. Note the instance ID, then retrieve its public address once it is running with aws ec2 describe-instances --instance-ids <instance-id> --query "Reservations[].Instances[].PublicIpAddress" --output text.
Step 3: Connect and Retrieve Initial Credentials
Connect over SSH with the key pair you selected and the public IP address from step 2. The SSH login user depends on the operating system of the AMI variant you launched:
| AMI variant | SSH login user |
|---|---|
| Snipe-IT 8.6 on Ubuntu 24.04 | ubuntu |
The first boot service runs before the SSH daemon becomes ready, so the credentials file is always in place when you log in for the first time.
ssh <login-user>@<public-ip>
sudo cat /root/snipe-it-credentials.txt
You will see a plain text file containing the Snipe-IT URL, the administrator username (admin), the administrator password, and the MariaDB database name, user, and password. Copy these values somewhere secure (a password manager or encrypted vault). Do not commit them to source control.
From the same SSH session you can confirm the deployment is healthy. The health endpoint is open and returns JSON, and it checks both the database connection and that the application can write to its log directory:
curl -fsS http://127.0.0.1/health
{"status":"ok"}
A "status":"ok" response confirms the full stack — nginx, PHP and MariaDB — is serving Snipe-IT.
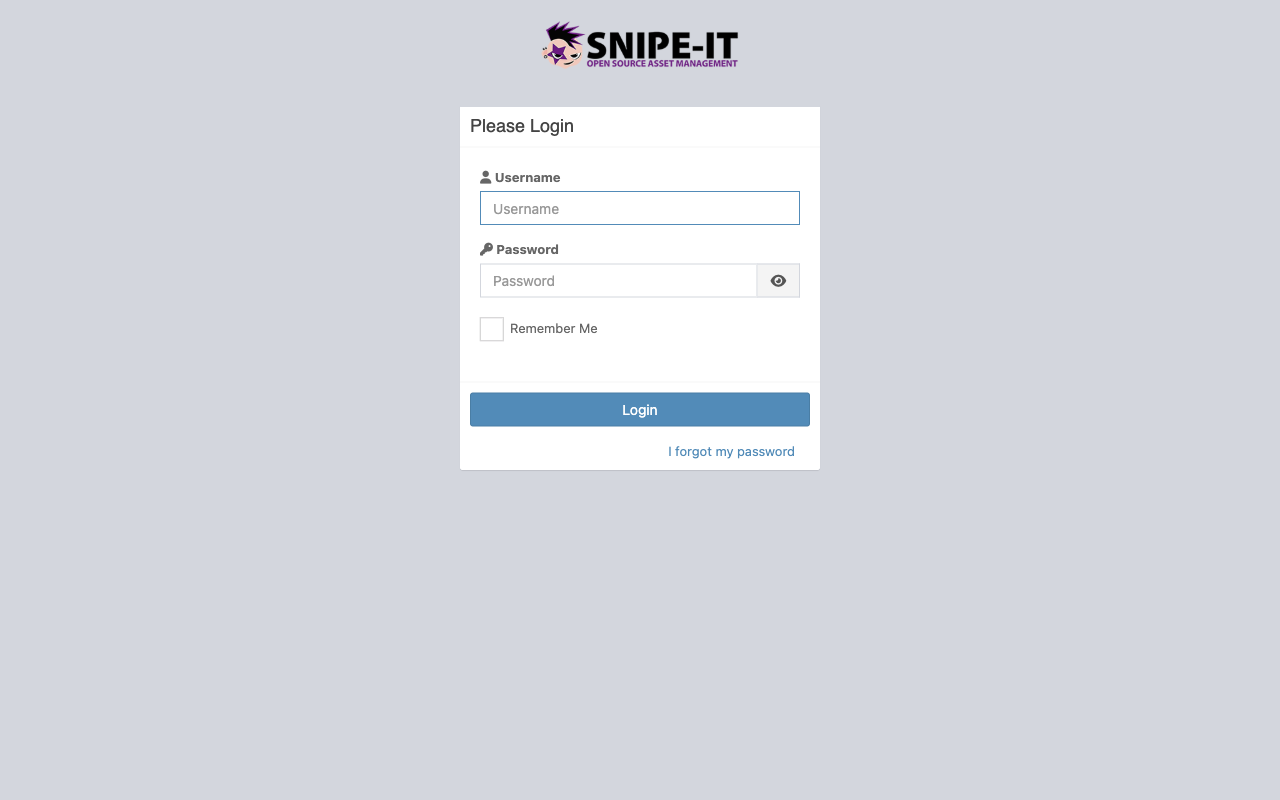
Step 4: First Login to the Snipe-IT Web Interface
Open a web browser and navigate to http://<public-ip>/. Snipe-IT presents its sign-in page. Enter the administrator username admin and the administrator password from /root/snipe-it-credentials.txt, then select Login.
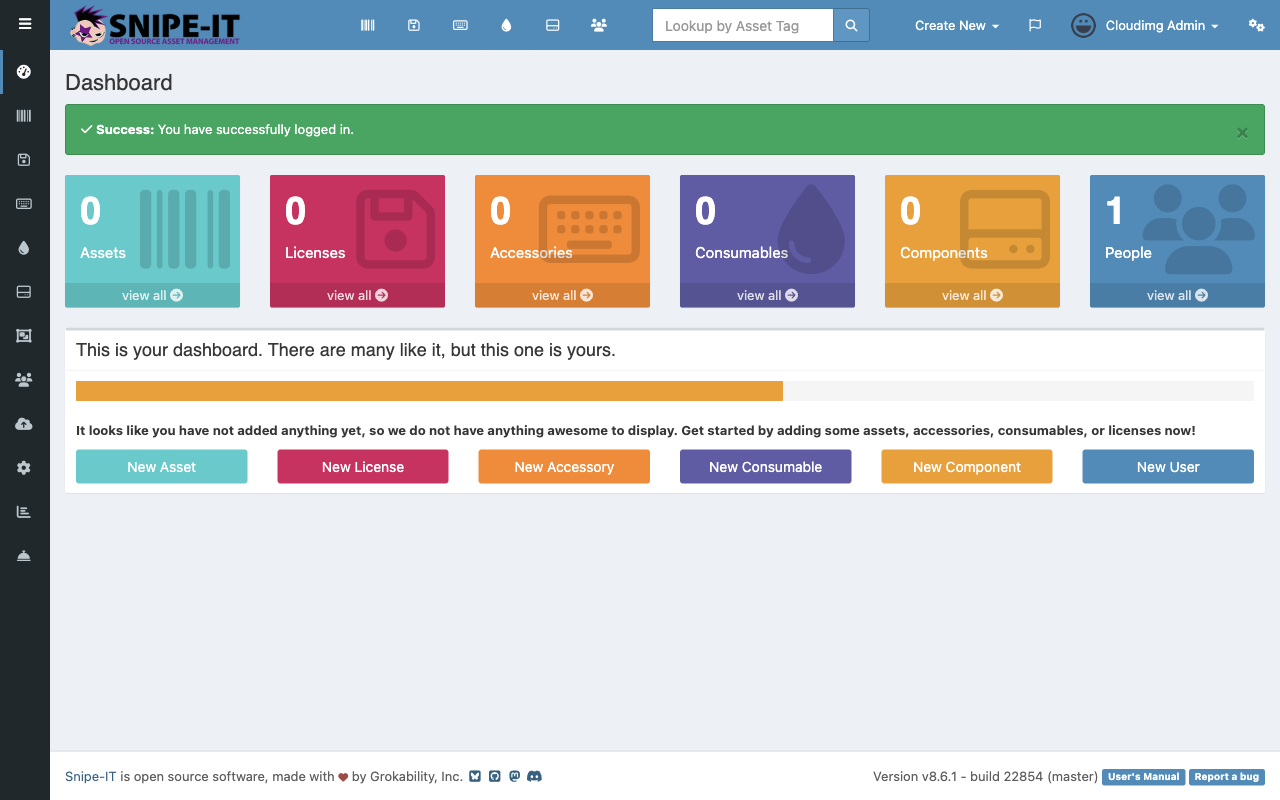
After signing in you land on the Dashboard, which summarises the counts of assets, licenses, accessories, consumables, components and people, with quick links to create each. On a fresh instance the counts are zero — the next steps populate them.
Step 5: Change the Administrator Password and Set an Email
For a production deployment, rotate the administrator password that was generated on first boot and set a real email address so notifications and password recovery reach you. Select Cloudimg Admin at the top right, choose Edit Profile, update the password and email fields, and save.
Step 6: Set the Application URL and Branding
Open the gear icon at the top right to reach Admin Settings, then General Settings. Set the Site Name and upload your organisation's logo, and confirm the application URL matches the address your users reach Snipe-IT on (it is set to the instance's own address on first boot). When you put Snipe-IT behind a custom domain name or a load balancer, update the application URL here and in /var/www/snipe-it/.env (APP_URL).
Step 7: Create Companies, Locations, Categories and Models
Snipe-IT organises assets through a small hierarchy you set up once. From the top navigation and the gear menu create, in this order:
- Companies (optional) — if you track assets for multiple companies
- Locations — buildings, offices or sites where assets live
- Categories — broad groupings such as Laptops, Monitors, Phones
- Manufacturers — Apple, Dell, Lenovo and so on
- Models — a specific make and model within a category and manufacturer
Models are the templates new assets are created from, so define the models your organisation owns before adding individual assets.
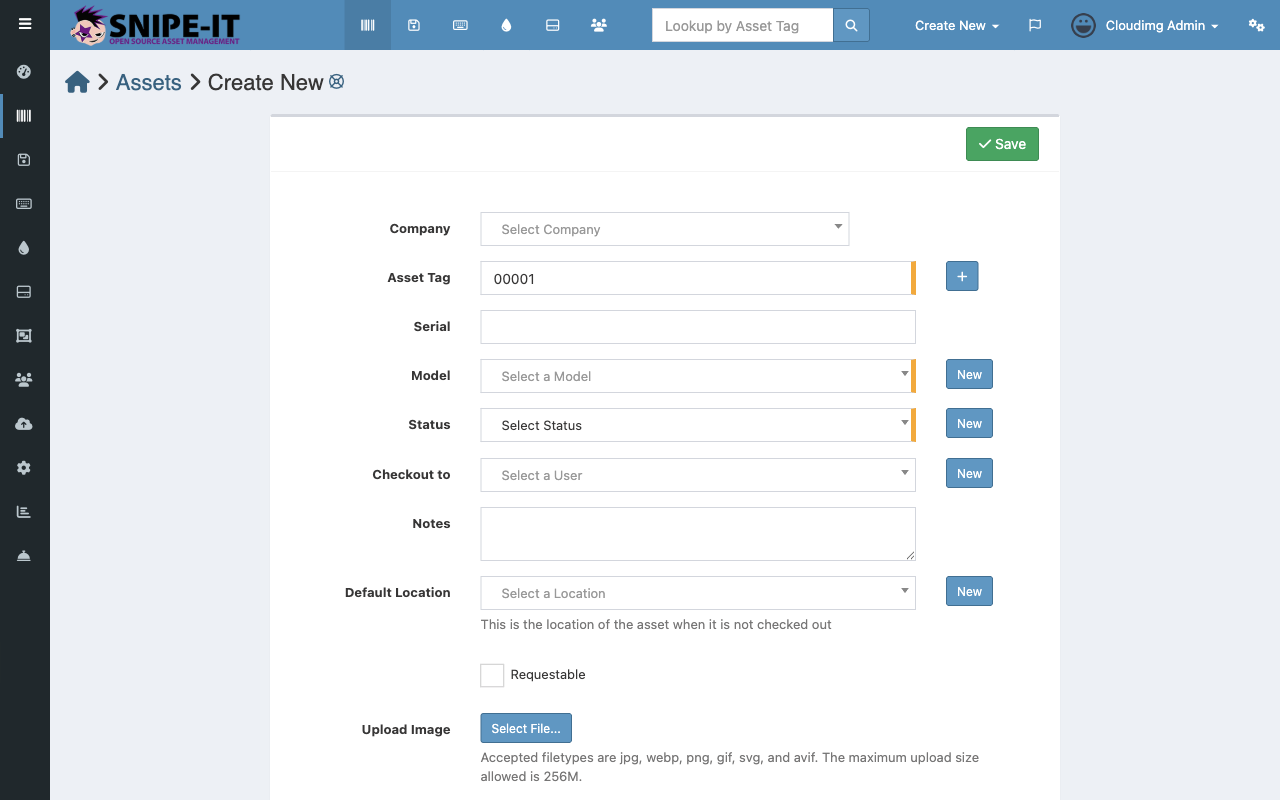
Step 8: Add and Check Out Assets
Choose Create New, then Asset, or open Assets and select the + button. Pick the model, set a status, enter the serial and purchase details, and optionally check the asset out to a user or location on creation.
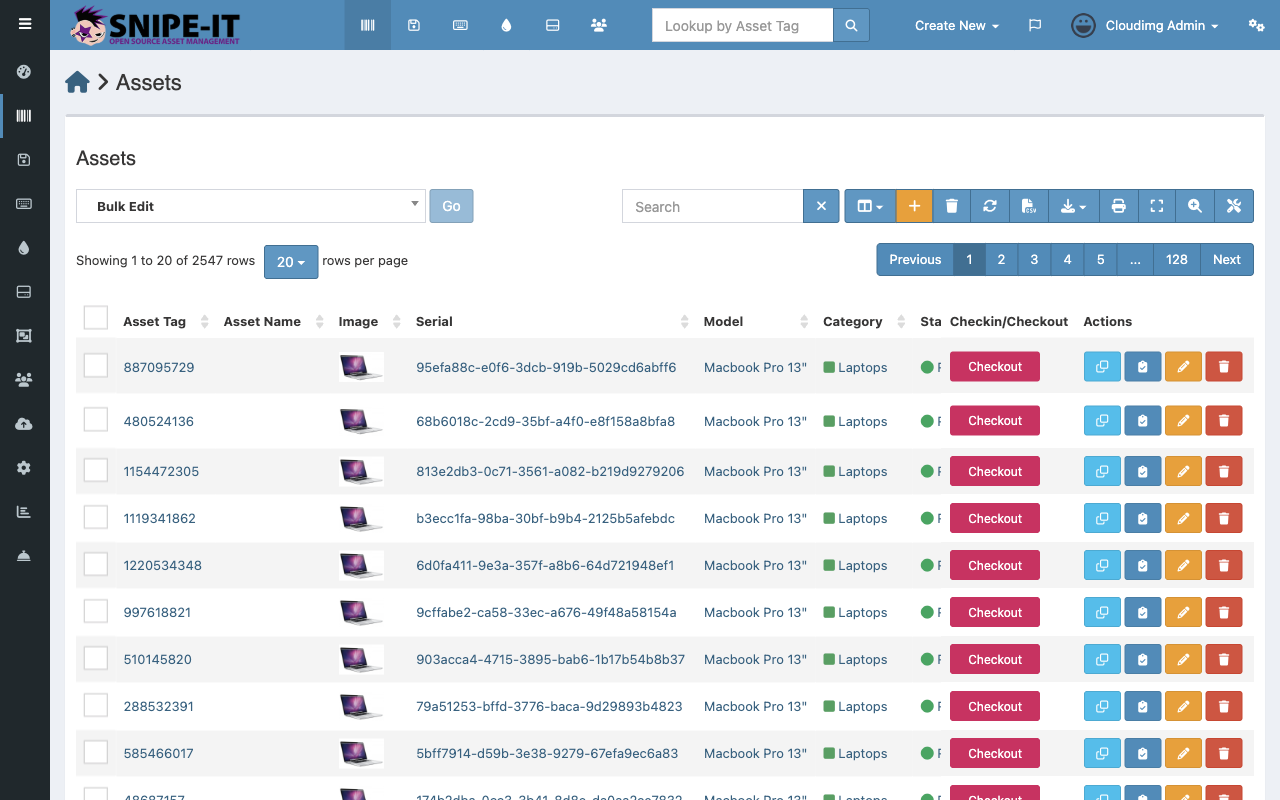
The Assets view lists every asset with its tag, model, category, status and current assignment, and gives you per-row actions to check an asset in or out, clone, edit or delete it. This list, with search, bulk edit, label printing and CSV import and export, is the day-to-day heart of Snipe-IT.
Step 9: Import Existing Inventory
To migrate an existing inventory, open Import from the gear menu and upload a CSV of your assets, users, licenses or accessories. Snipe-IT maps the columns to fields and creates the records in bulk, so you do not have to enter a large estate by hand.
Step 10: Configure Outbound Email
Email drives Snipe-IT's checkout confirmations, acceptance requests, audit reminders and password resets. Set your SMTP details under Admin Settings, then Mail Settings, or edit the MAIL_* keys in /var/www/snipe-it/.env directly. After changing .env, clear and rebuild the configuration cache:
cd /var/www/snipe-it && sudo -u www-data php artisan config:clear && sudo -u www-data php artisan config:cache
Send a test message from the Mail Settings screen to confirm delivery.
Step 11: LDAP, SAML and the REST API
Snipe-IT supports directory integration and single sign on. Configure LDAP under Admin Settings, LDAP, to authenticate and import users from Active Directory or any LDAP server (the php-ldap extension is already installed). Configure SAML under Admin Settings, SAML, for single sign on with identity providers such as Okta, Azure AD or Google Workspace.
Every action in Snipe-IT is available through its REST API. Generate a personal API token from Edit Profile, API, then call the API with a bearer token, for example curl -H "Authorization: Bearer <token>" http://<public-ip>/api/v1/hardware. The API is ideal for integrating Snipe-IT with onboarding, monitoring and procurement systems.
Step 12: Enable HTTPS with Let's Encrypt
For production, terminate TLS so traffic to Snipe-IT is encrypted. With a DNS name pointed at the instance and port 443 open, install Certbot and obtain a certificate for the nginx site:
sudo apt-get update
sudo apt-get install -y certbot python3-certbot-nginx
sudo certbot --nginx -d your-domain.example.com
Certbot edits the nginx site to serve HTTPS and installs a renewal timer. After enabling TLS, set the application URL to the https:// address under General Settings and set APP_URL in /var/www/snipe-it/.env accordingly, then rebuild the config cache as in step 10. Consider setting APP_FORCE_TLS=true in .env to redirect all traffic to HTTPS.
Step 13: Backups and Maintenance
Snipe-IT includes a built-in backup that captures the database and uploaded files into a single archive. Generate one from Admin Settings, Backups, or from the command line:
cd /var/www/snipe-it && sudo -u www-data php artisan snipeit:backup
Back up /var/lib/mysql (the database tier) and /var/www/snipe-it (the application tier, including public/uploads and storage) with EBS snapshots on a schedule, and keep a copy of /var/www/snipe-it/.env, which holds the application key and database password. To upgrade Snipe-IT, take a snapshot first, then follow the upstream upgrade steps for the new release; cloudimg support can assist with major-version upgrades.
Step 14: Scaling Beyond a Single Instance
This image runs nginx, PHP, MariaDB and the scheduler on one instance, which suits most asset-management workloads. To scale, move the database tier to Amazon RDS for MySQL (point the DB_* keys in .env at the RDS endpoint), put uploads on shared or S3-backed storage so multiple app instances stay consistent, and run two or more application instances behind an Application Load Balancer. cloudimg support can help design and implement a highly available topology.
Screenshots
Support
This image is published by cloudimg with 24/7 technical support by email and chat. Support covers Snipe-IT deployment, upgrades, performance tuning, LDAP and SAML single sign on, email and label configuration, REST API integration, CSV import, backup strategy and database administration. Contact details and your support entitlement are on the AWS Marketplace listing and at https://www.cloudimg.co.uk.