
Sonarr on AWS User Guide
Overview
This image runs Sonarr, the open source PVR and library manager for TV series. Sonarr keeps a watchlist of the shows you follow, works out which episodes are missing or could be upgraded to a better quality, searches your configured indexers, hands the results to your download client, and then renames and files everything into a tidy, consistently organised library. A clean web interface gives you a calendar of upcoming episodes, a full view of your series and their per season status, quality profiles, and a rich activity and history view, while a documented version 3 REST API lets you automate any of it.
Sonarr serves its web UI and REST API on port 8989. It is installed from the official self contained build, verified against the checksum the project publishes, and runs as the dedicated unprivileged sonarr system user under systemd with automatic restarts and a hardened service sandbox. All application state lives under /var/lib/sonarr, with the series library and download folders at /var/lib/sonarr/tv and /var/lib/sonarr/downloads.
Unlike a bare deployment, this image is secure by default. Sonarr normally starts with authentication switched off, which means anyone who can reach it gets full control of the application and its API key. This image enforces forms authentication instead, and generates a unique administrator password and a unique API key on the first boot of every deployed instance. The password is handed to Sonarr's own account creation path so it is stored only as a salted, heavily iterated one way hash, and the plain values are recorded in /root/sonarr-credentials.txt with mode 0600. No shared or default credentials ship in the image, so no two deployments ever share a login.
Prerequisites
Before you deploy this image you need:
- An Amazon Web Services account where you can launch EC2 instances
- IAM permissions to launch instances, create security groups, and subscribe to AWS Marketplace products
- An EC2 key pair in the target Region for SSH access to the instance
- A VPC and subnet in the target Region, with a security group allowing inbound port 22 from your management network and inbound port 8989 from where you will reach the Sonarr web UI
- The AWS CLI (version 2) installed locally if you plan to deploy from the command line
Step 1: Launch the Instance from the AWS Marketplace
Sign in to the AWS Management Console, open the EC2 service, and select Launch instance. Under Application and OS Images choose AWS Marketplace AMIs and search for Sonarr. Select the cloudimg listing and choose Select, then Continue on the subscription summary.
Pick an instance type of m5.large or larger. Choose your EC2 key pair under Key pair (login). Under Network settings select your VPC and subnet, and either create or select a security group that allows inbound port 22 from your management network and inbound port 8989 from where you will reach the web UI. Leave the root volume at the default size or larger.
Select Launch instance. First boot initialisation takes under a minute after the instance state becomes Running and the status checks pass; during that time the per instance administrator password and API key are generated.
Step 2: Launch the Instance from the AWS CLI
The following block launches an instance from the cloudimg Sonarr Marketplace AMI into an existing subnet and security group. Replace <ami-id> with the AMI ID shown on the Marketplace listing, <key-name> with your EC2 key pair name, <subnet-id> with your subnet ID, and <security-group-id> with a security group that opens port 22 and port 8989 as described above.
aws ec2 run-instances \
  --image-id <ami-id> \
  --instance-type m5.large \
  --key-name <key-name> \
  --subnet-id <subnet-id> \
  --security-group-ids <security-group-id> \
  --block-device-mappings '[{"DeviceName":"/dev/sda1","Ebs":{"VolumeSize":30,"VolumeType":"gp3"}}]' \
  --tag-specifications 'ResourceType=instance,Tags=[{Key=Name,Value=sonarr-01}]'
The command prints a JSON document on success. Note the instance ID, then retrieve its public address once it is running with aws ec2 describe-instances --instance-ids <instance-id> --query "Reservations[].Instances[].PublicIpAddress" --output text.
Step 3: Connect and Retrieve the Credentials
Connect over SSH with the key pair you selected and the public IP address from step 2. The SSH login user depends on the operating system of the AMI variant you launched:
| AMI variant | SSH login user |
|---|---|
| Sonarr on Ubuntu 24.04 | ubuntu |
ssh -i /path/to/your-key.pem ubuntu@<public-ip>
The per instance administrator username, password and API key are written to a root only file on first boot. Read them with:
sudo cat /root/sonarr-credentials.txt
The file contains the web UI URL, SONARR_ADMIN_USER, SONARR_ADMIN_PASSWORD and SONARR_API_KEY. These values are unique to this instance and are not present in the cloudimg image. Store them somewhere safe.
Step 4: Sign In to Sonarr
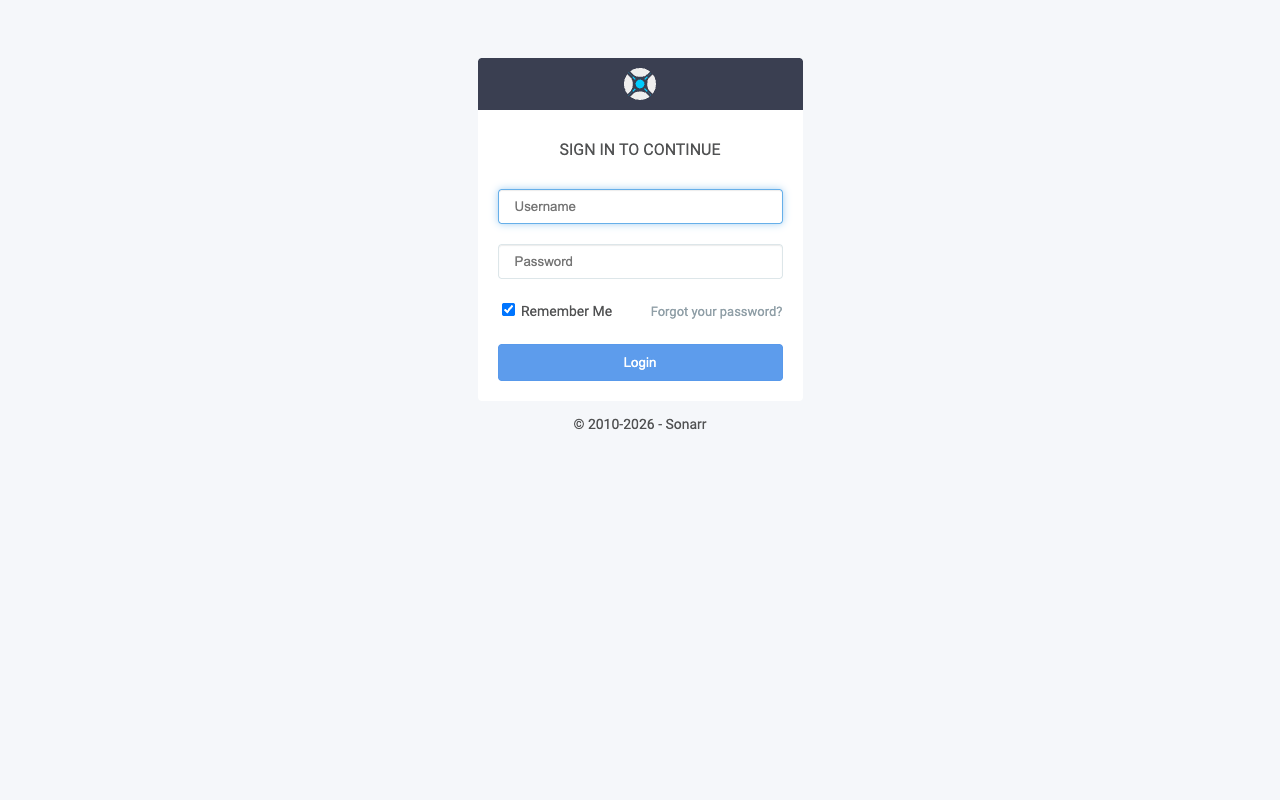
Open the Sonarr web UI in your browser at http://<public-ip>:8989/. Because authentication is enforced, you are presented with a sign-in page. Enter the SONARR_ADMIN_USER and SONARR_ADMIN_PASSWORD from the credentials file.
Step 5: Add Your First Series
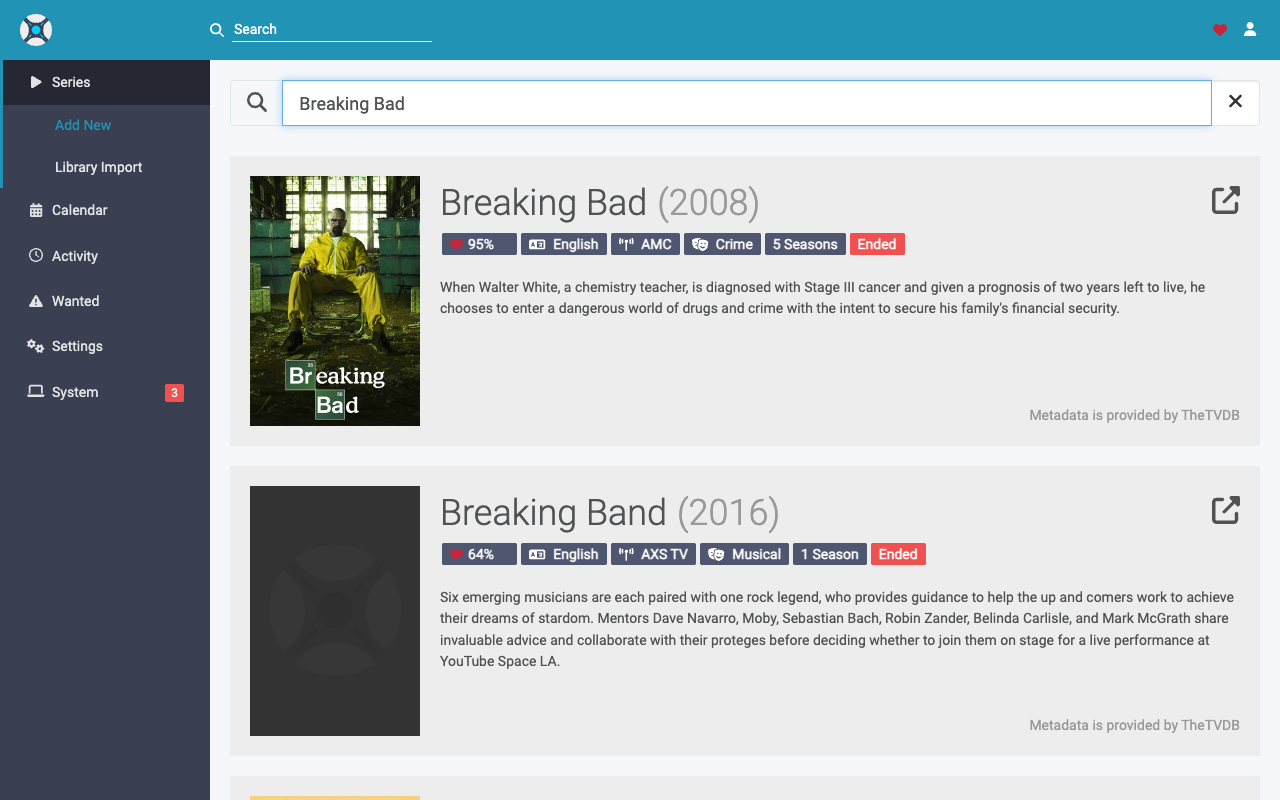
Once signed in you land on the Series page. Choose Add New, start typing the name of a show, and Sonarr looks it up and shows matching series with their artwork, network, rating and status. Select a series, choose the quality profile and the root folder under /var/lib/sonarr/tv, and Sonarr begins monitoring it. To actually fetch episodes you also configure at least one indexer (under Settings > Indexers) and one download client (under Settings > Download Clients).
Step 6: Review the Security Posture
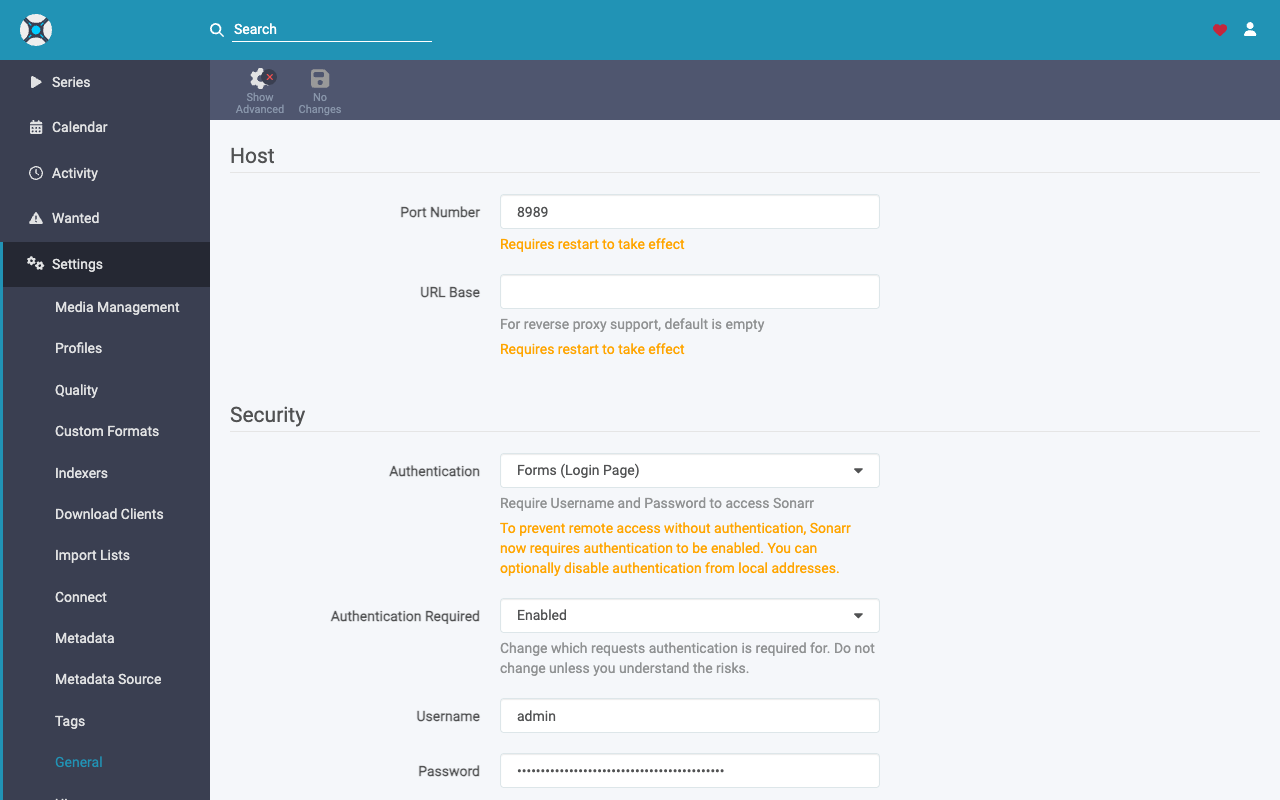
Under Settings > General you can see the enforced authentication this image ships with: Authentication is set to Forms (Login Page) and Authentication Required is Enabled, with the per instance administrator account already created. Do not disable authentication on an instance reachable from untrusted networks; anyone who can reach an unauthenticated Sonarr gains full control of the application and its API key.
Step 7: Check System Status
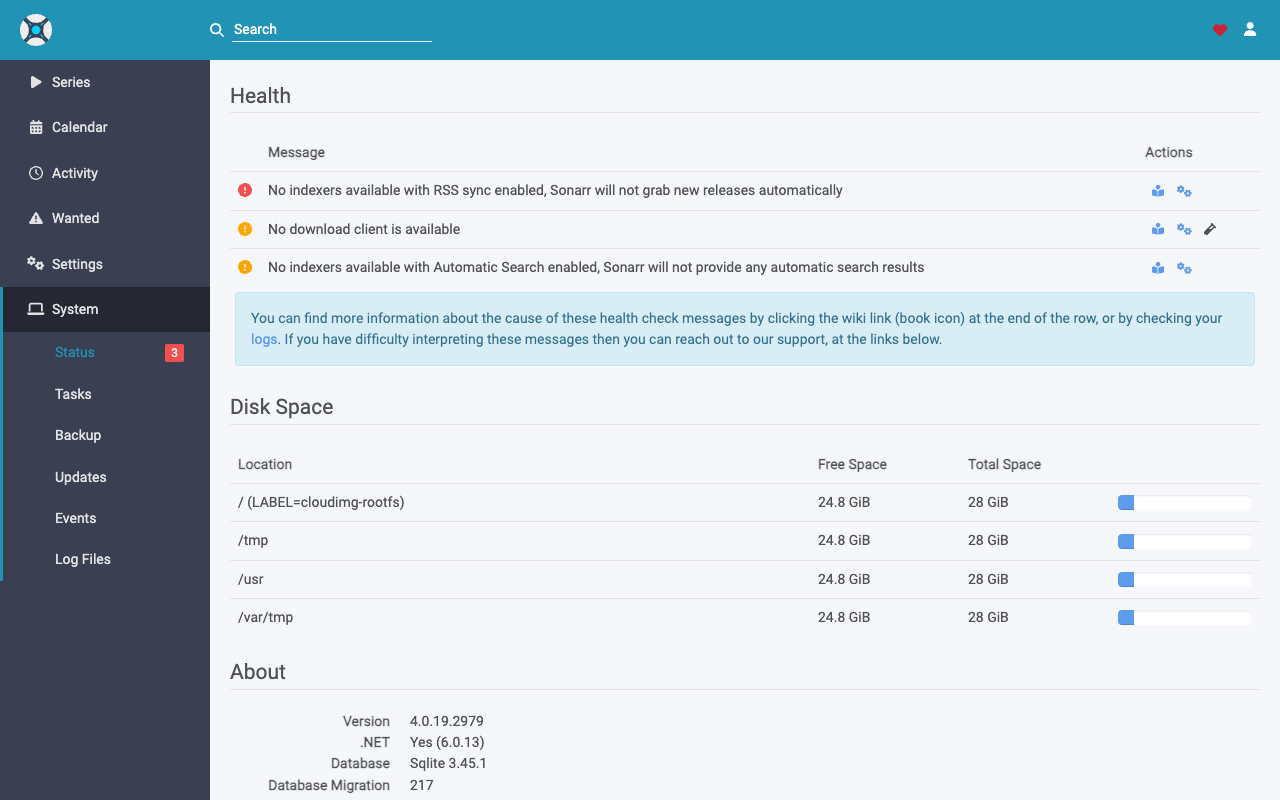
System > Status reports the running Sonarr version, the .NET and SQLite runtime details, disk space, and any health warnings. On a fresh instance you will see health notices reminding you to add an indexer and a download client; these clear once you complete the configuration in step 5.
Using the REST API
Sonarr exposes a version 3 REST API authenticated with the per instance API key via the X-Api-Key header. For example, to read the system status:
curl -H "X-Api-Key: <SONARR_API_KEY>" http://<public-ip>:8989/api/v3/system/status
An unauthenticated request to the API returns HTTP 401, so monitoring that needs to reach the API must present the key. For a load balancer or uptime probe that must not carry a credential, use the unauthenticated health endpoint instead:
curl http://<public-ip>:8989/ping
It returns {"status":"OK"} without authentication. On the instance itself the same endpoint answers on the loopback interface, which is the health check used by the built in monitoring:
curl http://127.0.0.1:8989/ping
HTTPS and Reverse Proxy
Sonarr serves plain HTTP on port 8989. For access over the public internet, place it behind a reverse proxy (nginx, Caddy or an AWS Application Load Balancer) that terminates TLS with a certificate for your domain and forwards to 127.0.0.1:8989, and restrict the instance security group so that only the proxy reaches port 8989. Sonarr supports a URL base under Settings > General if you serve it from a sub path.
Updates and Maintenance
Automatic self updates are turned off in this image so the running system never silently drifts from the published, certified artifact; upgrades arrive as a new cloudimg image version. The base operating system keeps receiving unattended security updates. To back up Sonarr, use System > Backup in the UI, or snapshot the EBS volume; all application state (the sonarr.db database and config.xml) lives under /var/lib/sonarr. Manage the service with systemd:
sudo systemctl status sonarr
sudo systemctl restart sonarr
Support
Every cloudimg deployment is backed by 24/7 technical support by email and chat. We can help with deployment, HTTPS for the web UI, indexer and download client configuration, storage and upgrade planning, and integration with the rest of your media stack. Contact support@cloudimg.co.uk.