Stalwart Mail Server on AWS User Guide
Overview
This image runs Stalwart, the modern all-in-one open source mail server written in Rust. A single efficient binary provides an SMTP server with inbound delivery, submission and relaying, an IMAP4 and JMAP server for mailbox access, a built-in spam and phishing filter, DKIM signing, SPF, DMARC and ARC verification, sieve scripting, and a full web administration console. Stalwart is deployable entirely within your own VPC.
The server runs as a hardened systemd service (stalwart.service) with its RocksDB datastore - mail spool, accounts, message blobs, full-text index and settings - on a dedicated EBS volume mounted at /opt/stalwart/data. Mail protocols listen on the standard ports: SMTP on 25, message submission with STARTTLS on 587, submission over implicit TLS on 465, and IMAP over implicit TLS on 993. The web admin console and JMAP interface are served on port 80 through an nginx reverse proxy (Stalwart's HTTP listener is bound to 127.0.0.1:8080), and Stalwart also serves HTTPS natively on port 443.
On the first boot of every deployed instance, a one-shot service provisions the server through Stalwart's bootstrap API: it creates the administrator account with a unique per-instance password, generates DKIM signing keys, and writes the login to /root/stalwart-credentials.txt with mode 0600. No default or shared credentials ship in the image.
Important: Outbound Port 25 on EC2
AWS blocks outbound SMTP on port 25 by default for all new EC2 accounts to prevent abuse. This does NOT affect receiving mail (inbound port 25 works as soon as your security group allows it), IMAP, JMAP, or the admin console. It only affects mail this server sends directly to other mail servers on the internet.
You have two options for outbound mail, both covered in this guide:
- Request removal of the restriction from AWS - a short form, usually approved within a day or two. After approval the server delivers mail directly.
- Relay through a smart host such as Amazon SES on port 587 - works immediately, no AWS approval needed, and SES manages sending reputation for you.
Plan for one of these before pointing production mail at the instance.
Prerequisites
Before you deploy this image you need:
- An Amazon Web Services account where you can launch EC2 instances
- IAM permissions to launch instances, create security groups, and subscribe to AWS Marketplace products
- An EC2 key pair in the target Region for SSH access to the instance
- A VPC and subnet in the target Region, with a security group allowing inbound port 22 from your management network, ports 80 and 443 from the networks your administrators use, and ports 25, 465, 587 and 993 from the networks your mail flows on (port 25 from anywhere if you receive internet mail)
- A domain name you control, with access to its DNS records (required to receive and send mail for your domain)
- The AWS CLI (version 2) installed locally if you plan to deploy from the command line
Step 1: Launch the Instance from the AWS Marketplace
Sign in to the AWS Management Console, open the EC2 service, and select Launch instance. Under Application and OS Images choose AWS Marketplace AMIs and search for Stalwart. Select the cloudimg listing and choose Select, then Continue on the subscription summary.
Pick an instance type of t3.small or larger. Choose your EC2 key pair under Key pair (login). Under Network settings select your VPC and subnet, and either create or select a security group that allows inbound ports 22, 80, 443, 25, 465, 587 and 993 as described above. Leave the root volume at the default size; the image also attaches a dedicated 30 GiB data volume for the mail datastore.
Select Launch instance. First boot provisioning takes under two minutes after the instance state becomes Running and the status checks pass.
A static IP address is strongly recommended for a mail server: allocate an Elastic IP in the EC2 console and associate it with the instance, so your DNS records and sending reputation survive instance stops.
Step 2: Launch the Instance from the AWS CLI
The following block launches an instance from the cloudimg Stalwart Marketplace AMI into an existing subnet and security group. Replace <ami-id> with the AMI ID shown on the Marketplace listing, <key-name> with your EC2 key pair name, <subnet-id> with your subnet ID, and <security-group-id> with a security group that opens the ports listed above.
aws ec2 run-instances \
  --image-id <ami-id> \
  --instance-type t3.small \
  --key-name <key-name> \
  --subnet-id <subnet-id> \
  --security-group-ids <security-group-id> \
  --tag-specifications 'ResourceType=instance,Tags=[{Key=Name,Value=stalwart-mail-01}]'
The command prints a JSON document on success. Note the instance ID, then retrieve its public address once it is running with aws ec2 describe-instances --instance-ids <instance-id> --query "Reservations[].Instances[].PublicIpAddress" --output text.
Step 3: Connect and Retrieve the Administrator Login
Connect over SSH with the key pair you selected and the public IP address from step 2. The SSH login user depends on the operating system of the AMI variant you launched:
| AMI variant | SSH login user |
|---|---|
| Stalwart Mail Server 0.16 on Ubuntu 24.04 | ubuntu |
ssh -i <path-to-key.pem> ubuntu@<instance-public-ip>
The administrator username and password are generated uniquely on this instance during first boot and written to a root-only file. Retrieve them with:
sudo cat /root/stalwart-credentials.txt
The file contains the console URL, the administrator username (stalwart.admin.user, initially admin@example.org - the placeholder domain you will replace in step 6) and the per-instance password (stalwart.admin.pass). Keep these somewhere safe.
Step 4: Confirm the Services Are Running
Stalwart is delivered as two systemd services: the mail server itself (stalwart.service) and the nginx reverse proxy (nginx.service). Confirm both are active:
systemctl is-active stalwart.service nginx.service
Both report active. Confirm the server version:
/opt/stalwart/bin/stalwart --version
This prints 0.16.8. The server exposes an open health endpoint through nginx; check it returns HTTP 200:
curl -s http://localhost/healthz/live
The response is {"type":"about:blank","title":"OK","status":200,"detail":"OK"}. Confirm every mail listener is bound:
sudo ss -tlnp | grep -E ':25 |:465 |:587 |:993 '
You see Stalwart listening on *:25 (SMTP), *:465 (submission over TLS), *:587 (submission with STARTTLS) and *:993 (IMAP over TLS). The SMTP listener answers with a banner:
timeout 5 bash -c 'exec 3<>/dev/tcp/localhost/25; head -1 <&3'
This prints 220 mail.example.org Stalwart ESMTP at your service (the hostname changes to yours after step 6). The TLS listeners run with an auto-generated self-signed certificate until you configure a real one (step 9):
echo | openssl s_client -connect localhost:993 2>/dev/null | grep subject=
This prints subject=CN = rcgen self signed cert.
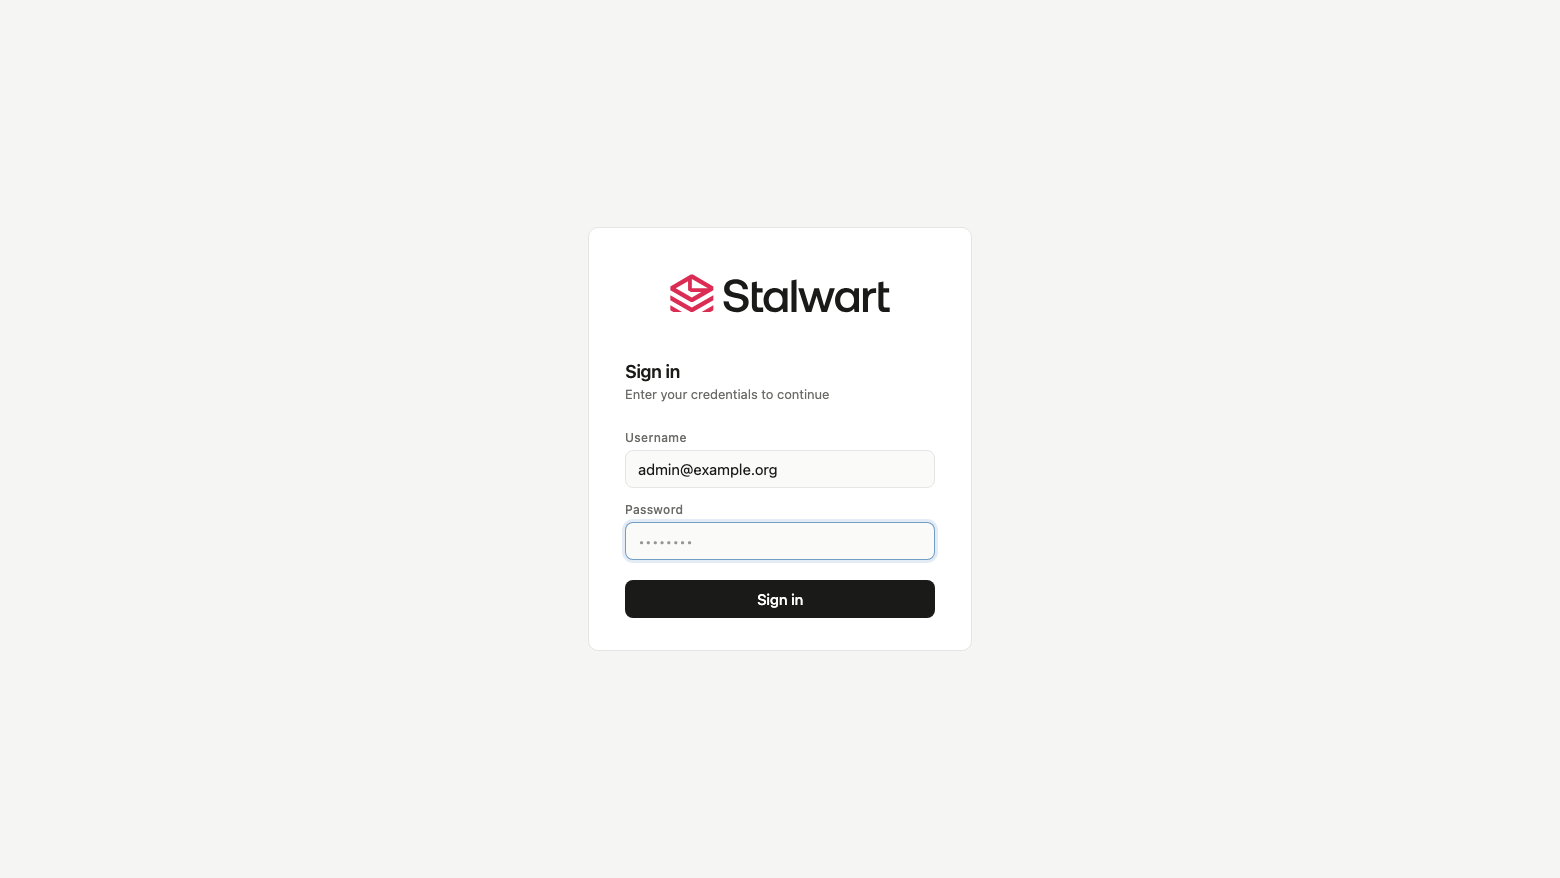
Step 5: Sign In to the Web Admin Console
Open http://<instance-public-ip>/ in your browser. You are redirected to the admin console, which asks for your account name and then your password - enter the administrator username and password from step 3.
The console manages every aspect of the server: the directory (user accounts, groups and mailing lists), mail domains and their DNS records, message queues, reports, spam filter settings, system settings and live tracing. The Dashboard entry requires a Stalwart Enterprise license; all the management views used in this guide are part of the open source edition.
You can also verify the administrator credential from the shell with the JMAP session endpoint - a wrong password is rejected with HTTP 401 and the real one returns 200:
PASS=$(sudo grep '^stalwart.admin.pass=' /root/stalwart-credentials.txt | cut -d= -f2-)
USER=$(sudo grep '^stalwart.admin.user=' /root/stalwart-credentials.txt | cut -d= -f2-)
BAD=$(curl -s -o /dev/null -w '%{http_code}' -u "$USER:not-the-password" http://localhost/jmap/session)
GOOD=$(curl -s -o /dev/null -w '%{http_code}' -u "$USER:$PASS" http://localhost/jmap/session)
echo "wrong password: HTTP $BAD, real password: HTTP $GOOD"
This prints wrong password: HTTP 401, real password: HTTP 200.
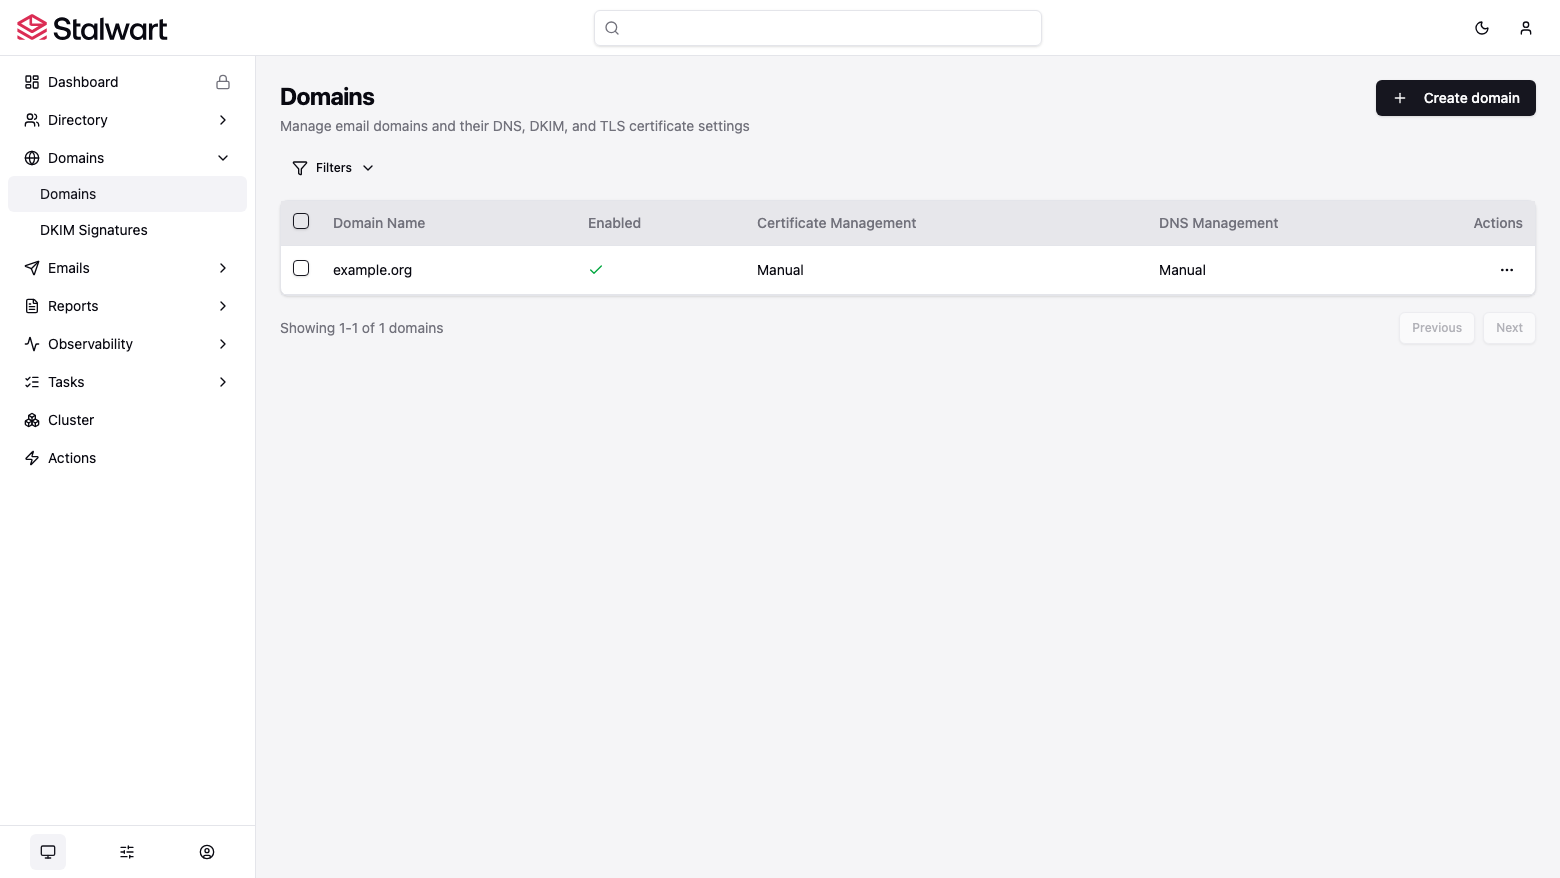
Step 6: Add Your Mail Domain
The instance is provisioned with the placeholder domain example.org so that it boots fully configured. Replace it with the domain you own:
- In the console open Domains and select Create domain. Enter your domain (for example
example.com) and save. Stalwart generates RSA and Ed25519 DKIM signing keys for the domain automatically. - Open the new domain's DNS records view. Stalwart lists the exact records to publish: the
MXrecord pointing at your server hostname, theTXTrecords for SPF, the two DKIM public keys, and a DMARC policy record. - Publish those records with your DNS provider. The minimum set looks like:
example.com.                    IN MX  10 mail.example.com.
mail.example.com.               IN A   <instance-elastic-ip>
example.com.                    IN TXT "v=spf1 a:mail.example.com -all"
<selector>._domainkey.example.com.  IN TXT "v=DKIM1; k=rsa; p=<key from the console>"
_dmarc.example.com.             IN TXT "v=DMARC1; p=quarantine; rua=mailto:postmaster@example.com"
- Set the server hostname to match your MX record: open Settings (the sliders icon) > Network > Server hostname, change
mail.example.orgtomail.example.com, save, and restart the server (sudo systemctl restart stalwartover SSH). The SMTP banner and message headers now carry your hostname. - Finally, add a reverse DNS (PTR) record for the Elastic IP mapping it back to
mail.example.com- on AWS this is requested through the same form as the port 25 removal (step 8) or via your Elastic IP's settings.
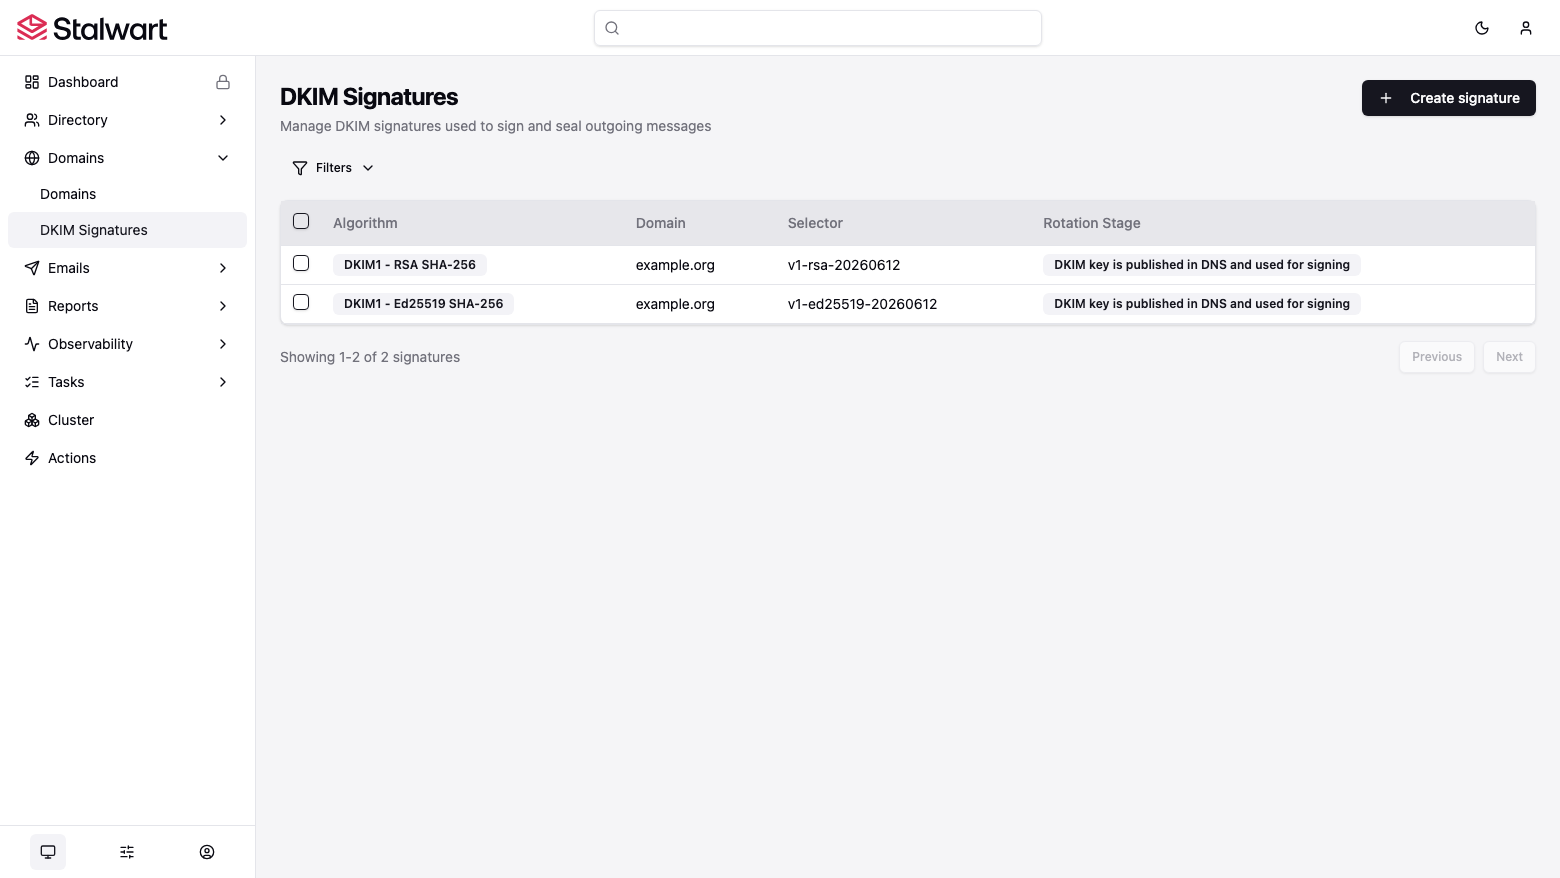
The DKIM Signatures view under Domains shows the generated signing keys and their DNS publication status:
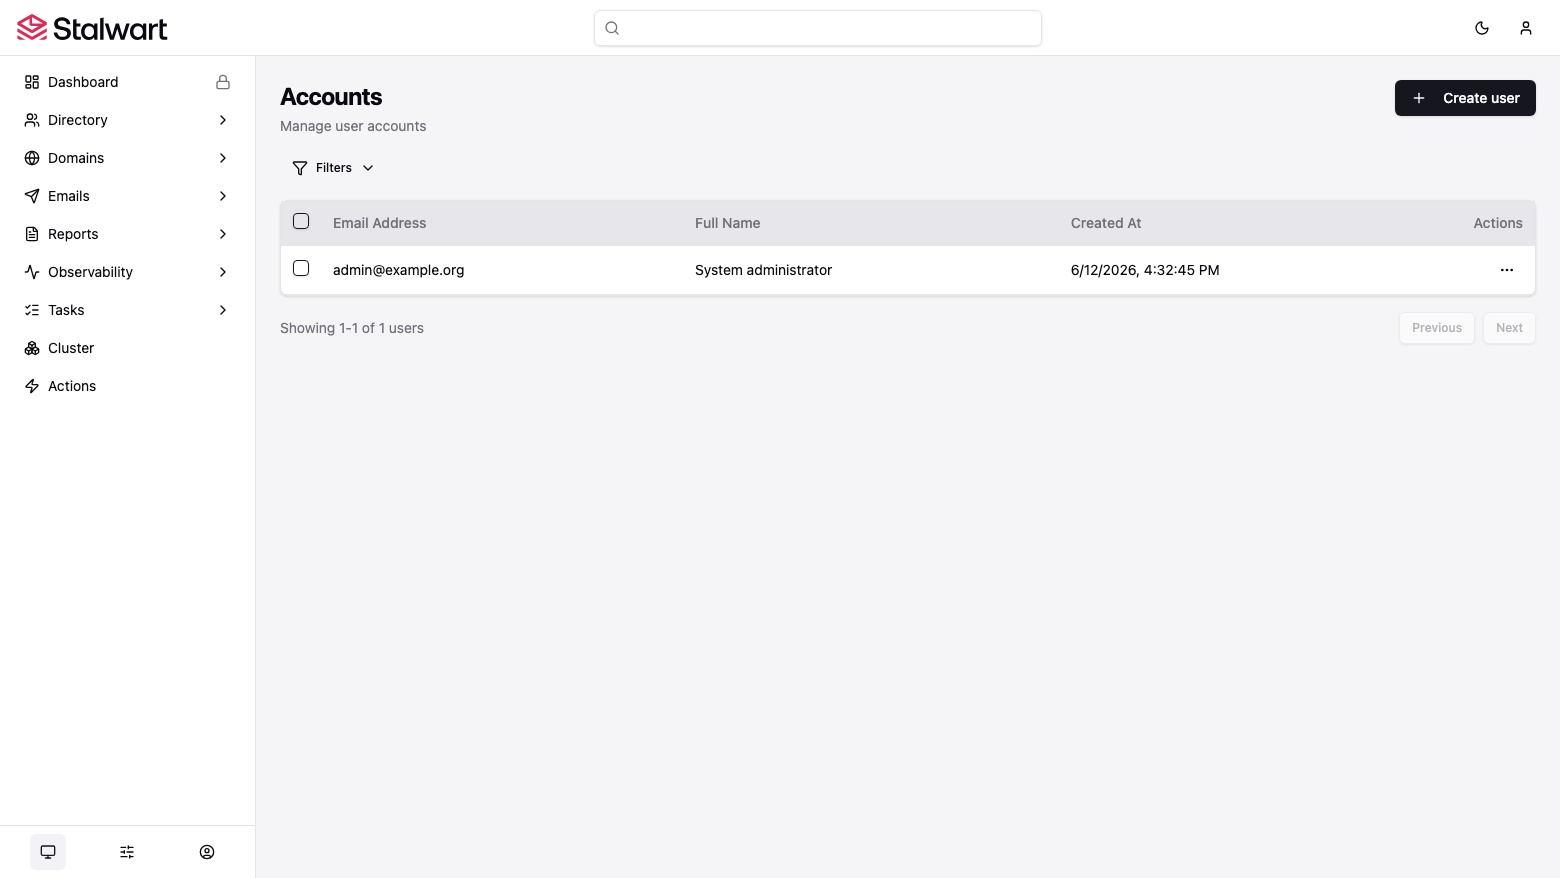
Step 7: Create Mailboxes and Connect Clients
Open Directory > Accounts and select Create user. Give the account a name, an email address at your domain (for example alice@example.com) and a password. Repeat for each mailbox; groups and mailing lists are created the same way.
Mail clients connect with these settings:
IMAP:        host <instance-public-ip> (or mail.example.com), port 993, SSL/TLS, normal password
SMTP:        host <instance-public-ip> (or mail.example.com), port 465 (SSL/TLS) or 587 (STARTTLS), normal password
JMAP:        https://mail.example.com/jmap/session (or http://<instance-public-ip>/jmap/session)
Username:    the full email address, e.g. alice@example.com
Stalwart also serves autoconfiguration documents for Thunderbird-style clients and autodiscover for Outlook once your DNS is in place, so most clients configure themselves from just the email address and password.
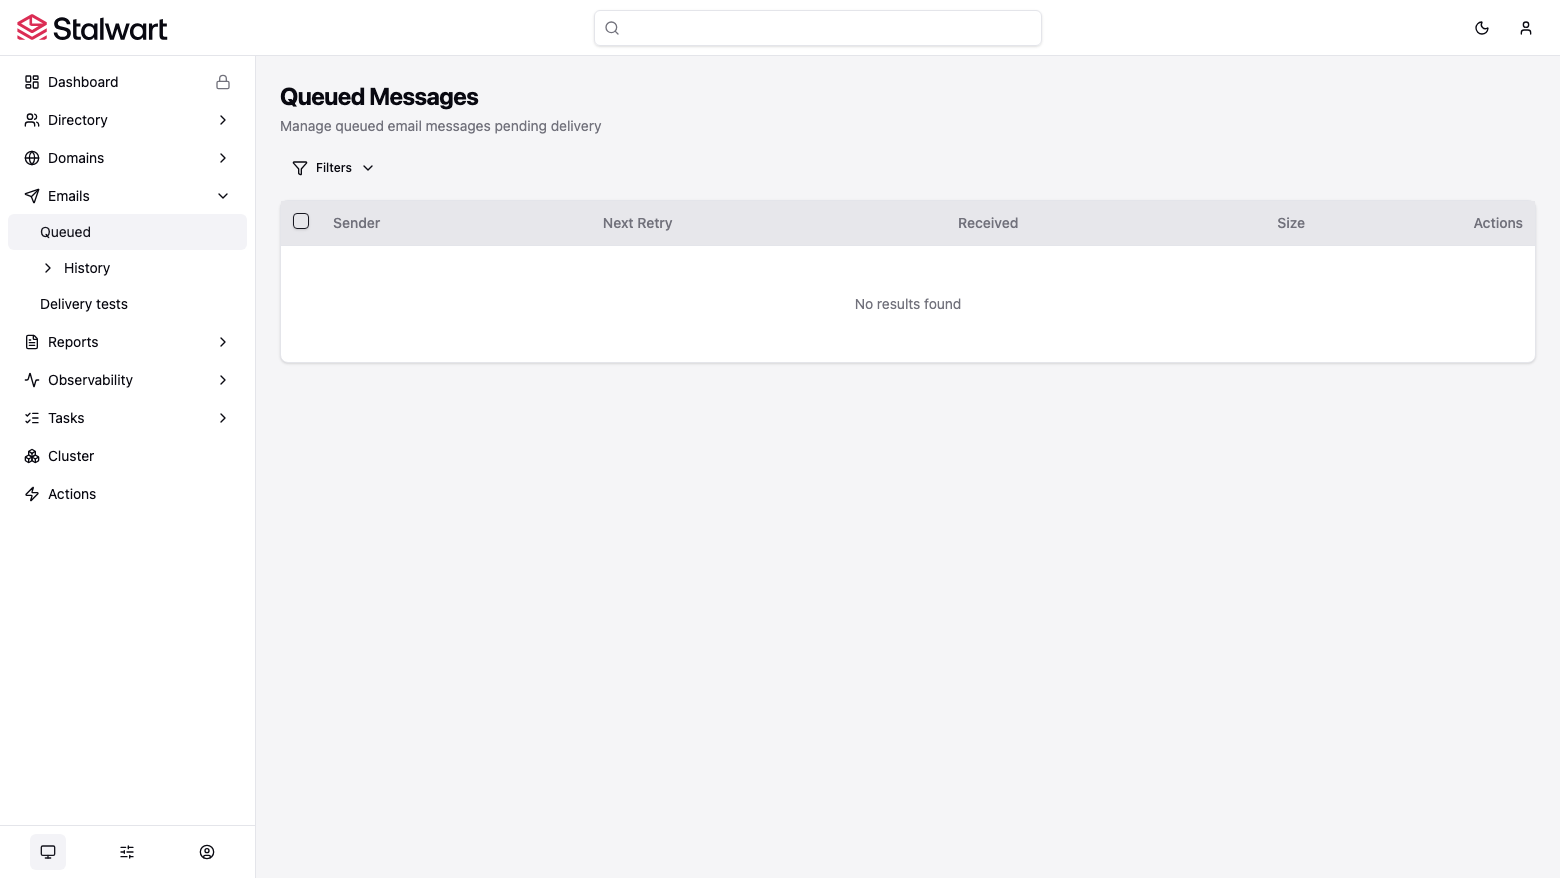
The Queued Messages view under Emails shows mail pending delivery, and History the delivery attempts - useful when testing your first messages:
Step 8: Enable Outbound Mail on EC2
As described at the top of this guide, AWS blocks outbound port 25 by default. Pick one of the following.
Option A - request removal of the port 25 restriction. Sign in to the AWS console as the root user or an administrator and submit the "Request to remove email sending limitations" form (search for it in AWS Support, or browse to the EC2 section of the support center). Provide your Elastic IP, your use case, and request reverse DNS for the IP at the same time. Once AWS confirms, the server delivers mail directly - no Stalwart changes needed.
Option B - relay through Amazon SES on port 587. Verify your domain in SES, request production access, and create SMTP credentials in the SES console. Then in the Stalwart admin console open Settings > SMTP > Outbound > Routing and add a relay host route:
Hostname:        email-smtp.<region>.amazonaws.com
Port:            587
Protocol:        SMTP, with STARTTLS required
Authentication:  the SES SMTP username and password
Save and restart the server. All outbound mail now relays through SES, which works immediately on every EC2 account. The same routing screen accepts any other smart host (SendGrid, Mailgun, your existing relay) if you prefer.
Step 9: TLS Certificates
The mail listeners (465, 993) and the native HTTPS listener (443) start with an auto-generated self-signed certificate, so connections are encrypted from first boot but clients will warn about trust. For production, give Stalwart a real certificate.
Built-in ACME (recommended). Stalwart can obtain and renew Let's Encrypt certificates itself. In the console open Settings > TLS > ACME providers and create a provider with the directory URL https://acme-v02.api.letsencrypt.org/directory, your contact email, and the TLS-ALPN-01 challenge. With your hostname's DNS pointing at the instance and port 443 open, Stalwart requests a certificate for the server hostname and renews it automatically. The certificate then serves 443, 465 and 993.
The admin console itself is also reachable over plain HTTP on port 80 through nginx; once ACME is active, prefer https://mail.example.com/admin/ and restrict port 80 in your security group to your management network if you wish.
Step 10: Storage, Backup and Maintenance
The RocksDB datastore lives on its own EBS volume mounted at /opt/stalwart/data, independent of the OS disk:
df -h /opt/stalwart/data
Because every message, account and setting is in the datastore, backups are straightforward:
- EBS snapshots of the data volume are the simplest approach - schedule them with Amazon Data Lifecycle Manager. For a crash-consistent snapshot you can snapshot live; for a fully quiesced one,
sudo systemctl stop stalwartfirst and start it again after the snapshot begins. - Logical export:
sudo systemctl stop stalwart && sudo -u stalwart /opt/stalwart/bin/stalwart --config=/opt/stalwart/etc/config.json --export /tmp/stalwart-export && sudo systemctl start stalwartwrites a portable dump you can copy off-instance.
To grow the mail store, resize the EBS volume in the EC2 console and extend the filesystem with sudo resize2fs /dev/$(lsblk -no NAME,MOUNTPOINT | awk '$2=="/opt/stalwart/data"{print $1}').
Server logs are written to /opt/stalwart/logs/ (rotated daily):
sudo tail -n 5 /opt/stalwart/logs/*
Service management uses systemctl: sudo systemctl restart stalwart after configuration changes that require it, sudo systemctl status stalwart for the unit state, and sudo journalctl -u stalwart for service-level events. Apply OS security updates with sudo apt update && sudo apt upgrade during a maintenance window.
Stalwart releases updates regularly. To upgrade in place: download the new stalwart-x86_64-unknown-linux-gnu.tar.gz from the Stalwart GitHub releases page, stop the service, replace /opt/stalwart/bin/stalwart, and start the service again. Snapshot the data volume first.
Support
This image is maintained by cloudimg with 24/7 technical support by email and chat, covering deployment, domain and DNS setup, DKIM/SPF/DMARC, TLS certificates, SES relaying and upgrades. Contact support through the AWS Marketplace listing or at https://www.cloudimg.co.uk/.
Stalwart is developed by Stalwart Labs and licensed under AGPL-3.0. cloudimg is not affiliated with or endorsed by Stalwart Labs.