Syncthing on Ubuntu 24.04 on Azure User Guide
Overview
Syncthing is the popular open-source, continuous file synchronization program — it synchronizes files between two or more devices peer-to-peer over an encrypted, authenticated connection, with no central server. A privacy-respecting alternative to hosted file sync, run here as an always-on sync node you control. The cloudimg image installs Syncthing 2.1 as a single Go binary, serves the web GUI through an nginx reverse proxy on TCP 80, persists all sync data on a dedicated Azure data disk, and generates a unique device identity, GUI password and API key on the first boot of every VM. Backed by 24/7 cloudimg support.
What is included:
- Syncthing 2.1 (MPL-2.0) at
/usr/local/bin/syncthing - nginx reverse proxy on
:80in front of the Syncthing GUI/REST API (bound to loopback:8384) - A dedicated Azure data disk at
/var/lib/syncthingholding the configuration, device certificate, index database and the default synced folder — separate from the OS disk and re-provisioned with every VM - Per-VM device identity, administrator GUI password and API key generated at first boot, in a root-only file
syncthing.service+nginx.serviceas systemd units, enabled and active- 24/7 cloudimg support
Prerequisites
An active Azure subscription, an SSH key pair, and a VNet + subnet in the target region. Standard_B2s (2 vCPU / 4 GiB RAM) is a good starting point; scale up for many folders or large indexes. NSG inbound: allow 22/tcp from your management network, 80/tcp for the web GUI (front it with TLS for public exposure — see Enabling HTTPS), and 22000/tcp from the devices that will sync with this node (the sync protocol port).
Step 1 — Deploy from the Azure Marketplace
Sign in to the Azure Portal, choose Create a resource, search the Marketplace for Syncthing by cloudimg, and select Create. On Basics pick your subscription, resource group, region and size; under Administrator account choose SSH public key and paste your key; under Inbound port rules allow SSH (22) and HTTP (80). Review the dedicated data disk on the Disks tab, then Review + create → Create. After deployment, add an NSG rule for 22000/tcp so other devices can reach the sync protocol.
Step 2 — Deploy from the Azure CLI
az vm create \
  --resource-group <your-rg> \
  --name syncthing \
  --image <marketplace-image-urn> \
  --size Standard_B2s \
  --admin-username azureuser \
  --ssh-key-values ~/.ssh/id_ed25519.pub \
  --vnet-name <your-vnet> --subnet <your-subnet> \
  --public-ip-sku Standard

az vm open-port --resource-group <your-rg> --name syncthing --port 80 --priority 1010
az vm open-port --resource-group <your-rg> --name syncthing --port 22000 --priority 1020
Step 3 — Connect to your VM
ssh azureuser@<vm-public-ip>
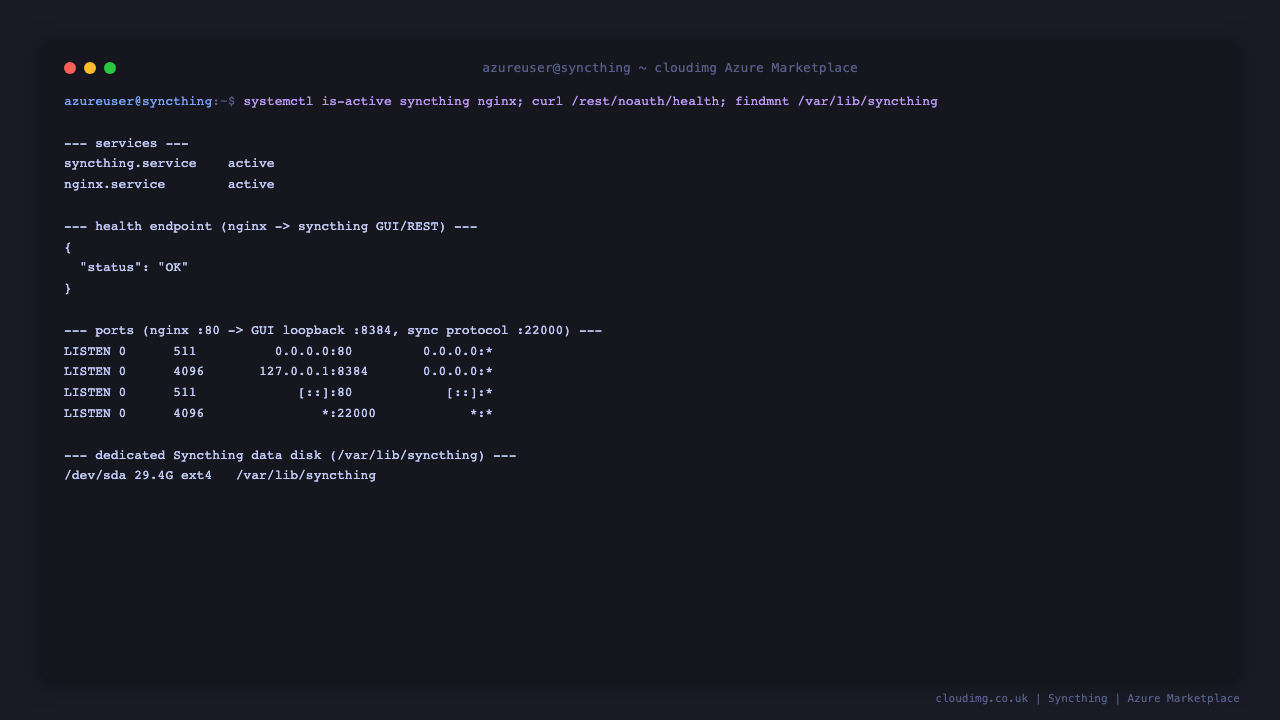
Step 4 — Confirm the services are running
systemctl is-active syncthing.service nginx.service
curl -s http://127.0.0.1/rest/noauth/health
Both services report active and the health endpoint returns {"status": "OK"}.
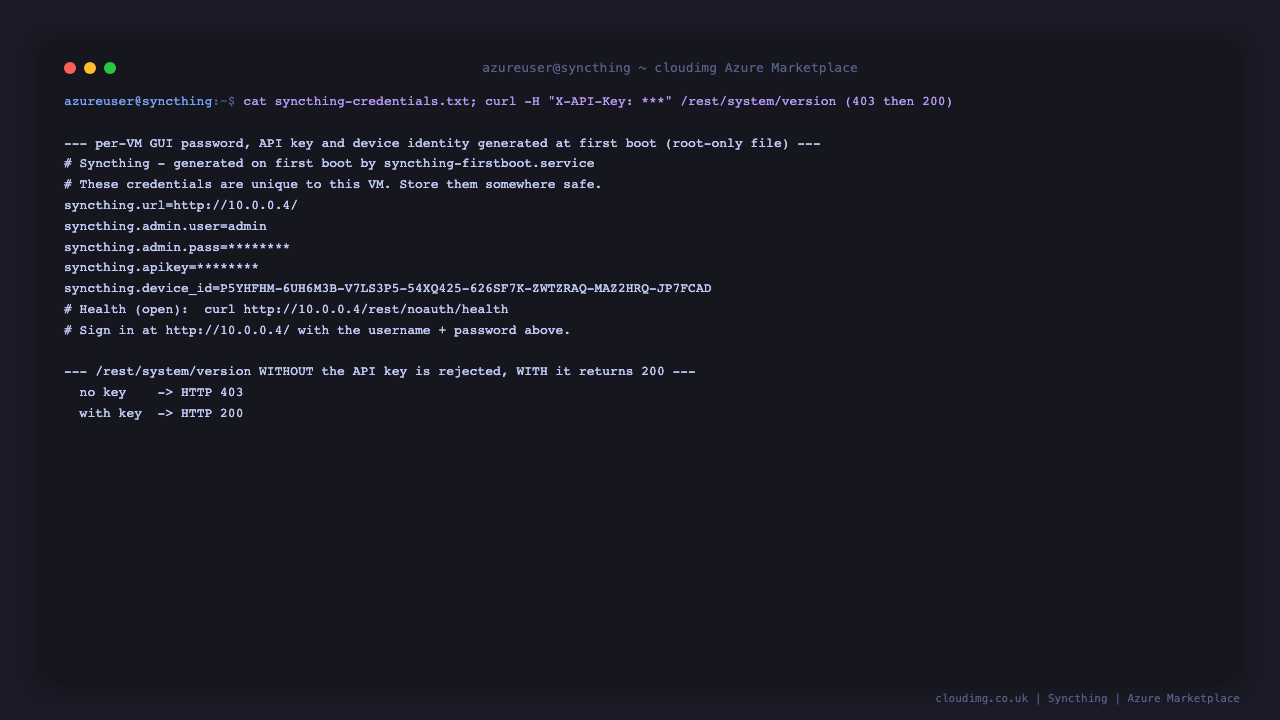
Step 5 — Retrieve your credentials
The administrator GUI password, the REST API key and this node's Device ID are generated uniquely on the first boot of your VM and written to a root-only file:
sudo cat /root/syncthing-credentials.txt
Sign in to the GUI as admin with the syncthing.admin.pass value; use syncthing.apikey for REST API calls.
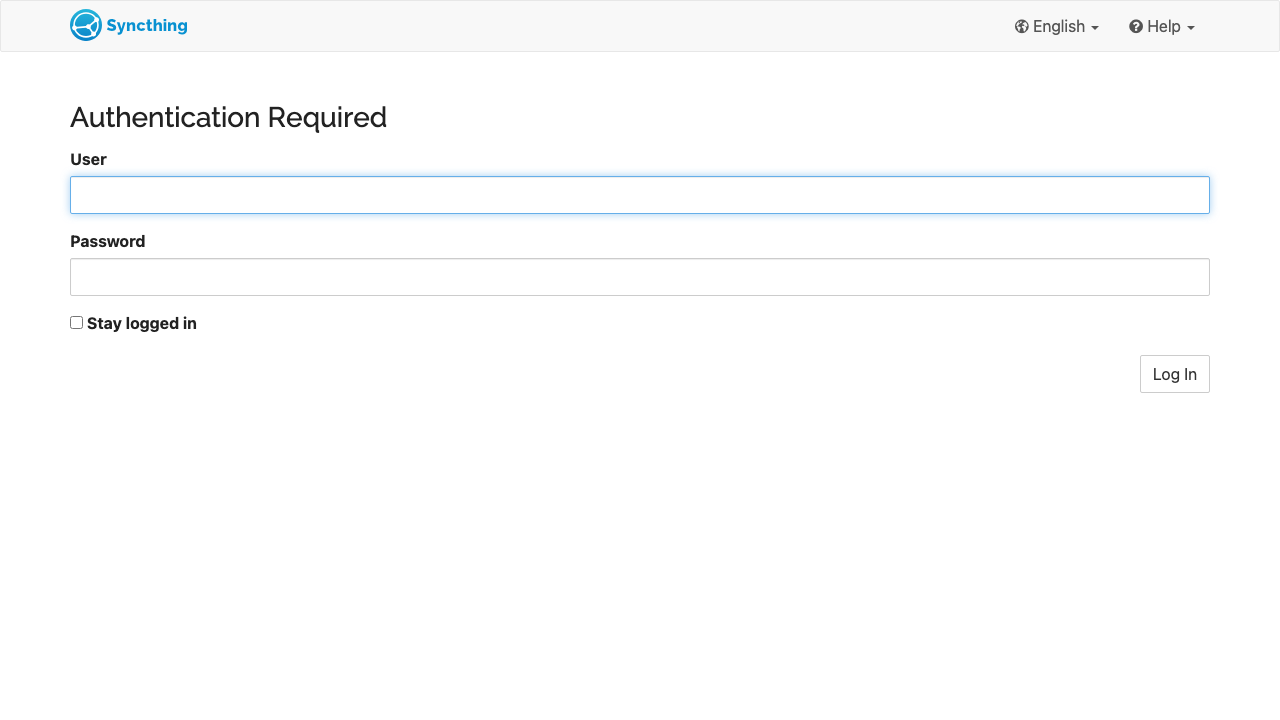
Step 6 — Sign in to the web GUI
Browse to http://<vm-public-ip>/ and sign in with the username admin and the password from Step 5.
The dashboard shows this device, its folders, remote devices and transfer rates.
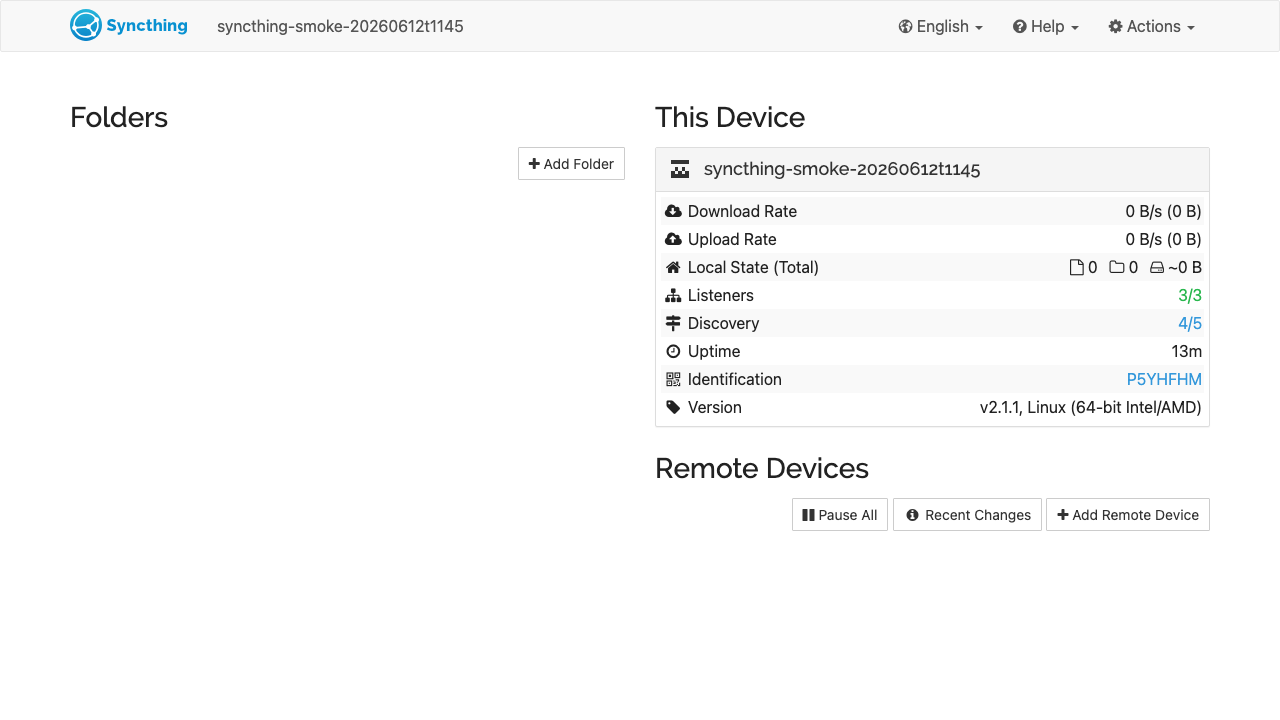
Step 7 — Pair another device
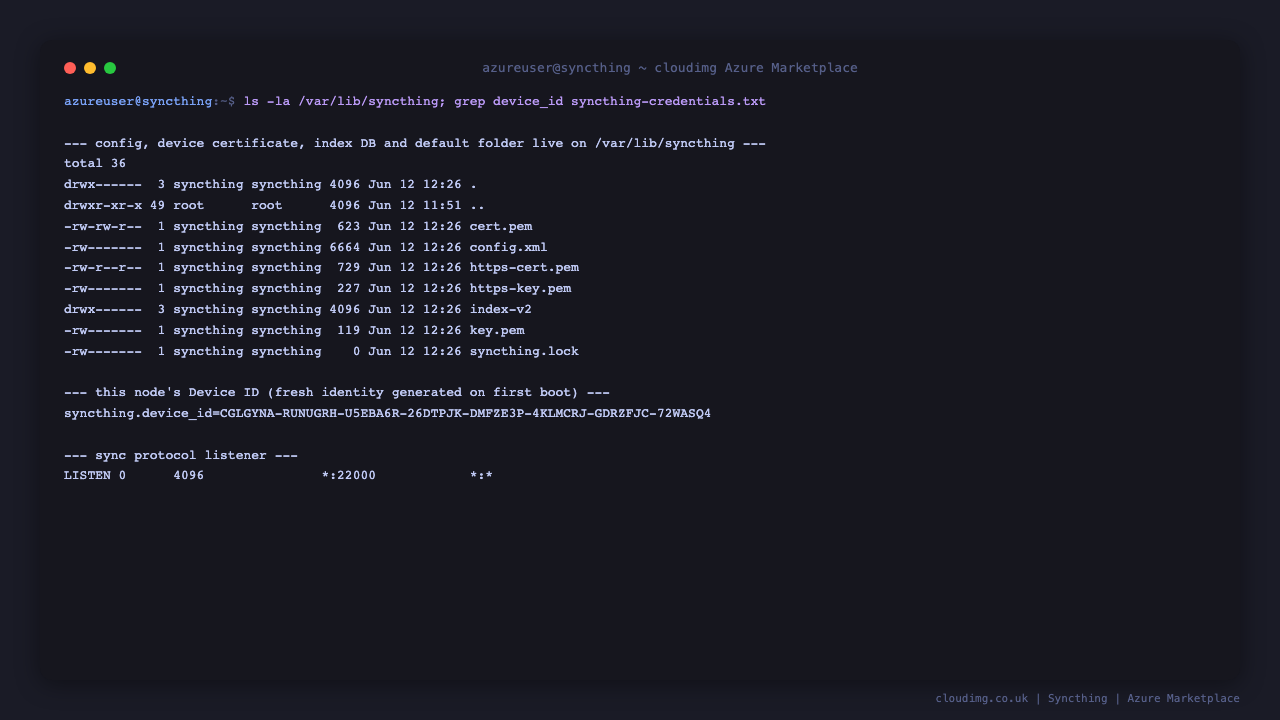
Every Syncthing node is identified by its Device ID — a fingerprint of the device certificate generated on first boot. Show this node's Device ID:
sudo grep '^syncthing.device_id=' /root/syncthing-credentials.txt
In the GUI choose Add Remote Device, paste the other device's ID (in its GUI: Actions → Show ID), and share a folder with it. Install the Syncthing app on your other machines and accept the pairing there; Syncthing then keeps the shared folders in sync automatically over an encrypted connection on port 22000.

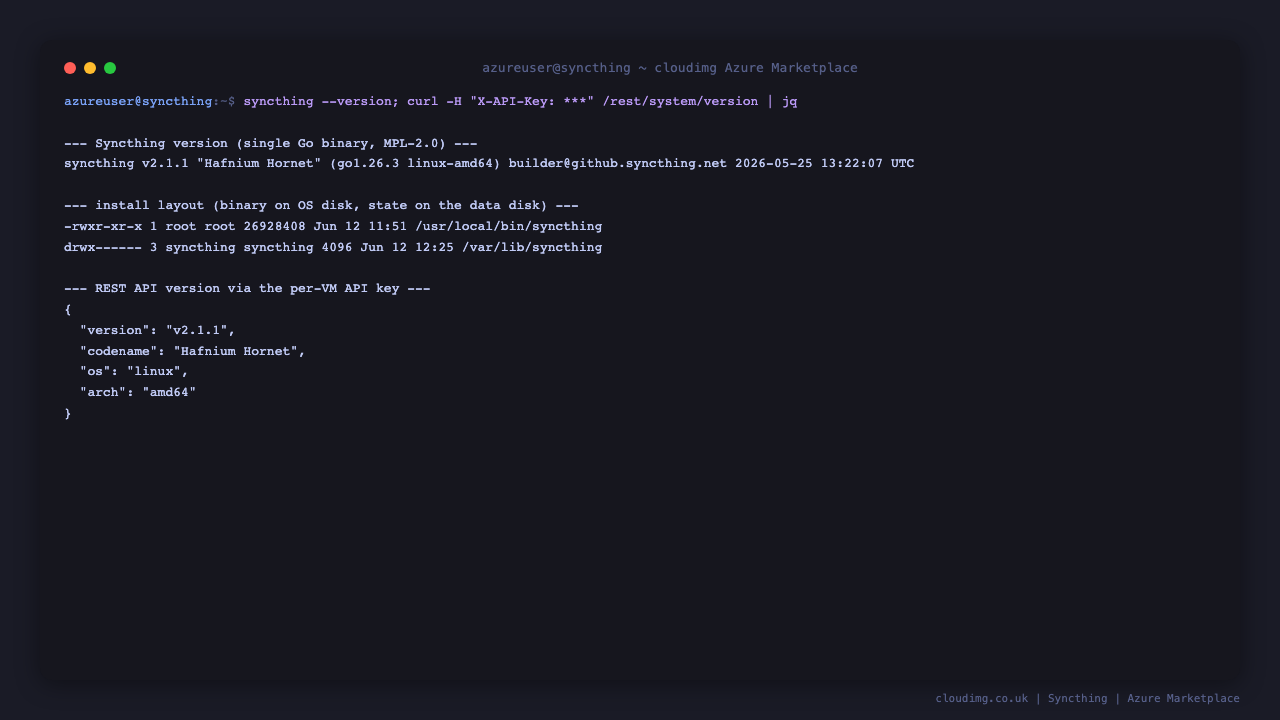
Step 8 — Use the REST API
The REST API is served through nginx on port 80 and authenticated with the per-VM API key:
KEY=$(sudo grep '^syncthing.apikey=' /root/syncthing-credentials.txt | cut -d= -f2-)
curl -s -H "X-API-Key: $KEY" http://127.0.0.1/rest/system/version | jq -r '.version'
Step 9 — Confirm the data disk
The configuration, device certificate, index database and the default synced folder live on a dedicated Azure data disk, independent of the OS disk:
findmnt -no SOURCE,SIZE,FSTYPE,TARGET /var/lib/syncthing
Enabling HTTPS
For production, terminate TLS at nginx with a real domain pointed at the VM's public IP. Install certbot and request a certificate (replace the domain):
sudo apt-get update && sudo apt-get install -y certbot python3-certbot-nginx
sudo certbot --nginx -d your-domain.example.com
Backup and maintenance
All Syncthing state — configuration, device certificate, index database and synced folders — lives on the dedicated data disk at /var/lib/syncthing. Snapshot that disk in Azure to back up your sync node, and keep the OS patched with sudo apt update && sudo apt upgrade. The service restarts cleanly with sudo systemctl restart syncthing.
Support
This image is backed by 24/7 cloudimg support. Contact us by email and chat for help with deployment, upgrades, device pairing, TLS termination and storage.
All product and company names are trademarks or registered trademarks of their respective holders. Use of them does not imply any affiliation with or endorsement by them.